
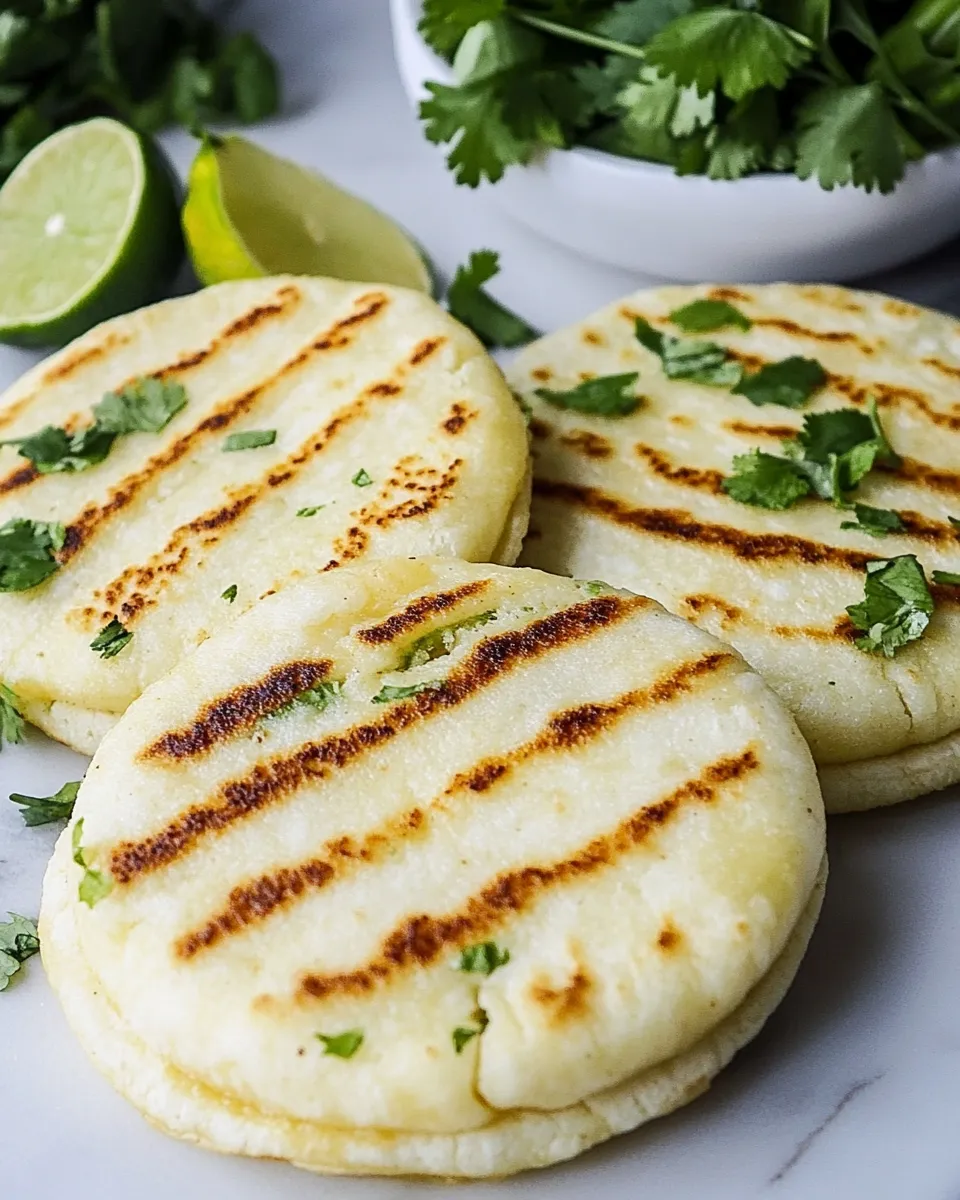
I make arepas whenever I need something reliable, cozy, and endlessly adaptable. They’re one of those comfort foods that feel like home no matter where you are—crispy on the outside, tender and a little creamy inside. With a simple dough and a quick filling, you can have a meal that’s both substantial and relaxed.
This recipe is straightforward and forgiving, which is why I love it for weeknight dinners, casual brunches, or when friends drop by without warning. The filling here is shredded chicken with avocado and mayo—brightened with lime and cilantro—because it’s fast and crowd-pleasing. But once you have arepas mastered, they’ll take whatever you want to stuff into them.
Expect a modest ingredient list and a method that’s largely hands-on but not fussy. I’ll walk through each step, offer substitutions, troubleshoot common problems, and explain why each choice matters. Let’s get to it.
Ingredient Checklist
- 2 cups pre-cooked white cornmeal (P.A.N. brand or similar) — The base of the dough; pre-cooked cornmeal hydrates quickly and gives the classic arepa texture.
- 2½ cups warm water — Hydrates the cornmeal to form a soft, pliable dough; warm water speeds absorption for an even texture.
- 1 teaspoon salt — Essential for seasoning the dough so the arepas have balanced flavor.
- 1 tablespoon vegetable oil (plus extra for cooking) — Adds a bit of richness to the dough and prevents sticking while frying/griddling.
- 2 cups cooked chicken (shredded) — The main protein for the filling; shredded works best for stuffing into pockets.
- 1 ripe avocado (peeled and pitted) — Brings creaminess and a fresh, buttery note to the filling.
- ¼ cup mayonnaise — Binds the filling and adds a silky mouthfeel; balances the lime’s acidity.
- 1 small onion (finely chopped) — Adds crunch and a piquant backbone to the filling.
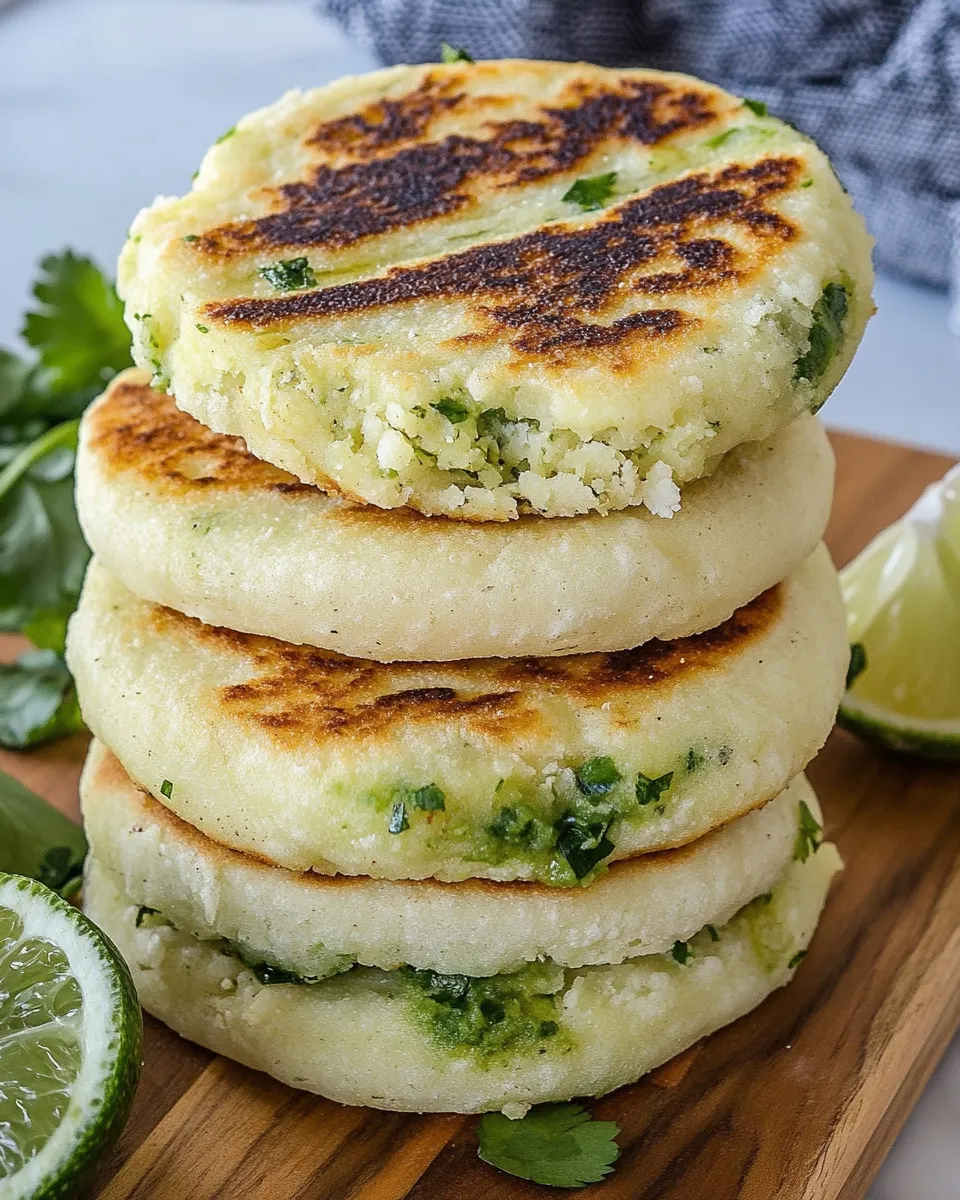
- ¼ cup cilantro (finely chopped) — Brings bright, herbaceous freshness that lifts the whole sandwich.
- 1 jalapeño (seeded and finely chopped) (optional) — Adds heat if you want; seeding tames the spice while preserving flavor.
- juice of 1 lime — Acid to brighten the avocado and cut richness.
- salt and pepper (to taste) — Final seasoning for the filling; adjust to preference.
Make Homemade Arepas: A Simple Method
- In a large bowl, combine 2 cups pre-cooked white cornmeal, 1 teaspoon salt, and 1 tablespoon vegetable oil. Gradually add 2½ cups warm water while stirring until the mixture is smooth and homogeneous. Knead briefly in the bowl or on a clean surface until the dough is uniform.
- Cover the dough and let it rest for 5 minutes.
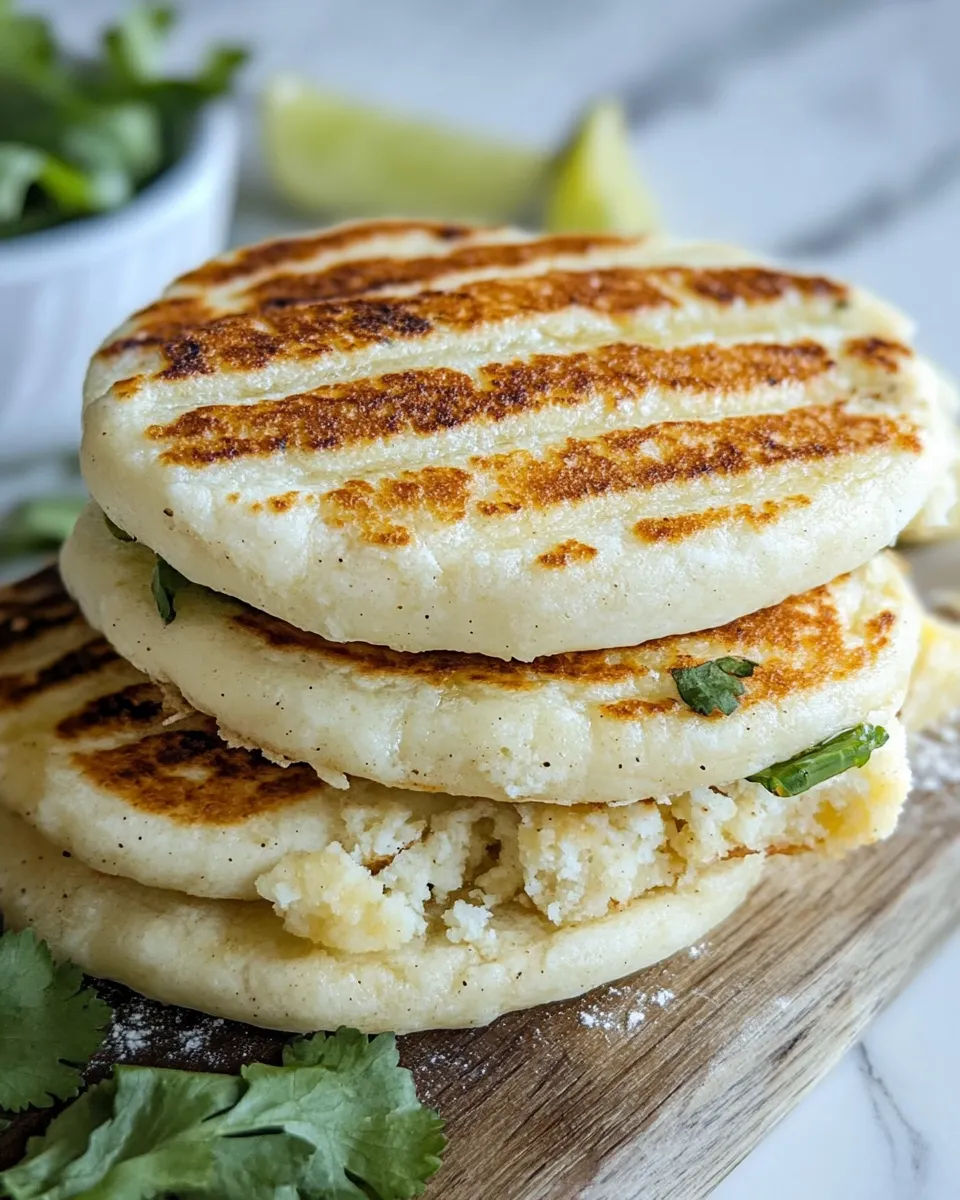
- After resting, divide the dough into six equal portions. Shape each portion into a ball, then flatten each ball into a disc about 4–5 inches wide and ½ inch thick.
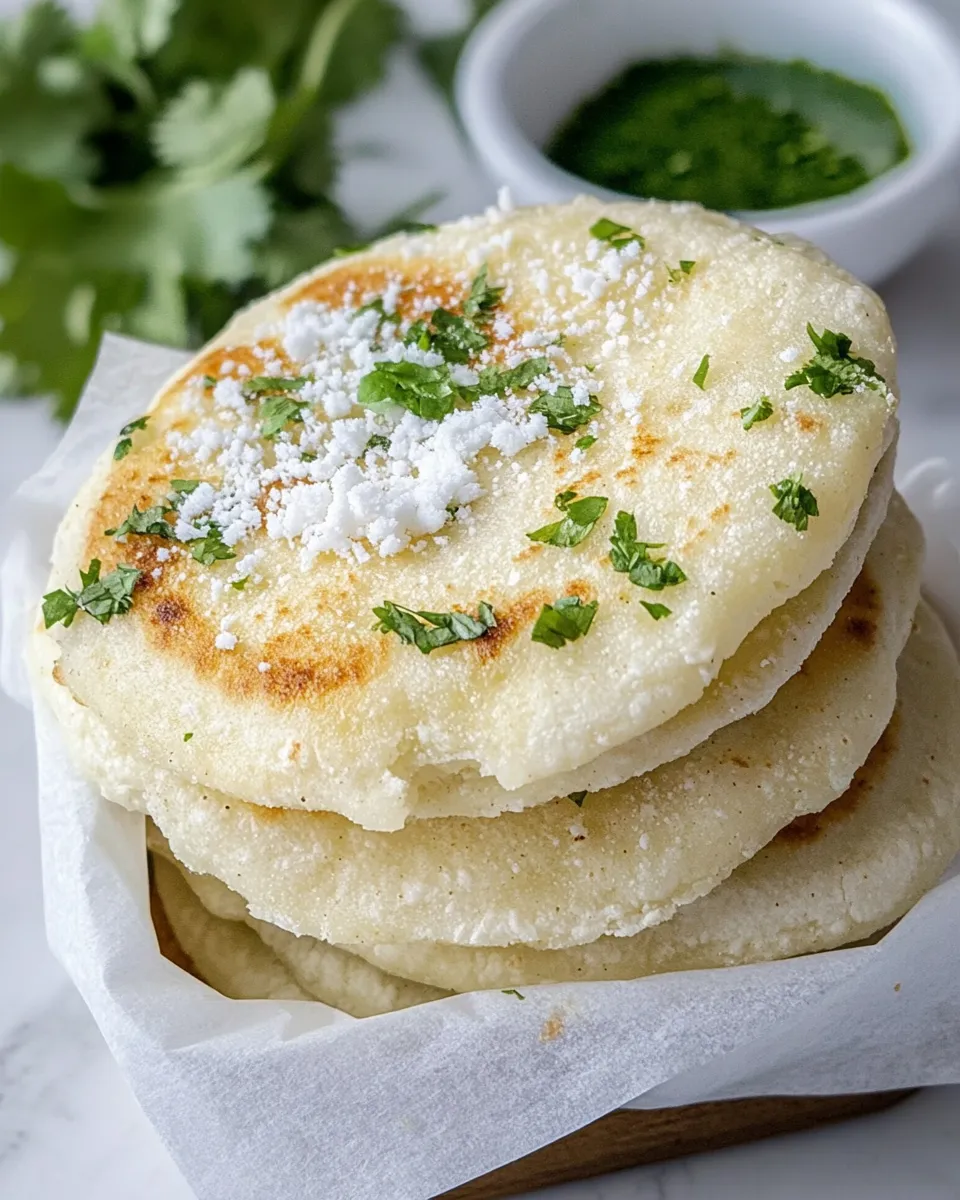
- Heat a large skillet over medium heat and brush the surface with additional vegetable oil. Place arepa discs in the skillet and cook about 6–7 minutes per side, until each side is golden and crisp and the arepa is cooked through.
- (Optional) For extra crispiness, transfer the cooked arepas to a 350°F (175°C) oven for 10–15 minutes.
- While the arepas cook, make the filling: in a bowl combine 2 cups shredded cooked chicken, 1 small finely chopped onion, ¼ cup finely chopped cilantro, and 1 jalapeño (seeded and finely chopped), if using. In a separate bowl mash 1 ripe avocado with ¼ cup mayonnaise and the juice of 1 lime until smooth.
- Mix the mashed avocado and mayonnaise into the chicken mixture until evenly combined. Season the filling with salt and pepper to taste.
- Slice an opening on one side of each arepa to create a pocket. Generously fill each arepa with the chicken-and-avocado mixture.
- Serve the filled arepas immediately, or keep them covered to stay warm until ready to serve.
What You’ll Love About This Recipe
These arepas balance crispness and tenderness. The skillet creates a satisfying golden crust, while the interior stays soft and slightly steamy—perfect for holding a hearty filling. The chicken-and-avocado combo is creamy and bright. Lime and cilantro cut through the richness, and the jalapeño adds a controlled lift.
They come together quickly, and most of the work happens in parallel: the dough rests while you prep the filling, and the filling finishes while the arepas cook. They’re forgiving too. If a disc is a little thick or thin, the cooking window is wide enough to adjust.
Smart Substitutions
If you don’t have pre-cooked white cornmeal labeled P.A.N., use any pre-cooked white or yellow cornmeal intended for arepas or tortillas—this style is what gives the correct texture. For the oil in the dough, neutral oils like sunflower or canola work well; olive oil will add flavor and is usable if that’s what you have on hand.
For the filling, swap cooked chicken for shredded rotisserie chicken, leftover roast, or even canned tuna if you need a pantry-based option. If you want a vegetarian option, sautéed mushrooms or seasoned black beans make excellent, protein-rich fillings without changing the arepa dough.
Equipment Breakdown
- Large mixing bowl — For combining dough ingredients and kneading gently.
- Large skillet or griddle — Use a heavy-bottomed skillet for even browning; nonstick or cast iron both work.
- Spatula or tongs — For flipping arepas without tearing them.
- Baking sheet and oven (optional) — For crisping finished arepas if you choose the oven step.
- Mixing bowls — Separate bowls make it easy to mash avocado and mix the chicken filling.
Watch Outs & How to Fix
Dry, crumbly dough: If the dough feels dry or cracks when formed, you likely need a touch more water. Add a tablespoon at a time, knead, and give it a minute to absorb. The dough should be malleable and hold together without sticking excessively to your hands.
Too soft and sticky: If the dough is soggy, let it sit covered a few extra minutes so the cornmeal can absorb moisture. You can also dust your hands with a little pre-cooked cornmeal while shaping.
Arepas not browned or not cooked through: If the outside browns too quickly while the inside remains doughy, lower the heat slightly and cook longer per side. Cast iron retains heat; medium–low can be your friend. Conversely, if they’re taking forever to color, raise the heat a touch but watch them closely.
Filling too wet: If your avocado-chicken filling seems watery (often from juice released by the avocado or lime), blot the avocado gently with a paper towel before mashing, or add a bit more mayonnaise to bind. Season after adjusting for moisture so you don’t over-salt.
Health-Conscious Tweaks
To reduce fat, use plain Greek yogurt instead of some or all of the mayonnaise in the filling. Greek yogurt gives tang and creaminess while cutting calories and adding protein. You can also make the arepas with less oil brushed on the skillet—use a high-quality nonstick surface and a light brush or spray.
For more fiber and nutrients, bulk up the filling with finely shredded cabbage, grated carrot, or a handful of chopped spinach. These won’t alter the dough and will increase volume and vitamins without compromising flavor.
Chef’s Rationale
Pre-cooked cornmeal is the non-negotiable here; it hydrates differently than masa harina or regular cornmeal and is what gives arepas their characteristic interior. Warming the water helps the granules absorb more evenly and creates a smooth dough with minimal kneading.
Resting the dough for 5 minutes lets the water fully incorporate and relaxes the mixture so it shapes without cracking. Cooking slowly in a well-oiled skillet builds a crisp exterior while allowing the center to finish; the optional oven step is a reliable way to ensure a deeply crispy shell without burning the surface.
The avocado-mayo mash binds the shredded chicken and keeps the filling moist without making the arepa soggy. Lime, cilantro, and onion add brightness and texture; small components, but they work together to balance the dish.
Save It for Later
Cooked arepas: Let cool slightly, then store in an airtight container in the fridge for up to 3 days. Reheat in a skillet over medium heat for a few minutes per side, or pop them in a 350°F (175°C) oven for 5–10 minutes to refresh the crisp exterior.
Filled arepas: Fill just before serving if you can, but if you must assemble ahead, keep the filling chilled separately and assemble just before eating to prevent sogginess. If assembled, eat within a few hours and keep covered in the fridge.
Handy Q&A
Q: Can I make the dough ahead of time?
A: You can prepare and refrigerate the dough wrapped for a day. Bring it to room temperature before shaping, and add a splash of warm water if it seems stiff.
Q: Can I freeze arepas?
A: Yes. Cook them through, let cool, then freeze on a tray before transferring to a freezer bag. Reheat from frozen in a skillet or oven, adding a few extra minutes to the oven time.
Q: What’s the best cornmeal to use?
A: Use pre-cooked white cornmeal intended for arepas—brands labeled for arepas or “pre-cooked” are what you want. It creates the proper texture; regular cornmeal won’t hydrate the same way.
Wrap-Up
Homemade arepas are simple, satisfying, and versatile. The technique here gives you a golden, crisp outside and a tender inside that happily cradles savory fillings. Follow the method as written the first time to understand the dough’s feel and behavior; after that, you’ll be ready to improvise. They’re perfect for hands-on cooking that rewards effort immediately. Make a batch, share them, and keep a mental list of fillings to try next—these arepas will become a dependable favorite.

Homemade Arepas
Ingredients
Ingredients
- 2 cupspre-cooked white cornmeal P.A.N. brand or similar
- 2 1/2 cupswarm water
- 1 teaspoonsalt
- 1 tablespoonvegetable oil plus extra for cooking
- 2 cupscooked chicken shredded
- 1 ripe avocado peeled and pitted
- 1/4 cupmayonnaise
- 1 smallonion finely chopped
- 1/4 cupcilantro finely chopped
- 1 jalapeño seeded and finely chopped (optional)
- juice of 1 lime
- salt and pepper to taste
Instructions
Instructions
- In a large bowl, combine 2 cups pre-cooked white cornmeal, 1 teaspoon salt, and 1 tablespoon vegetable oil. Gradually add 2½ cups warm water while stirring until the mixture is smooth and homogeneous. Knead briefly in the bowl or on a clean surface until the dough is uniform.
- Cover the dough and let it rest for 5 minutes.
- After resting, divide the dough into six equal portions. Shape each portion into a ball, then flatten each ball into a disc about 4–5 inches wide and ½ inch thick.
- Heat a large skillet over medium heat and brush the surface with additional vegetable oil. Place arepa discs in the skillet and cook about 6–7 minutes per side, until each side is golden and crisp and the arepa is cooked through.
- (Optional) For extra crispiness, transfer the cooked arepas to a 350°F (175°C) oven for 10–15 minutes.
- While the arepas cook, make the filling: in a bowl combine 2 cups shredded cooked chicken, 1 small finely chopped onion, ¼ cup finely chopped cilantro, and 1 jalapeño (seeded and finely chopped), if using. In a separate bowl mash 1 ripe avocado with ¼ cup mayonnaise and the juice of 1 lime until smooth.
- Mix the mashed avocado and mayonnaise into the chicken mixture until evenly combined. Season the filling with salt and pepper to taste.
- Slice an opening on one side of each arepa to create a pocket. Generously fill each arepa with the chicken-and-avocado mixture.
- Serve the filled arepas immediately, or keep them covered to stay warm until ready to serve.
Equipment
- Large Bowl
- Skillet
- Oven
Notes
Let the dough rest for 5 minutes to fully hydrate the cornmeal, making it easier to shape.
Cook the arepas on medium heat to achieve a crispy exterior without burning.
For extra crispiness, bake the arepas in the oven after pan-frying.
Prepare the Reina Pepiada filling while the arepas cook to save time.
Store leftover arepas in an airtight container at room temperature for up to 2 days, or in the refrigerator for up to 5 days.


