
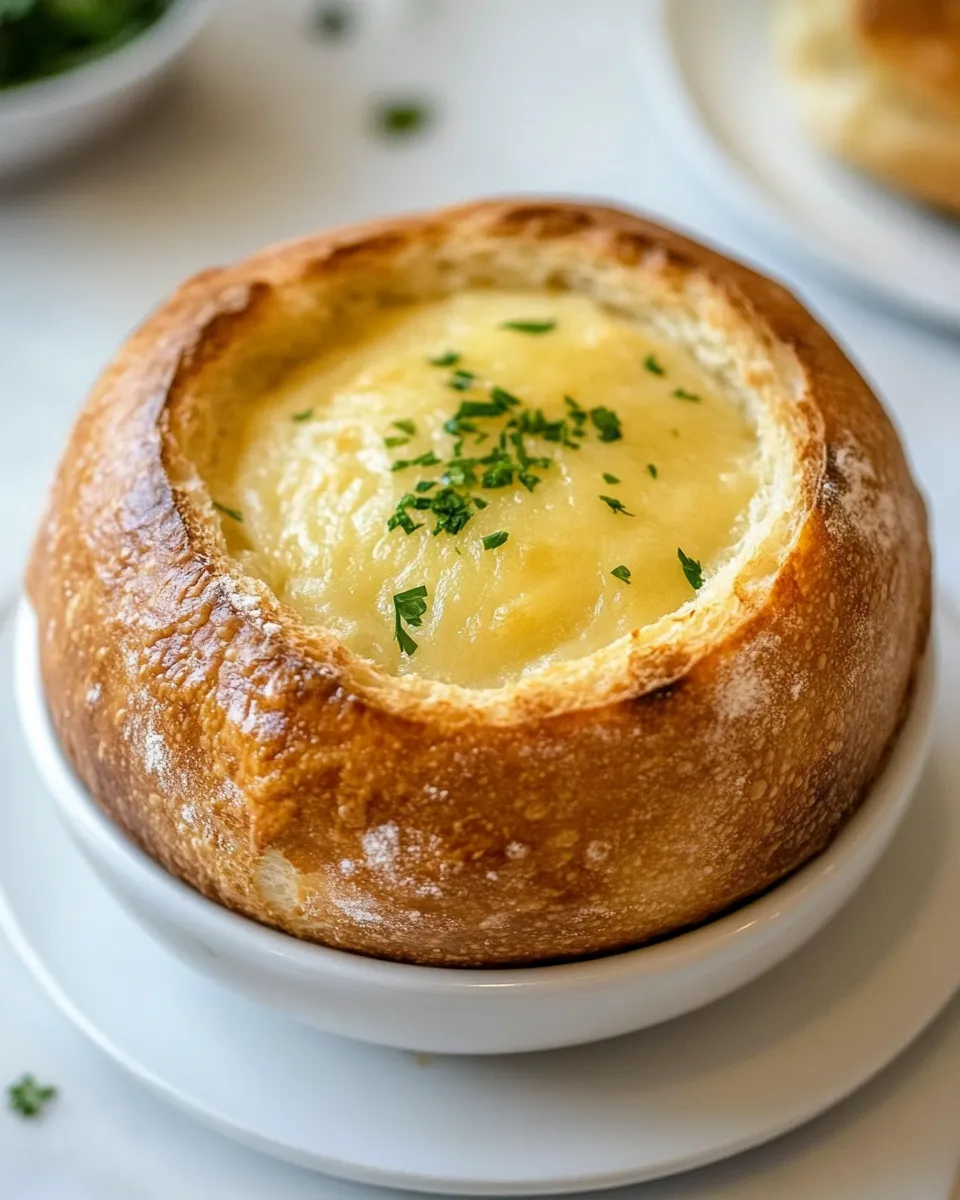
These bread bowls are reliable, sturdy, and built to cradle a generous ladle of soup or chili. I make them when I want the convenience of an edible vessel and the comfort of a soft interior with a golden crust. They take a bit of hands-on time but nothing finicky — the kind of recipe you can follow while prepping the rest of the meal.
You’ll get consistent results by following the rise times and paying attention to the dough’s feel. There are a few small moves — the egg-white wash, a proper final proof, a well-shaped ball — that make the shape hold and brown evenly. I’ll walk you through the method exactly as written, then dig into why each step matters and how to fix common problems.
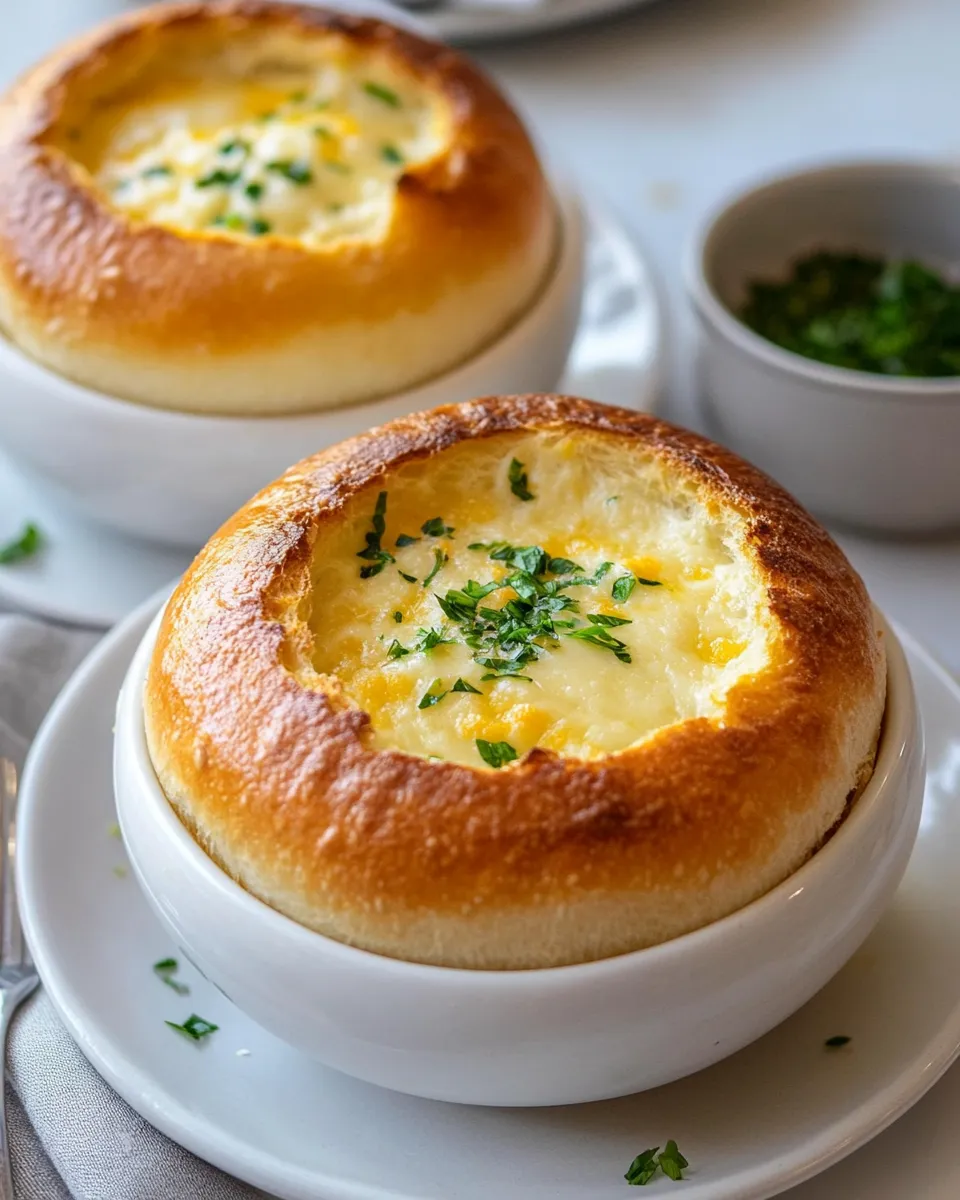
Treat this as your bread-bowl template: make large bowls for stew nights or small ones for individual portions. The dough is forgiving and stretches to accommodate six large or eight small bowls. Below you’ll find the ingredient list with quick notes, the step-by-step method (unchanged in amounts), and practical tips for success, storage, and swaps that keep things budget-friendly or healthier.
Ingredients at a Glance

- 3 cups warm water — warms the yeast and hydrates the dough; aim for pleasantly warm, not hot.
- 1 1/2 Tablespoons active dry yeast (2 packets) — the rising agent; measure carefully for predictable rise times.
- 2 Tablespoons + ½ teaspoon granulated sugar, divided — feeds the yeast and helps with browning; the division matters for activation and dough.
- 1 Tablespoon salt — flavor and dough-strengthening; don’t skip it.
- 4 Tablespoons butter, melted — enriches the dough and gives a tender crumb and flavor.
- 7 to 9 cups all-purpose flour, divided — provides structure; add gradually to reach the right dough consistency.
- 1 tablespoon milk — thins the egg white for the wash and helps with browning.
- 1 egg white — creates a thin shiny crust when brushed on the dough tops.
The Method for Homemade Bread Bowls
- In a small bowl, combine 3 cups warm water, 1 1/2 tablespoons active dry yeast (2 packets), and 1/2 teaspoon granulated sugar. Stir until the yeast is dissolved, cover with a towel, and let stand until foamy, about 5 minutes.
- In a large bowl, add 1 tablespoon salt, the remaining 2 tablespoons granulated sugar, 4 tablespoons melted butter, the yeast mixture, and 3 1/2 cups of the all-purpose flour. Stir until a rough dough forms.
- Add more flour slowly, about 1 cup at a time, mixing after each addition. Continue until the dough begins to pull away from the sides of the bowl and is manageable; you should use a total of 7 to 9 cups of flour (including the 3 1/2 cups already added).
- Turn the dough onto a lightly floured surface (or keep in the mixer) and knead for about 5 minutes. Test the dough with a clean, dry finger: it should not be sticky (it may barely stick). If it is sticky, add a little more flour as needed (staying within the 7–9 cup total) and knead 2–3 more minutes until it reaches the correct consistency.
- Lightly spray another large bowl with nonstick spray. Transfer the kneaded dough to that bowl and turn it once so both sides are lightly coated. Cover the bowl with a dish towel and let the dough rise until doubled in size, about 30–45 minutes.
- Punch down the risen dough to release air and divide it into 6 (for large bowls) or 8 (for small bowls) equal pieces.
- Working with one piece at a time, pat it to remove large air pockets and fold the edges under to form a tight, smooth ball. Place each dough ball on a baking sheet lined with parchment paper, spacing them apart. Make a small “X” slit on the top of each ball with a serrated knife.
- In a small bowl, whisk together 1 egg white and 1 tablespoon milk. Very lightly brush a thin layer of this egg-white wash over the tops of the dough balls.
- Cover the baking sheet loosely with plastic wrap or a towel and let the dough balls rise until doubled, about 30–40 minutes.
- While the dough is finishing its second rise, preheat the oven to 400°F.
- Bake the risen dough balls at 400°F for 25–30 minutes, until golden brown.
- Remove the bread from the oven and allow it to cool for at least 15 minutes before cutting to make bread bowls.
Why This Recipe is a Keeper
This formula balances speed and texture. The yeast quantity and warm water give a predictable, fairly quick first rise (30–45 minutes). The 7–9 cups of flour range is deliberate — that flexibility lets you react to humidity and flour brand differences so the dough ends up with a workable, non-sticky feel. Follow the dough-feel cues and you’ll avoid dense or gummy centers.
The egg-white wash and the small “X” on top are small steps that make a big visual difference. The wash yields a glossy, appetizing crust; the slit controls where steam escapes so the round shape stays stable. The melt butter keeps the crumb tender and adds flavor without making the dough soft and unmanageable.
Budget & Availability Swaps
If you’re watching the budget or a pantry staple runs low, use the recipe’s built-in flexibility:
- Skip the egg white wash if you don’t have an egg — the bowls will still brown and taste great, just less glossy.
- If you want fewer bowls, divide into six large balls instead of eight small ones (the method already allows both).
- Adjust how much flour you use within the 7–9 cup window depending on how absorbent your flour is; that avoids waste from over-flouring.
What’s in the Gear List
You don’t need fancy tools. Gather these basic items:
- Bowl for activating yeast and a large mixing bowl for the dough.
- A bench scraper or spatula to help divide and shape dough.
- Baking sheet(s) lined with parchment paper for easy transfer and cleanup.
- A sharp serrated knife for the “X” slit and a small bowl and brush (or just a spoon) for the egg-white wash.
Things That Go Wrong
Underproofed or Overproofed Dough
- Symptom: Dense interior or very tight crumb. Fix: Let the dough rise longer next time; dough should double. Keep it in a warm, draft-free spot. If you overproof and it collapses, reshape quickly and give a shorter second rise.
- Symptom: Dough doesn’t rise. Fix: Check yeast freshness and water temperature. Water that’s too hot can kill yeast; too cold will slow activation. The yeast should foam within ~5 minutes in step 1.
Crumb Too Sticky or Dry
- Sticky: Add flour a tablespoon at a time, staying within the 7–9 cup total, and knead a few extra minutes until the dough barely sticks to a dry finger.
- Dry: If you overshoot flour, you’ll get a dry, tight dough — try adding a teaspoon of water while kneading to soften it, but aim to avoid going past the specified flour window.
Pale Tops or Poor Browning
- Possible cause: Too thin or missing egg-white wash. Apply a very light brush so it doesn’t pool — that helps color. Also ensure your oven has fully preheated to 400°F before baking.
Better-for-You Options
Small tweaks can cut calories or sodium without changing technique:
- Reduce the butter slightly — the dough will still be tender but with less fat. Cut 1 tablespoon and monitor dough texture; add a teaspoon of extra water if it stiffens up.
- Lower the salt by up to 25% if you’re watching sodium; the presence of yeast and sugar still supports flavor and rise.
- Omit the egg-white wash if you prefer to skip animal products; the bowls will be less shiny but still tasty.
Flavor Logic
Each ingredient pulls double duty. Sugar jump-starts the yeast and contributes to a deeper brown crust. Salt controls yeast activity and strengthens the gluten network so the dough holds shape when hollowed. Butter enriches the crumb and softens the texture. The flour range is about absorption: different brands and different humidity levels require more or less to reach a manageable dough.
The technique choices matter. Kneading builds gluten so the bread has strength and chew. The two rises (bulk and final) let flavor develop and create an airy crumb that still keeps its bowl shape. The small “X” gives a controlled escape route for steam; without it the top can burst unpredictably.
Store, Freeze & Reheat
Store cooled bread bowls at room temperature, loosely covered, for up to 2 days to preserve crust. For longer storage, freeze after baking and cooling completely. Wrap each bowl tightly in plastic wrap and then in foil or a freezer bag. Frozen bread bowls keep well for up to 3 months.
To thaw, remove the wrapping and let sit at room temperature for a couple of hours. Refresh in a 350°F oven for 8–10 minutes to crisp the crust and warm the interior. If you want to fill with soup straight from the freezer, warm the bowl in the oven first so it doesn’t cool the filling too quickly.
Questions People Ask
How do I know when the yeast is active? The yeast mixture should be foamy within about 5 minutes after combining warm water, yeast, and a small portion of sugar. No foam usually means the yeast is dead or the water was too hot or too cold.
Can I make the dough ahead? Yes. After the first knead, you can refrigerate the dough in a lightly oiled bowl, covered, for up to 24 hours. Bring it back to room temperature before shaping and proceed with the rest of the method.
Why is there such a wide flour range? Flour brands and kitchen humidity change how much flour is needed to hit the right dough consistency. Start with the lower end and add in cups until the dough pulls away from the bowl and becomes manageable.
Hungry for More?
If you enjoyed making these bread bowls, try using the same dough to shape rolls or a simple loaf. The method scales: same ingredients and technique, different final form. Fill your bowls with thick chowders, chili, or a hot dip — they turn the meal into something you can pick up and savor.
Bookmark this post and keep the steps handy. With a little practice you’ll know exactly how the dough should feel in your kitchen, and you’ll be able to adapt the shape and size every time. Happy baking — these bowls are meant to be eaten, so don’t be shy about digging in.

Homemade Bread Bowls
Ingredients
Ingredients
- 3 cupswarm water
- 1 1/2 Tablespoonsactive dry yeast 2 packets
- 2 Tablespoons +1/2 teaspoongranulated sugar divided
- 1 Tablespoonsalt
- 4 Tablespoonsbutter melted
- 7 to 9 cupsall-purpose flour divided
- 1 tablespoonmilk
- 1 egg white
Instructions
Instructions
- In a small bowl, combine 3 cups warm water, 1 1/2 tablespoons active dry yeast (2 packets), and 1/2 teaspoon granulated sugar. Stir until the yeast is dissolved, cover with a towel, and let stand until foamy, about 5 minutes.
- In a large bowl, add 1 tablespoon salt, the remaining 2 tablespoons granulated sugar, 4 tablespoons melted butter, the yeast mixture, and 3 1/2 cups of the all-purpose flour. Stir until a rough dough forms.
- Add more flour slowly, about 1 cup at a time, mixing after each addition. Continue until the dough begins to pull away from the sides of the bowl and is manageable; you should use a total of 7 to 9 cups of flour (including the 3 1/2 cups already added).
- Turn the dough onto a lightly floured surface (or keep in the mixer) and knead for about 5 minutes. Test the dough with a clean, dry finger: it should not be sticky (it may barely stick). If it is sticky, add a little more flour as needed (staying within the 7–9 cup total) and knead 2–3 more minutes until it reaches the correct consistency.
- Lightly spray another large bowl with nonstick spray. Transfer the kneaded dough to that bowl and turn it once so both sides are lightly coated. Cover the bowl with a dish towel and let the dough rise until doubled in size, about 30–45 minutes.
- Punch down the risen dough to release air and divide it into 6 (for large bowls) or 8 (for small bowls) equal pieces.
- Working with one piece at a time, pat it to remove large air pockets and fold the edges under to form a tight, smooth ball. Place each dough ball on a baking sheet lined with parchment paper, spacing them apart. Make a small "X" slit on the top of each ball with a serrated knife.
- In a small bowl, whisk together 1 egg white and 1 tablespoon milk. Very lightly brush a thin layer of this egg-white wash over the tops of the dough balls.
- Cover the baking sheet loosely with plastic wrap or a towel and let the dough balls rise until doubled, about 30–40 minutes.
- While the dough is finishing its second rise, preheat the oven to 400°F.
- Bake the risen dough balls at 400°F for 25–30 minutes, until golden brown.
- Remove the bread from the oven and allow it to cool for at least 15 minutes before cutting to make bread bowls.
Notes
To Make Ahead
: After dough has risen the first time, punch it down in the mixing bowl and cover tightly with plastic wrap. Refrigerate for up to 2 days. When ready to make, remove from the fridge and continue with step 5, dividing the dough.
Freezer Instructions:
To freeze the dough, punch it down after the first rise and store in an airtight, freezer safe container or bag for up to 2 months. Thaw overnight in the refrigerator and then continue with step 5, dividing the dough.
To freeze the baked bread bowls, store them in an airtight, freezer safe container or bag for up to 3 months. Allow them to thaw on the counter and then warm them in the oven before serving.
To make crusty Italian Bread Loaves:
Divide the dough in half after the first rise, to make two loaves of bread. Brush with egg wash and rise again. Bake at 350 degrees for 30 minutes.


