
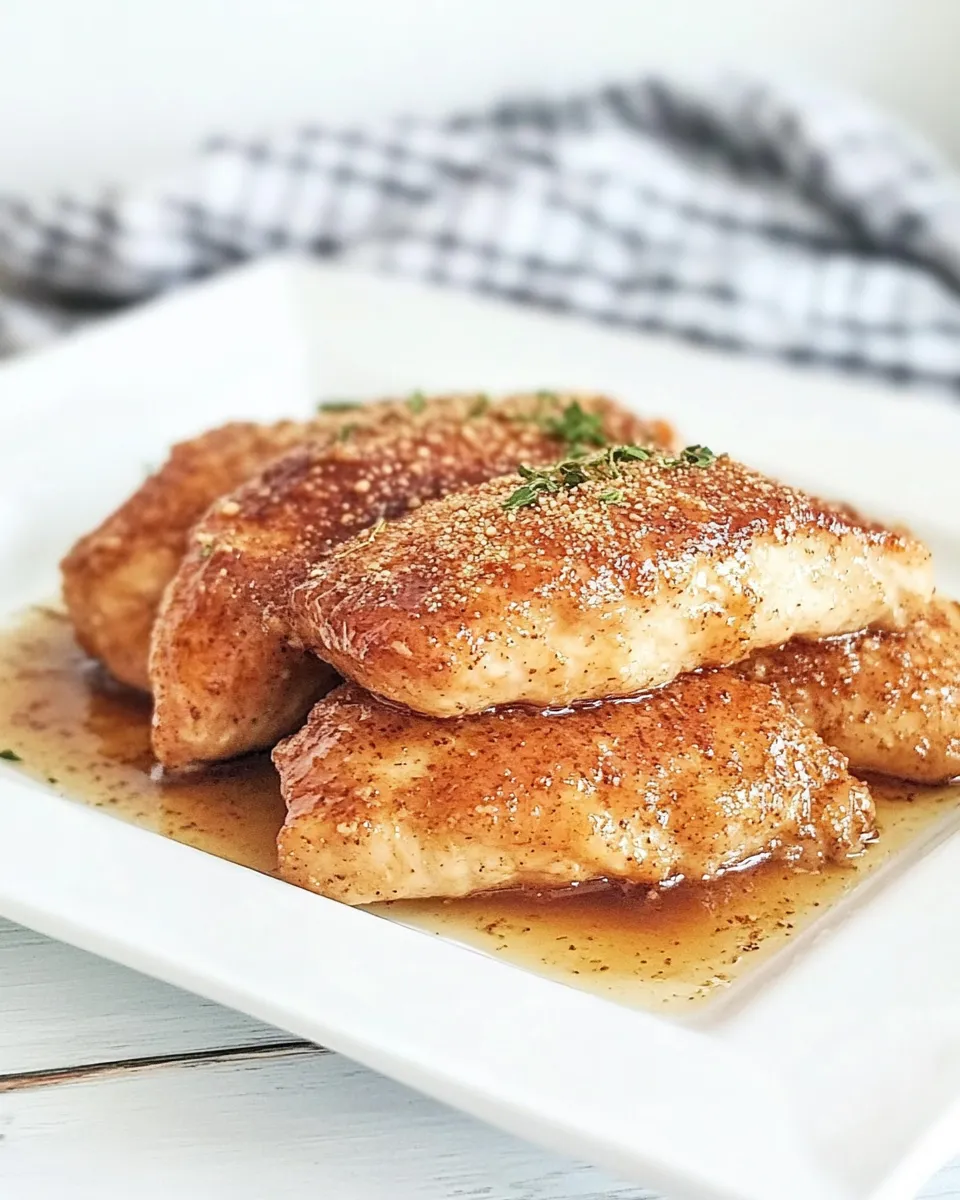
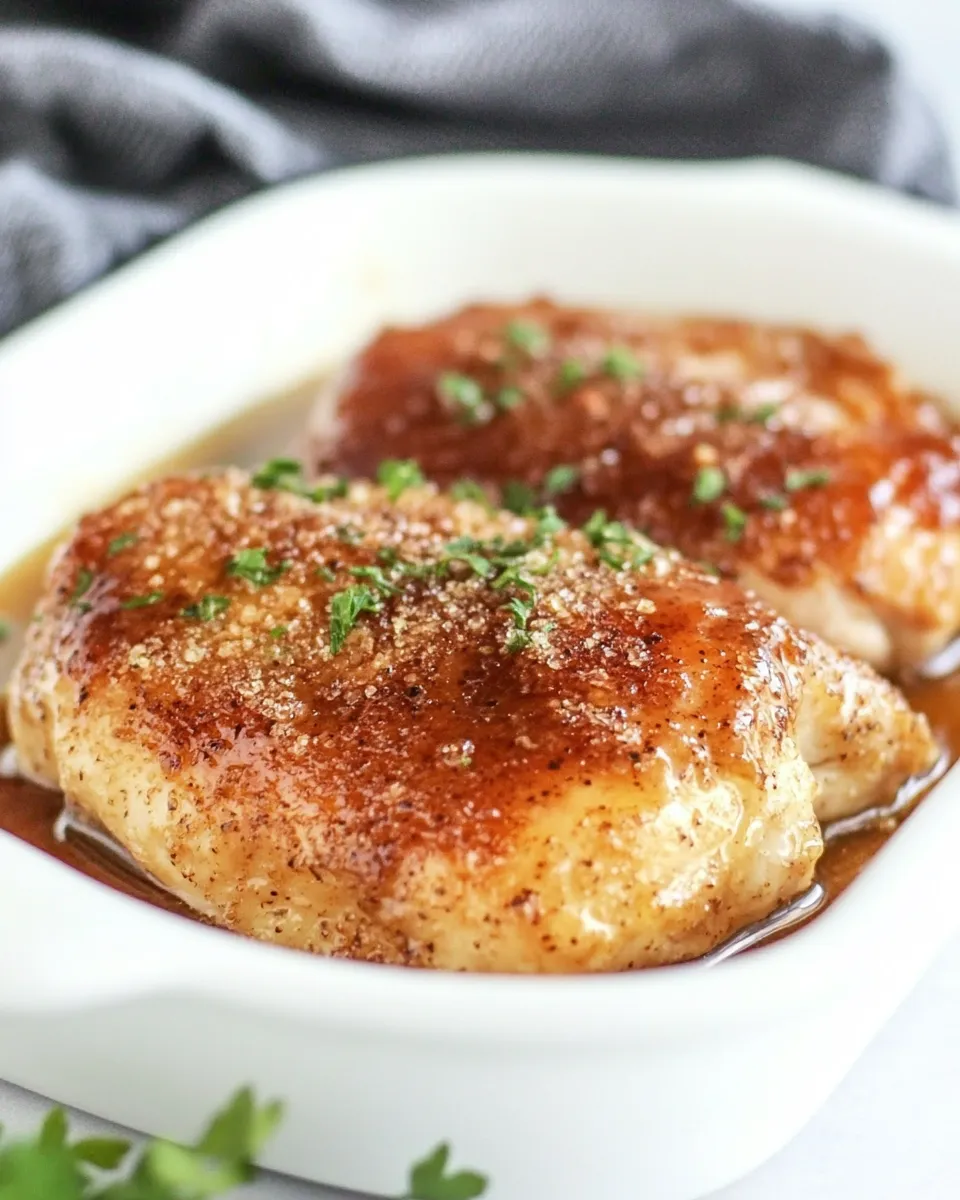
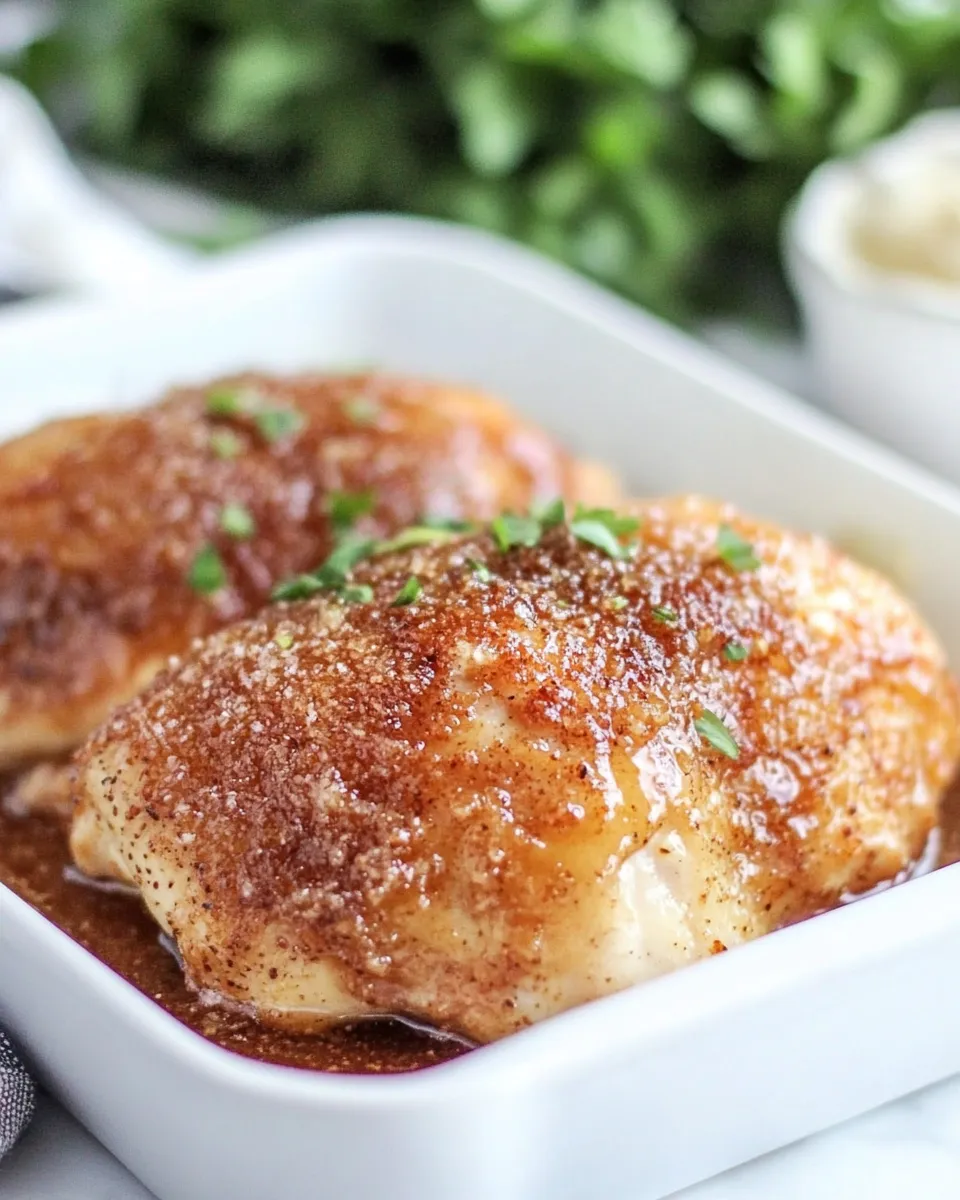
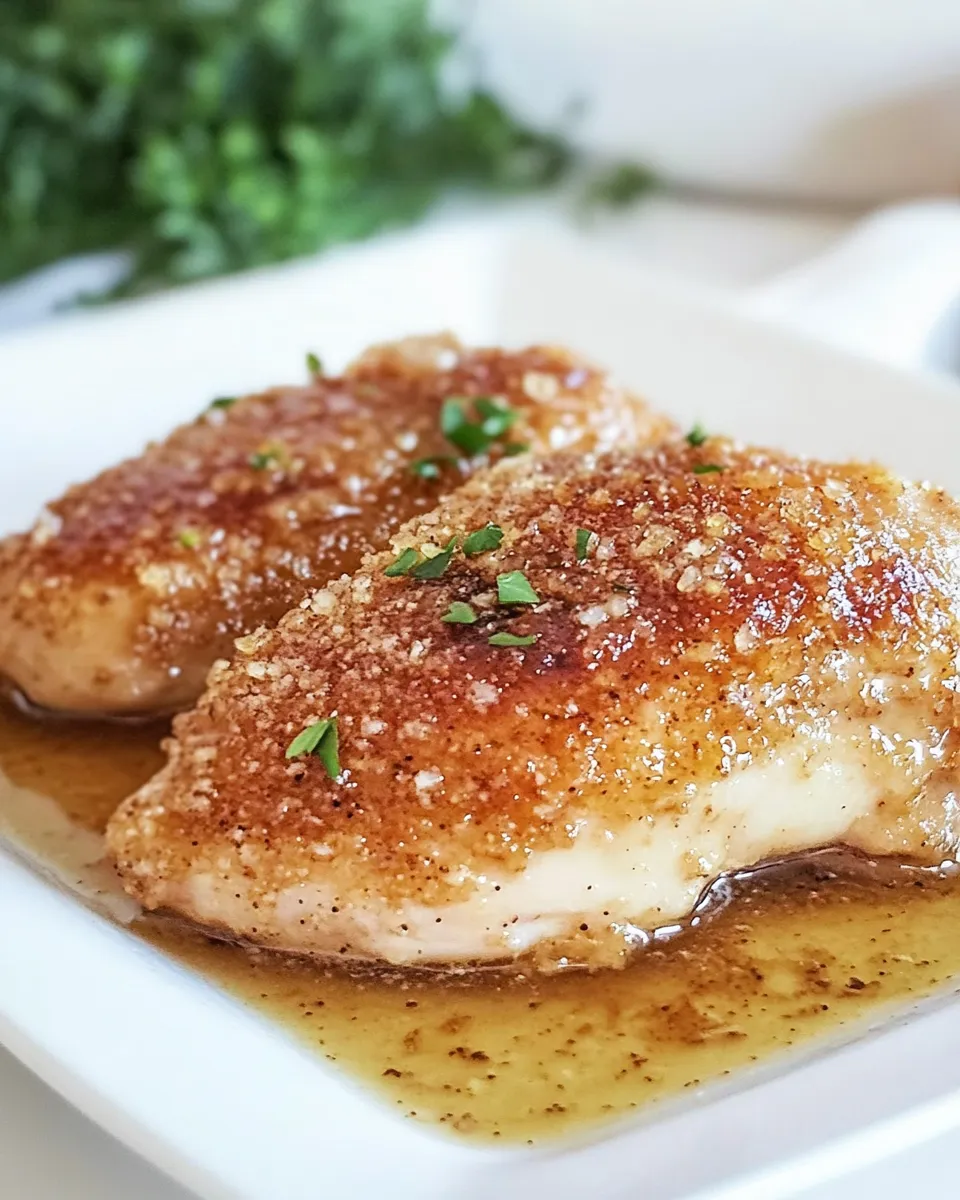
This honey-glazed chicken is exactly the kind of weeknight dish I turn to when I want something that feels special but doesn’t take all evening. The coating gives the breasts a thin, golden crust, and the quick honey-soy garlic sauce finishes each bite with a glossy, sweet-savory boost. It’s straightforward, honest cooking that comes together fast.
I like dishes that teach you something. This one reinforces a few simple habits: patting meat dry, keeping a clean dredge station, controlling the pan heat, and finishing with a warm sauce instead of a cold pour. Those small steps make a big difference in texture and flavor.
Below you’ll find a clear shopping guide, the ingredient list, step-by-step instructions taken directly from the recipe source, and practical notes on mistakes, kit, variations, and storage. No fuss. Just useful advice so you get reliable, repeatable results.
Your Shopping Guide
Buy the freshest chicken breasts you can find. Look for even thickness if possible; that keeps cooking time predictable. If the breasts are quite thick, consider a quick butterflying or gentle pounding so they cook through in the suggested time.
For the pantry items, check what you already have before you shop: flour, basic spices (ginger, paprika, nutmeg, thyme, salt, pepper), an egg, and a little water. The glaze calls for honey, soy sauce, and minced garlic. A good—simple—honey and a standard soy sauce will do the job here. No specialty bottles required.
Paper towels are worth adding to your cart if you don’t have them; drying the chicken is a small but critical step. Also make sure you have a nonstick skillet large enough for two breasts without crowding; a hot pan needs space to sear.
Ingredients
- 2 chicken breasts — the main protein; even thickness cooks most evenly.
- 1/2 cup flour — creates the light crust that catches the glaze.
- 1 tablespoon ginger — adds warm, sharp aromatics in the coating.
- 2 teaspoons paprika — gives color and a mild, smoky background.
- 1 teaspoon salt — seasons the coating so the chicken isn’t bland.
- 1 teaspoon nutmeg — a subtle, warm note that complements the honey.
- 1/2 teaspoon pepper — a basic balancing bite.
- 1/2 teaspoon thyme — herbaceous lift in the dredge mix.
- 1 egg — binds the flour mixture to the chicken.
- 2 tablespoons water — thins the egg to make a simple wash.
- 1/2 cup honey — the glaze’s sweet backbone and glossy finish.
- 2 tablespoons soy sauce — adds umami and salt to the glaze.
- 1 tablespoon minced garlic — punchy aromatics in the warm sauce.
From Start to Finish: Honey Glazed Chicken
- In a shallow dish, combine 1/2 cup flour, 1 tablespoon ginger, 2 teaspoons paprika, 1 teaspoon salt, 1 teaspoon nutmeg, 1/2 teaspoon pepper, and 1/2 teaspoon thyme; mix well and set aside.
- In a separate shallow dish, beat 1 egg with 2 tablespoons water until combined.
- Pat the 2 chicken breasts dry with paper towels. One at a time, dip each breast into the egg wash, then dredge in the flour–spice mixture, pressing the flour mixture onto both sides to coat. Place coated breasts on a plate. Discard any flour that contacted raw chicken—do not return it to the flour container or bag.
- Heat a nonstick skillet over medium heat until hot. (Do not add ingredients not listed.)
- Place the coated chicken breasts in the skillet and cook until golden brown and cooked through, about 5 minutes per side depending on thickness. Cook until juices run clear and the chicken is no longer pink in the center.
- While the chicken is cooking, combine 1/2 cup honey, 2 tablespoons soy sauce, and 1 tablespoon minced garlic in a small saucepan. Heat over medium-low, stirring frequently, until the sauce is warmed through and slightly thickened.
- Reduce the sauce heat to low to keep warm. When the chicken is done, transfer to plates and spoon the warm honey-soy garlic sauce over the chicken.
- Serve immediately.
Why You’ll Keep Making It
This recipe hits a balance: minimal hands-on time, predictable results, and a sauce that elevates everyday chicken into something you’d happily serve to guests. The dredge gives the chicken a satisfying crust that contrasts with the smooth, glossy sauce. It looks like effort, but it’s not.
It’s also forgiving. If the pan runs a touch hot, the sauce rescues moisture. If the glaze thickens quickly, lowering the heat brings it back. Those small, recoverable moments are part of why this becomes a go-to.
Low-Carb/Keto Alternatives
If you’re watching carbs, you don’t have to skip this dish entirely. The two elements to consider are the flour coating and the honey glaze. One straightforward approach is to skip the dredging step entirely: pat the breasts dry well, season the surface with the spices from the flour mix (you can sprinkle them on the chicken directly), and sear the breasts in the pan. The glaze can be used sparingly—spoon just a little over the finished chicken so you get the flavor without a heavy sugar load.
Another practical option is to serve the sauce on the side so each diner controls how much they add. This keeps the technique and flavor while letting you reduce total sugar per serving.
Cook’s Kit
Essentials
Nonstick skillet (large enough for two breasts), two shallow dishes for flour mix and egg wash, a small saucepan for the glaze, paper towels, a plate for rested, coated chicken, and a spatula or tongs to flip the breasts. A meat thermometer helps confirm doneness if you want precision.
Nice-to-have
A small whisk for the sauce, and a splatter screen if your pan tends to spit. But none of those are required; the recipe is designed to work with basic kit.
Learn from These Mistakes
Common errors are surprisingly simple to fix. Not patting the chicken dry leads to a soggy dredge: always towel off excess moisture. Returning contaminated flour to the container is a safety issue—follow the instruction and discard any flour that touched raw chicken. It’s a small step that prevents cross-contamination.
Another frequent misstep is overheating the pan. If the skillet is too hot, the crust will burn before the middle is cooked. Conversely, a pan that’s not hot enough produces a pale crust and can make the chicken greasy. Aim for medium heat and give the pan a minute to come up to temperature.
Finally, don’t let the sauce come to a hard boil for long; cook it over medium-low while stirring frequently, and keep it on low once it reaches the right consistency so it stays glossy and spoonable.
Variations for Dietary Needs
For a lower-sodium approach, reduce the soy sauce in the glaze and taste before spooning it over the chicken. If you need to avoid added sugars, serve the sauce on the side and use it sparingly. For those with spice sensitivities, simply reduce the ginger or omit the paprika—both are in the flour mix and can be adjusted to taste.
For nut or dairy allergies, this recipe is already compliant: there are no nuts or dairy in the ingredient list. Always check packaged soy sauce for potential cross-contamination if that is a concern.
Behind-the-Scenes Notes
I test recipes by isolating the most changeable elements: heat level, thickness of protein, and sauce consistency. This one stood out because the glaze is forgiving—the honey softens as it heats and the soy sauce keeps it grounded. The dredge spices are modest but important; they build a background flavor you notice more after the first bite than as a separate note.
When plating, spoon the sauce while it’s still warm. The warm sauce clings and creates that restaurant-style sheen. Let the plated chicken rest a minute if you want cleaner slices, but serve while warm for the best texture.
Leftovers & Meal Prep
Store leftover chicken in an airtight container in the refrigerator for up to 3 days. Keep any extra glaze in a separate container; it thickens as it cools and will loosen with gentle reheating. To reheat, warm in a skillet over low heat just until heated through so the coating doesn’t dry out.
Sliced chilled chicken works well cold on salads or wrapped in a flatbread (if you eat bread). If you prep in advance, keep the coated-but-not-cooked chicken separate from any sauce and cook just before serving for the best crust.
Quick Questions
Q: Can I use bone-in or skin-on chicken? A: The source recipe specifies two chicken breasts and timing is based on boneless breast thickness. Bone-in or skin-on pieces will require longer cooking and likely different handling—this recipe is optimized for boneless breasts.
Q: How can I tell the chicken is done? A: Cook until juices run clear and there’s no pink in the center. A thermometer should read 165°F (74°C) in the thickest part for absolute confidence.
Q: My sauce went too thick—what now? A: Reduce the heat and stir in a teaspoon of warm water at a time until you reach the desired consistency. Keep it on low while spooning it over the chicken.
Final Thoughts
This honey-glazed chicken is a weekday win: minimal ingredients, short hands-on time, and a finish that makes simple chicken feel celebratory. Follow the small safety and technique notes—pat dry, discard contaminated flour, and control the pan heat—and you’ll get a glossy, flavorful result every time.
Make it once, and you’ll find little tweaks that make it yours: a touch less honey, a playful extra pinch of paprika, or serving the sauce on the side. That’s the point of good, practical recipes: they give you a reliable starting place and let your taste steer the final course.

Honey Glazed Chicken
Ingredients
Ingredients
- 2 chicken breasts
- 1/2 cupflour
- 1 tablespoonginger
- 2 teaspoonspaprika
- 1 teaspoonsalt
- 1 teaspoonnutmeg
- 1/2 teaspoonpepper
- 1/2 teaspoonthyme
- 1 egg
- 2 tablespoonswater
- 1/2 cuphoney
- 2 tablespoonssoy sauce
- 1 tablespoonminced garlic
Instructions
Instructions
- In a shallow dish, combine 1/2 cup flour, 1 tablespoon ginger, 2 teaspoons paprika, 1 teaspoon salt, 1 teaspoon nutmeg, 1/2 teaspoon pepper, and 1/2 teaspoon thyme; mix well and set aside.
- In a separate shallow dish, beat 1 egg with 2 tablespoons water until combined.
- Pat the 2 chicken breasts dry with paper towels. One at a time, dip each breast into the egg wash, then dredge in the flour–spice mixture, pressing the flour mixture onto both sides to coat. Place coated breasts on a plate. Discard any flour that contacted raw chicken—do not return it to the flour container or bag.
- Heat a nonstick skillet over medium heat until hot. (Do not add ingredients not listed.)
- Place the coated chicken breasts in the skillet and cook until golden brown and cooked through, about 5 minutes per side depending on thickness. Cook until juices run clear and the chicken is no longer pink in the center.
- While the chicken is cooking, combine 1/2 cup honey, 2 tablespoons soy sauce, and 1 tablespoon minced garlic in a small saucepan. Heat over medium-low, stirring frequently, until the sauce is warmed through and slightly thickened.
- Reduce the sauce heat to low to keep warm. When the chicken is done, transfer to plates and spoon the warm honey-soy garlic sauce over the chicken.
- Serve immediately.
Equipment
- Shallow Dish
- nonstick skillet
- Saucepan
- Plate
- Paper Towels
Notes
Serves 2


