I love a reliably cooked hard boiled egg. They’re simple, inexpensive, and endlessly useful — breakfast, lunchboxes, salads, snacks. Over the years I’ve tested timing, cooling and peeling methods until I landed on a straightforward approach that works in any kitchen.
This post gives you the exact steps I use every time I need perfect yolks and eggs that peel cleanly. No gimmicks, no special equipment. Just one clear method, reasons why it works, and practical notes for variations and storage.
Follow this and you’ll save time and avoid the familiar frustrations: rubbery yolks, shells that cling, or eggs that crack while cooking. Let’s get to it.
Ingredient Checklist

Ingredients
- Large eggs — the only ingredient. Use eggs straight from the fridge; size matters because the timing below assumes “large.” Fresh eggs peel differently than older ones, so if peeling is critical, slightly older eggs are often easier to peel.
Hard Boiled Eggs Made Stepwise
- Place the large eggs in a medium pot in a single layer. Add cold water until the eggs are covered by about 1 inch.
- Set the pot over high heat and bring the water to a rolling boil.
- As soon as the water is boiling, cover the pot with a lid and immediately turn off the heat, leaving the pot on the hot burner.
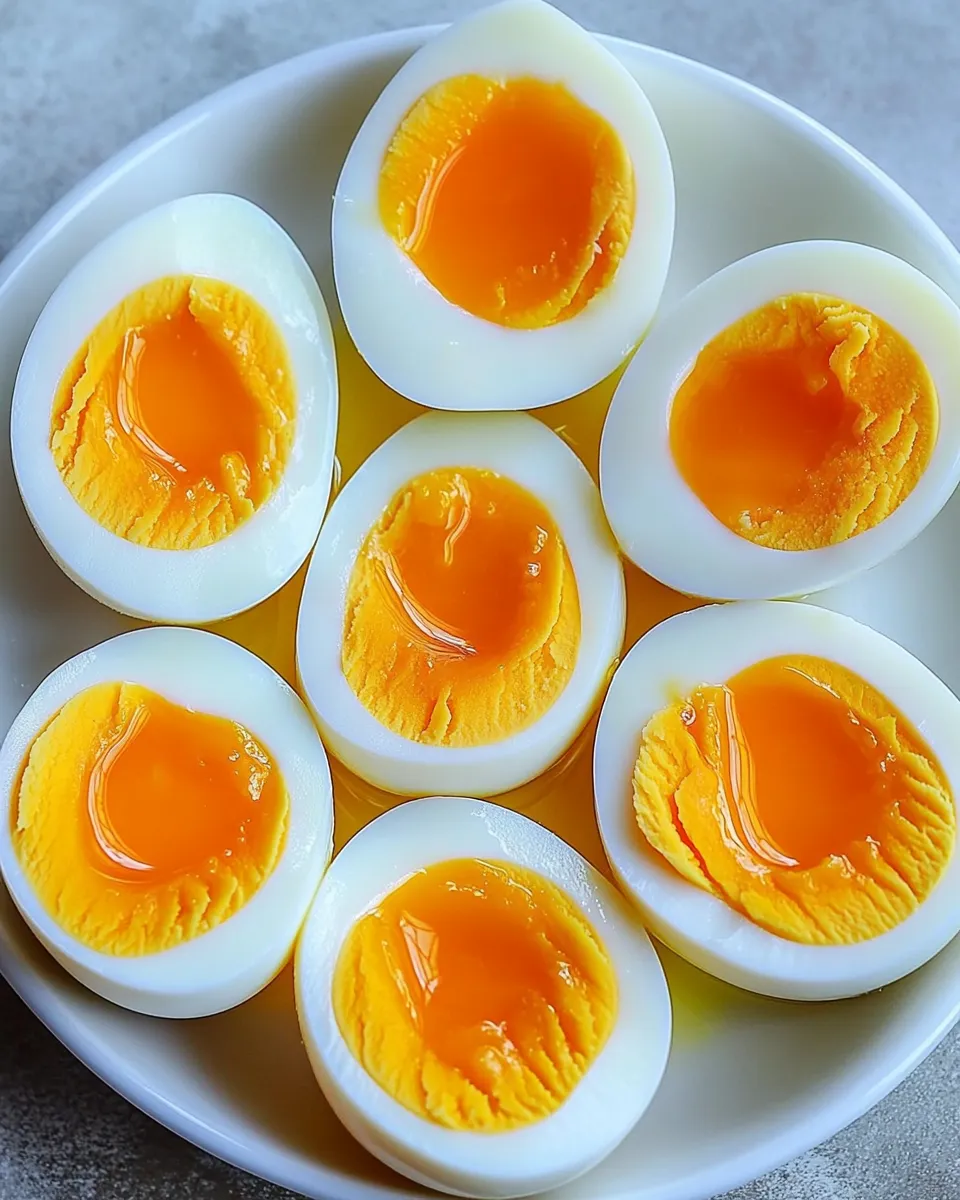
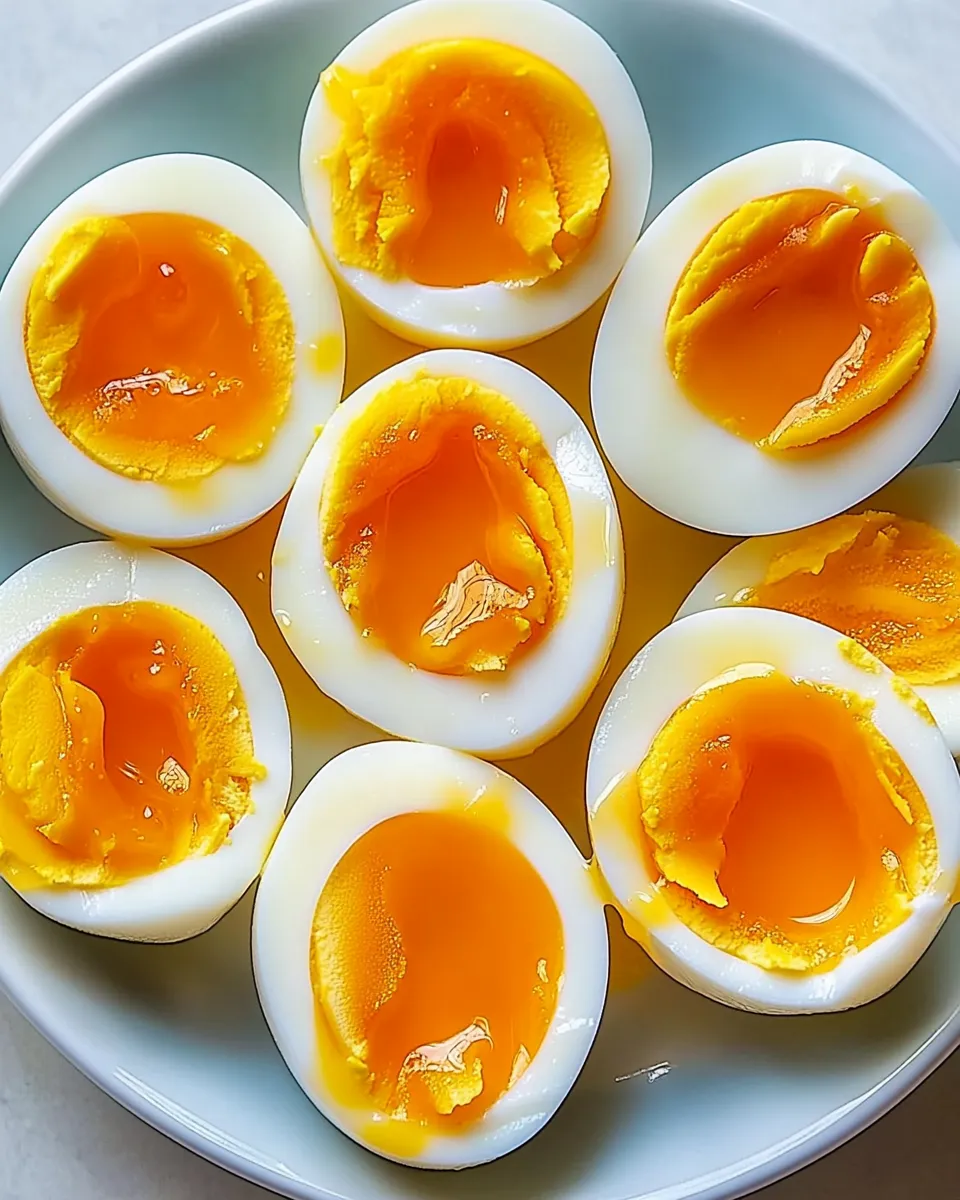
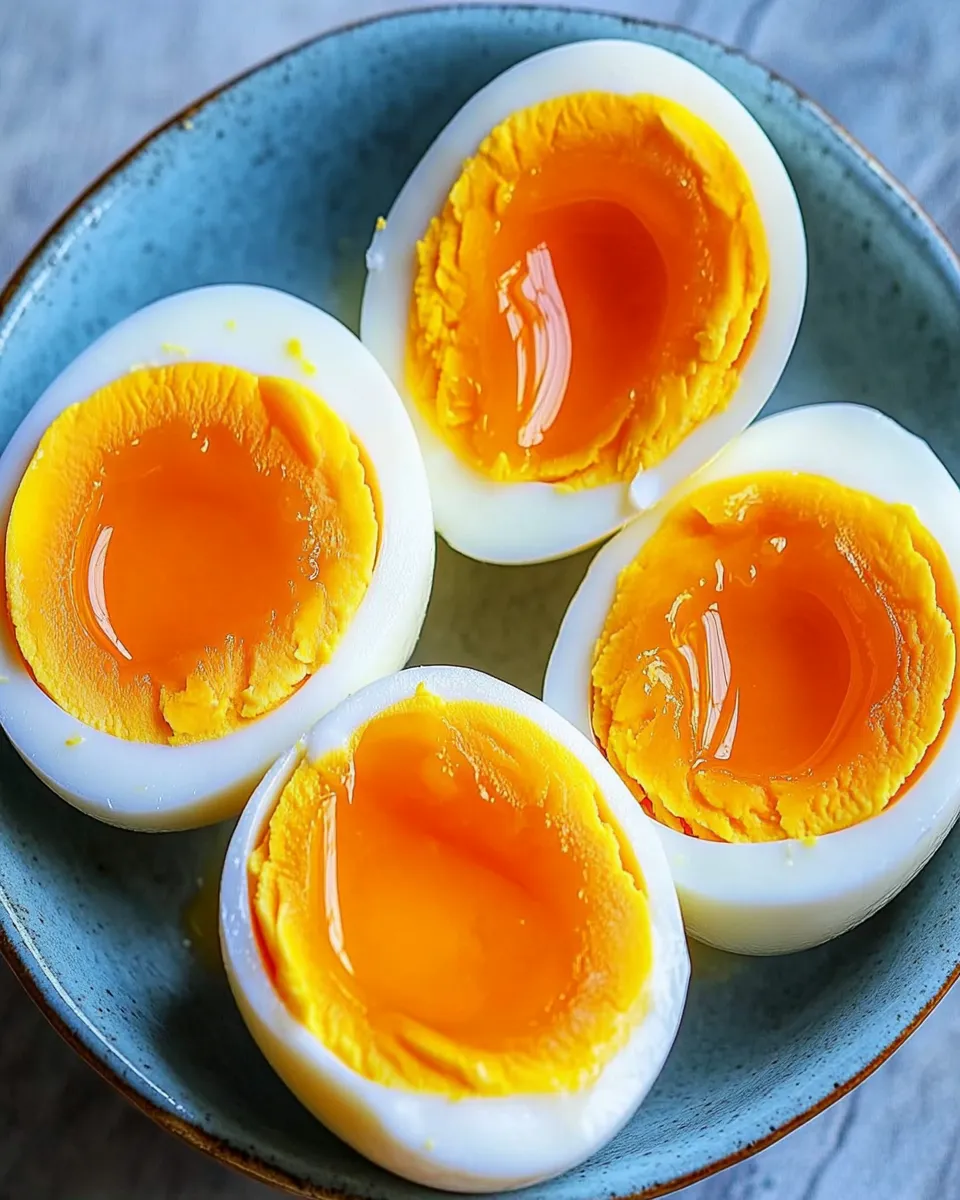
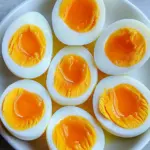
- Let the eggs sit, covered, for 9 to 12 minutes, depending on your desired doneness (9 minutes for a slightly softer yolk, 12 minutes for fully firm yolks).
- While the eggs are cooking, prepare a bowl of ice water.
- When the cook time is up, transfer the eggs to the ice water and chill for 14 minutes to make them easier to peel.
- Peel the eggs and enjoy.
Why This Recipe Is Reliable
This method is reliable because it controls heat exposure after the water reaches a full boil. Boiling can be unpredictable across stovetops and pots — residual heat gives you even cooking without overcooking the yolk. Turning off the burner and letting the eggs sit in the hot water uses that residual heat to finish cooking gently.
The timed rest (9–12 minutes) lets you pick the exact yolk texture you want: slightly jammy to fully set. Chilling the eggs immediately in ice water stops the cooking process. That stop is what preserves color and texture and prevents the green-gray ring that comes from overcooked yolks.
Finally, the 14-minute chill makes peeling consistently easier. Cold water causes the egg to contract slightly inside the shell, creating a small gap and helping the membrane separate cleanly from the shell.
Ingredient Flex Options
There’s only one ingredient here, so flexibility is limited but important to understand.
- Egg size — This recipe is written for large eggs. If you use medium eggs, the whites and yolks will cook faster; for extra-large or jumbo eggs, add a minute or two to the sitting time. I don’t recommend changing times without testing a few eggs first.
- Egg age — Very fresh eggs are harder to peel because the membrane clings more strongly to the white. If you have eggs that are a week or more old, you’ll likely find them easier to peel using the same method.
Essential Tools for Success
Minimal tools required. Aim for sturdy, reliable equipment to reduce guesswork.
- Medium pot — Large enough to hold your eggs in a single layer with about an inch of water above them.
- Lid — Fits the pot to trap heat during the resting period.
- Kitchen timer — Precise timing is the easiest way to repeat results.
- Large bowl — For the ice water bath; make it big enough for eggs to sit without crowding.
- Slotted spoon or tongs — For transferring eggs to and from the pot and ice bath without cracking them.
Pitfalls & How to Prevent Them
Common problems and quick fixes
- Cracked eggs during boiling — Start with room temperature eggs if you can, or place cold eggs gently in cold water and heat together. Avoid rapid temperature changes if your eggs are straight from the fridge.
- Greenish yolks — That gray-green ring forms when eggs are overcooked. Prevent it by removing the pot from heat as soon as water boils and using the correct sitting time, then shocking the eggs in ice water immediately.
- Shells that stick — Older eggs typically peel better. Ensure the ice bath is ready before the cook time ends to stop cooking quickly; longer chilling helps with peeling.
- Inconsistent doneness — Use a single-layer pot and consistent egg size. Crowding the pot or mixing sizes causes uneven cooking.
Spring–Summer–Fall–Winter Ideas
Hard boiled eggs are a year-round pantry hero. Here are simple seasonal ways to use them and keep meals fresh.
- Spring — Add sliced eggs to a crisp asparagus and spinach salad with lemon vinaigrette. Their richness balances bright spring greens.
- Summer — Make a picnic-ready plate: chilled eggs, cherry tomatoes, cucumber slices, and crusty bread. Eggs hold up well in warm weather if kept chilled until serving.
- Fall — Toss quartered eggs into grain bowls with roasted squash, kale, and hearty farro. The egg adds protein and a silky bite.
- Winter — Use chopped eggs in warm potato or root-vegetable salads dressed with mustard and vinegar to add richness and comfort.
Little Things that Matter
Small habits make a difference in results and convenience.
- Set the ice bath early — Don’t wait until the eggs are done. Ice water should be ready to receive eggs immediately to halt cooking.
- Cool thoroughly — Letting eggs chill a full 14 minutes (as in the method) improves peeling and handling; rushing this step often causes sticking.
- Crack gently — When peeling, tap the egg on a hard surface and roll it gently to create hairline cracks all over before starting to peel.
- Storage label — If you keep peeled eggs, label the container with the date. Use within a week for best quality.
Prep Ahead & Store
Hard boiled eggs are one of the best make-ahead items. Here’s how to prep and store them safely and conveniently.
- Unpeeled storage — Keep unpeeled eggs in the refrigerator for up to 1 week. The shell protects the egg and helps them keep fresh longer.
- Peeled storage — Store peeled eggs in a sealed container with a damp paper towel over them or submerged in lightly salted water to prevent drying. Use within 5–7 days.
- Prepping for meals — Hard boiled eggs can be halved for salads, sliced for sandwiches, or chopped and mixed with mayo for egg salad. Prepare only as many as you’ll use within the week to avoid waste.
Your Questions, Answered
I get the same practical questions all the time. Here are straightforward answers based on the method above.
- Can I cook more than a dozen eggs at once? — Yes, as long as they’re in a single layer and your pot is large enough for about 1 inch of water above them. You may need a slightly longer resting time for very full pots.
- Do I need to add salt or vinegar to the water? — Not necessary. Salt or vinegar can help if an egg cracks by coagulating egg white faster, but with gentle handling and the single-layer method, cracks are uncommon.
- What if my yolks are still a little soft after 9–12 minutes? — Small variations in stovetop heat and pot thickness affect the final texture. For firmer yolks, use the 12-minute end of the range and ensure a full 14-minute ice bath.
- How do I peel the eggs cleanly? — Crack the shell all over and peel under running water or in the bowl of water—water helps separate the membrane and remove small shell pieces.
Final Bite
This is the simple, repeatable method I use when I want a reliably cooked egg. It’s forgiving, clear, and fast. Whether you need a soft, slightly jammy center or a fully set yolk for deviled eggs, this approach gets you there with minimal fuss.
Make a batch, keep them chilled, and you’ll have a versatile ingredient ready to boost breakfasts, lunches, and snacks throughout the week. Enjoy — and don’t be afraid to adjust the resting time by a minute or two once you’ve tried it on your stove.
How to Make Hard Boiled Eggs
Ingredients
Ingredients
- Large eggs
Instructions
Instructions
- Place the large eggs in a medium pot in a single layer. Add cold water until the eggs are covered by about 1 inch.
- Set the pot over high heat and bring the water to a rolling boil.
- As soon as the water is boiling, cover the pot with a lid and immediately turn off the heat, leaving the pot on the hot burner.
- Let the eggs sit, covered, for 9 to 12 minutes, depending on your desired doneness (9 minutes for a slightly softer yolk, 12 minutes for fully firm yolks).
- While the eggs are cooking, prepare a bowl of ice water.
- When the cook time is up, transfer the eggs to the ice water and chill for 14 minutes to make them easier to peel.
- Peel the eggs and enjoy.
Equipment
- Medium Pot
- Glass Bowls
Notes
*Eggs may vary based on size, type, and freshness. Farm-fresh eggs are more difficult to peel than older eggs.