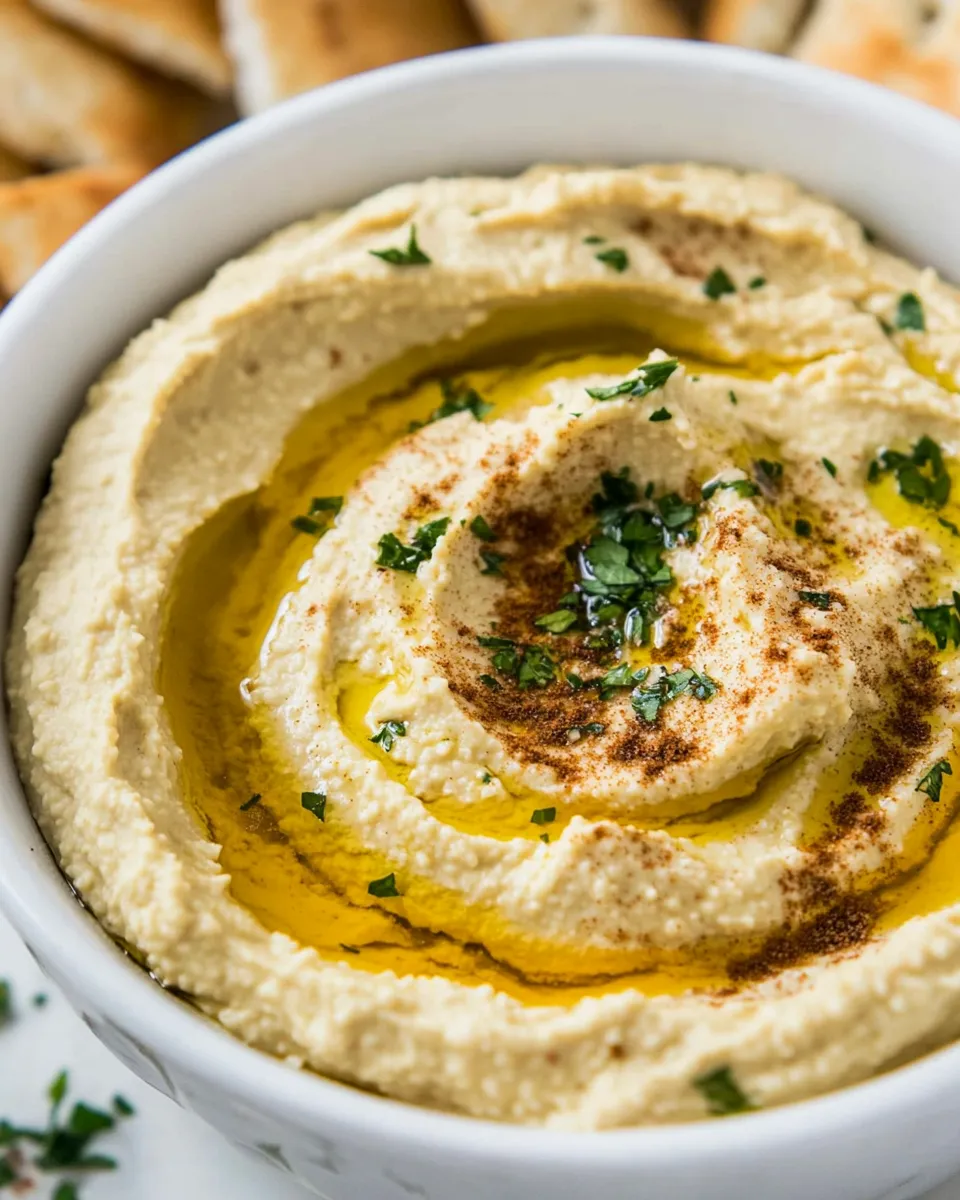
I make hummus almost every week. It’s one of those things that feels fancy when you serve it, but in practice it’s extremely forgiving and fast. This version is the classic, straightforward blend I reach for when I want a reliable, creamy dip without fuss.
You only need a handful of pantry staples and a food processor or blender. The steps below follow a simple, repeatable process so you can dial texture and seasoning to your taste. If you’ve ever been intimidated by homemade hummus, this will make it approachable.
Read through the ingredient notes and the step-by-step section first, and then skim the troubleshooting and storage tips. They’ll save you time and keep that hummus silky, not grainy.
Ingredient List
- 1 (15 oz.) can chickpeas (about 1 1/2 cups) — The base and bulk of the hummus; canned chickpeas make this quick. Drain and rinse to remove excess sodium and the metallic can flavor.
- 1/3 cup tahini (Whole Foods 365 or Soom brand) — Adds richness and the signature sesame flavor. It also helps with texture and emulsion.
- 3 tablespoons fresh lemon juice — Brightens the whole dip. Fresh juice tastes cleaner than bottled and helps keep the flavor lively.
- 1 tablespoon olive oil — Adds sheen and silkiness. Use a decent-tasting oil since it’s noticeable in a small recipe.
- 1 garlic clove, minced — Provides bite and aroma. Mince finely so it blends smoothly.
- 1/2 teaspoon ground cumin — A warm, earthy note that complements the sesame and chickpeas.
- 1/2 teaspoon fine salt (I use Real Salt brand) — Balances and brings out the flavors. Adjust to taste after processing.
- 3 to 5 tablespoons water, as needed for texture — The tool for thinning. Add slowly while processing until you reach your preferred consistency.
Step-by-Step: Hummus
- Drain and rinse the chickpeas in a colander; shake off excess water and pat lightly dry if desired.
- Add the drained chickpeas, 1/3 cup tahini, 3 tablespoons fresh lemon juice, 1 tablespoon olive oil, 1 minced garlic clove, 1/2 teaspoon ground cumin, and 1/2 teaspoon fine salt to the bowl of a food processor fitted with the “S” blade. (Alternatively, use a blender.)
- Process until the mixture is mostly smooth, stopping to scrape down the sides of the bowl with a spatula as needed.
- With the processor running, add 3 to 5 tablespoons water as needed to reach your preferred consistency, adding a little at a time and processing between additions until smooth and creamy.
- Taste and adjust seasoning as desired.
- Serve immediately, or transfer to an airtight container and refrigerate—the hummus will thicken slightly as it chills.
- Store in the refrigerator for up to one week; freeze any portion you won’t finish before then.
Why This Recipe Belongs in Your Rotation
This hummus checks a lot of boxes: fast, predictable, and crowd-pleasing. It’s the version I reach for when I want something homemade but don’t want to spend time babysitting a long recipe. Pantry staples, a short processor session, and you’re done.
It’s also flexible. The base texture and seasoning here are reliable, so once you’ve made it a couple of times you’ll instinctively tweak lemon, garlic, or water to match the mood—brighter and tangier for snacking, creamier for a spread on sandwiches. And because it stores well, you can make a batch to use throughout the week.
Finally, it’s economical. A single can of chickpeas makes a generous bowl, and a little tahini goes a long way. You’ll get more value and better flavor than most store tubs, and it saves on additives and preservatives.
Budget & Availability Swaps
- Chickpeas — Use the canned chickpeas listed for speed and consistency. If you find a low-sodium or store-brand can, they’ll work just fine; just rinse them well.
- Tahini — The recipe calls out two brands as examples, but any sesame paste you trust will do. If tahini ever feels pricey, use slightly less and make up texture with a touch more water or olive oil.
- Olive oil & lemon — Both are basic pantry items here. If your olive oil is very robust, use a little less—strong oil can dominate.
- Salt & cumin — Fine salt and ground cumin are inexpensive seasonings that do a lot of work. Adjust them instead of adding new spices to keep costs down.
Prep & Cook Tools
- Food processor with “S” blade — the best tool for a reliably smooth texture.
- Alternatively, a high-speed blender — will work if you stop to scrape and add water carefully.
- Colander — for draining and rinsing the chickpeas cleanly.
- Spatula — to scrape the bowl and ensure even processing.
- Airtight container — for refrigeration and storage.
Mistakes That Ruin Hummus
There are a few easy missteps that push hummus from silky to underwhelming. I list the common ones here so you can avoid them.
- Not rinsing the chickpeas — Leaving the canning liquid on can give the hummus a slightly metallic or overly salty flavor. Rinse and drain well.
- Over- or under-processing — Stop when the mixture is mostly smooth before thinning. Under-processing leaves graininess; over-processing without added liquid can make the mixture pasty.
- Adding too much water at once — Thin slowly. Adding a lot of water quickly can make the texture too loose and watery rather than creamy.
- Seasoning too early or not tasting — Always taste after processing and after chilling if possible. Flavors settle and you may want a touch more lemon or salt.
- Using dull garlic — A mellow or dehydrated garlic clove won’t give the brightness you expect. Fresh, minced garlic mixes in and carries flavor through the batch.
In-Season Flavor Ideas
This base hummus is a neutral canvas. To reflect seasonal produce or menus without changing the core ingredients, adjust texture and seasoning rather than adding a lot of extras.
In warmer months, make it a touch brighter: increase the lemon juice a little and add one extra tablespoon of water for a lighter mouthfeel. In cooler months, aim for a richer texture: use the full tahini amount, add the olive oil listed, and process a bit longer for silkier body.
When serving, pair the hummus with whatever’s in season as dippers or spreads—fresh items are enough to change the overall experience without altering the hummus recipe itself.
Testing Timeline
When I refine a batch, I follow a short timeline so I can evaluate texture and flavor over time:
- Immediate test — Right after processing, taste for balance and texture. Adjust lemon, salt, or cumin now.
- After chilling — Refrigerate briefly and taste again. The hummus will firm up and flavors meld; often it needs a small tweak in acid or salt.
- Next-day test — If you have the patience, try it the next day. Many flavors improve with time and you’ll see how it performs as a make-ahead item.
- Freeze/thaw check — If you plan to freeze portions, freeze one small portion and thaw it to check texture. Stir well after thawing; a little surface separation can be fixed with a quick whip.
Storing Tips & Timelines
Follow the recipe steps and store properly for best results. Transfer the hummus to an airtight container and refrigerate. It will thicken slightly as it cools, which is normal.
The recipe’s source guidance is the timeline to follow: keep in the refrigerator for up to one week. Freeze any portion you won’t finish within that time. When thawing frozen hummus, move it to the refrigerator to thaw slowly, then stir or whisk to re-emulsify any separation.
If the hummus becomes a touch dry after refrigeration, stir in a little water or a drizzle of olive oil to smooth it back to serving consistency. Always give a final taste and adjust salt or lemon before serving.
Quick Questions
- Can I use dried chickpeas? — Yes. Cook them until tender and proceed with the recipe. The texture may be slightly different but the method is the same.
- Will this freeze well? — Yes. Portion and freeze what you won’t use within a week. Thaw in the refrigerator and stir before serving.
- How do I get it extra smooth? — Process until very smooth and add water slowly while the machine runs. A longer processing time helps, and a short rest with scraping ensures everything gets incorporated.
- Can I reduce the tahini? — You can, but tahini contributes to both flavor and texture. If you cut it, compensate with a touch more water and a careful taste test for balance.
Save & Share
If this hummus becomes a staple in your kitchen, save the recipe somewhere handy and share it with friends. It’s the sort of recipe that earns grateful texts after potlucks and makes quick weeknight meals feel thoughtful.
Make a batch, take a photo, and tag whoever you share it with. Homemade hummus is a small, lovely thing to share—and it’s easy to make once you have the basic steps memorized.

How to Make Hummus
Ingredients
Ingredients
- 1 15 oz. canchickpeas(about 1 1/2 cups)
- 1/3 cuptahini Whole Foods 365 or Soom brand
- 3 tablespoonsfresh lemon juice
- 1 tablespoonolive oil
- 1 garlic clove minced
- 1/2 teaspoonground cumin
- 1/2 teaspoonfine salt I use Real Salt brand
- 3 to 5 tablespoonswater as needed for texture
Instructions
Instructions
- Drain and rinse the chickpeas in a colander; shake off excess water and pat lightly dry if desired.
- Add the drained chickpeas, 1/3 cup tahini, 3 tablespoons fresh lemon juice, 1 tablespoon olive oil, 1 minced garlic clove, 1/2 teaspoon ground cumin, and 1/2 teaspoon fine salt to the bowl of a food processor fitted with the "S" blade. (Alternatively, use a blender.)
- Process until the mixture is mostly smooth, stopping to scrape down the sides of the bowl with a spatula as needed.
- With the processor running, add 3 to 5 tablespoons water as needed to reach your preferred consistency, adding a little at a time and processing between additions until smooth and creamy.
- Taste and adjust seasoning as desired.
- Serve immediately, or transfer to an airtight container and refrigerate—the hummus will thicken slightly as it chills.
- Store in the refrigerator for up to one week; freeze any portion you won’t finish before then.
Equipment
- Colander
- Food Processor
- Blender (optional)
- Spatula
- Airtight Container
Notes
Nutrition information is for 1 of 6 servings; roughly 1/4 cup of hummus. This information is automatically calculated, and is just an estimate, not a guarantee.
Tip for Extra-Smooth Hummus: To create mushy chickpeas, drain and rinse the can of chickpeas and add them to a small saucepan. Cover them with 2 inches of water and add in the 1/2 teaspoon of baking soda. Bring the liquid to a boil over high heat, then let them boil for 15 minutes, or until the skins are slipping off and the chickpeas are easily mashed. This step is optional, but will give you smoother results. Rinse the chickpeas briefly after boiling them, to remove any baking soda flavor.
If you prefer to cook your chickpeas from scratch, add the baking soda to your cooking water, to raise the pH level of the cooking water. This will result in chickpeas that are falling apart-- which is a good thing for hummus!