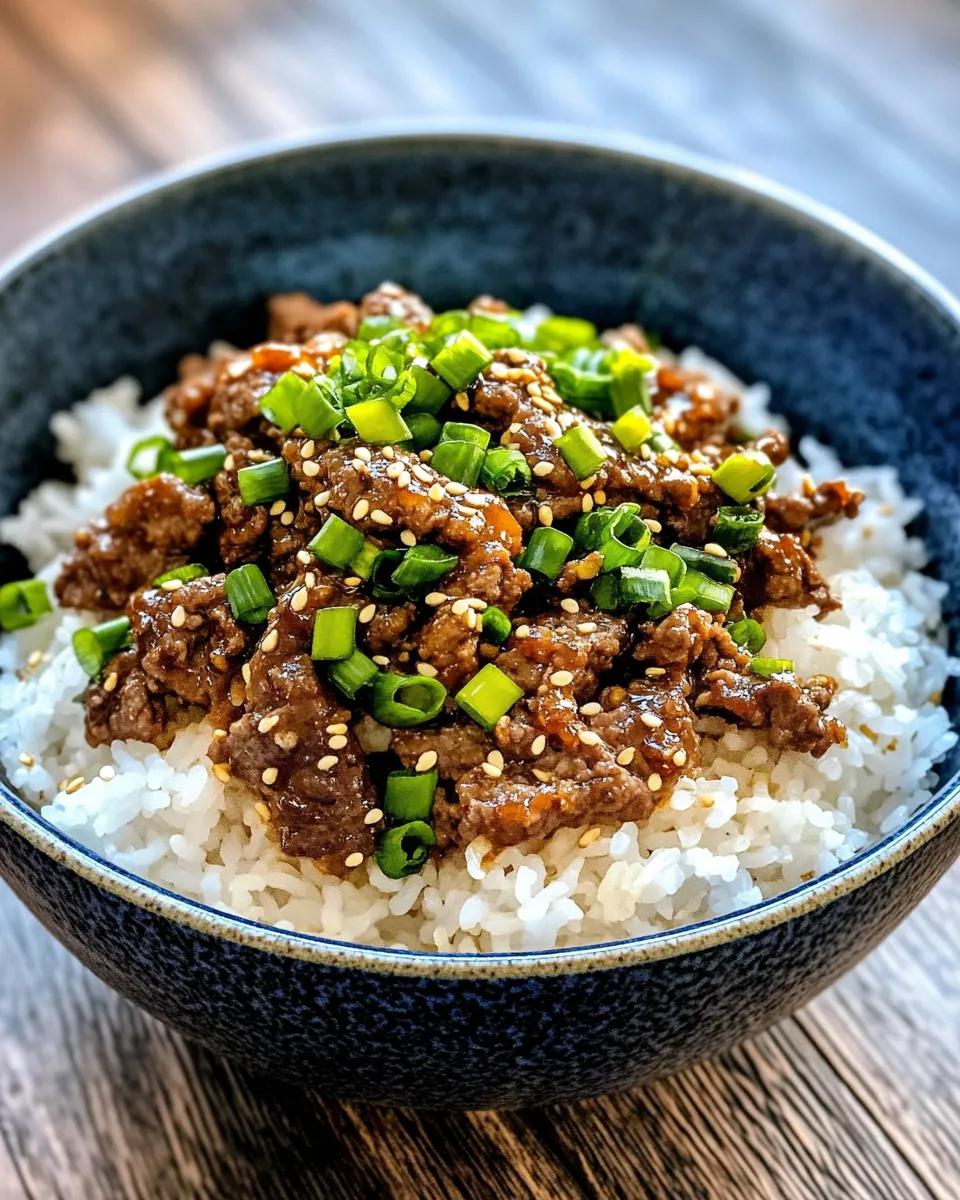
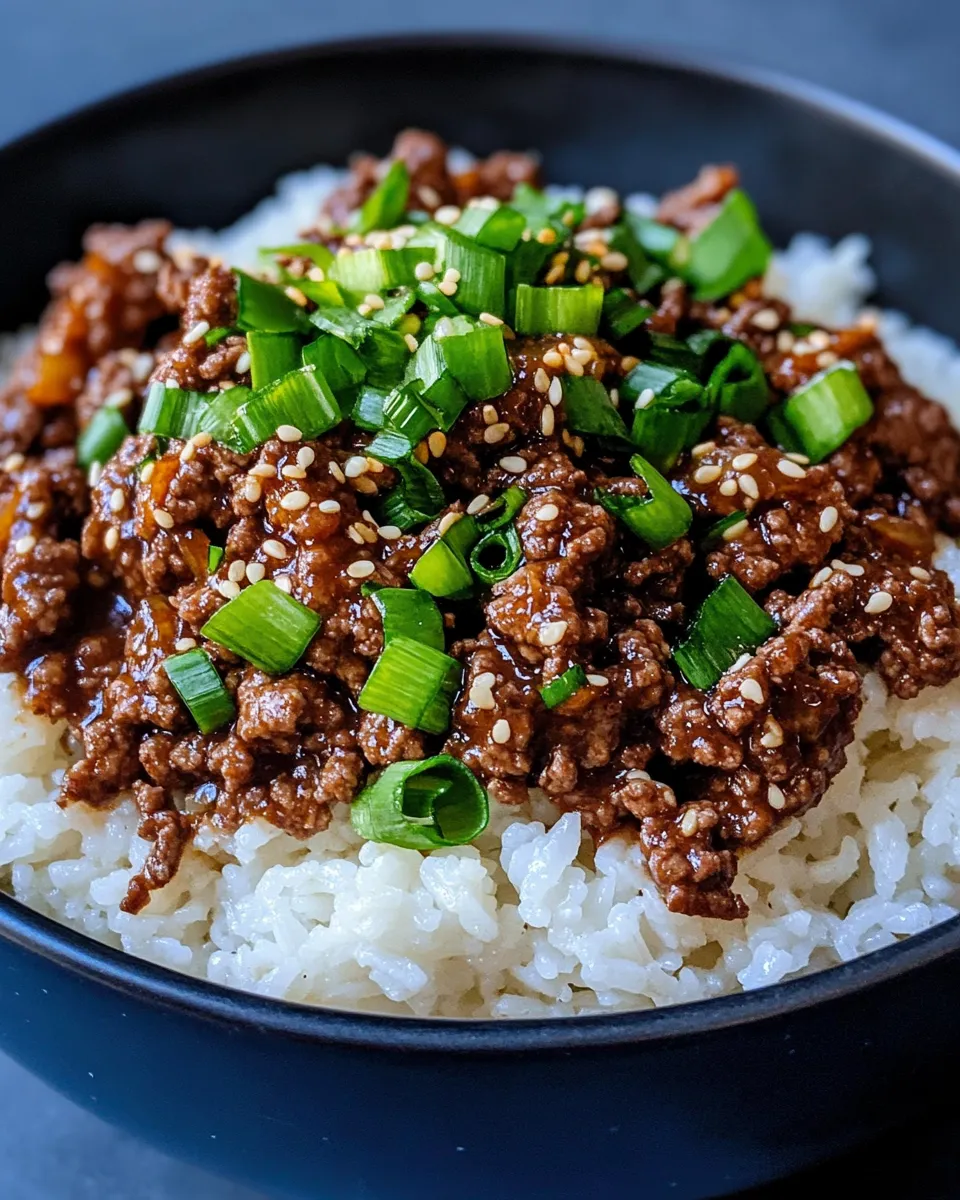
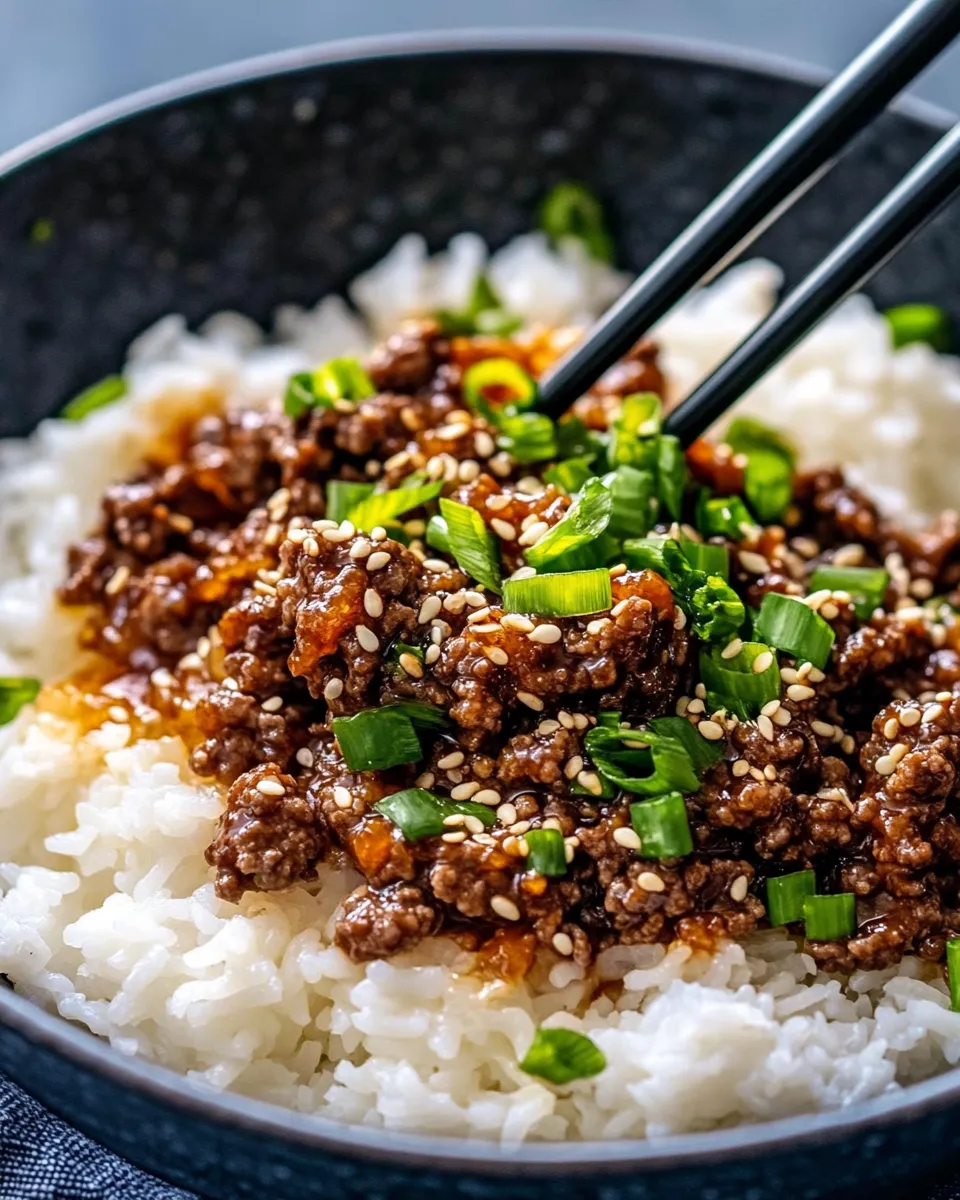
If you’re craving a quick, flavorful meal that satisfies your taste buds and fills your belly, look no further than this Instant-Pot Korean Beef & Rice recipe. Combining tender, savory ground beef with the fragrant aroma of jasmine rice and a perfect balance of sweet and salty Korean-inspired flavors, this dish is a weeknight winner. The Instant Pot makes it easy to whip up this delicious meal in no time, making it perfect for busy evenings when you want something hearty without spending hours in the kitchen. Plus, it’s a one-pot wonder, which means minimal cleanup and maximum taste.
Why This Recipe Is a Must-Try
This Instant-Pot Korean Beef & Rice recipe is a must-try because it blends convenience with a burst of authentic flavors that are sure to delight. The use of ground beef keeps things affordable and accessible, while the combination of soy sauce, brown sugar, garlic, and ginger creates that signature Korean BBQ taste that everyone loves. Cooking everything in the Instant Pot means the rice cooks perfectly alongside the beef, soaking up all those mouthwatering juices and spices.
Whether you’re new to Korean flavors or a seasoned fan, this dish offers a comforting, well-balanced meal that can be served on its own or paired with a simple side of steamed vegetables. It’s also a great recipe to meal prep – just refrigerate or freeze leftovers for quick lunches or dinners throughout the week. For those who enjoy experimenting with different protein options or side dishes, this recipe adapts beautifully. If you want to explore more comforting, easy-to-make meals like this, you might also love my Oven Baked Chicken And Rice recipe, which shares the same ease and heartiness.
Ingredients
- 1 pound ground beef – Choose lean or regular based on preference
- 1 cup jasmine rice – Rinsed and drained for fluffier rice
- 1 cup beef broth – Adds a rich, savory base
- 1/4 cup soy sauce – Provides the salty umami kick
- 2 tablespoons brown sugar – Balances the soy sauce with sweetness
- 1 tablespoon sesame oil – Adds a nutty depth and aroma
- 3 cloves garlic, minced – For a punch of flavor
- 1 teaspoon ginger, minced – Gives a fresh, zesty note
- 1 tablespoon vegetable oil – For sautéing the beef and aromatics
- 1/4 cup green onions, chopped – Garnish for freshness
- Sesame seeds – Optional garnish for extra texture and visual appeal
How To Make Instant-Pot Korean Beef & Rice
Step 1: Prepare the Instant Pot
Press the “Sauté” button on your Instant Pot and add the vegetable oil. Once hot, add the minced garlic and ginger. Sauté for about 1 minute until fragrant, stirring frequently to prevent burning.
Step 2: Brown the Ground Beef
Add the ground beef to the pot. Break it apart with a spoon and cook until it’s browned and no longer pink, about 5-7 minutes. Drain excess fat if needed to keep the dish from becoming greasy.
Step 3: Add the Sauce Ingredients
Pour in the soy sauce, brown sugar, and sesame oil. Stir everything together until the beef is evenly coated and the sugar begins to dissolve.
Step 4: Add Rice and Broth
Rinse the jasmine rice under cold water until the water runs clear to remove excess starch. Add the rinsed rice and beef broth to the Instant Pot. Give it a gentle stir to combine everything, making sure the rice is submerged in liquid.
Step 5: Pressure Cook
Seal the lid and set the valve to “Sealing.” Press the “Manual” or “Pressure Cook” button and set the timer for 8 minutes on high pressure. Once the cooking time is complete, let the pressure release naturally for 10 minutes, then carefully quick-release any remaining pressure.
Step 6: Fluff and Serve
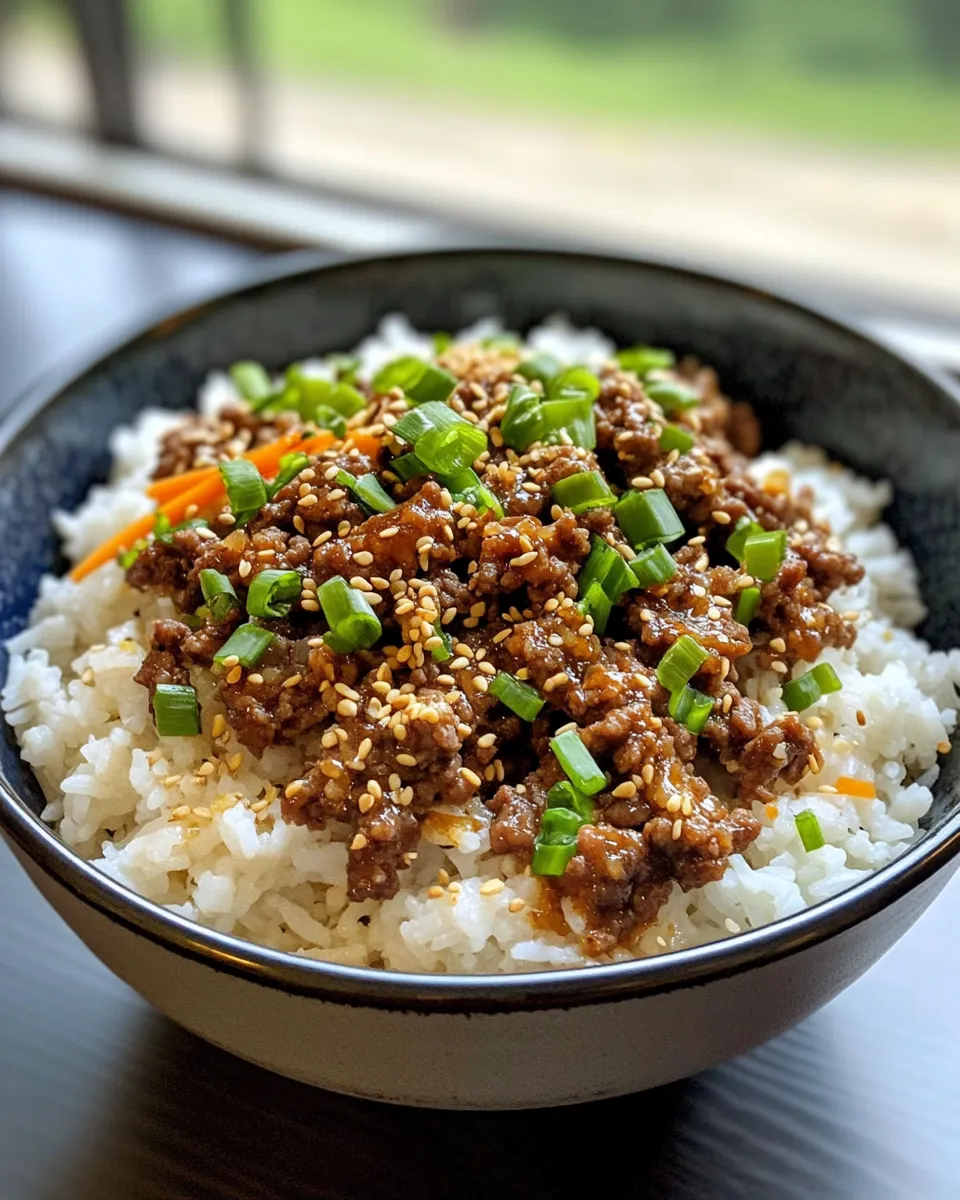
Open the lid and fluff the rice with a fork. Stir in the chopped green onions and sprinkle sesame seeds on top for garnish. Serve immediately and enjoy the perfect harmony of Korean flavors and fluffy rice.
Expert Tips
- Rinsing jasmine rice before cooking removes excess starch, preventing the rice from becoming gummy.
- Using beef broth instead of water enhances the overall flavor, making the dish richer and more savory.
- For a deeper flavor, allow the beef to brown well before adding the sauce ingredients.
- If you prefer a little heat, add a teaspoon of red pepper flakes or Korean chili paste (gochujang) to the sauce mixture.
- Make sure to allow natural pressure release for at least 10 minutes to ensure the rice cooks fully and stays fluffy.
- For an even faster meal, prep the sauce ingredients and have the rice pre-rinsed before starting on busy days.
Variations and Customizations
- Protein Swap: Substitute ground beef with ground chicken, turkey, or lamb for a different flavor profile.
- Vegetarian Option: Use plant-based ground meat alternatives and vegetable broth instead of beef broth.
- Extra Veggies: Add diced carrots, bell peppers, or snap peas to the Instant Pot before pressure cooking for added color and nutrition.
- Spice it Up: Mix in some gochujang or Sriracha sauce for a spicy kick that’s characteristic of Korean cuisine.
- Rice Alternatives: Try brown rice or cauliflower rice, adjusting cooking times accordingly.
How to Store Leftovers
Store any leftover Instant-Pot Korean Beef & Rice in an airtight container in the refrigerator for up to 3-4 days. To reheat, microwave until warmed through or reheat in a skillet on medium heat, adding a splash of water or broth to maintain moisture. This dish also freezes well; portion it into freezer-safe containers and freeze for up to 2 months. Thaw overnight in the refrigerator before reheating.
FAQ
Can I use a different type of rice?
Yes! While jasmine rice is recommended for its fragrance and texture, you can substitute with basmati or long-grain white rice. Just be aware that cooking times might vary slightly, especially with brown rice, which takes longer.
Is it necessary to brown the beef first?
Browning the beef first enhances the flavor and texture by developing a rich, caramelized crust. It also reduces excess fat, preventing the dish from becoming greasy. However, you could skip this step if short on time, but the flavor may be less intense.
Can I make this recipe in a regular pot or rice cooker?
Absolutely! You can cook the beef and sauce in a skillet, then transfer to a rice cooker or pot to cook the rice separately. Combine them afterward for a similar taste, though the one-pot convenience of the Instant Pot is a big time saver.
How do I make this recipe spicier?
To add heat, stir in 1-2 teaspoons of Korean chili paste (gochujang) or a pinch of red pepper flakes when adding the sauce ingredients. Adjust the amount to your preferred spice level.
Conclusion
This Instant-Pot Korean Beef & Rice recipe is a fantastic way to enjoy a delicious, comforting meal with minimal effort. The balance of savory and sweet flavors with tender ground beef and fluffy jasmine rice will keep you coming back for more. Perfect for busy weeknights or meal prepping for the week, this recipe is versatile, easy to make, and sure to please the whole family. With just a handful of simple ingredients and your trusty Instant Pot, you can have an authentic-tasting Korean-inspired dish on your table in under 30 minutes. Give it a try and discover how effortless it is to bring bold, satisfying flavors into your home cooking.
Share on Pinterest
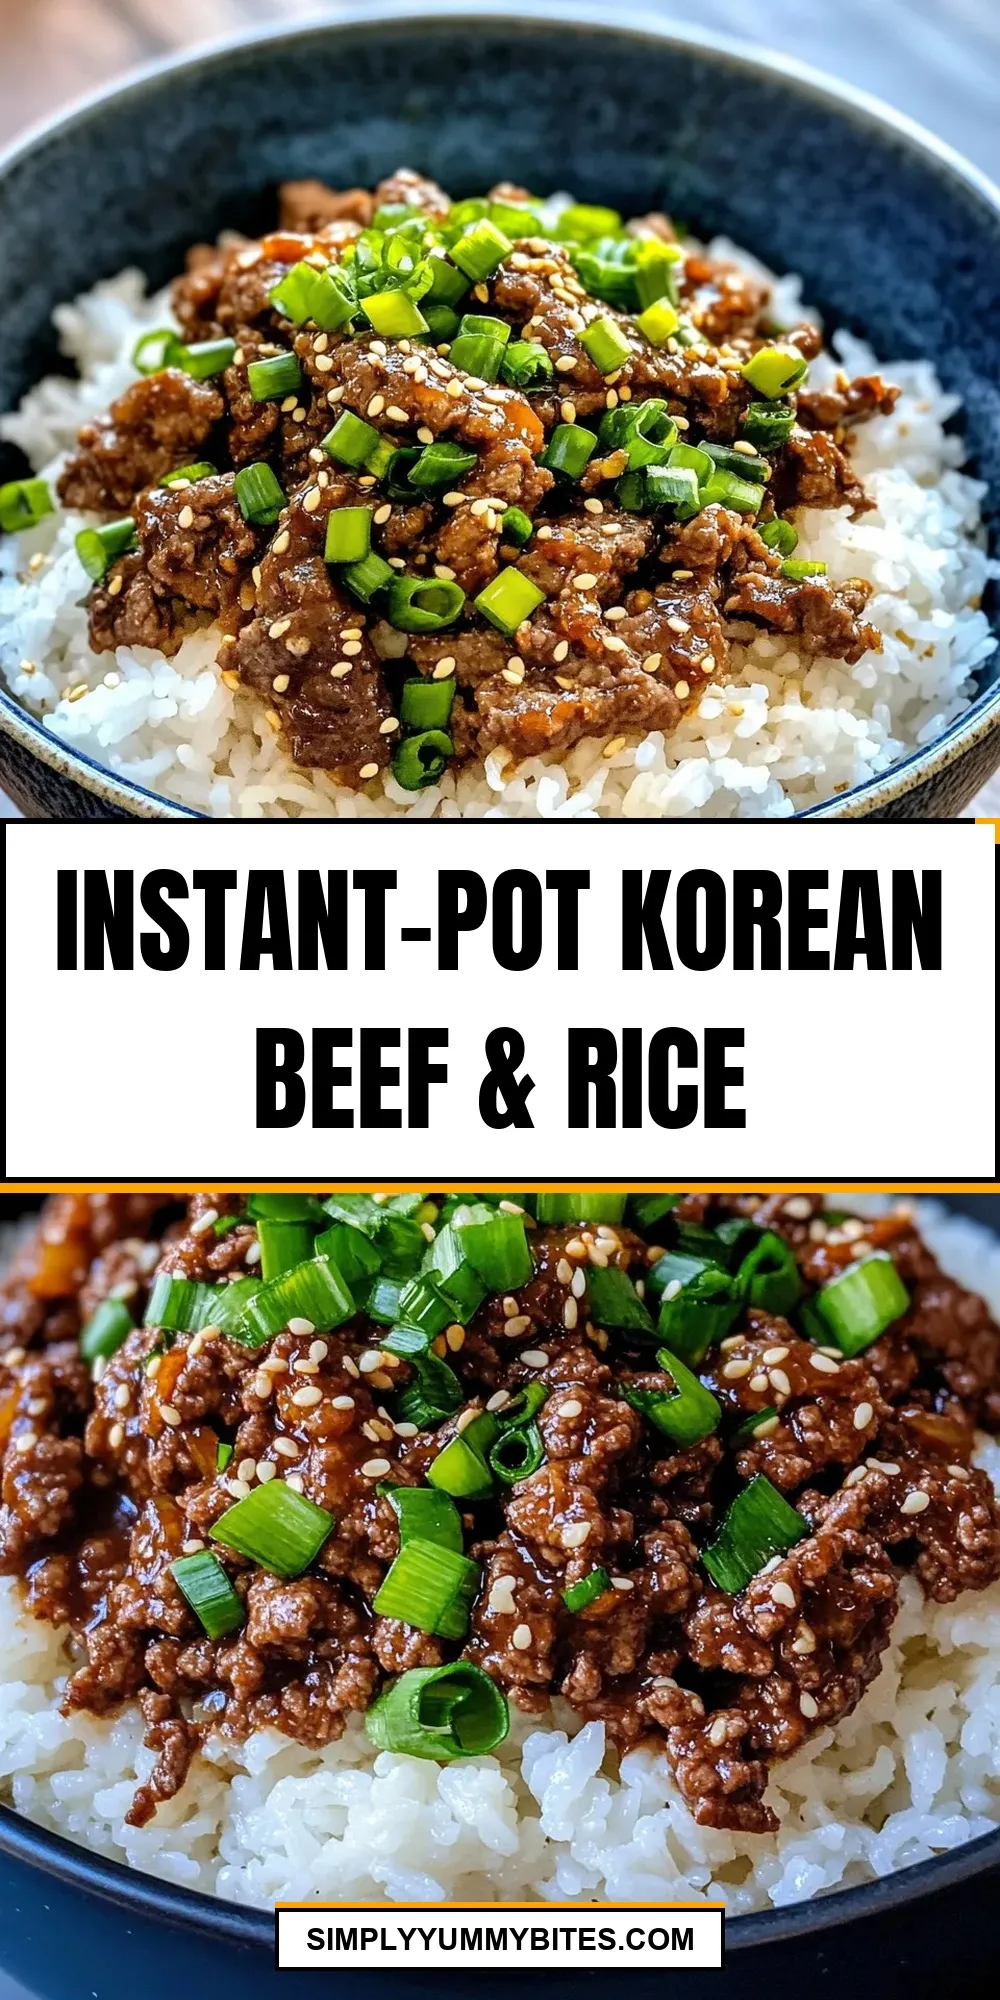
Instant-Pot Korean Beef & Rice
Ingredients
- 1 pound ground beef Choose lean or regular based on preference
- 1 cup jasmine rice rinsed and drained for fluffier rice
- 1 cup beef broth adds a rich, savory base
- 1/4 cup soy sauce provides the salty umami kick
- 2 tablespoons brown sugar balances the soy sauce with sweetness
- 1 tablespoon sesame oil adds a nutty depth and aroma
- 3 cloves garlic minced, for a punch of flavor
- 1 teaspoon ginger minced, gives a fresh, zesty note
- 1 tablespoon vegetable oil for sautéing the beef and aromatics
- 1/4 cup green onions chopped, garnish for freshness
- sesame seeds optional garnish for extra texture and visual appeal
Instructions
- Press the “Sauté” button on your Instant Pot and add the vegetable oil. Once hot, add the minced garlic and ginger. Sauté for about 1 minute until fragrant, stirring frequently to prevent burning.
- Add the ground beef to the pot. Break it apart with a spoon and cook until it’s browned and no longer pink, about 5-7 minutes. Drain excess fat if needed to keep the dish from becoming greasy.
- Pour in the soy sauce, brown sugar, and sesame oil. Stir everything together until the beef is evenly coated and the sugar begins to dissolve.
- Rinse the jasmine rice under cold water until the water runs clear to remove excess starch. Add the rinsed rice and beef broth to the Instant Pot. Give it a gentle stir to combine everything, making sure the rice is submerged in liquid.
- Seal the lid and set the valve to “Sealing.” Press the “Manual” or “Pressure Cook” button and set the timer for 8 minutes on high pressure. Once the cooking time is complete, let the pressure release naturally for 10 minutes, then carefully quick-release any remaining pressure.
- Open the lid and fluff the rice with a fork. Stir in the chopped green onions and sprinkle sesame seeds on top for garnish. Serve immediately and enjoy the perfect harmony of Korean flavors and fluffy rice.
Equipment
- Instant Pot
- Spoon
- Fork
Notes
- Rinse jasmine rice before cooking to prevent gummy texture.
- Use beef broth instead of water to enhance flavor.
- Allow natural pressure release for at least 10 minutes for fluffy rice.