
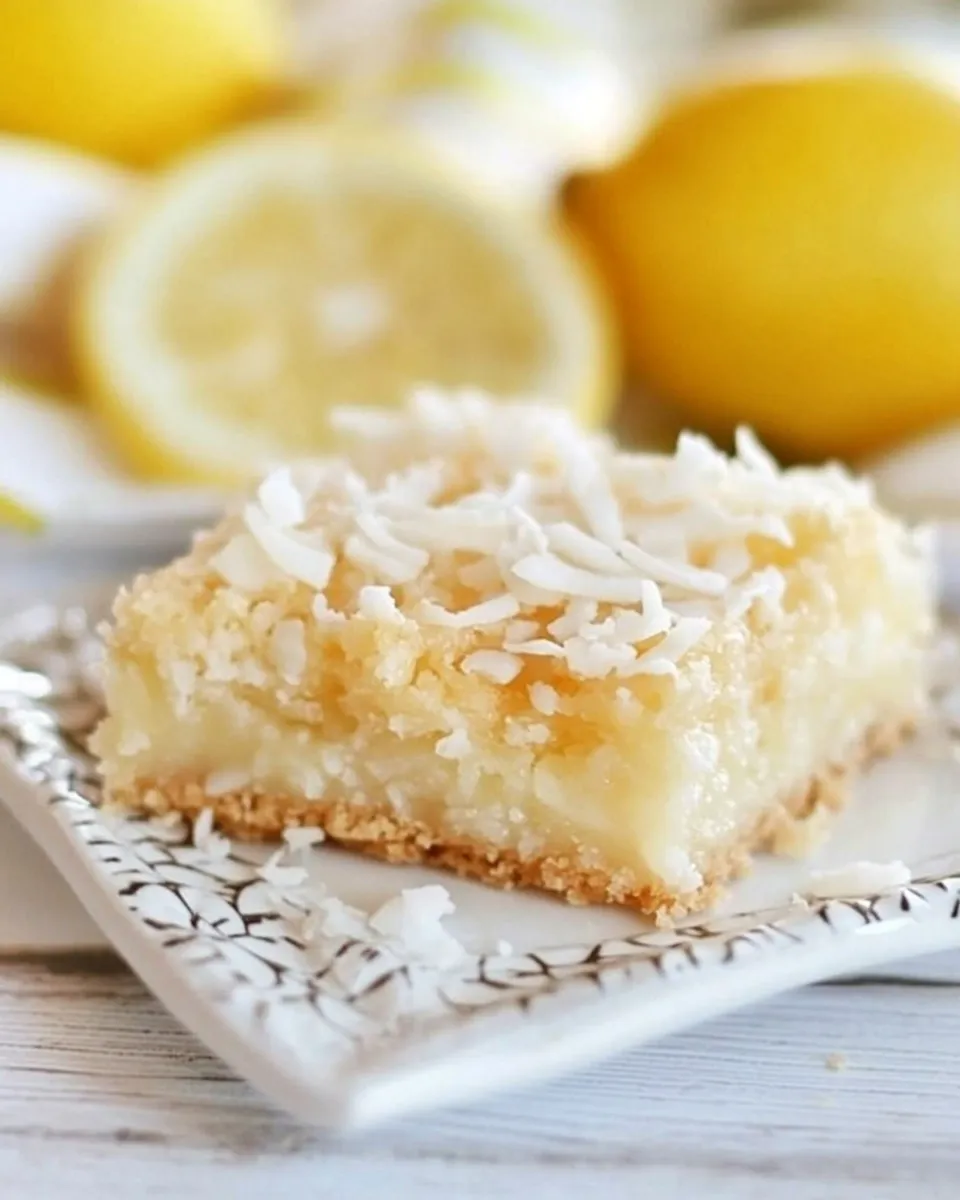
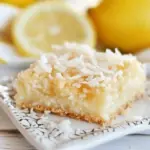
Bright, buttery, and just a touch chewy — these Lemon Coconut Bars strike a balance between sunny lemon curd and a tender shortbread base. They bake in a single slab, which makes them ideal for a weeknight dessert, potluck, or a simple afternoon treat with tea. The coconut on top adds texture and a hint of tropical warmth that plays beautifully with lemon.
There’s no complicated tempering, no folding into stiff peaks. The crust is a straightforward flour-and-sugar shortbread pressed into a pan and par-baked; the filling is a beaten egg-and-lemon mixture poured hot over the warm crust, finished with flaked coconut. The technique is forgiving, and the result is reliably bright and satisfying.
I wrote this recipe to be practical. You won’t need specialty equipment or exotic pantry items: the list of ingredients is short, the steps are clear, and cleanup is minimal. Read the notes below for small tricks that keep the bars from turning out soggy or overbrowned, and follow the timing closely for the best texture.
What You’ll Need
You’ll use a single 9 x 13 x 2-inch pan and ordinary mixing bowls. The method splits into two clear stages: make and bake the crust, then whisk the filling and finish baking. Plan for a short bake for the crust, then a slightly longer bake for the filling so the top sets without drying out.
Ingredients
- 1 1/2 cups all-purpose flour — forms the shortbread crust; measure by spooning into the cup for accuracy.
- 1/2 cup confectioners’ sugar — sweetens and tenderizes the crust; use the powdered texture for a delicate bite.
- 3/4 cup cold butter or margarine — gives richness and structure to the crust; cold is easier to cut in.
- 4 eggs — bind the lemon filling and give it a custard-like set.
- 1 1/2 cups sugar — sweetens the filling; it balances the lemon’s brightness.
- 1/2 cup lemon juice — provides the lemon flavor and acidity that sets the filling’s profile.
- 1 teaspoon baking powder — a small lift so the filling isn’t flat; helps with texture.
- 1 cup flaked coconut — scattered on top for chew and coconut flavor; use as-is for the intended texture.
Lemon Coconut Bars — Do This Next
- Preheat oven to 350°F. Line a 9 x 13 x 2-inch baking pan with foil or parchment and spray the liner lightly with non-stick cooking spray.
- In a medium bowl combine 1 1/2 cups all-purpose flour and 1/2 cup confectioners’ sugar. Add 3/4 cup cold butter or margarine cut into small pieces and cut in with a pastry cutter, fork, or by pulsing in a food processor until the mixture resembles coarse crumbs.
- Press the crumb mixture evenly into the bottom of the prepared pan to form the crust. Bake at 350°F for 15 minutes, or until the crust is set and lightly golden.
- While the crust bakes, make the filling: in a large bowl beat together 4 eggs, 1 1/2 cups sugar, 1/2 cup lemon juice, and 1 teaspoon baking powder until smooth and well combined.
- Remove the hot crust from the oven and immediately pour the egg-lemon mixture evenly over the crust. Sprinkle 1 cup flaked coconut evenly over the top.
- Return the pan to the oven and bake at 350°F for 20–25 minutes, or until the top is golden brown and the filling is set (it may have a slight jiggle but should not be liquid).
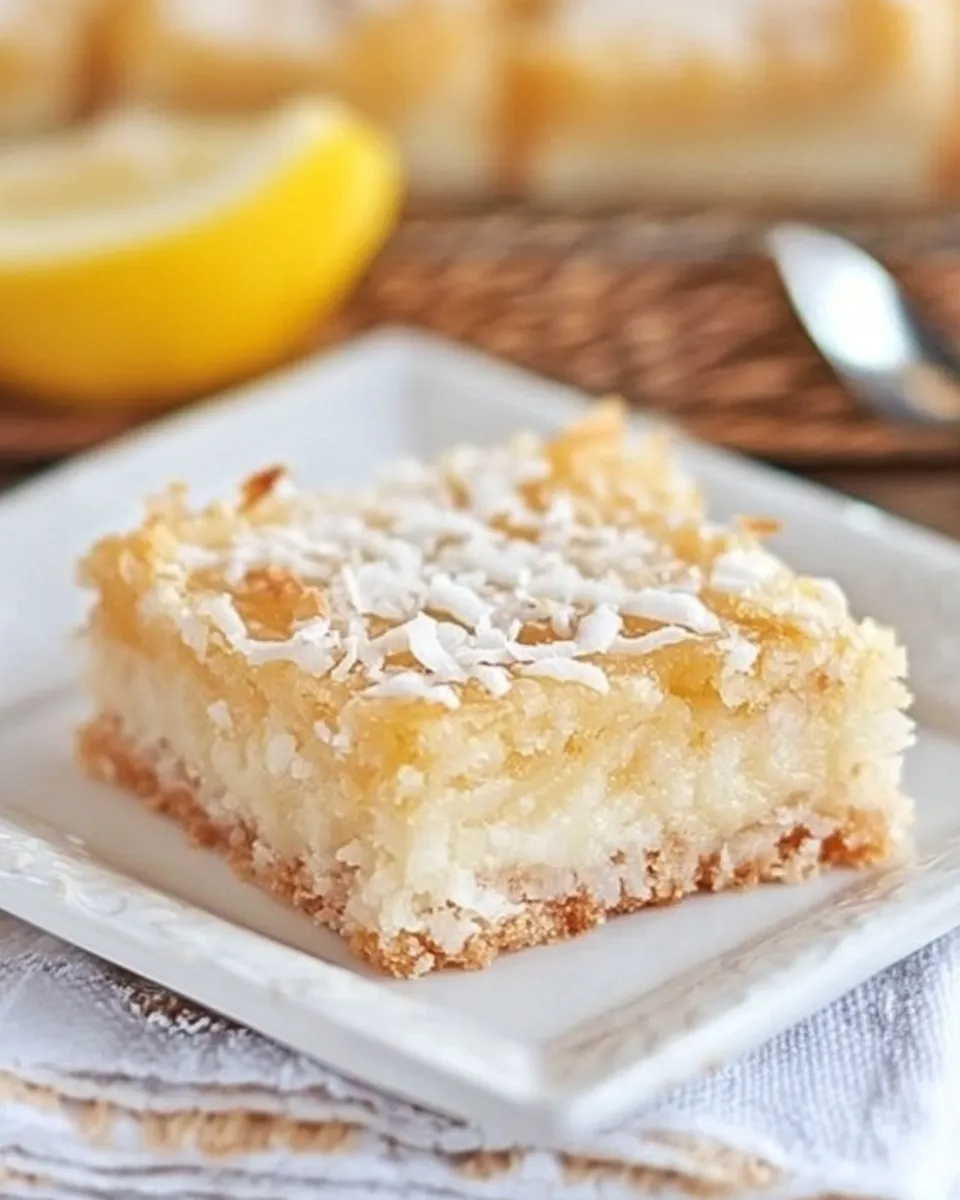
- Cool the pan on a wire rack until the bars are completely cool. Use the foil or parchment to lift the slab from the pan, then cut into bars.
Why You’ll Love This Recipe
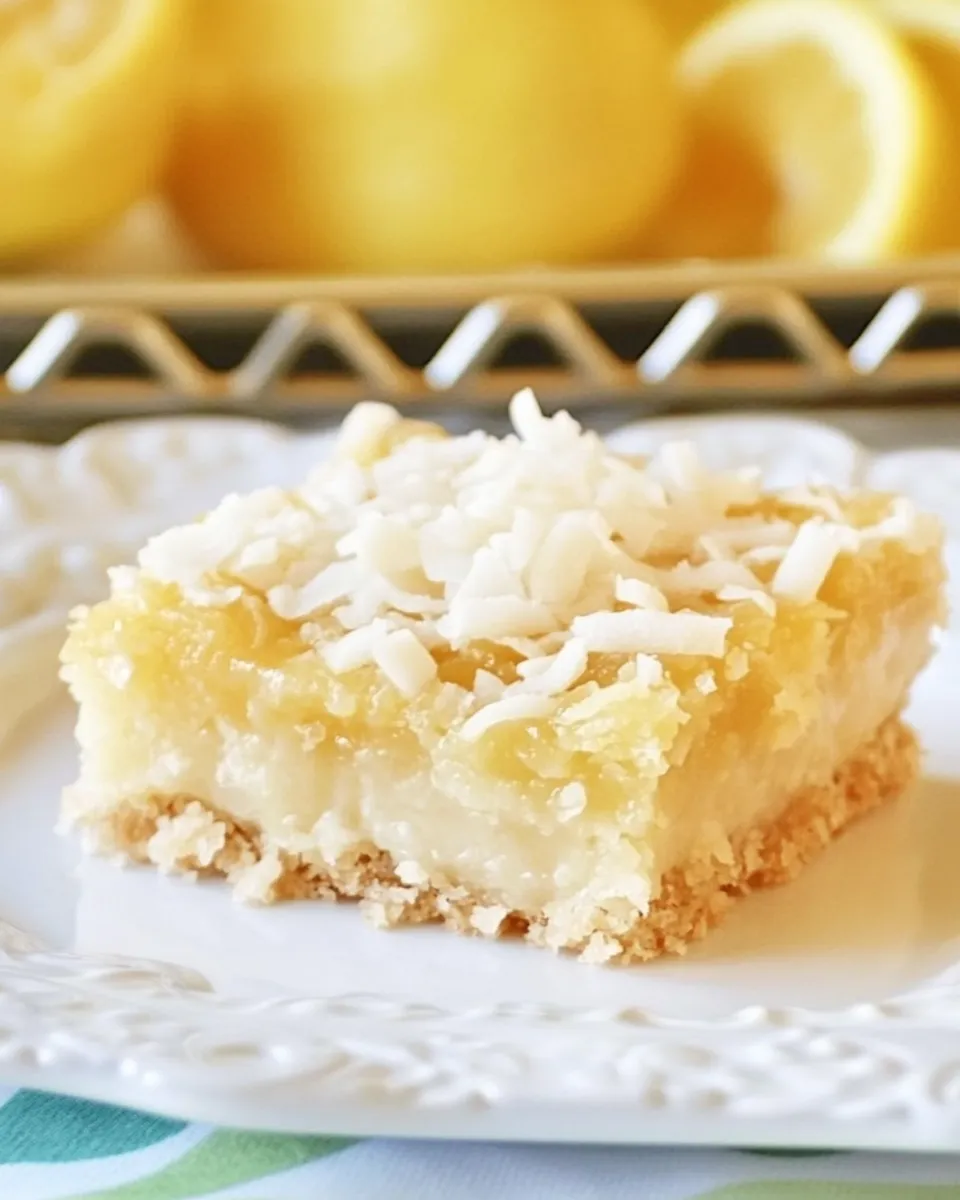
These bars give you big citrus flavor without complicated steps. The crust is crisp and buttery, leaning on classic shortbread technique, while the filling sets like a custard brightened by lemon juice. Texture matters here: the soft, slightly creamy lemon layer against a sturdy crust and a top layer of flaked coconut creates satisfying contrast in every bite.
Because everything bakes in one pan, the recipe is efficient. No separate tart shells, no multiple bowls to clean beyond the essentials. The finished bars travel well and hold their shape, so they’re practical for gatherings or a grab-and-go dessert from the fridge.
No-Store Runs Needed
If your pantry is stocked with basics, you likely already have what this recipe calls for. All-purpose flour, granulated sugar, confectioners’ sugar, butter (or margarine), eggs, baking powder, and a jar of flaked coconut are common staples. Bottled lemon juice works when fresh lemons aren’t handy, so you can avoid an extra store trip.
Plan to check your supply of flaked coconut and confectioners’ sugar first — those are the less common staples in many kitchens. If you have margarine on hand rather than butter, it works here exactly as listed.
Prep & Cook Tools
- 9 x 13 x 2-inch baking pan (lined with foil or parchment)
- Non-stick cooking spray
- Medium mixing bowl and a large mixing bowl
- Pastry cutter, fork, or food processor (for cutting in butter)
- Wire rack for cooling
- Measuring cups and spoons
- Whisk or electric mixer for the filling
- Spatula or the back of a spoon for pressing the crust
Mistakes That Ruin Lemon Coconut Bars
- Skipping the par-bake for the crust. If you don’t bake the crust first, it can become soggy once the filling is added. The short 15-minute bake sets the structure.
- Pouring the filling into a cool crust. The recipe pours the filling over the hot crust; if the crust is cool the filling won’t spread and bind the way it should.
- Overbaking the filling. The filling should be set but may still have a slight jiggle. If you wait until it’s completely rigid, you’ll end up with a dry texture.
- Using warm butter in the crust. The butter should be cold so you get coarse crumbs; warm or melted butter will make the crust dense and greasy.
- Applying too much coconut on top. One cup is the right amount; more can overwhelm the lemon and change the bar’s texture.
Dietary Swaps & Alternatives
The recipe already calls for either cold butter or margarine in the crust, so use margarine if you need a dairy-free option. That swap keeps the quantities identical and doesn’t require recalculation.
If you rely on bottled lemon juice, it works in place of freshly squeezed lemon juice at the same 1/2 cup amount called for here. The bars will still be bright, though fresh juice can be slightly more aromatic.
For minor textural adjustments, reduce the coconut topping slightly if you prefer less chew, or keep it as written for a noticeable coconut presence. The recipe’s balance is designed to work as written, so most swaps should keep the same volumes rather than changing ratios.
Notes on Ingredients
1 1/2 cups all-purpose flour — This is the backbone of the crust. Use regular all-purpose flour for a predictable texture. Measure carefully; too much flour will make the crust dry and crumbly.
1/2 cup confectioners’ sugar — Powdered sugar lends a tender, fine crumb to the shortbread crust. It integrates quickly and prevents grittiness.
3/4 cup cold butter or margarine — The cold fat is cut into the flour and sugar to create flaky, coarse crumbs. If you use margarine, choose a firm block-style margarine for the best texture.
4 eggs — Eggs stabilize and steam slightly during baking, giving the lemon layer a custard-like quality. Beat them until smooth and well combined for an even bake.
1 1/2 cups sugar — Sweetens the filling and helps it set. Granulated sugar dissolves into the egg mixture during beating; make sure it’s fully incorporated.
1/2 cup lemon juice — Delivers the lemon flavor and acidity. The amount is enough to be clearly lemony without overpowering the bar’s balance.
1 teaspoon baking powder — A small leavening agent to lighten the filling slightly; it prevents the filling from turning too dense.
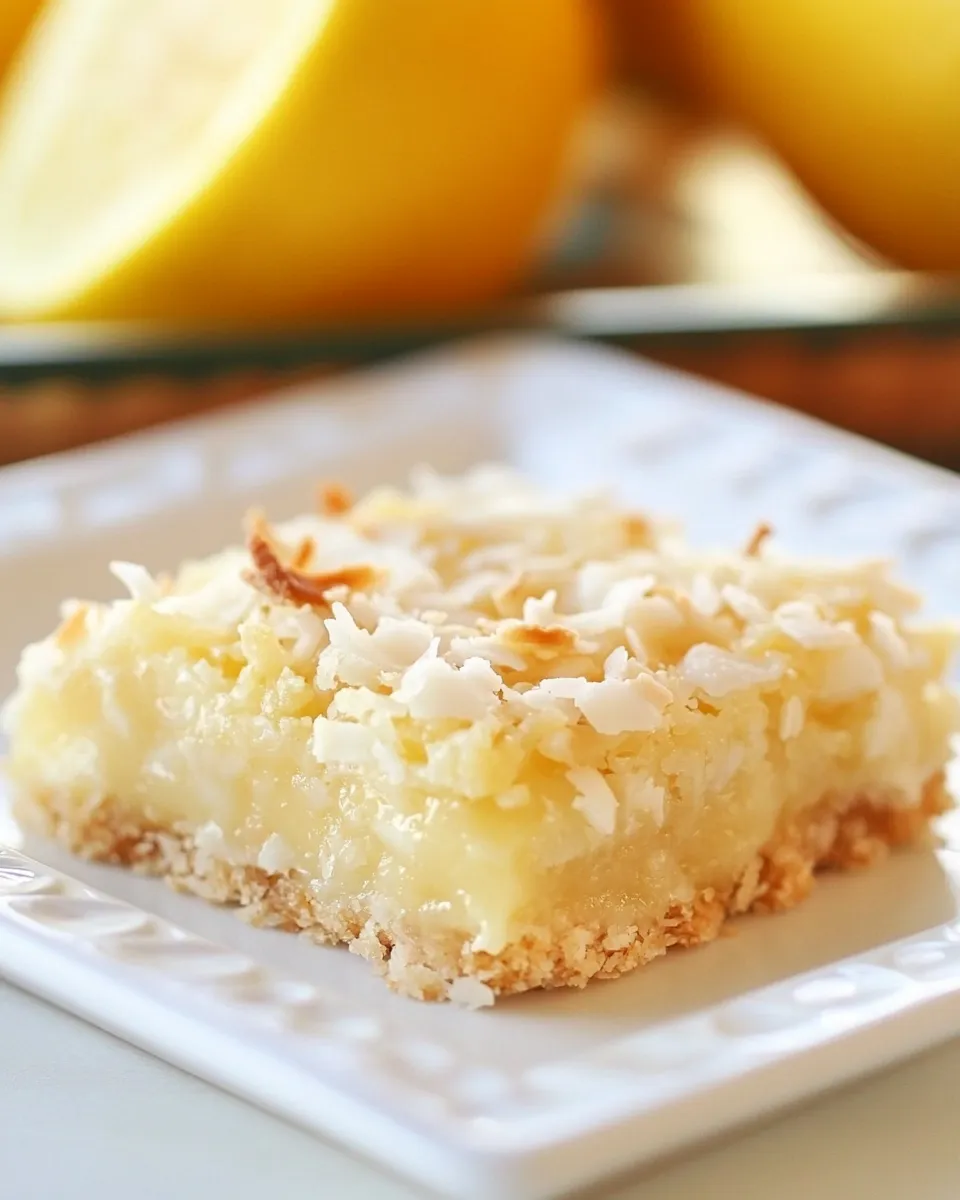
1 cup flaked coconut — Adds texture and a toasty top when baked. Use flaked coconut as listed; it gives chew and shape that shredded or desiccated versions won’t provide in the same way.
Keep-It-Fresh Plan
Store the bars in an airtight container in the refrigerator for up to 4–5 days. The lemon filling keeps best chilled, and refrigeration helps the bars slice neatly. Bring slices to room temperature briefly before serving if you prefer a softer bite.
To freeze, cut the cooled bars into individual portions, wrap each bar tightly in plastic wrap, then place them in a freezer-safe container or bag. Freeze for up to 2 months. Thaw overnight in the refrigerator and then sit at room temperature for 30–60 minutes before serving.
If you need to transport the bars, keep them in a rigid container and store them cold until serving. Chilled bars slice cleaner and are less likely to smear during travel.
Popular Questions
Will the filling set completely? It should set to a custard-like consistency. The instructions note the top may still have a slight jiggle; that’s normal. If it looks watery, give it a few more minutes in the oven and cool completely before slicing.
Can I use bottled lemon juice? Yes. Use 1/2 cup bottled lemon juice if fresh lemons aren’t available. Fresh juice may be slightly brighter in aroma, but both work in the same quantity.
Can I brown the coconut before adding it? The recipe calls for sprinkling 1 cup flaked coconut directly on top before baking so it roasts lightly in the oven. You may toast it separately if you want a deeper toasty flavor, but the final texture and timing will change slightly.
Do I need to line the pan? Lining the pan with foil or parchment and spraying the liner makes lifting the slab out easy and creates clean edges when you cut the bars. It’s a small step that saves time and frustration.
How should I cut the bars? Use the foil or parchment to lift the slab out of the pan, place it on a cutting board, and use a sharp knife. For clean slices, wipe the knife between cuts or chill the slab briefly before slicing.
Bring It Home
This is a straightforward bar that rewards attention to simple steps: cold fat for the crust, a hot crust when you pour the filling, and careful timing so the top sets without drying. Follow the recipe as written for consistent results, and don’t skip the cooling — the bars firm up as they cool and slice much better when fully cooled.
Whether you bring these to a gathering or keep them for yourself, they hold up well and taste bright the next day. If you try them, let the simple contrast of lemon and coconut convince you how far a short ingredient list can go.
Lemon Coconut Bars
Ingredients
Ingredients
- 1 1/2 cups all-purpose flour1/2 cup confectioners' sugar3/4 cup cold butter or margarine4 eggs1 1/2 cups sugar1/2 cup lemon juice1 teaspoon baking powder1 cup flaked coconut
Instructions
Instructions
- Preheat oven to 350°F. Line a 9 x 13 x 2-inch baking pan with foil or parchment and spray the liner lightly with non-stick cooking spray.
- In a medium bowl combine 1 1/2 cups all-purpose flour and 1/2 cup confectioners' sugar. Add 3/4 cup cold butter or margarine cut into small pieces and cut in with a pastry cutter, fork, or by pulsing in a food processor until the mixture resembles coarse crumbs.
- Press the crumb mixture evenly into the bottom of the prepared pan to form the crust. Bake at 350°F for 15 minutes, or until the crust is set and lightly golden.
- While the crust bakes, make the filling: in a large bowl beat together 4 eggs, 1 1/2 cups sugar, 1/2 cup lemon juice, and 1 teaspoon baking powder until smooth and well combined.
- Remove the hot crust from the oven and immediately pour the egg-lemon mixture evenly over the crust. Sprinkle 1 cup flaked coconut evenly over the top.
- Return the pan to the oven and bake at 350°F for 20–25 minutes, or until the top is golden brown and the filling is set (it may have a slight jiggle but should not be liquid).
- Cool the pan on a wire rack until the bars are completely cool. Use the foil or parchment to lift the slab from the pan, then cut into bars.
Equipment
- Oven
- 9 x 13 x 2-inch baking pan
- foil or parchment
- non-stick cooking spray
- Medium Bowl
- Large Bowl
- Pastry cutter or fork
- Food processor (optional)
- Wire Rack


