
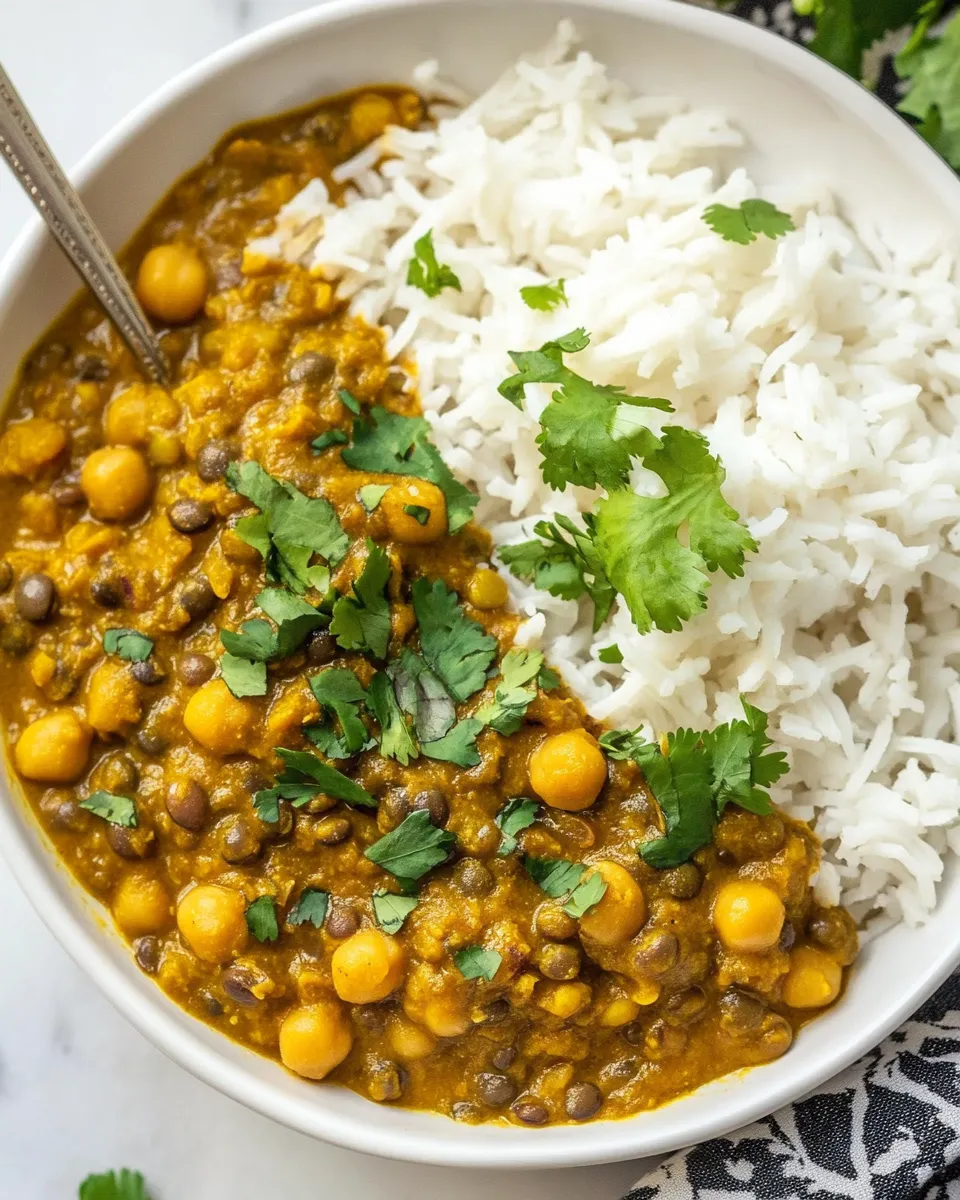
This curry is the kind of weeknight recipe I turn to when I want something comforting, fast, and reliably flavorful. It uses pantry staples—canned chickpeas, canned lentils, tomato paste, and a can of coconut cream—so you can pull it together in under 30 minutes. The texture is creamy from the coconut and toothsome from the legumes; the spices bring warmth without drama.
I like recipes that do the heavy lifting with simple technique: bloom the spices, deglaze with broth and tomato paste, then bring everything together in the coconut cream. Little steps like toasting spices and letting the curry rest with the lid on for a few minutes make a big difference to the final dish. You’ll get layered flavor with minimal fuss.
Make it once and you’ll find yourself swapping lunches, stretching it across the week, or doubling the batch to freeze. It’s forgiving, nourishing, and kind to busy schedules. Read on for a clear ingredient checklist, step-by-step method, storage tips, and practical variations so you can make this your go-to curry.
Ingredient Checklist
Ingredients
- 14oz Chickpeas (canned) — adds protein and a hearty, slightly nutty bite; drain well to avoid diluting the sauce.
- 14oz Brown lentils (canned) — contributes creaminess and body; rinsed and drained, they bulk up the curry without extra cooking time.
- 13.5oz Full-fat coconut cream (canned) — gives the curry its rich, silky texture and balances spices with gentle sweetness.
- 1 cup Vegetable broth — thins and deglazes the pan while adding savory depth; use low-sodium if you watch salt.
- 2 Tbsp Coconut oil — the cooking fat; it tolerates heat and complements the coconut cream’s flavor.
- 1 Onion (medium) — builds a sweet, aromatic base when softened; slice thin for quicker cooking.
- 2 clove Garlic — fragrant and sharp; mince finely so it disperses through the sauce.
- 2 Tbsp Tomato paste — concentrates savory umami and adds color; cook it briefly to remove any raw tang.
- 1 Tbsp Ginger minced — bright, zesty lift; grate or mince to release oils.
- 1 Tbsp Garam masala — warm, complex spice blend that defines the curry’s character.
- 1 tsp Ground cumin seeds — earthy backbone; toasting briefly unlocks more aroma.
- 1 tsp Turmeric — color and subtle bitterness that balances richness; a little goes a long way.
- 1 tsp Curry powder — adds an extra layer of spice and savory notes.
- ¼ tsp Hot chili powder or flakes — provides heat; adjust to taste.
- Salt and Pepper to taste — seasoning at the end ties everything together; add gradually.
Cook Lentil Chickpea Curry Like This
- Drain and rinse the 14 oz cans of chickpeas and brown lentils; set them aside to drain thoroughly.
- Peel and thinly slice the medium onion.
- Peel and mince the 2 garlic cloves.
- Peel and mince (or grate) the ginger to measure 1 tbsp.
- Open the 13.5 oz can of full‑fat coconut cream and stir or shake the can to recombine before using.
- Heat a large frying pan or wok over medium heat and add 2 tbsp coconut oil. Let the oil warm until shimmering.
- Add the sliced onion to the pan and sauté 4–5 minutes, until softened and translucent.
- Add the minced garlic and minced ginger to the pan and cook, stirring, for 1–2 minutes until fragrant.
- Add 1 tbsp garam masala, 1 tsp ground cumin, 1 tsp turmeric, 1 tsp curry powder, and 1/4 tsp hot chili powder or flakes. Stir constantly and cook 1–2 minutes to bloom the spices.
- Stir in 2 tbsp tomato paste and 1 cup vegetable broth, scraping any browned bits from the pan so the paste is fully incorporated.
- Pour in the 13.5 oz coconut cream and stir until the sauce is smooth. Bring the mixture to a gentle simmer.
- Add the drained chickpeas and lentils, stir to combine, cover with a lid, and cook on medium heat for 5 minutes to heat through and allow flavors to meld.
- Remove the lid, taste, and season with salt and pepper to taste. Stir and serve.
Why You’ll Keep Making It
This dish hits several practical sweet spots. First: speed. With everything from the pantry, you move from start to finish in a single pan, and most of the time is hands-off simmering. Second: balance. Protein-rich legumes paired with coconut fat make the curry satisfying and filling without heavy meat or long braises.
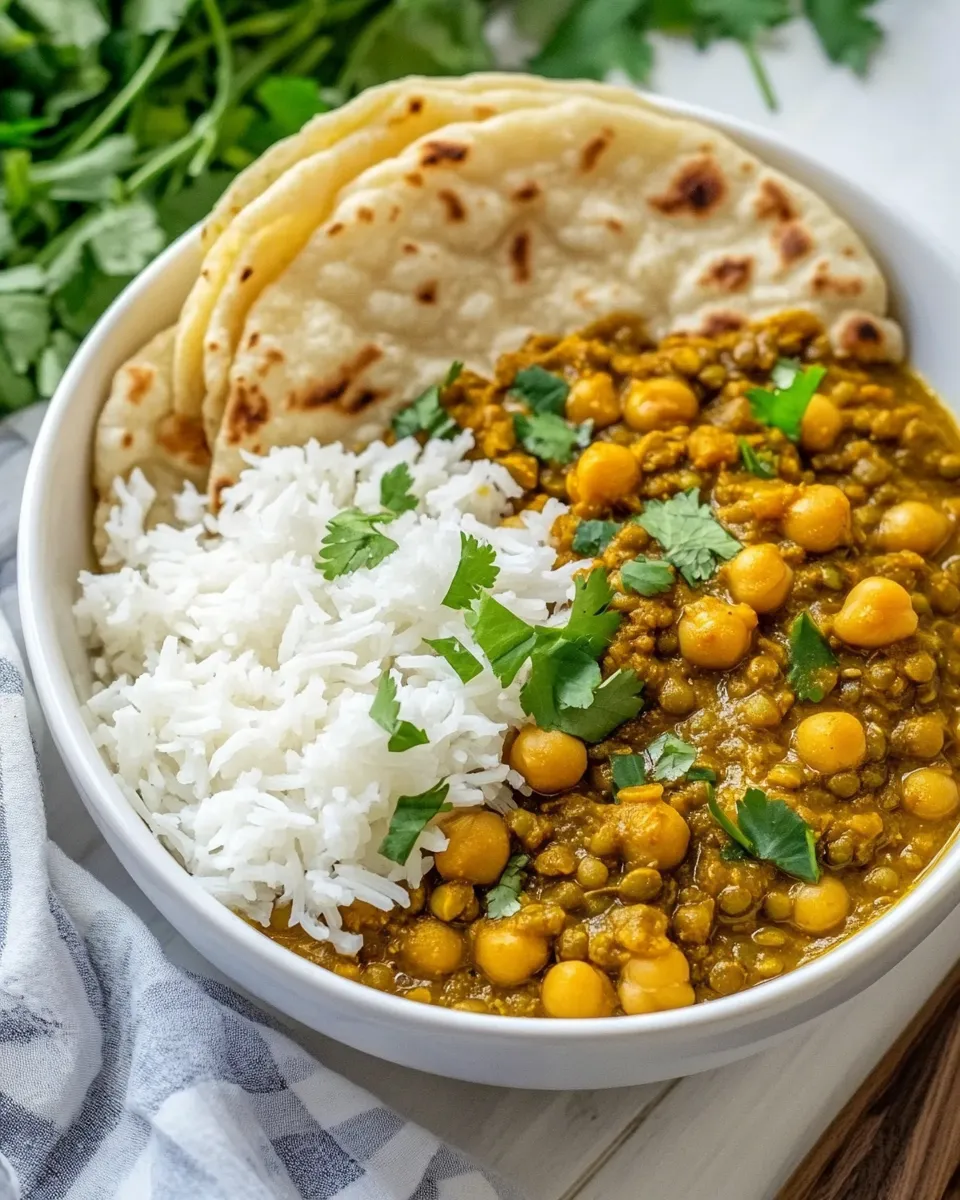
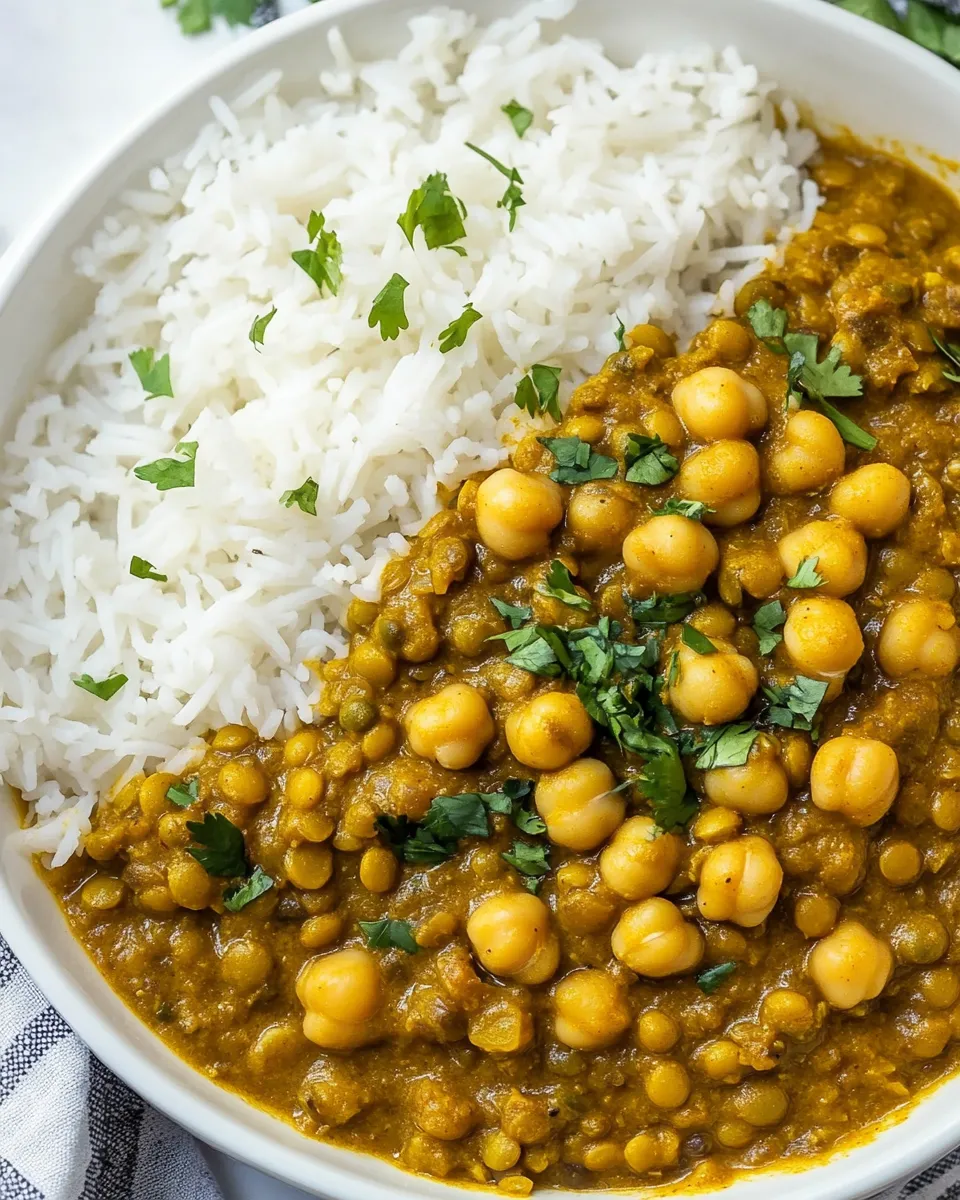
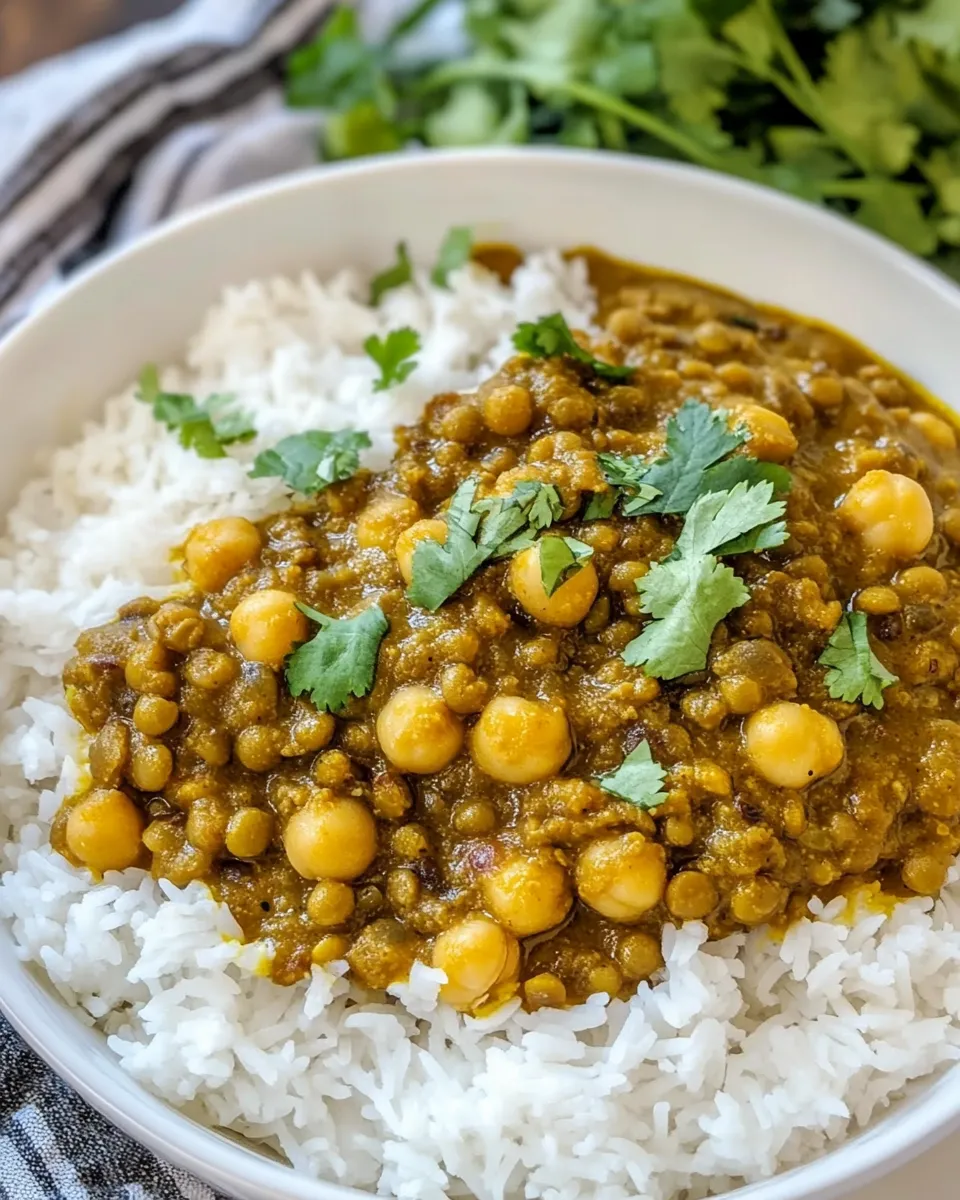
Third: flexibility. It accepts changes in spice level and salt, and it pairs well with many sides. Serve it plain, with grains, or as part of a bowl. Fourth: leftovers taste even better the next day. Flavors deepen overnight as the spices and coconut mingle with the legumes, so batch-cooking becomes a time-saver rather than a chore.
Low-Carb/Keto Alternatives
If you need a lower-carb approach, think about what you’re pairing the curry with rather than changing the curry itself. The sauce and legumes are the heart of the dish; for fewer carbs on the plate, serve a smaller portion of starchy sides or plate the curry over a bed of non-starchy vegetables.
You can also reduce the relative density of legumes by increasing the sauce volume—add a bit more broth and let the curry stretch farther per serving while keeping the same flavor. Finally, control portion sizes of the chickpeas and lentils on the plate; a smaller legume portion still delivers protein and texture while lowering carbs overall.
Kitchen Gear Checklist
- Large frying pan or wok — a pan with a wide surface helps the sauce reduce evenly.
- Can opener — for the coconut cream and canned legumes.
- Chef’s knife and cutting board — for slicing onion and mincing garlic and ginger.
- Measuring spoons and cup — to keep spice ratios consistent.
- Wooden spoon or heatproof spatula — for stirring and scraping browned bits.
- Lid for the pan — to steam and meld flavors during the short covered cook.
Slip-Ups to Skip
- Don’t skip draining the cans thoroughly. Excess liquid dilutes the sauce and makes it thin.
- Avoid adding spices directly to cold oil. Bloom them after the aromatics so they toast and release flavor instead of tasting raw.
- Don’t pour the coconut cream straight from an unshaken can. If the solids and liquids are separated it will be lumpy; recombine first.
- Don’t overcrowd the pan with too many extras at once. Work in the order given so onions soften before garlic and ginger go in; garlic can burn quickly.
- Resist the urge to over-salt early. Salt concentrates as the sauce reduces; taste after the simmer step before adjusting fully.
Better-for-You Options
Make small swaps to lower saturated fat or sodium without changing the core technique. Use a reduced amount of coconut oil for sautéing—1 tablespoon still gets the job done. Reduce the coconut cream slightly and replace the volume with a little more vegetable broth to cut calories while keeping creaminess from the legumes.
Pick a lower-sodium vegetable broth if you’re watching salt and taste before adding extra. Use the stated spices liberally; they add flavor without calories. Finally, bulk out the dish at serving time with fresh greens or a crisp salad to increase fiber and micronutrients on the plate.
Method to the Madness
Why each main stage matters
Sautéing the onion first builds a sweet, savory base. The sugars in the onion lightly caramelize and become a foundation for the spices. Adding garlic and ginger after the onion softens keeps them from burning while releasing their aromatics into the pan.
Spice blooming and tomato paste
Blooming the powdered spices in the hot oil for 1–2 minutes amplifies their flavor—heat moves oils out of the spices and into the dish. Stirring in tomato paste and broth next deglazes the pan and integrates any browned bits, which is where a lot of deep flavor lives. This is not optional; skimp here and the final curry will taste flat.
Finishing and melding
Once the coconut cream and legumes join the pan, the job is mostly about gentle heat and time. The covered 5-minute step softens the legumes into the sauce and lets the flavors marry. A brief rest with the lid on after cooking also helps the curry come together before final seasoning.
Cooling, Storing & Rewarming
Cool the curry at room temperature no longer than two hours, then refrigerate in a sealed container. It keeps well in the fridge for up to 4 days. For longer storage, portion into airtight, freezer-safe containers and freeze for up to 3 months. Thaw overnight in the refrigerator before reheating.
To rewarm, gently heat on the stovetop over low-medium heat with a splash of water or broth to loosen the sauce if it has thickened. Stir frequently to prevent sticking. In the microwave, heat in short intervals, stirring between bursts to ensure even reheating. Taste and adjust salt and pepper after reheating; flavors often mellow in the fridge and need a final lift.
Quick Q&A
Q: Can I use light coconut milk instead of full-fat coconut cream? A: You can, but expect a thinner sauce and less richness. If using a lighter option, reduce broth slightly or simmer a bit longer to concentrate the sauce.
Q: Is it important to use both chickpeas and lentils? A: The two legumes offer different textures—chickpeas are firmer, lentils soften and thicken the sauce. You can use just one if that’s what you have, but the texture will change.
Q: How spicy is this? A: The heat is controlled by the 1/4 tsp hot chili powder or flakes. Reduce it for a milder curry, or increase slightly if you like more kick.
Q: Can I make this oil-free? A: Skip or reduce the coconut oil and start by sweating the onion in a small splash of broth, stirring frequently to prevent sticking. The final texture will be slightly different but still tasty.
Bring It Home
This Lentil Chickpea Curry is practical, forgiving, and suited to a busy life. It’s pantry-friendly and kind to leftovers, and it rewards small attentions—toast the spices, deglaze with broth, and let it rest for a few minutes before serving. Use the same clear steps each time and you’ll get consistent results: a rich, comforting curry that’s quick enough for weeknights and flexible enough to make your own.
Make a pot, taste as you go, and note one small change next time—more ginger, less salt, or extra chili. That’s how recipes become personal favorites. Enjoy.
Lentil Chickpea Curry
Ingredients
Ingredients
- 14 ozChickpeas canned
- 14 ozBrown lentils canned
- 13.5 ozFull-fat coconut cream canned
- 1 cupVegetable broth
- 2 TbspCoconut oil
- 1 Onion medium
- 2 cloveGarlic
- 2 TbspTomato paste
- 1 TbspGingerminced
- 1 TbspGaram masala
- 1 tspGround cumin seeds
- 1 tspTurmeric
- 1 tspCurry powder
- 1/4 tspHot chili powder or flakes
- Salt and Pepper to taste
Instructions
Instructions
- Drain and rinse the 14 oz cans of chickpeas and brown lentils; set them aside to drain thoroughly.
- Peel and thinly slice the medium onion.
- Peel and mince the 2 garlic cloves.
- Peel and mince (or grate) the ginger to measure 1 tbsp.
- Open the 13.5 oz can of full‑fat coconut cream and stir or shake the can to recombine before using.
- Heat a large frying pan or wok over medium heat and add 2 tbsp coconut oil. Let the oil warm until shimmering.
- Add the sliced onion to the pan and sauté 4–5 minutes, until softened and translucent.
- Add the minced garlic and minced ginger to the pan and cook, stirring, for 1–2 minutes until fragrant.
- Add 1 tbsp garam masala, 1 tsp ground cumin, 1 tsp turmeric, 1 tsp curry powder, and 1/4 tsp hot chili powder or flakes. Stir constantly and cook 1–2 minutes to bloom the spices.
- Stir in 2 tbsp tomato paste and 1 cup vegetable broth, scraping any browned bits from the pan so the paste is fully incorporated.
- Pour in the 13.5 oz coconut cream and stir until the sauce is smooth. Bring the mixture to a gentle simmer.
- Add the drained chickpeas and lentils, stir to combine, cover with a lid, and cook on medium heat for 5 minutes to heat through and allow flavors to meld.
- Remove the lid, taste, and season with salt and pepper to taste. Stir and serve.
Equipment
- Non-stick frying pan (10.5 inch / 26 cm)
- Wok
- Simple garlic press
Notes
Riced veggieslike cauliflower rice orsweet potato rice
Noodleslike soba aka buckwheat noodles. If you need to eat gluten-free, please choose gluten-free noodles as soba noodles may contain wheat flour which is not gluten-free.
Toppingslike sliced green onion or scallions or sprouts, or fresh cilantro.


