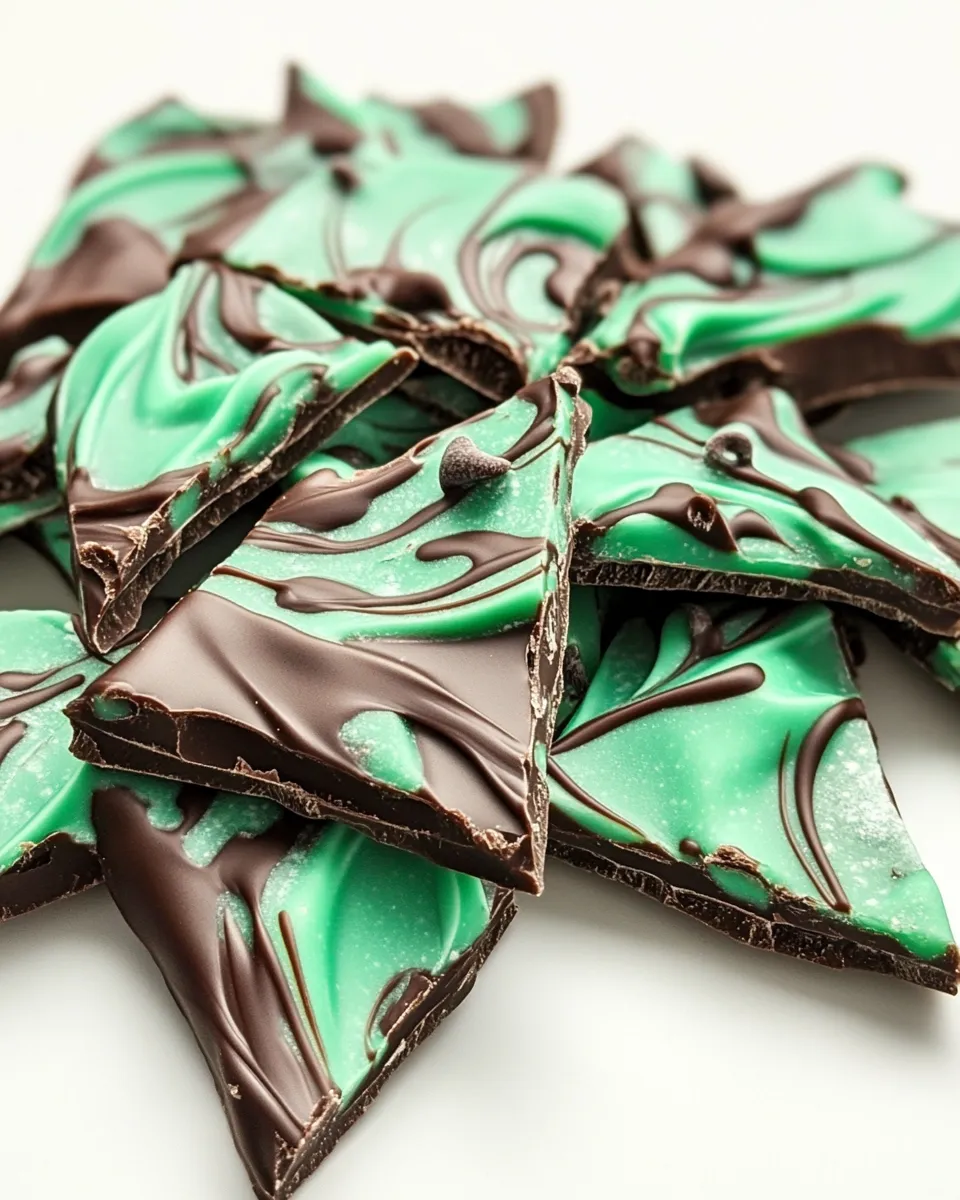
There are recipes that ask for time, patience and a mountain of equipment. This isn’t one of them. Mint Chocolate Swirl Bark comes together fast, looks impressive and stores well. It’s the kind of thing I make when I want a seasonal treat that feels a little fancy but doesn’t demand a lot of brain space.
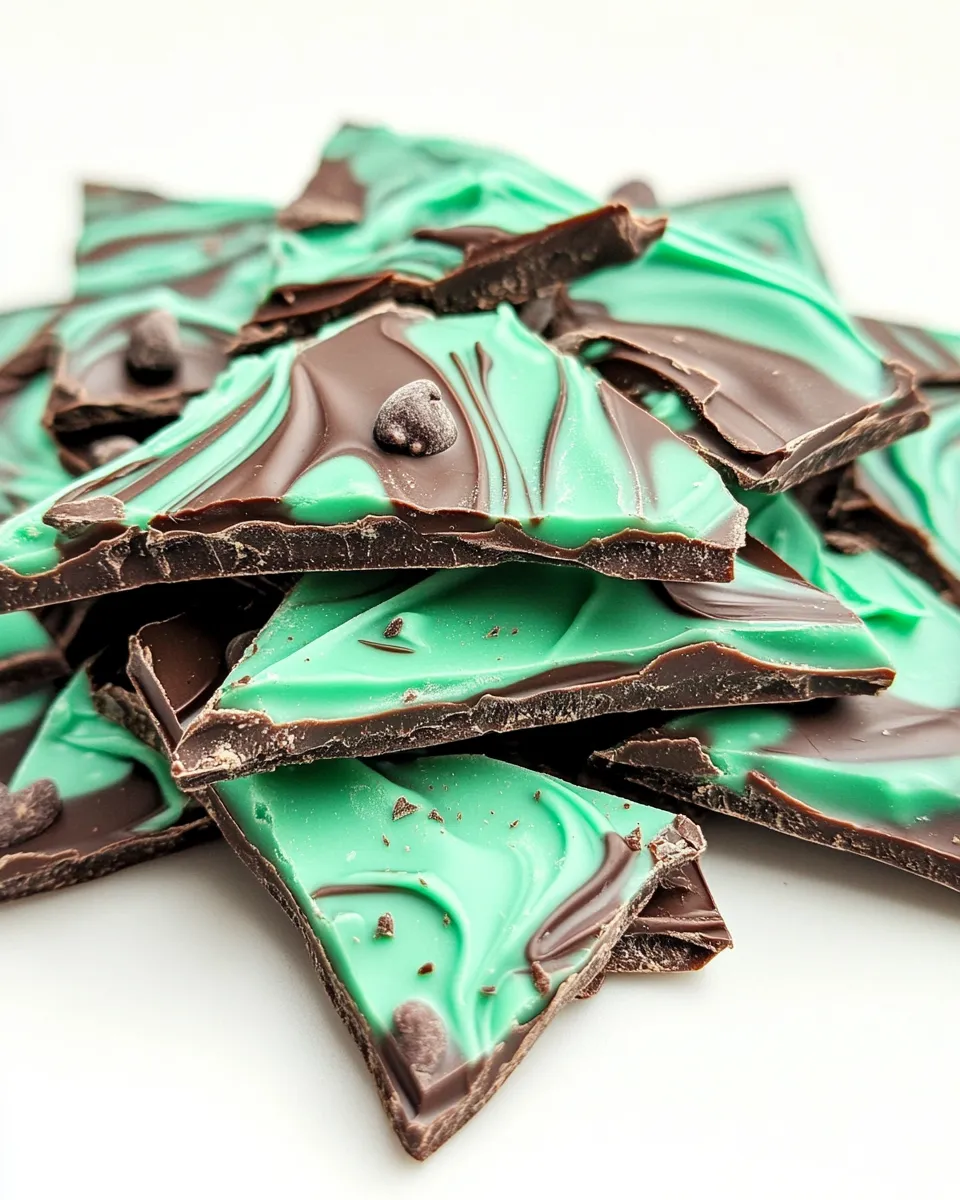
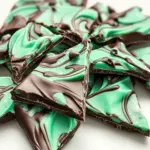
The only real work is melting chocolate and making pretty swirls. You’ll get glossy dark chocolate, bright mint ribbons and crunchy bits of Andes for contrast. It’s forgiving: if a swirl isn’t perfect, it still tastes perfect. I keep a sheet of this in the fridge at holiday time for last-minute platters and small gifts.
The Ingredient Lineup

- 8 ounces dark chocolate callets or finely chopped good quality dark chocolate — the deep base flavor; chop or use callets so it melts evenly and gives a glossy finish.
- 4 ounces green mint baking chips — provides the mint color and flavor for swirls; warm gently so they stay spreadable.
- 1 cup chopped Andes mint candies — adds crunch and extra mint-chocolate bites; chop to bite-size pieces so they stick to the bark.
Method: Mint Chocolate Swirl Bark
- Line a baking sheet with parchment paper or a silicone baking mat. Measure and set out the ingredients: 8 ounces dark chocolate, 4 ounces green mint baking chips, and 1 cup chopped Andes mint candies.
- Melt the 8 ounces dark chocolate: either use a double boiler (set a heatproof bowl over simmering water, making sure the bowl does not touch the water, and stir until smooth) or microwave in 20–30 second intervals on medium-low power, stirring thoroughly between intervals until fully melted and smooth. Stir often and keep the heat low so the chocolate does not overheat.
- Melt the 4 ounces green mint baking chips in a microwave-safe bowl: microwave on medium power in 20-second intervals, stirring after each interval until smooth. If the mint chips remain thick, continue in additional short (10–15 second) bursts, stirring until spreadable.
- Pour the melted dark chocolate onto the prepared baking sheet and use an offset spatula or the back of a spoon to spread it into an even layer to your desired thickness.
- Drop spoonfuls or small lines of the melted mint chips over the dark chocolate across the surface.
- Use a toothpick, skewer, or the tip of a knife to drag through the mint chips and dark chocolate to create swirls. Work while the chocolates are still fluid so the swirls form cleanly.
- Evenly sprinkle the 1 cup chopped Andes mint candies over the swirled chocolate, pressing lightly so the pieces adhere.
- Let the bark sit uncovered at room temperature until fully set, about 1 to 2 hours. Once set, break or cut into pieces and serve.
Reasons to Love Mint Chocolate Swirl Bark
Fast: The active work is mostly melting and swirling. The rest is passive setting time. You can have a tray ready in under 30 minutes of hands-on time.
Impressive: The marbled green-and-dark pattern looks artisanal, which makes it perfect for gifting or a holiday platter. People assume it took longer than it did.
Flexible: Once you have the basic method down, it’s easy to tweak thickness, swirl patterns or the size of the pieces. It’s also forgiving if your swirls aren’t perfect—taste matters more than looks.
Smart Substitutions
- Swap the dark chocolate for semi-sweet or milk chocolate if you prefer a milder, sweeter base. (No need to alter amounts.)
- If you can’t find green mint baking chips, use plain white baking chips and add a drop of food coloring or use a mint-flavored white chocolate for the same effect.
- Replace Andes with any peppermint or chocolate-mint candy you like—just chop to similar bite-size pieces for even distribution.
- For a dairy-free version, use dairy-free dark chocolate and check that the mint chips and candies are also vegan-friendly.
Prep & Cook Tools
- Baking sheet — choose a rimmed sheet so the chocolate doesn’t spill.
- Parchment paper or silicone baking mat — nonstick surface makes removal easy.
- Heatproof bowl for a double boiler or a microwave-safe bowl — whichever melting method you use.
- Offset spatula or the back of a spoon — for spreading chocolate to an even layer.
- Measuring scale or cups — measure chocolate and chips to keep the balance right.
- Toothpick, skewer, or small knife — for dragging swirls through the chocolate.
- Small bowl for chopped Andes — keeps your toppings handy and tidy.
Watch Outs & How to Fix
Chocolate overheating: Chocolate can seize if it gets too hot. If your chocolate becomes grainy, remove it from heat immediately and stir in a small teaspoon of neutral oil or a tiny amount of melted cocoa butter to loosen it. If it’s completely seized, start with fresh chocolate to avoid a texture problem.
Mint chips too thick: If the mint chips are resistant after the suggested microwave bursts, keep heating in very short bursts (10–15 seconds) and stir between each. Use room-temperature chocolate to help them spread if needed.
Swirls that don’t form cleanly: Work while both chocolates are still fluid. If your dark chocolate has set, gently rewarm the sheet for a few seconds in a warm place (not hot) or remelt a small amount of dark chocolate and spread over to re-soften the surface before dragging swirls.
Make It Your Way
Vary the thickness. Spread the chocolate thin for crisp, delicate bark or make a thicker slab if you like chunkier bites. Thicker bark will take longer to set but feels heartier.
Try patterning. Instead of random drops of mint, pipe thin lines across the dark chocolate for a striped look, then drag perpendicular to make chevrons. Or concentrate swirls in the center and leave edges clean for contrast.
Add texture. If you want more bite, press in chopped toasted nuts, crushed pretzels or a light sprinkle of coarse sea salt after you add the Andes pieces. These won’t change the basic method—just scatter and press lightly so they adhere.
What Could Go Wrong
Striped or blotchy coloring: Using very cold chocolate as a base and very hot mint as the top layer can make the mint sink or separate weirdly. Aim for both to be warm and fluid but not hot.
Sticky surface after setting: Humidity can cause chocolate to bloom or feel sticky. Store set bark in a cool, dry place. If it develops a dull whitish bloom, it’s still safe to eat though less glossy.
Pieces falling off: If large chunks of Andes or heavy toppings are used, they may not adhere well to thin bark. Press toppings in gently and allow a full set time so everything bonds.
Freezer-Friendly Notes
Bark freezes well and thaws quickly. Layer pieces between sheets of parchment in an airtight container or freezer bag to prevent sticking. Thaw at room temperature for 20–30 minutes before serving to avoid condensation forming on the chocolate surface.
For longer storage, wrap portions individually for gifting, then place wrapped pieces in a rigid container. Label with the date; well-wrapped bark will keep in the freezer for up to 2 months with good flavor retention.
Top Questions & Answers
Q: Can I temper the chocolate for extra shine and snap?
A: Yes. If you want professional snap and sheen, temper the dark chocolate before spreading. Tempering requires careful temperature control, but it’s optional; proper melting and avoiding overheating will still give you glossy results.
Q: How thick should I make the bark?
A: Aim for about 1/8–1/4 inch thickness for a balance of crispness and sturdiness. Thinner means more crisp; thicker means bigger bite and longer set time.
Q: Can I refrigerate to speed up setting?
A: You can, but do it only after the chocolate has cooled slightly. Putting very warm chocolate into the fridge can cause condensation or sugar bloom. A short stint in the fridge speeds things up, but room temperature setting yields the best surface finish.
Q: What’s the best way to break it into pieces?
A: Bend the parchment slightly and press down along a line to create a break, or use a sharp knife to score before it fully sets for cleaner edges. Otherwise, breaking by hand gives a rustic look.
Q: My mint chips are not chocolate—will they mix well?
A: Mint baking chips are designed to melt and hold shape. If they’re a different consistency, melt more slowly and use short bursts so they become spreadable without overheating.
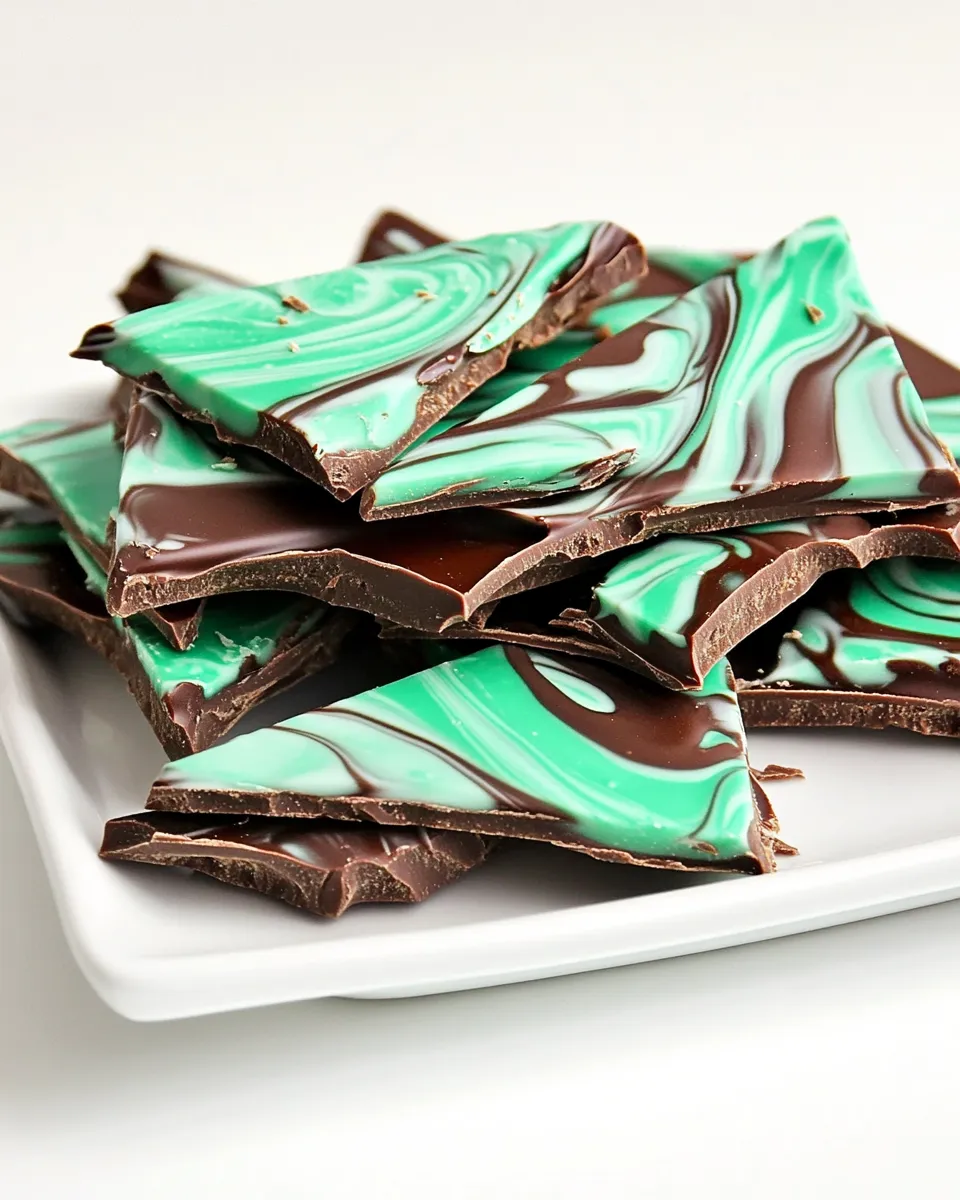
Bring It to the Table
Serve Mint Chocolate Swirl Bark on a simple platter—let it shine. Arrange a few sprigs of fresh mint or scatter extra chopped Andes nearby for a festive touch. This bark works well alongside cookies and small confections on a dessert tray, or wrapped in cellophane with a ribbon for easy gifting.
It’s a little sweet, a little minty and wholly comforting. Keep a sheet on hand when guests pop in; a few pieces presented on a small dish always looks like you planned something special. And when you want to change it up for another season, swap the mint accents for different colors and toppings—same method, new mood.
Mint Chocolate Swirl Bark
Ingredients
Ingredients
- 8 ouncesdark chocolate calletsor finely chopped good quality dark chocolate
- 4 ouncesgreen mint baking chips
- 1 cup chopped Andes mint candies
Instructions
Instructions
- Line a baking sheet with parchment paper or a silicone baking mat. Measure and set out the ingredients: 8 ounces dark chocolate, 4 ounces green mint baking chips, and 1 cup chopped Andes mint candies.
- Melt the 8 ounces dark chocolate: either use a double boiler (set a heatproof bowl over simmering water, making sure the bowl does not touch the water, and stir until smooth) or microwave in 20–30 second intervals on medium-low power, stirring thoroughly between intervals until fully melted and smooth. Stir often and keep the heat low so the chocolate does not overheat.
- Melt the 4 ounces green mint baking chips in a microwave-safe bowl: microwave on medium power in 20-second intervals, stirring after each interval until smooth. If the mint chips remain thick, continue in additional short (10–15 second) bursts, stirring until spreadable.
- Pour the melted dark chocolate onto the prepared baking sheet and use an offset spatula or the back of a spoon to spread it into an even layer to your desired thickness.
- Drop spoonfuls or small lines of the melted mint chips over the dark chocolate across the surface.
- Use a toothpick, skewer, or the tip of a knife to drag through the mint chips and dark chocolate to create swirls. Work while the chocolates are still fluid so the swirls form cleanly.
- Evenly sprinkle the 1 cup chopped Andes mint candies over the swirled chocolate, pressing lightly so the pieces adhere.
- Let the bark sit uncovered at room temperature until fully set, about 1 to 2 hours. Once set, break or cut into pieces and serve.
Equipment
- Baking Sheet
- Parchment paper or silicone baking mat
- double boiler or heatproof bowl
- Microwave
- Microwave-safe Bowl
- Offset Spatula
- Spoon
- toothpick