

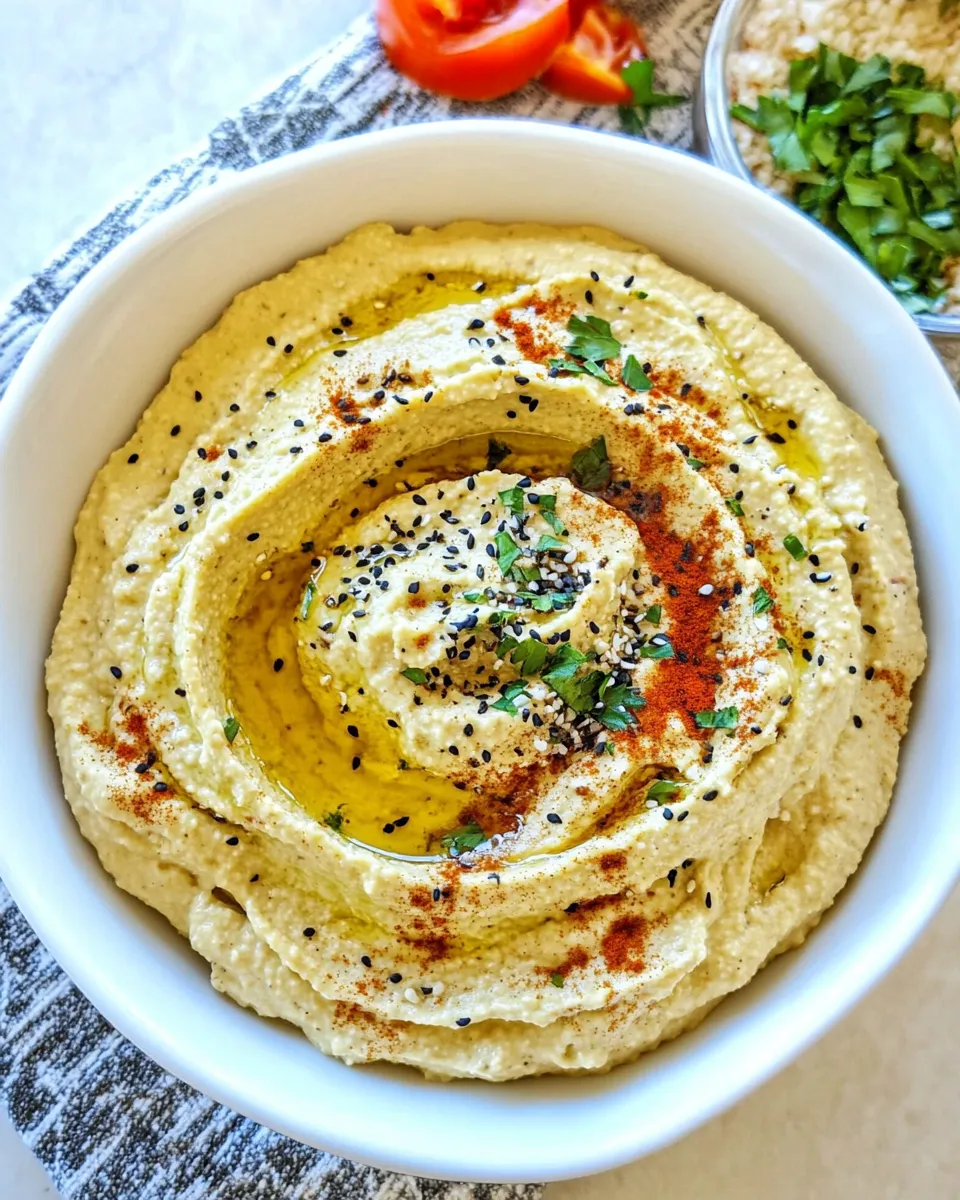
I fell for this miso hummus the first time I tasted it: familiar chickpea creaminess with a savory, salty lift that keeps you dipping long after the bowl is empty. It’s an easy tweak to classic hummus that brings deep umami without needing tahini. I love it for weeknight snack plates, picnic spreads, and for when friends drop by unexpectedly.
This version is straightforward: canned chickpeas, a lemon for brightness, sesame oil for a toasted note, garlic for backbone, crushed red pepper for a little heat, and white miso for that soulful savory edge. It needs only a food processor and a few minutes of hands-on time.
Below you’ll find an exact ingredient checklist and step-by-step directions I follow every time, plus tips, equipment notes, substitutions, and seasonally inspired variations so the dip stays useful all year. No fluff—just practical guidance to get it right, and to make it yours.
Ingredient Checklist
- 30 ounces chickpeas (2 cans drained) — the creamy base; rinse to remove canning liquid for a cleaner flavor and lighter texture.
- 1/4–1/3 cup white miso paste — primary seasoning and source of umami; start with 1/4 cup and add up to 1/3 cup to taste.
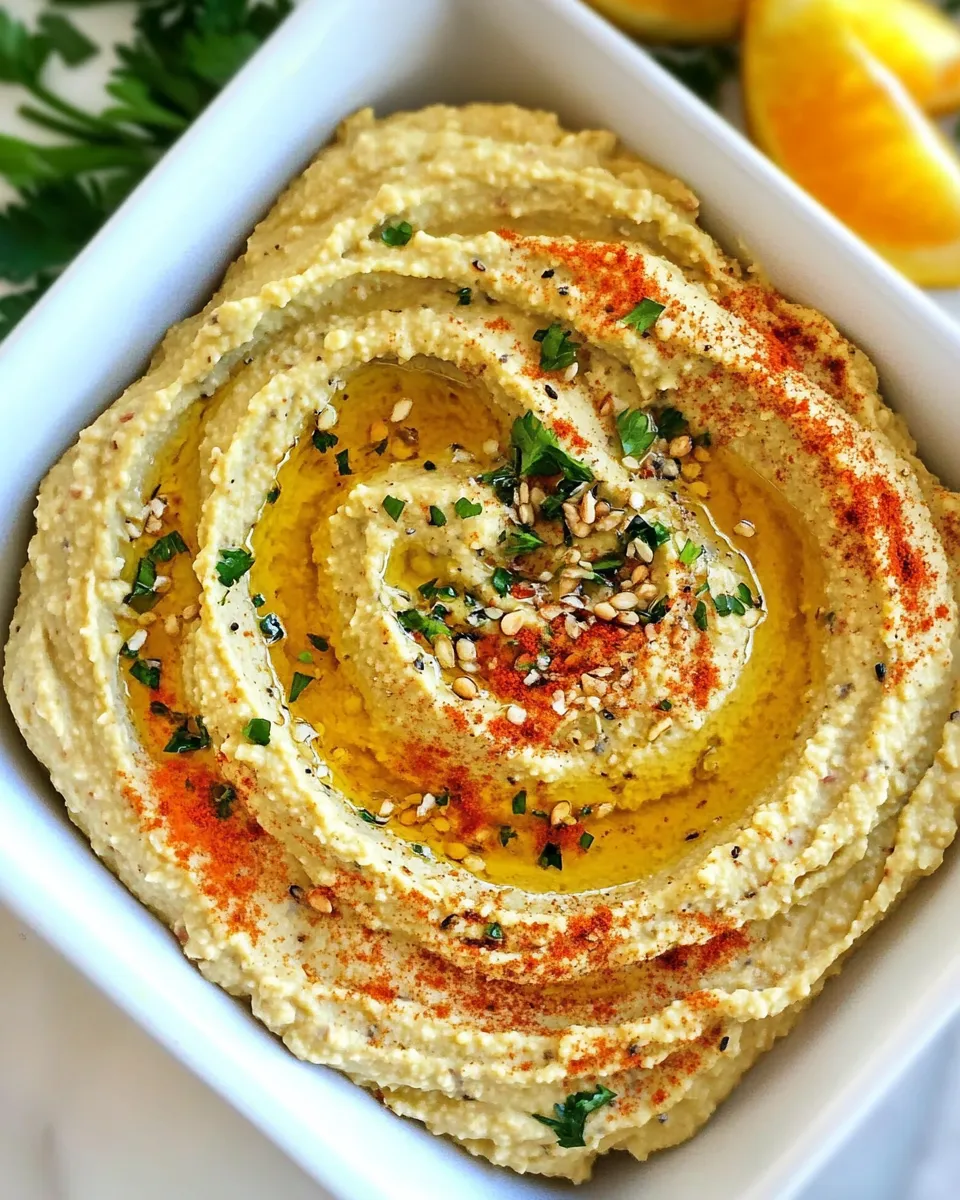
- 1 lemon (zested and juiced) — zest adds aromatic citrus oils; the juice brightens and balances miso’s saltiness.
- 3 tablespoons sesame oil — brings a nutty, toasty richness in place of or alongside tahini.
- 1 clove garlic (peeled) — raw garlic gives a fresh, assertive bite; adjust if you prefer milder garlic flavor.
- 1/4 teaspoon crushed red pepper — a subtle lift of heat that complements the miso; omit if you want no spice.
- Sesame seeds for garnish, optional — for texture and a pretty finish; toasted seeds add extra nuttiness.
Directions: Miso Hummus Recipe
- Drain and rinse 30 ounces chickpeas (2 cans drained) and transfer to the bowl of a food processor.
- Zest the 1 lemon into the processor, then cut the lemon and add its juice to the processor.
- Add 1/4 cup white miso paste, 3 tablespoons sesame oil, 1 peeled clove garlic, and 1/4 teaspoon crushed red pepper to the processor.
- Puree until very smooth, stopping to scrape down the sides as needed.
- Taste the hummus and, if desired, add more white miso paste (up to 1/3 cup total), then puree again until smooth.
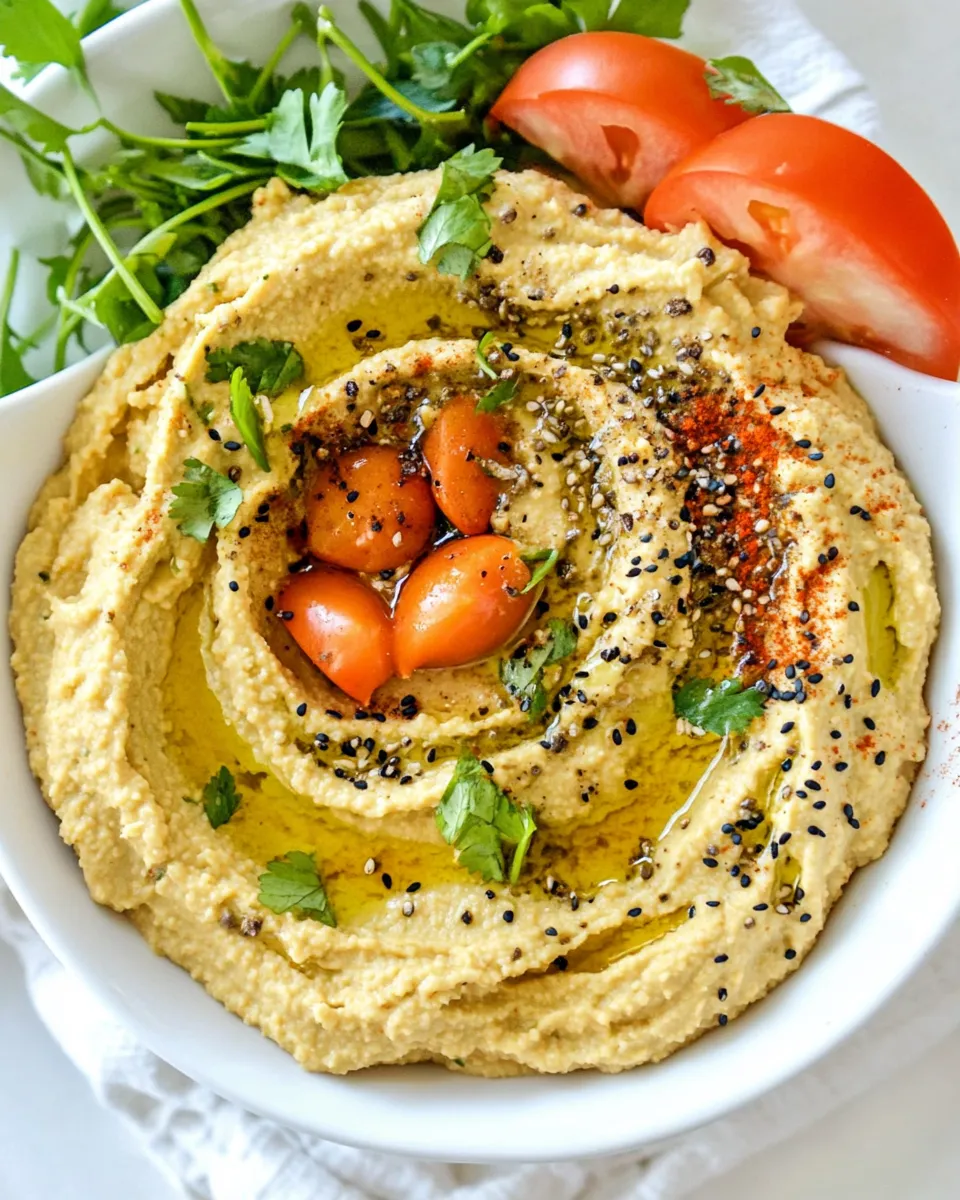
- Transfer to a serving bowl, garnish with sesame seeds if using, and serve with cut vegetables and pita chips.
Why Miso Hummus Recipe is Worth Your Time
This hummus hits the sweet spot between quick and flavorful. Using miso instead of—or alongside—tahini creates a savory backbone that feels richer than plain lemon-garlic hummus. The sesame oil keeps the profile familiar, while miso brings a fermented depth that clings to vegetables and chips.
It’s effortless: canned chickpeas mean no soaking or simmering. The food processor does the heavy lifting, and you can be at the table in under 10 minutes of active work. It also performs well in different roles—appetizer, sandwich spread, bowl sauce—so the effort pays off across multiple meals.
What to Use Instead
- White miso paste — if you only have darker miso, note it’s stronger and earthier; use less and taste as you go.
- Sesame oil — neutral or mild vegetable oil will work, but you’ll lose the toasted sesame character; drizzle a little extra at the end if you swap oils.
- Chickpeas — if you want a different base, cooked white beans or cannellini are good stand-ins for a softer, milder dip.
- Lemon — a splash of white wine vinegar or apple cider vinegar can provide acidity if you’re out of lemons.
- Crushed red pepper — swap for a pinch of cayenne or a few flakes of smoked paprika for a different heat note.
Equipment Breakdown
- Food processor — essential for a very smooth texture; a high-powered blender can work but may need extra scraping and liquid adjustments.
- Zester or microplane — for extracting lemon zest without the bitter pith.
- Measuring spoons and cups — to keep the miso and sesame oil balanced at first; you can tweak after tasting.
- Rubber spatula — helpful for scraping the bowl so everything gets fully pureed.
- Serving bowl and garnish spoon — small touches like a drizzle or sprinkle make it feel finished.
Slip-Ups to Skip
- Skipping the rinse: not rinsing the canned chickpeas can leave metallic or overly salty notes from the canning liquid.
- Adding too much miso at once: miso is salty; add the initial 1/4 cup, taste, then increase up to 1/3 cup if needed.
- Over-processing without scraping: stop and scrape the sides so dry bits don’t remain and the texture is truly smooth.
- Using cold ingredients straight from the fridge: room-temperature ingredients puree more smoothly and release more flavor.
- Assuming sesame oil replaces acidity: sesame oil is fat, not acid—keep the lemon juice for balance.
Fresh Takes Through the Year
Spring: Brighten the dip further with a handful of finely chopped herbs folded in at the end—parsley, chives, or cilantro are natural matches for lemon and miso.
Summer: Make it a cooling mezze by serving with cucumber ribbons, ripe cherry tomatoes, and chilled pita. Add a dusting of smoked paprika for outdoor-friendly smoky aroma.
Fall: Stir in a small spoonful of roasted pumpkin purée and a pinch of warming spices for a seasonal spread that works on toast.
Winter: Swap crushed red pepper for a light drizzle of chili oil for deeper heat, and serve alongside roasted root vegetables for a warming snack board.
Cook’s Notes
Texture: If your hummus feels too thick, add a teaspoon or two of cold water or the reserved liquid from the chickpeas (if you saved any) and pulse until it loosens. Aim for a creamy, scoopable consistency, not runny.
Salt: Because white miso already contains salt, taste before adding any extra. If you reach for table salt, do it sparingly—better to adjust at the end.
Garlic: One clove gives a clear garlic presence. If you want a milder garlic flavor, roast the clove briefly or use half a clove. Conversely, add another clove if you like it bold.
Customizing heat: The recipe uses 1/4 teaspoon crushed red pepper. If you prefer smokier heat, try smoked paprika (a small pinch); for sharper heat, a dash of cayenne will do the trick.
Storing, Freezing & Reheating
Refrigerator: Store in an airtight container for up to 4–5 days. Press a piece of plastic wrap directly onto the surface to minimize oxidation and preserve color and freshness.
Freezer: Hummus freezes okay for up to 1 month. Transfer to a freezer-safe container, leaving a little headspace. Thaw in the refrigerator overnight and stir well; you may need to refresh the texture with a splash of water or sesame oil.
Serving after storage: Stir the hummus and taste for seasoning—cold storage can mute acidity and brightness, so a squeeze of lemon or a small pinch more miso may be needed before serving.
Miso Hummus Recipe Q&A
- Is miso a replacement for tahini here? In this recipe the miso and sesame oil work together to give savory depth and sesame character, so tahini isn’t included. If you love tahini, you can swirl in a tablespoon or two at the end, but start small.
- Can I use dried chickpeas? Yes—cook them until very tender, cool them to room temperature, and proceed. You may need slightly more liquid because freshly cooked beans can be drier than canned.
- How salty will the hummus be? White miso is milder than darker misos but it’s still salty. Start with 1/4 cup as the recipe instructs, then add more up to 1/3 cup only if the hummus needs it.
- Can I make this nut-free and dairy-free? Yes. The recipe contains no dairy or nuts; sesame oil is not a nut. If you must avoid sesame, substitute a neutral oil and be prepared for a shift in flavor.
- How smooth should it be? Aim for very smooth, as the recipe directs. Stopping to scrape the bowl during processing ensures there are no dry bits left on the sides.
The Last Word
Simple changes can transform a humble dip into something memorable. This miso hummus feels elevated but remains practical—perfect for weekday snacking, guest-worthy boards, and as a flavor booster in sandwiches and bowls. Keep the base measurements as written the first time, then tweak lemon, miso, and garlic to make it your go-to. Little adjustments, big payoff.

Miso Hummus Recipe
Ingredients
Ingredients
- 30 ounceschickpeas 2 cans drained
- 1/4-1/3 cupwhite miso paste
- 1 lemon zested and juiced
- 3 tablespoonssesame oil
- 1 clovegarlic peeled
- 1/4 teaspooncrushed red pepper
- Sesame seedsfor garnish optional
Instructions
Instructions
- Drain and rinse 30 ounces chickpeas (2 cans drained) and transfer to the bowl of a food processor.
- Zest the 1 lemon into the processor, then cut the lemon and add its juice to the processor.
- Add 1/4 cup white miso paste, 3 tablespoons sesame oil, 1 peeled clove garlic, and 1/4 teaspoon crushed red pepper to the processor.
- Puree until very smooth, stopping to scrape down the sides as needed.
- Taste the hummus and, if desired, add more white miso paste (up to 1/3 cup total), then puree again until smooth.
- Transfer to a serving bowl, garnish with sesame seeds if using, and serve with cut vegetables and pita chips.
Equipment
- Food Processor
- Serving Bowl
Notes
Miso Hummus will keep in an air-tight container in the fridge for up to 2 weeks.


