
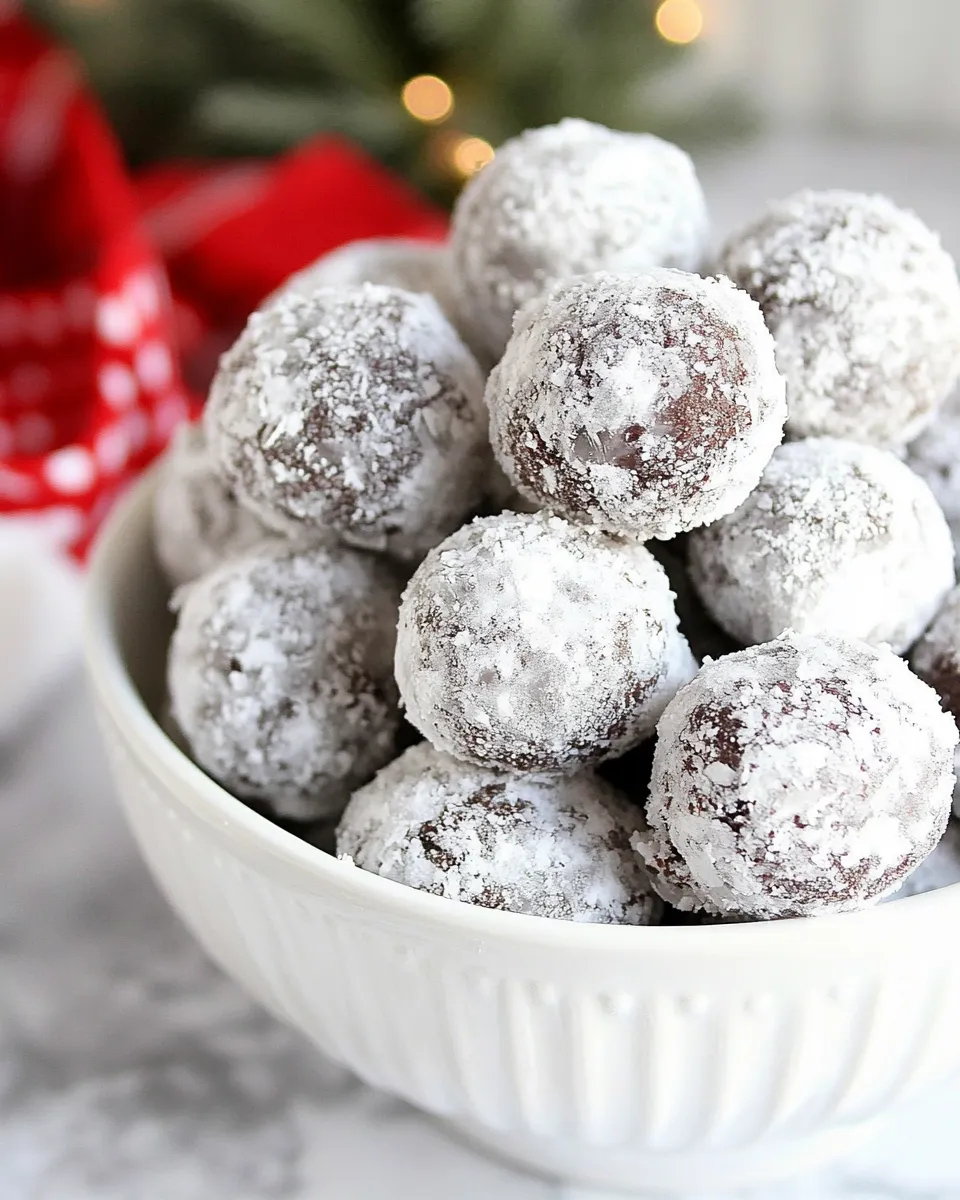
These little bites feel like a cozy secret: chocolatey, chewable, and dusted like fresh snow. They come together without heat, in one bowl and a food processor, and they make for a fast dessert or a sweet snack that won’t ask for oven time. I love making a batch on a rainy afternoon and keeping them in the fridge for when the chocolate craving hits.
They’re forgiving, too. The texture is about press-and-roll, not tempering or precision. You only need a few pantry staples and a bit of elbow grease to form tidy, fudgy balls. If you have kids around, this is a great no-mess, hands-on project—wipeable, laughable, and entirely shareable.
Below you’ll find the exact ingredient list and step-by-step directions I use every time. I keep my notes short and practical, so you can jump in and make them in under 30 minutes from start to finish (less if your food processor is already out).
What You’ll Gather
Grab your food processor, a baking sheet lined with parchment, and a tablespoon measure. You’ll also want a shallow bowl for coating and a refrigerator space to chill the finished snow balls. Other than that, this recipe relies on a few simple ingredients and basic kitchen skills—pulsing, scraping, and rolling.
Ingredients
- 15 pitted dates — act as the natural sweetener and binder; make sure they’re soft.
- 2/3 cup unsweetened cocoa powder — provides the chocolate flavor without added sugar.
- 1 cup whole roasted unsalted almonds — the base for texture and a toasty note; finely ground for structure.
- 1 tbsp honey, or agave if vegan — adds shine and a touch of extra stickiness to help the balls hold.
- 2 tbsp water, or more if needed — helps the mixture come together; add sparingly.
- 3 tbsp confectioner’s sugar — for the snowy coating and a sweet finishing touch.
Cook No-Bake Fudge Snow Balls Like This
- Line a baking sheet with parchment paper and set aside. Place 1 cup whole roasted unsalted almonds in a food processor.
- Pulse the almonds until they are finely ground (small crumbs, not paste). Stop and scrape down the sides as needed.
- Add 15 pitted dates, 2/3 cup unsweetened cocoa powder, 1 tbsp honey (or agave if vegan), and 2 tbsp water to the food processor.
- Process until the mixture comes together into a sticky, uniform mass. Stop and scrape down the bowl as needed. If the mixture seems too dry, add additional water 1 teaspoon at a time and process again until it holds together.
- Transfer the mixture to a bowl. Place 3 tbsp confectioner’s sugar in a separate shallow bowl.
- Wash your hands. Keep a small bowl of water nearby and dampen your hands (this prevents sticking) before rolling.
- Using a tablespoon measure, scoop about 1 tbsp of the mixture, press it together, and roll it between your palms into a smooth ball. Place the ball on the prepared parchment. Repeat until all the mixture is used.
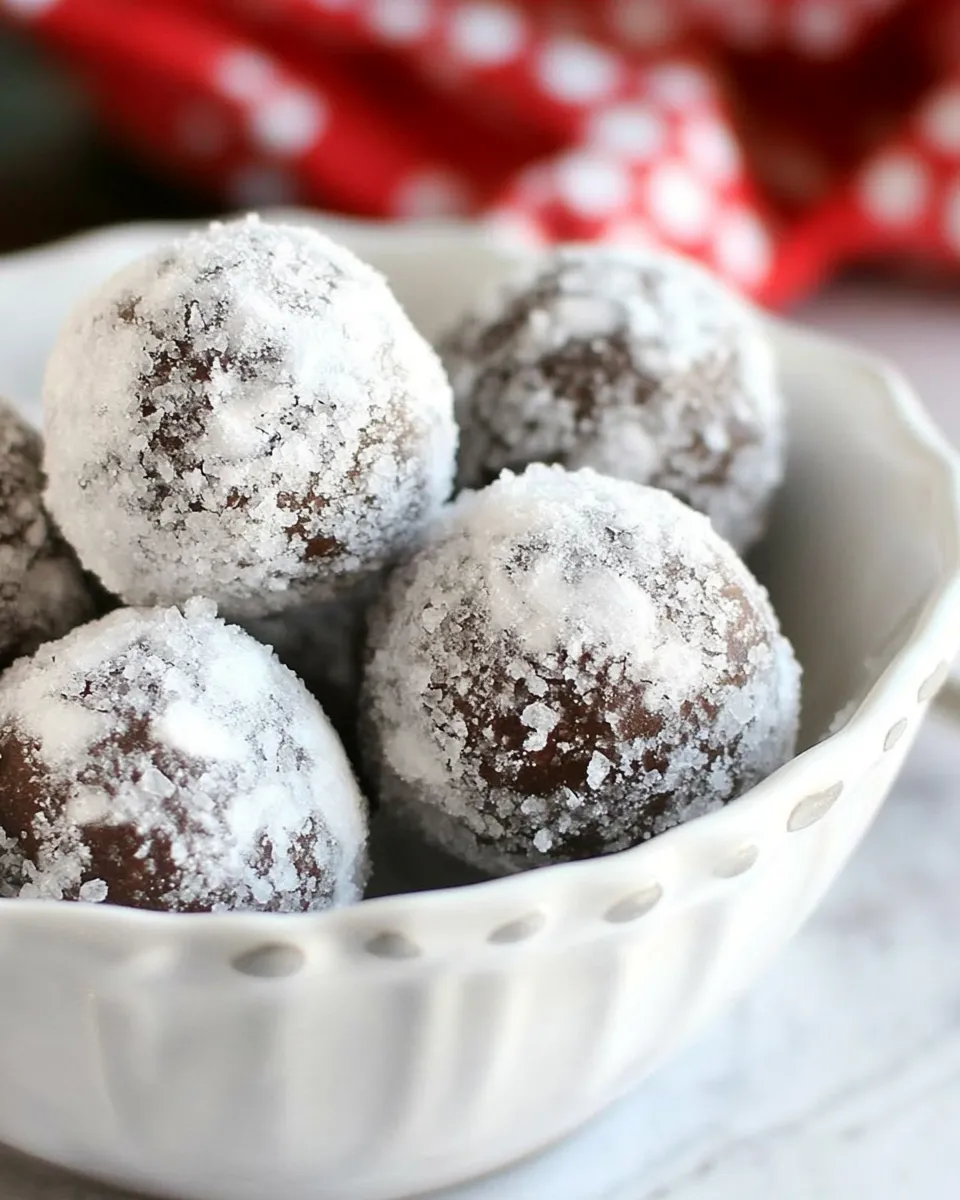
- Roll each ball in your hands if needed to smooth, then roll each ball in the bowl of confectioner’s sugar to coat. Tap off any excess sugar and return the coated balls to the parchment-lined sheet.
- Chill the snow balls in the refrigerator if you want them firmer. Store in the fridge for up to one week.
Top Reasons to Make No-Bake Fudge Snow Balls
- Speed: They take minutes to prepare. No baking means a quick turnaround from pantry to plate.
- Texture: Fudgy and chewy with a light dusting—satisfying without being dense.
- Snackable: Easy to portion and transport. Great for lunchboxes, dessert trays, or a small gift tin.
- Diet-friendly options: With a simple swap of honey for agave, they’re easily vegan.
- Minimal cleanup: One food processor and a few bowls. You’ll be mostly done after rolling.
If You’re Out Of…

- If you don’t have a food processor: the texture will be harder to achieve. You can finely chop the almonds and dates by hand, but it’s more work and the result may be chunkier.
- If your dates are dry: soak them briefly in warm water for 10 minutes, then drain well before adding. This restores some pliability.
- If confectioner’s sugar is missing: a light dusting isn’t essential—these will still be delicious plain. Alternatively, shake them briefly in a clean, fine sieve with a small amount of powdered sweetener if you have one.
- If you’re low on water: add it in tiny increments during processing until the mixture binds; the mixture should feel tacky but not wet.
What’s in the Gear List
- Food processor — the best tool here for a uniform, sticky mass.
- Baking sheet and parchment paper — keeps the balls from sticking and makes cooling easy.
- Tablespoon measure — consistent portioning makes for even chilling and neat presentation.
- Shallow bowl — for the confectioner’s sugar coating.
- Small bowl of water — keeps hands from sticking while rolling.
What Not to Do
- Do not overprocess the almonds into nut butter. Stop pulsing once they’re finely ground but still crumbly. If you go too far you’ll change the texture completely.
- Do not add too much water at once. A little goes a long way; add 1 teaspoon at a time if the mix looks dry.
- Do not skip wiping down the food processor between major steps if large pieces stick to the bowl—those chunks can create uneven balls.
- Do not roll the balls with dry hands. Damp hands prevent sticking and make rolling smoother.
Substitutions by Diet
- Vegan: Use agave instead of honey (already noted in the recipe). Confirm your confectioner’s sugar is vegan-friendly, as some are processed with bone char.
- Nut-free: This recipe centers on almonds, so swap would change structure significantly. If you must avoid nuts, skip this recipe or use a safe alternative processed similarly (note: textural changes will occur).
- Lower sugar: Dates provide most of the sweetness naturally. To reduce added sugars, ensure you use unsweetened cocoa and stick with the fruit sweetness rather than adding extra sweeteners.
Chef’s Notes
Use whole roasted unsalted almonds for the best flavor and texture. The roast gives a subtle depth; the lack of salt lets the cocoa and date sweetness come forward. If your dates are fresher and very soft, reduce the small amounts of added water—you may not need much at all.
When pulsing the almonds, think of texture stages. Coarse crumbs first, then finer, then combined with the dates into a cohesive mass. Scraping down the sides is a small step that makes a big difference; don’t skip it.
For a smoother surface, after forming the balls, run them gently between your palms one more time before coating. If you’re seeking a slightly richer flavor, roll some in unsweetened cocoa powder instead of confectioner’s sugar for a darker, less sweet finish.
Save for Later: Storage Tips
- Refrigerate stored snow balls in an airtight container. They keep well for up to one week in the fridge.
- If you prefer firmer texture, chill them for at least an hour before serving. They’ll firm up considerably.
- Bring them to room temperature for 10–15 minutes before eating if you want a softer, more fudgy mouthfeel.
Reader Q&A
- Can I freeze these? Yes. Freeze on the parchment-lined sheet until firm, then transfer to a freezer-safe container with layers separated by parchment. Thaw in the fridge or at room temperature. Expect a slight change in texture—still tasty, but a bit chewier.
- My mixture is too dry. Now what? Add water 1 teaspoon at a time and pulse until it just holds together. You want tacky, not sloppy.
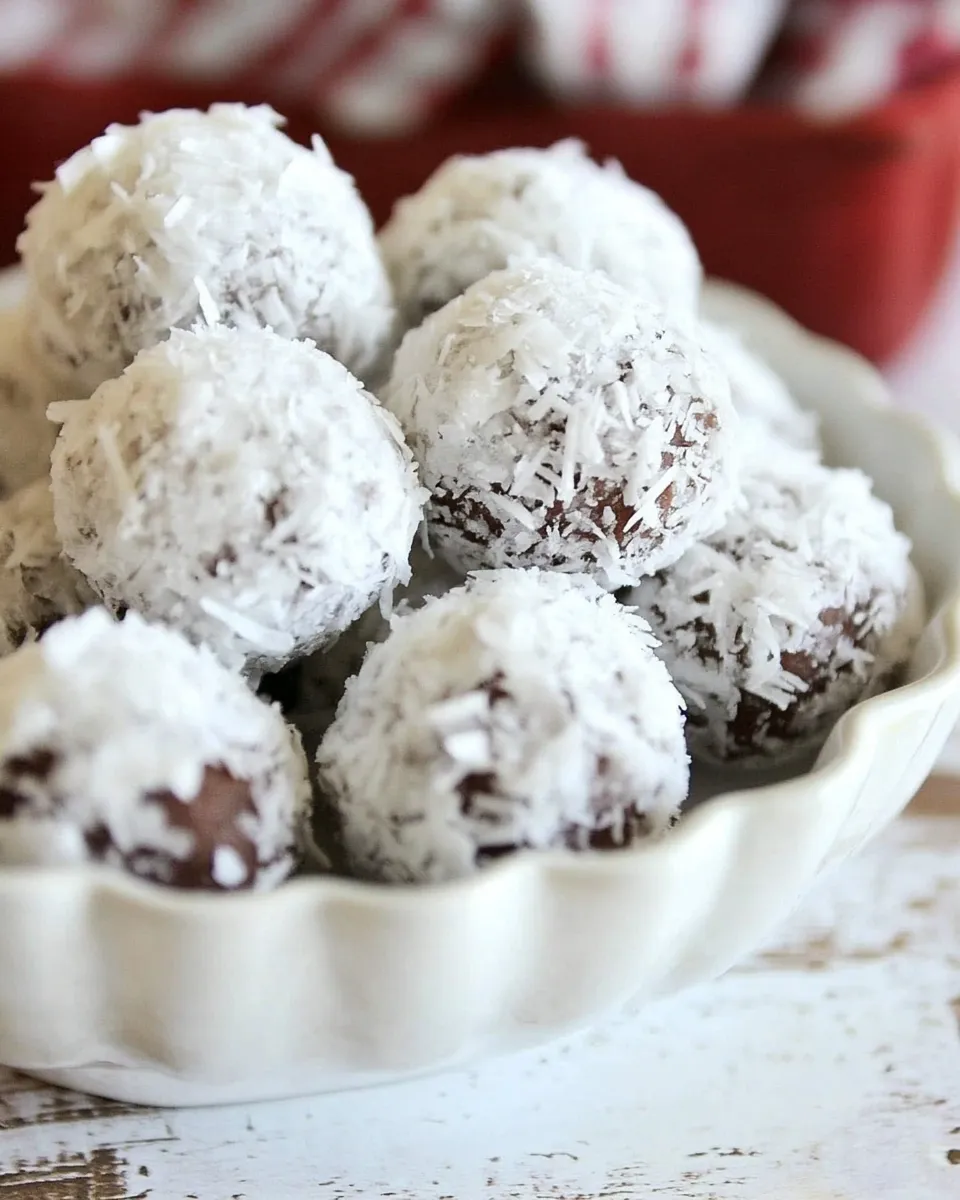
- Can I roll them in something else? Yes—cocoa or finely chopped nuts will work, though the original calls for confectioner’s sugar for that snow-dusted look.
- How many does this make? Roughly one-inch balls using a tablespoon scoop—about 18–24 depending on how tightly you pack the mixture.
Ready, Set, Cook
These No-Bake Fudge Snow Balls are a small-batch treat that reward minimal work with maximum comfort. Start by pulsing those almonds, bring the dates and cocoa together, and roll—it’s that straightforward. Keep a tray in the fridge and you’ll always have something sweet and homemade on hand.
Make a batch, share a photo, and tell me how you dusted yours. I love hearing little twists and seeing those perfect, snowy spheres on a pretty plate.

No-Bake Fudge Snow Balls
Ingredients
Ingredients
- 15 pitted dates
- 2/3 cupunsweetened cocoa powder
- 1 cupwhole roasted unsalted almonds
- 1 tbsphoney or agave if vegan
- 2 tbspwater or more if needed
- 3 tbspconfectioner's sugar
Instructions
Instructions
- Line a baking sheet with parchment paper and set aside. Place 1 cup whole roasted unsalted almonds in a food processor.
- Pulse the almonds until they are finely ground (small crumbs, not paste). Stop and scrape down the sides as needed.
- Add 15 pitted dates, 2/3 cup unsweetened cocoa powder, 1 tbsp honey (or agave if vegan), and 2 tbsp water to the food processor.
- Process until the mixture comes together into a sticky, uniform mass. Stop and scrape down the bowl as needed. If the mixture seems too dry, add additional water 1 teaspoon at a time and process again until it holds together.
- Transfer the mixture to a bowl. Place 3 tbsp confectioner's sugar in a separate shallow bowl.
- Wash your hands. Keep a small bowl of water nearby and dampen your hands (this prevents sticking) before rolling.
- Using a tablespoon measure, scoop about 1 tbsp of the mixture, press it together, and roll it between your palms into a smooth ball. Place the ball on the prepared parchment. Repeat until all the mixture is used.
- Roll each ball in your hands if needed to smooth, then roll each ball in the bowl of confectioner's sugar to coat. Tap off any excess sugar and return the coated balls to the parchment-lined sheet.
- Chill the snow balls in the refrigerator if you want them firmer. Store in the fridge for up to one week.
Equipment
- Food Processor


