
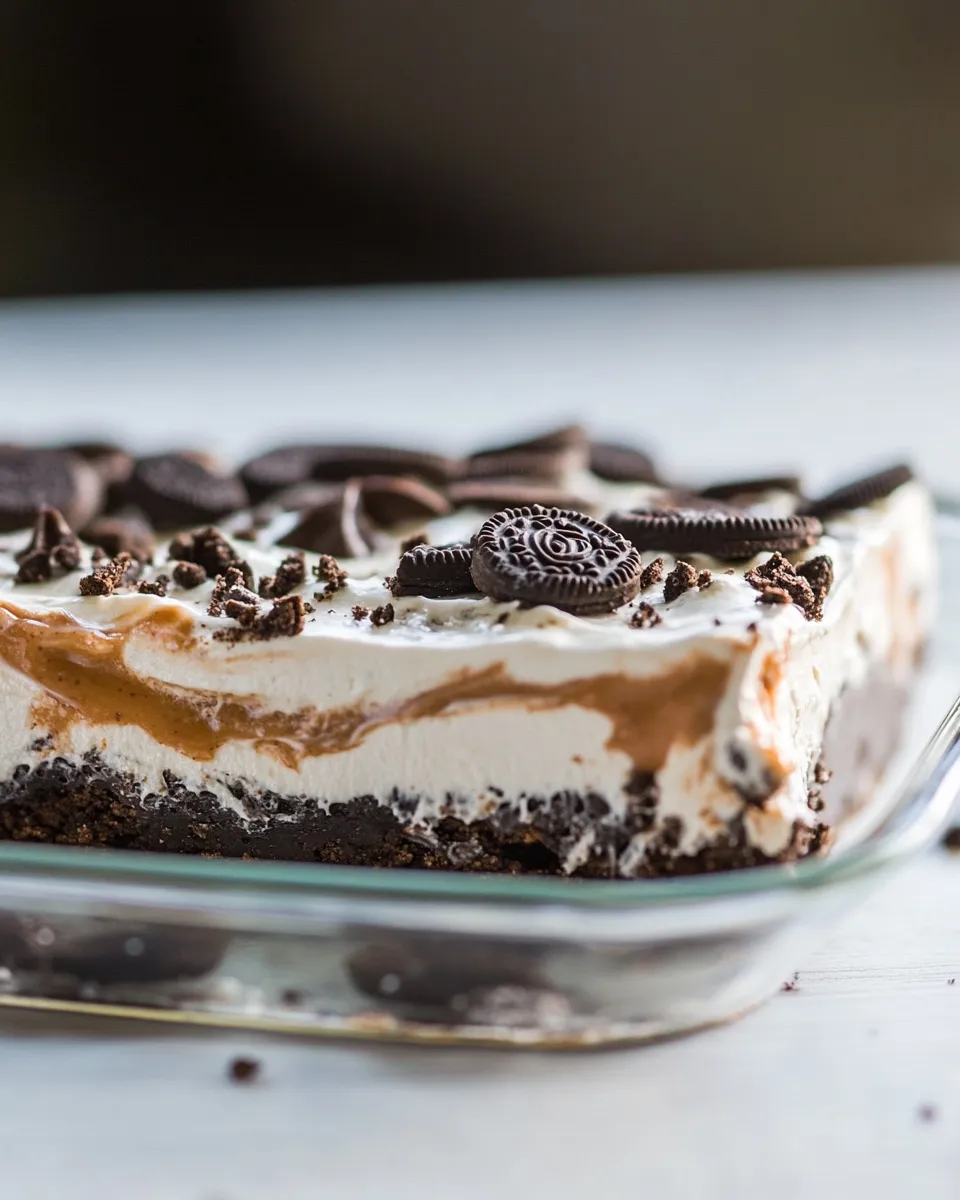
This is the dessert I reach for when I want something that feels special without the fuss. Layers of crushed Double Stuf Oreos, a tangy cream cheese layer, silky chocolate pudding, and clouds of Cool Whip — it’s exactly what it promises: heavenly and utterly no-bake. It comes together with familiar supermarket ingredients and a little refrigeration time, so it’s ideal for potlucks, weeknight treats, or dessert emergencies.
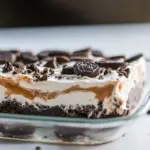
Everyone who’s tasted it asks the same thing: “Did you really not bake this?” Yes, really. The structure comes from a chilled Oreo crust and layered fillings that set in the fridge. The contrast of textures — crunchy crumbs, dense cream cheese, silky pudding, and light whipped topping — makes every bite satisfying.
I’ll keep this practical: clear steps, a tidy ingredients list, and the small troubleshooting notes I’ve learned from making this several times. If you want to scale or swap, I’ll give safe options below. Let’s get to it.
Gather These Ingredients
Ingredients
- 15.35 ounce (435.17 g) Double Stuff Oreo Cookies — the backbone for the crust and the sprinkle on top; extra filling in Double Stuf makes the crust and texture richer.
- ½ cup (113.5 g) unsalted butter, melted and slightly cooled — binds the Oreo crumbs into a solid, sliceable crust; let it cool slightly so it doesn’t melt the filling later.
- 8 ounces (226.8 g) cream cheese — provides structure and tang to the middle layer; bring to room temperature for a smoother beat.
- 1 cup (120 g) powdered sugar — sweetens and stabilizes the cream cheese layer; sift if it’s lumpy.
- 8 ounce (226.8 g) tub Cool Whip — folded into the cream cheese layer for lightness; use the first tub here.
- 5.1 ounce (144.58 g) box instant chocolate pudding — makes the silky chocolate layer; instant is key for no-bake speed.
- 3 cups (854 ml) milk — whisked into the pudding mix; whole milk gives a creamier texture, but 2% is fine.
- 8 ounce (226.8 g) tub Cool Whip — used on top to finish the dessert; keep this tub cold until spreading.
No Bake Heavenly Oreo Dessert — Do This Next
- Place the 15.35-ounce package of Double Stuff Oreo cookies in a large zip-top bag and crush with a rolling pin or mallet until you have mostly small crumbs with a few small chunks remaining. Measure and set aside ½ cup (about reserved) of the crumbs for the topping, then pour the remaining crumbs into a 9×13-inch pan.
- Pour the ½ cup (113.5 g) melted, slightly cooled unsalted butter over the crumbs in the pan. Use a fork to mix until all crumbs are moistened, then press the mixture into an even layer on the bottom of the pan. Refrigerate the crust while you prepare the next layer.
- In a mixing bowl, beat the 8 ounces (226.8 g) cream cheese on medium speed until light and fluffy (about 3 minutes). Reduce speed to medium-low and gradually add the 1 cup (120 g) powdered sugar until incorporated. Increase speed to medium and beat 30 seconds. Using a rubber spatula, gently fold in one 8-ounce (226.8 g) tub of Cool Whip until evenly combined. Spread this cream cheese mixture in an even layer over the chilled crust. Refrigerate while you make the pudding layer.
- In a large bowl, whisk the 5.1-ounce (144.58 g) box of instant chocolate pudding mix with the 3 cups (854 ml) milk for 2 minutes. Let the pudding sit 5 minutes to thicken and set.
- Use an offset spatula (or the back of a spoon) to spread the set pudding in an even layer over the cream cheese layer.
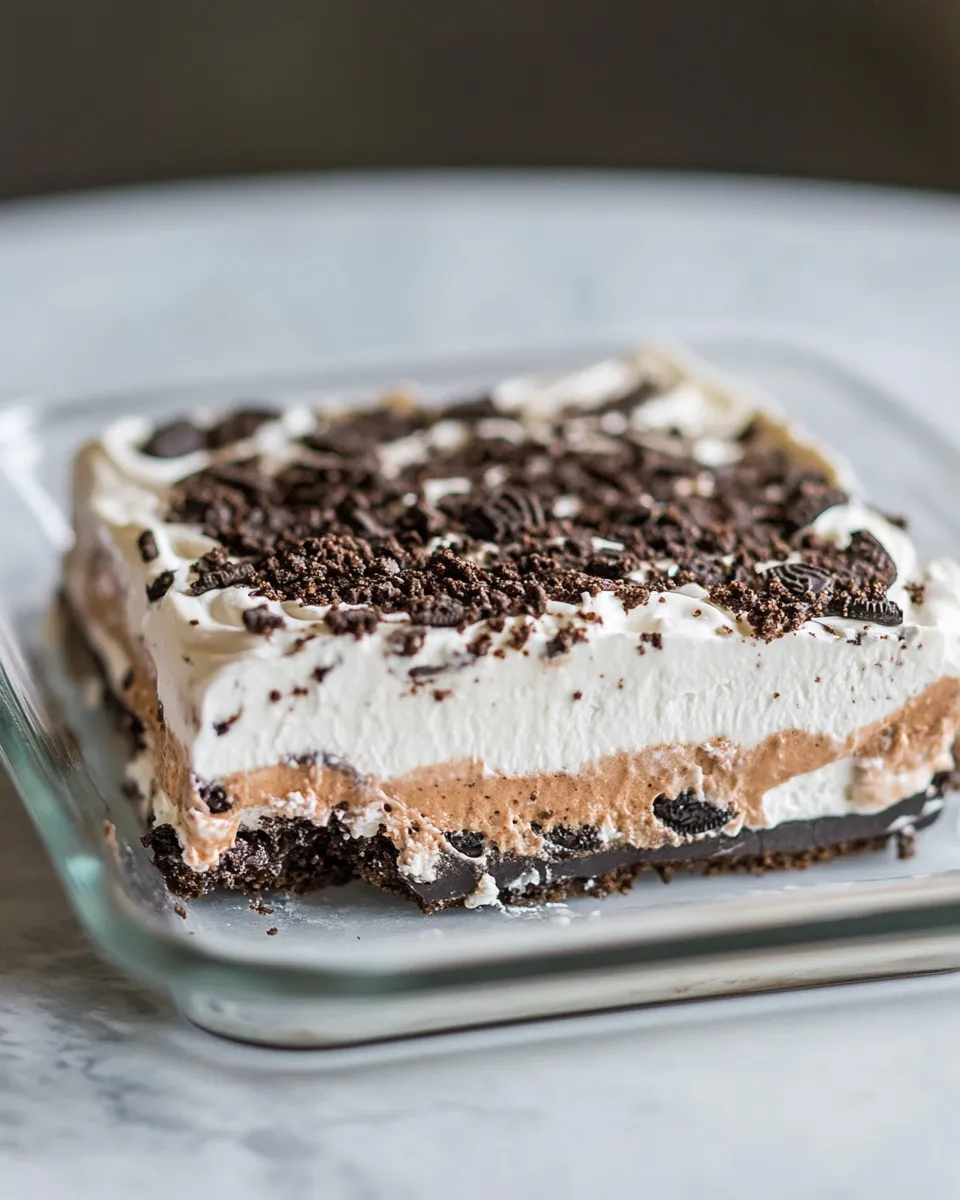
- Spread the remaining 8-ounce (226.8 g) tub of Cool Whip evenly over the pudding. Sprinkle the reserved ½ cup of Oreo crumbs on top.
- Cover the pan and refrigerate the dessert for at least 4 hours (or overnight) before cutting and serving.
Reasons to Love No Bake Heavenly Oreo Dessert
It’s fast to assemble. There’s no oven time, and most of the work is mixing and layering. If you can crush cookies, beat cream cheese, and whisk pudding, you can make this.
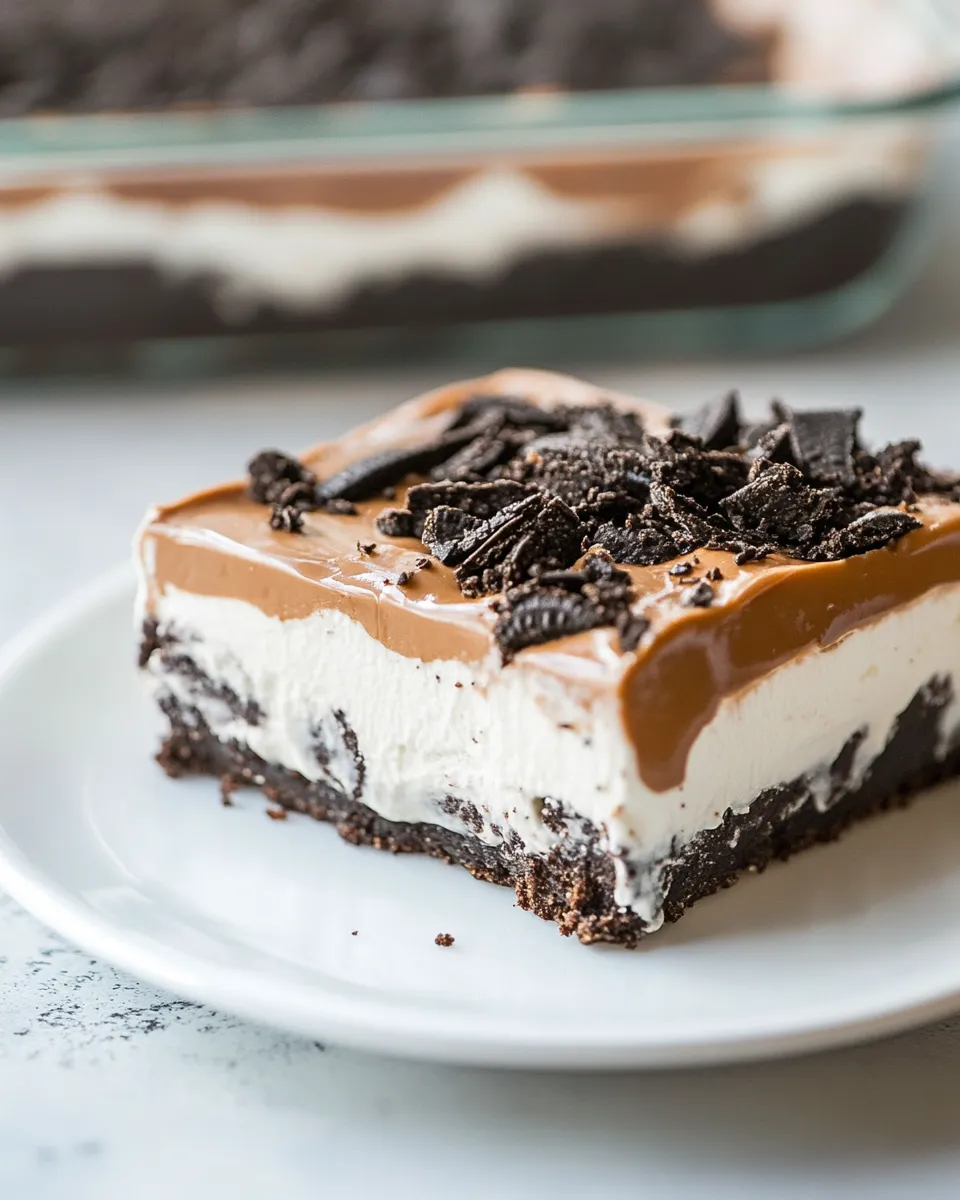
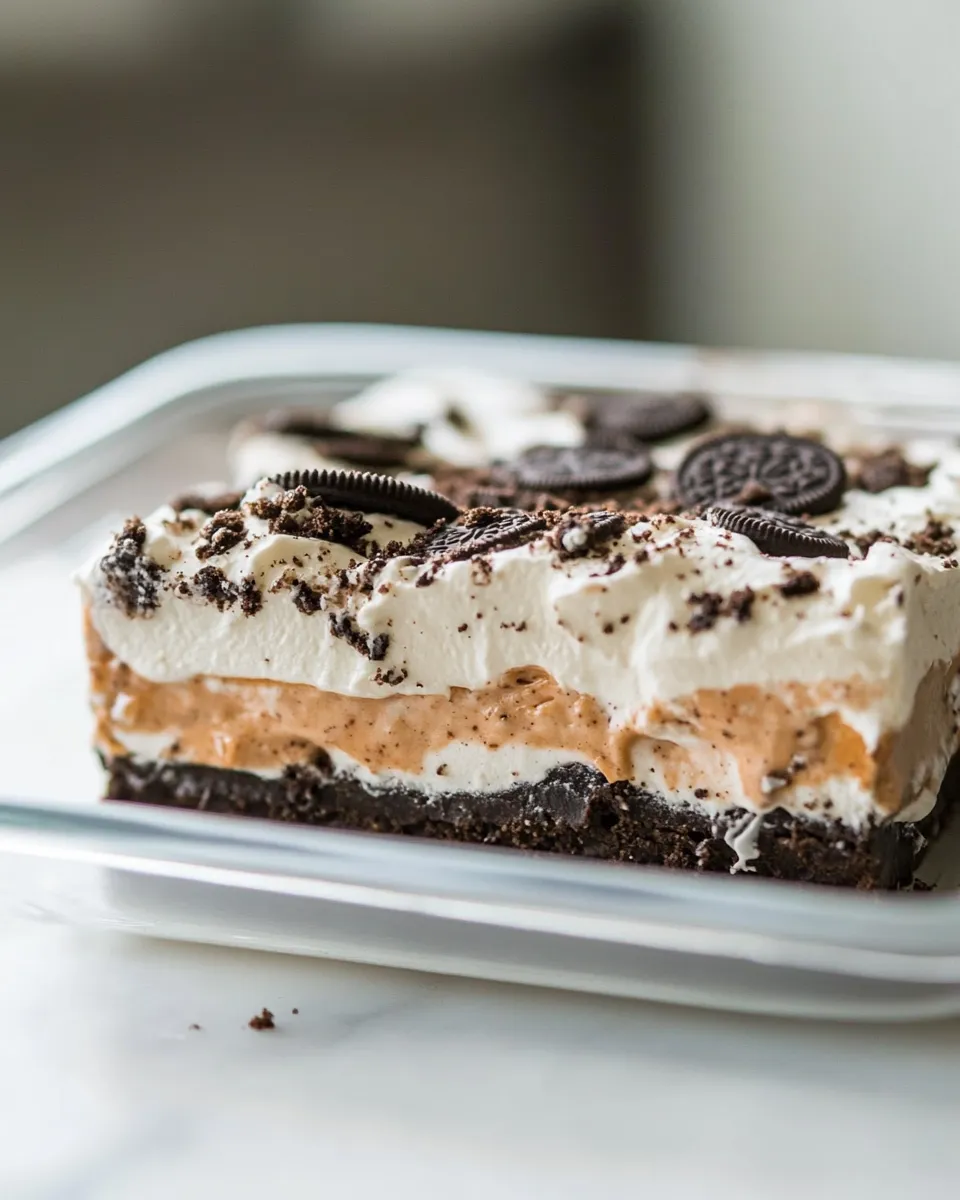
The texture layers are reliable: a crisp-ish Oreo base, a creamy tang from the cream cheese layer, a smooth chocolate middle, and a light whipped top. It reads as homemade and indulgent, but the labor is minimal.
This dessert scales well for crowds. A 9×13 pan serves a group and travels easily when covered. It also holds up in the fridge, so you can make it a day ahead and save time on the event day.
Budget & Availability Swaps
- Oreos: If Double Stuf isn’t on sale or available, regular Oreos work. You’ll get slightly less filling in the crust, but the dessert will still be tasty. Use the same package weight if possible.
- Butter: Stick with unsalted if you can; if all you have is salted butter, reduce any added table salt elsewhere. The amount here is modest and primarily for binding.
- Cream cheese: Full-fat cream cheese gives the best texture. Low-fat versions can be used but expect a softer, slightly less rich middle layer.
- Cool Whip: If you can’t find Cool Whip, a stabilized homemade whipped cream is an option, but it changes timing and stability. Cool Whip is convenient and consistent for this recipe.
- Pudding mix: Use the instant chocolate pudding box as written. If chocolate isn’t available, vanilla instant pudding will shift the flavor profile but still work as a layer.
Cook’s Kit
- 9×13-inch pan — the pan specified gives the right depth for layers.
- Large zip-top bag and rolling pin or mallet — for crushing the Oreos. A food processor would also work.
- Mixing bowls — one for cream cheese and one for pudding.
- Electric mixer (hand mixer or stand mixer) — makes the cream cheese layer smooth and light.
- Fork and rubber spatula — fork to mix crumbs and butter; spatula to fold and spread layers without deflating them.
- Offset spatula or back of a spoon — for smoothing the pudding and top layers evenly.
- Measuring cups and spoons — to match the recipe quantities exactly.
Slip-Ups to Skip
Don’t try to shortcut the chilling time. The dessert needs at least 4 hours to set so slices hold together. Cutting too early yields a sloppy mess.
Avoid mixing the cream cheese when it’s cold straight from the fridge. It will clump and never get fully smooth. Bring it to room temperature, then beat it until light and fluffy.
When pressing the crust into the pan, don’t press too hard or you’ll create an overly dense base that’s hard to cut. Press until even and compact, but not a rock.
Don’t substitute instant pudding with cook-and-serve without adjusting method. Cook-and-serve needs cooling time and a different liquid ratio; stick with instant pudding for predictability.
Seasonal Spins
Winter gatherings: add a dusting of instant espresso to the chocolate pudding for a mocha note. It cuts richness and adds warmth.
Spring and summer: top with fresh berries around the edges for color and a tart counterpoint — strawberries or raspberries work well.
Holidays: swap the chocolate pudding for peppermint chocolate pudding or sprinkle crushed candy canes on top for a festive crunch. Just be mindful of stronger flavors that will dominate the cream cheese layer.
Little Things that Matter
Reserve the specified ½ cup of crumbs for the topping. It’s an intentional visual and textural finish and helps communicate that there’s Oreo through the whole dessert.
Smooth each layer carefully. The pudding will level itself a bit, but using an offset spatula gives clean layers and neat slices once refrigerated.
Cover the pan while refrigerating to prevent the Cool Whip top from absorbing fridge odors and to keep the texture pristine.
Keep-It-Fresh Plan
Storage: Tightly cover the pan with plastic wrap or an airtight lid and keep it in the refrigerator. It will stay at its best for 3–4 days. After that, the crust can soften noticeably and the whipped topping may lose some lift.
Freezing: You can freeze individual slices for up to 1 month. Wrap slices tightly in plastic wrap and then foil to prevent freezer burn. Thaw in the refrigerator overnight before serving. Note: Cool Whip and pudding textures change slightly after freezing; the dessert is best fresh or refrigerated rather than frozen.
Transport: Chill fully before transport and carry it in a flat container. An insulated bag with an ice pack helps if you’ll be out for longer than an hour in warm weather.
No Bake Heavenly Oreo Dessert FAQs
Can I make this a day ahead?
Yes. In fact, making it the night before improves slicing and flavor melding. Keep it covered in the refrigerator until serving.
Can I use homemade whipped cream instead of Cool Whip?
You can, but homemade whipped cream needs stabilizing to hold as long as Cool Whip. Whip to medium peaks and fold in a stabilizer (like a small amount of powdered sugar or gelatin per your stabilizing method). The recipe uses Cool Whip for consistent stability.
Is it possible to halve the recipe for a smaller pan?
Yes. Halve all ingredients and use an 8×8-inch or similar-sized pan. Keep layer thickness even so the dessert sets properly.
Why does the crust get soggy?
If the crust sits with wet filling for a very long time, it will soften. Chill the crust before adding the cream cheese layer, as the recipe directs, and don’t cut too early.
Can I swap the chocolate pudding for another flavor?
Vanilla or butterscotch instant pudding will work, but it will change the overall flavor profile. Chocolate balances the Oreo well, which is why it’s the listed choice.
Bring It Home
This dessert checks the boxes: approachable, crowd-pleasing, and reliably delicious. Follow the steps, respect the chilling time, and you’ll have clean layers and neat slices that look like you worked much harder than you did. Keep the ingredients handy, and next time you need a quick, impressive dessert, this No Bake Heavenly Oreo Dessert will be your go-to.
No Bake Heavenly Oreo Dessert
Ingredients
Ingredients
- 15.35 ounce 435.17 gDouble Stuff Oreo Cookies
- 1/2 cup 113.5 gunsalted butter melted and slightly cooled
- 8 ounces 226.8 gcream cheese
- 1 cup 120 gpowdered sugar
- 8 ounce 226.8 gtub Cool Whip
- 5.1 ounce 144.58 gbox instant chocolate pudding
- 3 cups 854 mlmilk
- 8 ounce 226.8 gtub Cool Whip
Instructions
Instructions
- Place the 15.35-ounce package of Double Stuff Oreo cookies in a large zip-top bag and crush with a rolling pin or mallet until you have mostly small crumbs with a few small chunks remaining. Measure and set aside ½ cup (about reserved) of the crumbs for the topping, then pour the remaining crumbs into a 9×13-inch pan.
- Pour the ½ cup (113.5 g) melted, slightly cooled unsalted butter over the crumbs in the pan. Use a fork to mix until all crumbs are moistened, then press the mixture into an even layer on the bottom of the pan. Refrigerate the crust while you prepare the next layer.
- In a mixing bowl, beat the 8 ounces (226.8 g) cream cheese on medium speed until light and fluffy (about 3 minutes). Reduce speed to medium-low and gradually add the 1 cup (120 g) powdered sugar until incorporated. Increase speed to medium and beat 30 seconds. Using a rubber spatula, gently fold in one 8-ounce (226.8 g) tub of Cool Whip until evenly combined. Spread this cream cheese mixture in an even layer over the chilled crust. Refrigerate while you make the pudding layer.
- In a large bowl, whisk the 5.1-ounce (144.58 g) box of instant chocolate pudding mix with the 3 cups (854 ml) milk for 2 minutes. Let the pudding sit 5 minutes to thicken and set.
- Use an offset spatula (or the back of a spoon) to spread the set pudding in an even layer over the cream cheese layer.
- Spread the remaining 8-ounce (226.8 g) tub of Cool Whip evenly over the pudding. Sprinkle the reserved ½ cup of Oreo crumbs on top.
- Cover the pan and refrigerate the dessert for at least 4 hours (or overnight) before cutting and serving.
Equipment
- Large Zip-Top Bag
- rolling pin or mallet
- 9x13-inch pan
- Fork
- Mixing Bowl
- Electric Mixer
- Rubber spatula
- Whisk
- Offset Spatula
- Refrigerator
Notes
Nutritional values are based on one serving


