

I make these Oreo truffles any time I need an impressive, no-fuss sweet. They’re the kind of recipe that feels indulgent but is actually kind to your schedule. You need a few pantry items, a little patience while they chill, and you end up with bite-sized treats people always ask for seconds of.
The texture is the appeal: buttery, cookie-heavy centers wrapped in a firm chocolate shell. They travel well, freeze beautifully, and you can finish them in a dozen different ways depending on the occasion. I’ll keep this practical — exact steps, what tools I use, common mistakes and how to avoid them.
If you’re new to dipping candy, I’ll walk you through the easy parts and the sticky ones. No fluff, just straightforward notes so your truffles look as good as they taste.
What You’ll Need
Ingredients
- 40 original Oreos — the base of the truffle: cookies plus filling give structure and sweetness.
- 8 ounces cream cheese — room temperature. Adds creaminess and helps bind the crumbs into a scoopable mixture.
- 1 package Ghirardelli dark chocolate flavored melting wafers 10 ounces — for the outer coating; melts cleanly and sets with a firm shell.
- white chocolate/vanilla wafers for drizzling — visual contrast and a sweet finish; melt and drizzle over set dark shells.
- Oreo cookie crumbs — reserve a small amount for topping; adds texture and signals flavor.
- sprinkles — optional garnish for color and festivity.
Directions: Oreo Truffles
- Line a baking sheet with parchment paper and set it nearby.
- Place the 40 Oreos in a food processor or blender and crush to fine crumbs. Reserve a small handful of crumbs for topping if desired.
- In the bowl of a stand mixer fitted with the paddle attachment, or in a large bowl with an electric mixer, beat the 8 ounces room-temperature cream cheese on medium speed until smooth, about 1–2 minutes.
- Add the Oreo crumbs to the cream cheese and mix on low speed until fully incorporated and uniform.
- Using a 1.5-tablespoon (medium) cookie scoop or your hands, portion the mixture into 20 equal portions. Roll each portion into a smooth ball and place the balls on the prepared baking sheet, leaving space between them.
- Freeze the Oreo balls until firm, about 1 hour.
- Melt the 10 ounces Ghirardelli dark chocolate flavored melting wafers according to package directions. Using a toothpick (or a dipping fork), pick up each frozen ball, dip it into the melted dark chocolate to coat, and gently shake off excess. Return each coated truffle to the parchment-lined baking sheet to set.
- Melt the white chocolate/vanilla wafers according to package directions. Drizzle the melted white/vanilla chocolate over the set dark-coated truffles and immediately top with reserved Oreo crumbs or sprinkles, if desired.
- Refrigerate the finished truffles until the chocolate is fully set and they are ready to serve.
Why It’s My Go-To
These truffles win on time and impact. The total hands-on time is short: crush, mix, scoop, and coat. Most of the clock is passive — chilling and setting — which frees you to clean up, prep a drink, or make another batch. They look like something that took hours, yet you can complete them in an afternoon.
They’re flexible. If you’re making them for a party, you can make a double batch and keep them chilled. If it’s a last-minute gift, they travel well in a small box with wax paper layers. Flavor-wise, the cookies and cream cheese balance is hard to beat: not too sweet, very satisfying.
Finally, they’re teachable to helpers — kids can roll balls and decorate; adults can dip and drizzle. That makes them my default when I want something shareable that still feels special.
Substitutions by Category
- Cookie Base — The recipe calls for original Oreos. If you prefer a sweeter or different cookie note, consider other sandwich cookies, but be aware the filling-to-cookie ratio changes texture.
- Binder — This uses cream cheese for a rich, slightly tangy center. A firmer or softer cheese will change how the mixture holds and how long it needs to chill.
- Coating — Ghirardelli dark melting wafers are specified for a clean finish. You can use other melting wafers or chocolate made for dipping; they will vary in set time and sheen.
- Toppings — The recipe suggests reserved Oreo crumbs or sprinkles. Other small, dry toppings work as long as they won’t weep moisture onto the chocolate.
Tools & Equipment Needed
- Food processor or blender — to crush the Oreos to fine crumbs.
- Stand mixer with paddle attachment or an electric hand mixer — for smoothing the cream cheese.
- 1.5-tablespoon cookie scoop (medium) or clean hands — for even portions.
- Baking sheet and parchment paper — for resting and setting the truffles.
- Freezer space — you need room for a sheet pan for about an hour while the centers firm up.
- Small bowls or microwavable-safe containers — to melt the wafers separately.
- Toothpicks or a dipping fork — to dip each ball cleanly and shake off excess chocolate.
Learn from These Mistakes
- Skipping room temperature cream cheese — cold cream cheese won’t whip smooth and will leave lumps. Let it sit until soft but not melted.
- Undercrushed cookies — coarse crumbs make the centers grainy and harder to roll. Aim for fine, uniform crumbs so the texture is silky.
- Not firming the balls long enough — if centers are soft when you dip, they will fall apart or cause the coating to sag. Freeze until firm.
- Overheating the coating — melting wafers too hot can burn the chocolate or create a dull finish. Melt gently according to package directions.
- Dipping at room temperature — warm truffles and warm chocolate don’t set well. Work with frozen centers and room-temperature chocolate for best results.
Make It Your Way
Coating & Decoration Options
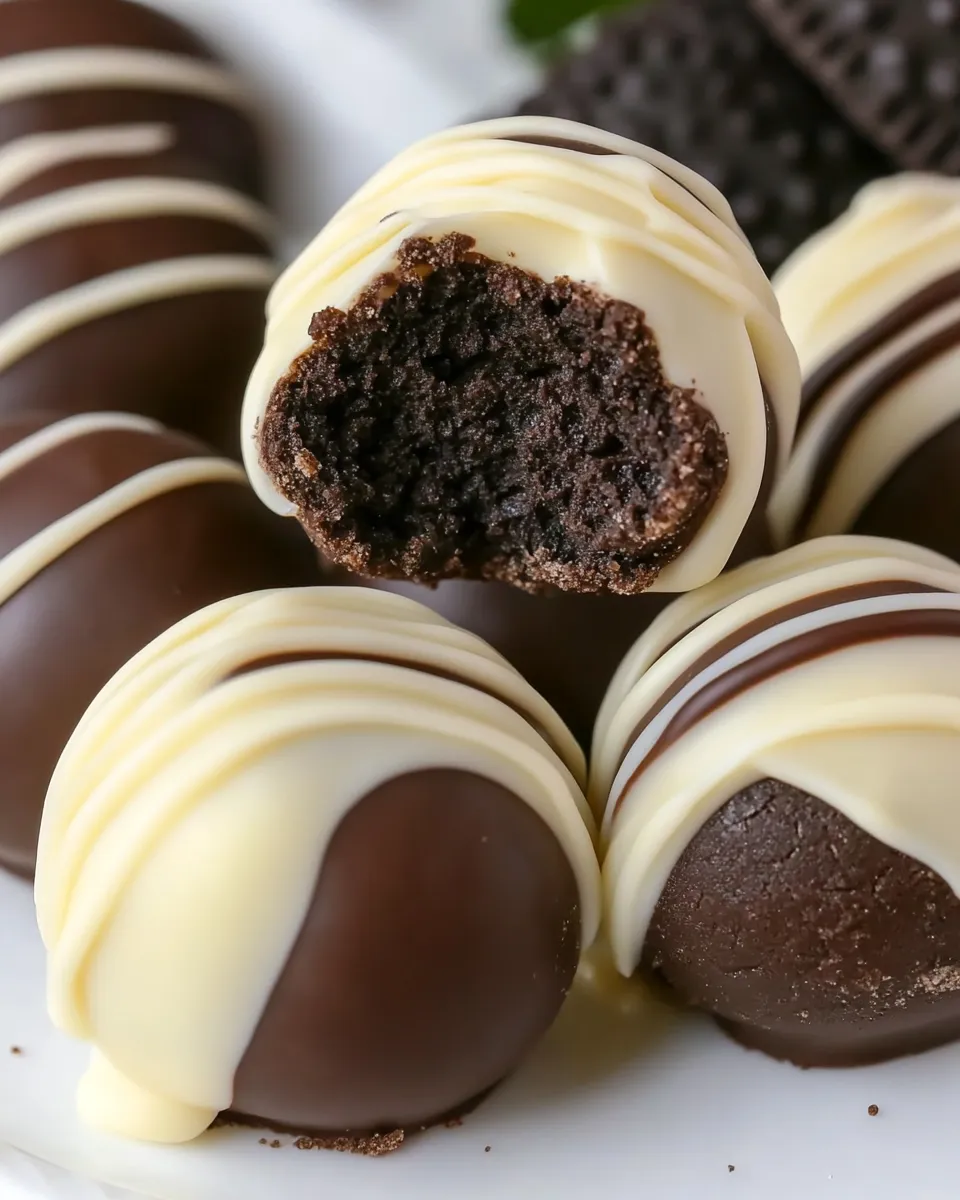
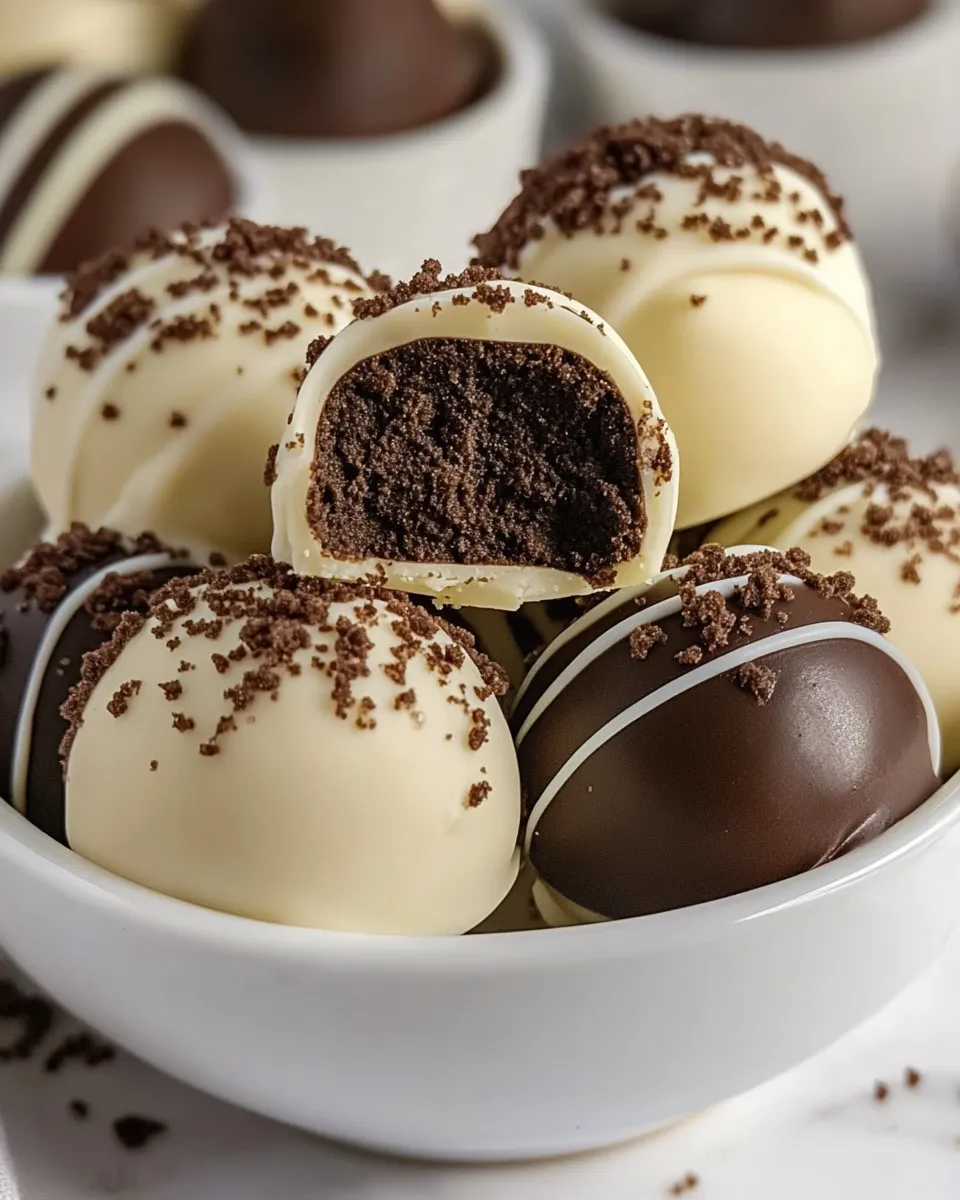
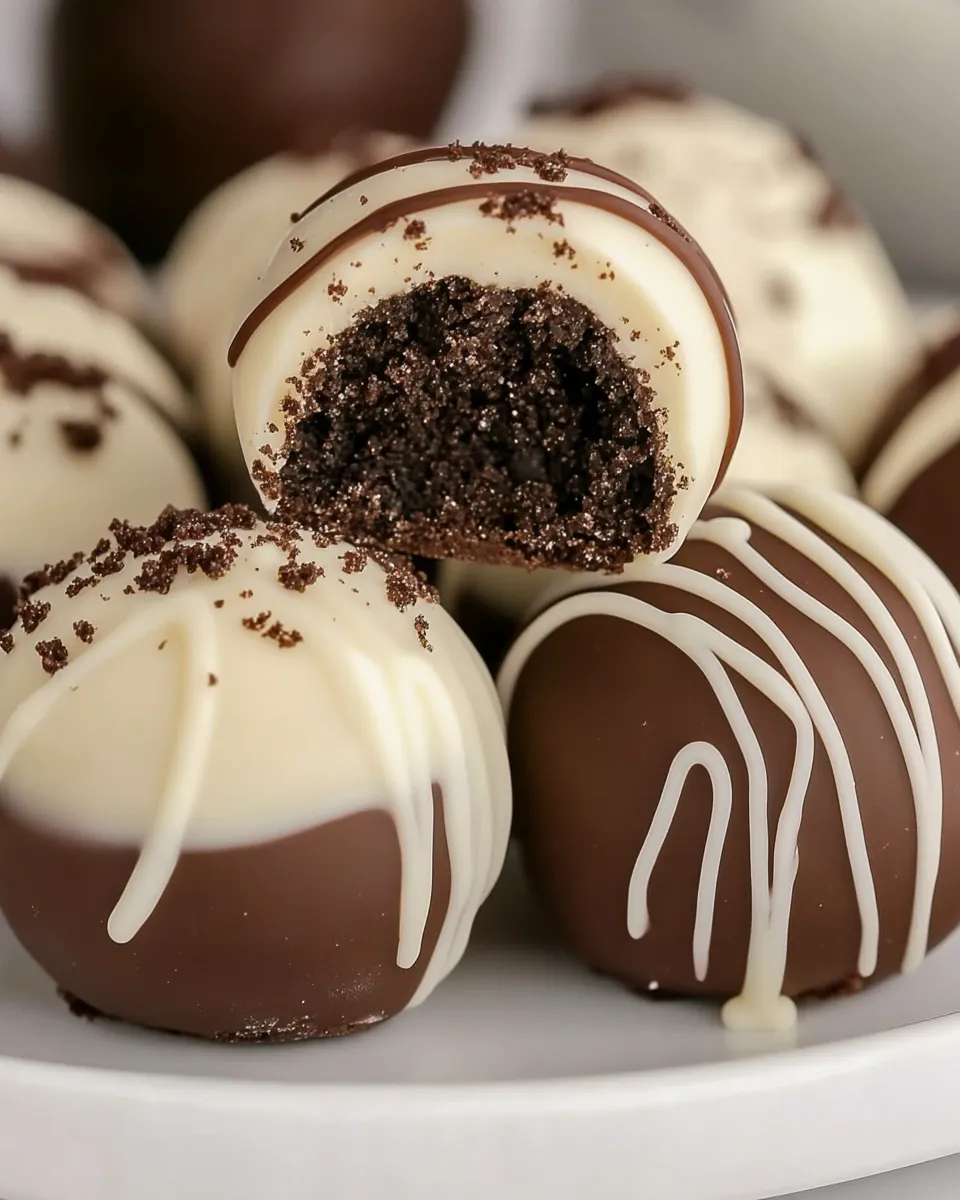
- Dark chocolate shell with white-drizzle and Oreo crumb — the classic finished look in this recipe.
- All-dark coating with a dusting of crumbs for a minimalist finish.
- Use sprinkles or small candies immediately after drizzling while the chocolate is wet for seasonal or party-themed variations.
Batching and Timing
If you need many, double or triple the recipe but melt coating in batches to avoid cooling and thickening. Freeze trays of rolled centers on parchment first, then stack with wax paper between layers in a covered container if you want to finish later.
Little Things that Matter
Small details change the result. Scrape the sides of your mixing bowl once or twice to ensure full incorporation. When rolling balls, make them smooth — a quick roll between palms tightens the surface and reduces cracking under the coating. Freeze on a shallow baking sheet so the centers firm evenly. Use a toothpick at an angle when dipping; it helps you place and remove the ball cleanly while minimizing contact with the melted chocolate.
Storing Tips & Timelines
After the chocolate has fully set in the refrigerator, store the truffles in an airtight container. They keep well in the fridge for up to two weeks. If you need longer storage, place them in the freezer for up to two months; thaw in the refrigerator before serving to avoid condensation on the chocolate.
A note on room temperature: these truffles are best served slightly chilled, especially if your coating is a melting-wafers variety that softens quickly at warm temperatures. Keep them out of direct heat and sunlight while serving.
Your Top Questions
- Can I use low-fat cream cheese? — Low-fat versions will change texture and may make the centers less rich; they can work but expect slight differences in mouthfeel.
- Do I have to freeze them? — Yes. Freezing firms the centers so they hold together during dipping and gives a clean shell once coated.
- Why did my chocolate bloom (white streaks)? — Rapid temperature changes or improperly tempered chocolate cause fat bloom. Using melting wafers per package directions minimizes this risk.
- Can I make these ahead? — Absolutely. You can freeze the rolled centers or completed truffles; just allow them to thaw in the fridge before serving.
Bring It to the Table
Presentation is simple: arrange truffles on a platter with a few left in a small stack to create height. If gifting, line a small box with parchment and separate layers with wax paper. A sprig of something green or a small card makes a homemade touch without extra effort.
These are a dependable crowd-pleaser. Follow the steps, chill when instructed, and you’ll have a tray of neat, shiny truffles that look like a lot more work than they are. Make them for a party, a holiday, or a quiet weeknight dessert — they rarely disappoint.

Oreo Truffles
Ingredients
Ingredients
- 40 original Oreos
- 8 ouncescream cheeseroom temperature
- 1 packageGhirardelli dark chocolate flavored melting wafers10 ounces
- white chocolate/vanilla wafers for drizzling
- Oreo cookie crumbs
- sprinkles
Instructions
Instructions
- Line a baking sheet with parchment paper and set it nearby.
- Place the 40 Oreos in a food processor or blender and crush to fine crumbs. Reserve a small handful of crumbs for topping if desired.
- In the bowl of a stand mixer fitted with the paddle attachment, or in a large bowl with an electric mixer, beat the 8 ounces room-temperature cream cheese on medium speed until smooth, about 1–2 minutes.
- Add the Oreo crumbs to the cream cheese and mix on low speed until fully incorporated and uniform.
- Using a 1.5-tablespoon (medium) cookie scoop or your hands, portion the mixture into 20 equal portions. Roll each portion into a smooth ball and place the balls on the prepared baking sheet, leaving space between them.
- Freeze the Oreo balls until firm, about 1 hour.
- Melt the 10 ounces Ghirardelli dark chocolate flavored melting wafers according to package directions. Using a toothpick (or a dipping fork), pick up each frozen ball, dip it into the melted dark chocolate to coat, and gently shake off excess. Return each coated truffle to the parchment-lined baking sheet to set.
- Melt the white chocolate/vanilla wafers according to package directions. Drizzle the melted white/vanilla chocolate over the set dark-coated truffles and immediately top with reserved Oreo crumbs or sprinkles, if desired.
- Refrigerate the finished truffles until the chocolate is fully set and they are ready to serve.
Equipment
- Food Processor
- Cookie Scoop Set
Notes
For 40 Oreos, purchase the “family size” (19.1 ounce) package.
Store any leftovers in the refrigerator for up to 3 days.


