
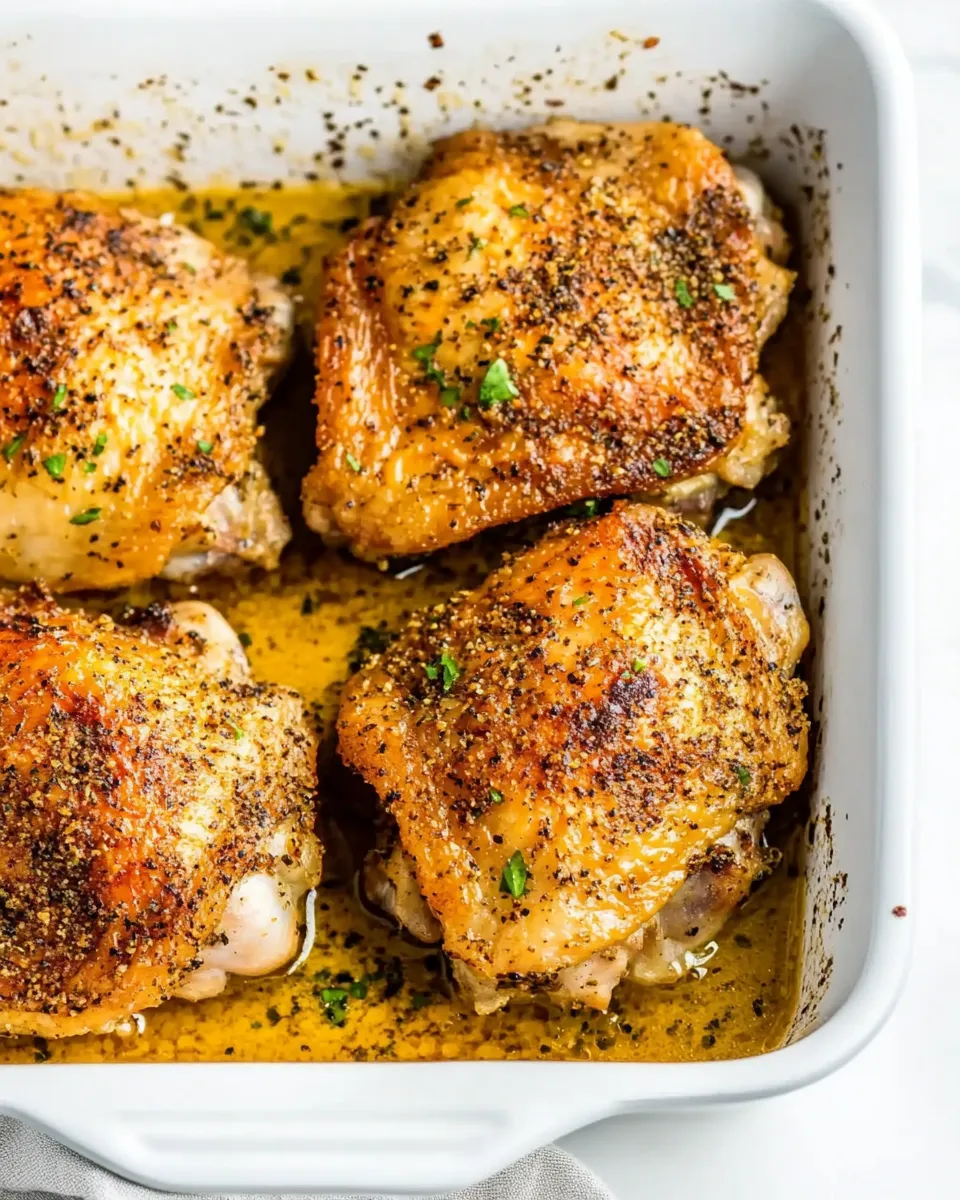
These oven baked chicken thighs are exactly the weekday hero you want: minimal fuss, reliably juicy meat, and skin that actually gets crispy in the oven. There’s no special brine, no searing on the stove — just a small spice rub, a trick with baking powder, and hot, dry heat. The result is dinner that feels like you fussed more than you did.
I tested this method until the timing and textures were consistent. If you follow the directions below — especially drying the skin and using the baking powder mix — you’ll get thighs with a crunchy, brown skin and tender, fully-cooked meat every time. Timing can shift slightly with convection ovens, so I note where to watch closely.
Practical tips are included in the ingredients and troubleshooting sections. Read those if you want to swap items, prep ahead, or freeze. Otherwise, you can move straight to the directions and have dinner on the table in under an hour.
What You’ll Gather

Start simple: a rimmed baking sheet, some parchment or foil, and a meat thermometer. You don’t need a lot of equipment, but a few small steps in prep make a big difference to the final texture.
Ingredients
- 5 chicken thighs — bone-in, skin-on. The bone gives flavor and the skin is what crisps up; do not skip bone-in, skin-on for the same result.
- 2 teaspoons baking powder — dries the skin and promotes browning; this is the low-effort crisping agent.
- 1 teaspoon paprika — adds color and mild smoky sweetness.
- 1 teaspoon garlic powder — concentrated savory flavor without fresh garlic’s moisture.
- ½ teaspoon salt — seasons the meat; adjust after tasting if you prefer less.
- ½ teaspoon pepper — grounds and brightens the seasoning mix.
Directions: Oven Baked Chicken Thighs
- Preheat the oven to 425°F. If your oven has a convection or air-fryer setting, you may use it (the thighs may finish sooner).
- Line a baking sheet with parchment paper or aluminum foil.
- Pat the 5 bone-in, skin-on chicken thighs dry with paper towels until surface moisture is removed.
- In a small bowl, combine 2 teaspoons baking powder, 1 teaspoon paprika, 1 teaspoon garlic powder, ½ teaspoon salt, and ½ teaspoon pepper; mix until evenly blended.
- Rub the spice mixture evenly over each chicken thigh, covering the skin and sides.
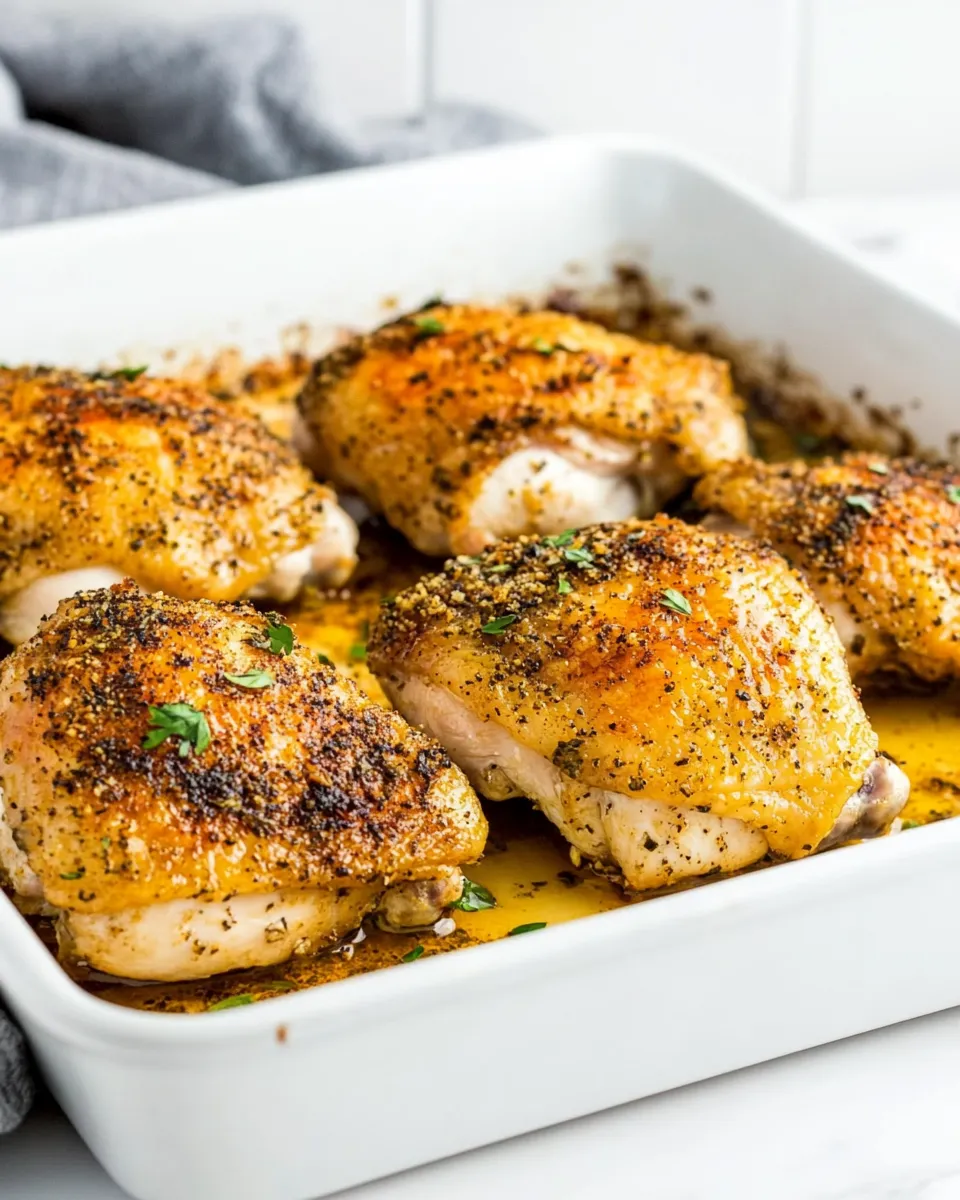
- Arrange the thighs skin-side up on the prepared baking sheet, leaving a few inches of space between pieces.
- Bake in the preheated oven for 30–40 minutes. If using the convection/air-fryer setting, begin checking for doneness at about 25 minutes.
- Check doneness by inserting a meat thermometer into the thickest part of a thigh without touching the bone; the internal temperature should read 165°F.
- When a thigh reaches 165°F, remove the pan from the oven. Spoon or brush the pan juices over the thighs to baste them.
- Let the thighs rest for about 5 minutes before serving so the juices redistribute.
What Sets This Recipe Apart
There are two simple things that make these thighs stand out: the baking powder and drying the skin. Baking powder raises the pH and helps draw moisture away from the skin so it browns and crisps in the oven. Patting the skin dry removes surface moisture that would otherwise steam the skin instead of crisping it.
Compare this to searing on the stovetop: searing can add color, but it takes an extra pan and one more step. This approach keeps everything on a sheet pan, which means less hands-on time, fewer dishes, and the same satisfying texture.
Budget & Availability Swaps
- Boneless thighs: If bone-in thighs are unavailable, boneless, skin-on thighs will still produce crisp skin, but reduce the baking time and start checking temperature around 20–25 minutes.
- Skinless thighs: You can use skinless thighs if that’s what you have, but you’ll lose the crisp skin benefit; lower the oven temperature slightly (around 400°F) and watch closely to avoid drying them out.
- Spice changes: If you don’t have paprika, use an extra ½ teaspoon garlic powder and a pinch of onion powder if on hand. The baking powder is the key for texture — try not to omit it.
- Salt: Lower the salt to taste if you need to; the recipe’s ½ teaspoon seasons five thighs lightly but adequately for most palates.
Setup & Equipment
- Rimmed baking sheet — catches juices and allows air circulation under the thighs slightly if you use a rack.
- Parchment paper or aluminum foil — makes cleanup fast; parchment will keep skin from sticking as much.
- Paper towels — for thoroughly drying the skin before seasoning.
- Small bowl and spoon — to mix the baking powder and spices.
- Meat thermometer — the single best tool to avoid over- or undercooking; insert into the thickest part without touching bone.
- Tongs or a spatula — to transfer thighs on and off the pan carefully when hot.
Troubles You Can Avoid
Soggy skin: This happens when the skin isn’t dry or when the oven is crowded. Pat each thigh thoroughly with paper towels and leave a few inches of space between pieces. If you have a wire rack that fits inside your sheet pan, use it to let air circulate underneath.
Undercooked near the bone: Bone-in thighs will sometimes cook unevenly. Use a probe or instant-read thermometer and check the deepest part of the thigh without touching bone. If one thigh is done before the others, remove it and let the rest finish.
Burnt spices: Spices can darken quickly at high heat. That’s why the rub mixes baking powder with powdered spices rather than large amounts of sugar or fresh garlic. If the spices appear to be burning before the thighs reach 165°F, lower the temperature by 10–15°F and allow a few extra minutes.
Make It Year-Round
This recipe adapts easily across seasons. In summer, pair the thighs with a crisp green salad and grilled corn. In fall and winter, serve them alongside roasted root vegetables and mashed potatoes. The straightforward flavor profile means you can change the side dishes to fit seasonal produce and keep this as a go-to throughout the year.
For warm months, slice the cooled leftover meat into salads or grain bowls. In cooler months, shred the meat for enchiladas, stews, or a quick pot pie filling — the baked skin won’t carry over into those uses, but the meat stays moist.
What I Learned Testing
First: patting the skin dry is non-negotiable. On the first run I skipped that step and ended up with pale, flabby skin. After I started drying, the crispiness became reliable.
Second: baking powder — when used sparingly and rubbed into the skin — yields texture that rivals pan-searing. Use the stated 2 teaspoons for five thighs. I tried more and the coating tasted chalky; less and the skin didn’t crisp as well.
Third: heat matters. 425°F gives a good balance between browning and cooking through. Convection will speed things up; if you use it, start checking at 25 minutes and rely on the thermometer rather than the clock.
Freezer-Friendly Notes
You can freeze these thighs either raw or cooked.
- Freezing raw: Season and place thighs in a single layer on a tray to flash-freeze, then transfer to a freezer bag. Thaw in the refrigerator overnight before baking; allow extra time to reach 165°F.
- Freezing cooked: Cool completely, then wrap tightly in plastic and freeze in a labeled bag for up to 3 months. Reheat in a 350°F oven until warmed through; finish under the broiler for a minute if you want to re-crisp the skin, watching carefully so it doesn’t burn.
Oven Baked Chicken Thighs FAQs
Q: Can I skip the baking powder?
A: You can, but the skin won’t crisp as reliably. Baking powder helps dry and raise the skin so it crisps under high heat. If you must skip it, make sure the skin is extremely dry and consider briefly broiling at the end while watching closely.
Q: How do I know when they’re done?
A: Use an instant-read thermometer. The target internal temperature is 165°F in the thickest part of the thigh without touching the bone. Visual cues (clear juices, no pink near the bone) are helpful but less precise.
Q: My skin burned before the thighs reached temperature. What went wrong?
A: Your oven might have a hot spot, or the spices may have been concentrated on the skin. Lower the oven by 10–15°F and rotate the pan halfway through baking. If necessary, move the pan to a lower rack to reduce direct top heat.
Q: Can I marinate these first?
A: I don’t recommend wet marinades if your goal is crispy skin; added moisture fights crisping. If you want extra flavor, brush on a thin glaze after baking and rest, or rub a dry spice mix (as the recipe prescribes) before cooking.
Let’s Eat
Serving Ideas
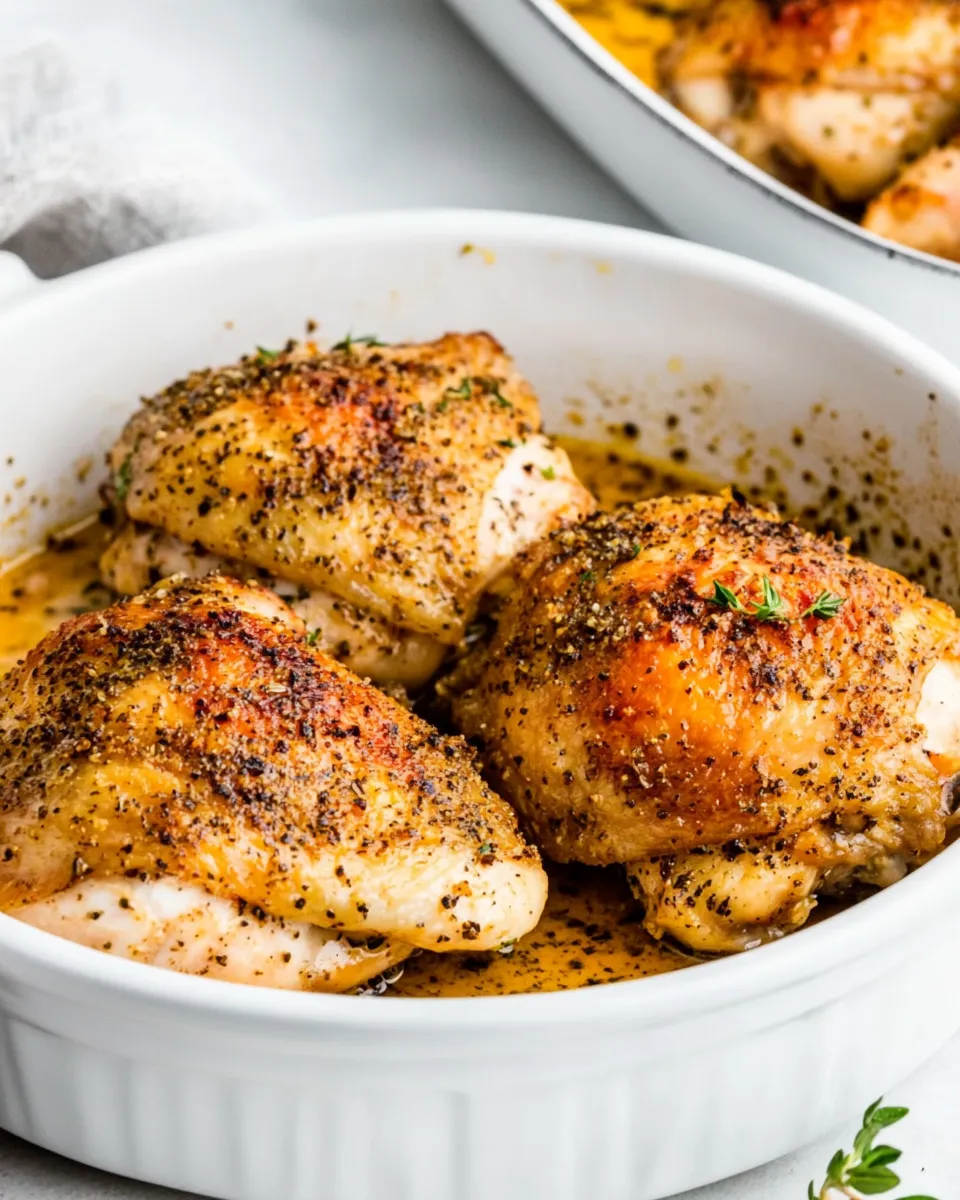
Serve these thighs skin-side up on a platter with a simple lemon wedge or a handful of chopped fresh herbs like parsley or cilantro. For a quick weeknight meal, pair them with roasted potatoes and a simple green salad. For a more relaxed weekend plate, add mashed cauliflower and sautéed green beans.
Leftovers
Leftovers make great sandwiches, tacos, or tossed into a grain bowl. Reheat gently in the oven to keep the meat tender and finish under the broiler for 30–60 seconds if you want to snap the skin back to crisp.
There’s comfort in recipes that are straightforward and consistently good. This one is exactly that: a dependable method to get crisp skin and juicy meat from five humble chicken thighs with minimal effort. Try it tonight, and keep the oven hot.

Oven Baked Chicken Thighs (With Crispy Skin!)
Ingredients
Ingredients
- 5 chicken thighsbone-in skin-on
- 2 teaspoonsbaking powder
- 1 teaspoonpaprika
- 1 teaspoongarlic powder
- 1/2 teaspoonsalt
- 1/2 teaspoonpepper
Instructions
Instructions
- Preheat the oven to 425°F. If your oven has a convection or air-fryer setting, you may use it (the thighs may finish sooner).
- Line a baking sheet with parchment paper or aluminum foil.
- Pat the 5 bone-in, skin-on chicken thighs dry with paper towels until surface moisture is removed.
- In a small bowl, combine 2 teaspoons baking powder, 1 teaspoon paprika, 1 teaspoon garlic powder, ½ teaspoon salt, and ½ teaspoon pepper; mix until evenly blended.
- Rub the spice mixture evenly over each chicken thigh, covering the skin and sides.
- Arrange the thighs skin-side up on the prepared baking sheet, leaving a few inches of space between pieces.
- Bake in the preheated oven for 30–40 minutes. If using the convection/air-fryer setting, begin checking for doneness at about 25 minutes.
- Check doneness by inserting a meat thermometer into the thickest part of a thigh without touching the bone; the internal temperature should read 165°F.
- When a thigh reaches 165°F, remove the pan from the oven. Spoon or brush the pan juices over the thighs to baste them.
- Let the thighs rest for about 5 minutes before serving so the juices redistribute.
Equipment
- Oven
- Baking Sheet
- Parchment paper or aluminum foil
- Small Bowl
- Measuring Spoons
- Paper Towels
- Meat Thermometer
- spoon or brush for basting
Notes
To make them extra crispy place the chicken thighs under the broiler for a minute or two. Watch carefully, it doesn’t take long for the chicken under the broiler to go from extra crispy to burnt if you walk away from them. You only need a minute or two.
Chicken thighs can be cooked on a wire rack on top of the baking pan. This allows the juices to drip down from the chicken below. I find the chicken is juicier if you don’t use a rack, but slightly crispier if you do use a wire rack. I suggest lining the pan with foil if you use a wire rack for easy cleanup.


