
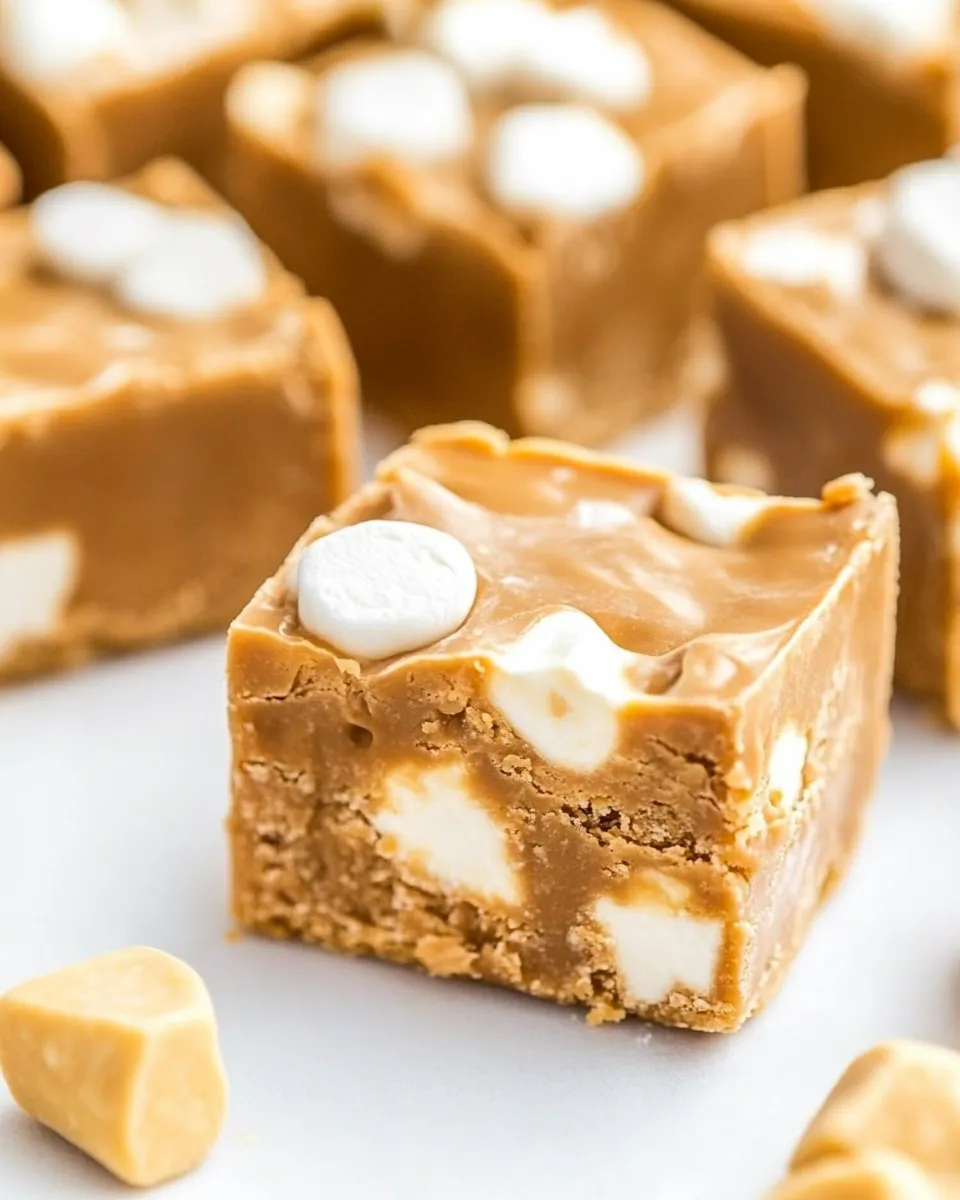
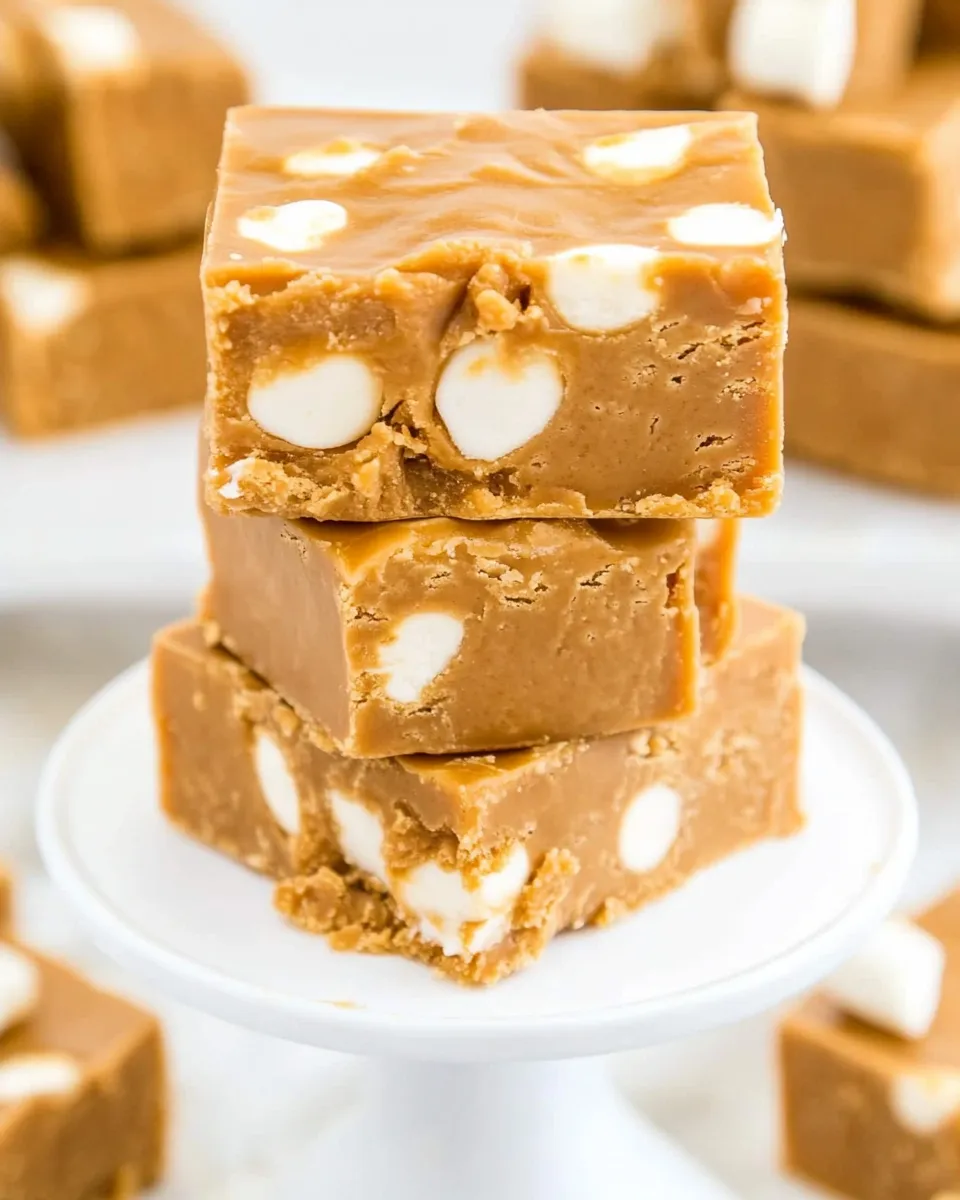
This fudge is the sort of recipe I reach for when I want something ridiculously simple, really nostalgic, and reliably crowd-pleasing. It arrives at the table glossy and soft, studded with pillowy marshmallows and threaded with peanut butter’s creamy nuttiness. The butterscotch chips create a warm, caramel-like base that plays perfectly with the peanut butter.
It’s an assembly-style fudge: minimal active time, a quiet simmer on the stove, and then patience while it sets. The technique is forgiving, but a few small details—low heat, timely stirring, and reserving marshmallows for the top—make the difference between good fudge and great fudge.
You don’t need fancy tools or obscure ingredients. If you follow the order and the tips below, you’ll have thick, sliceable squares that stay fresh in the fridge for weeks. Let’s get started.
Ingredient List
- ½ cup unsalted butter, softened — adds richness and helps the chips melt smoothly; softened means it will blend without clumps.
- 1 heaping cup creamy peanut butter, not natural and not homemade because they’re too runny — provides structure and nutty flavor; use the common creamy variety for stability.
- two 11-ounce bags butterscotch chips — the main sweet base; they give the fudge its signature caramel-butterscotch taste.
- ½ teaspoon salt, or to taste — balances the sweetness and enhances the butterscotch and peanut butter notes.
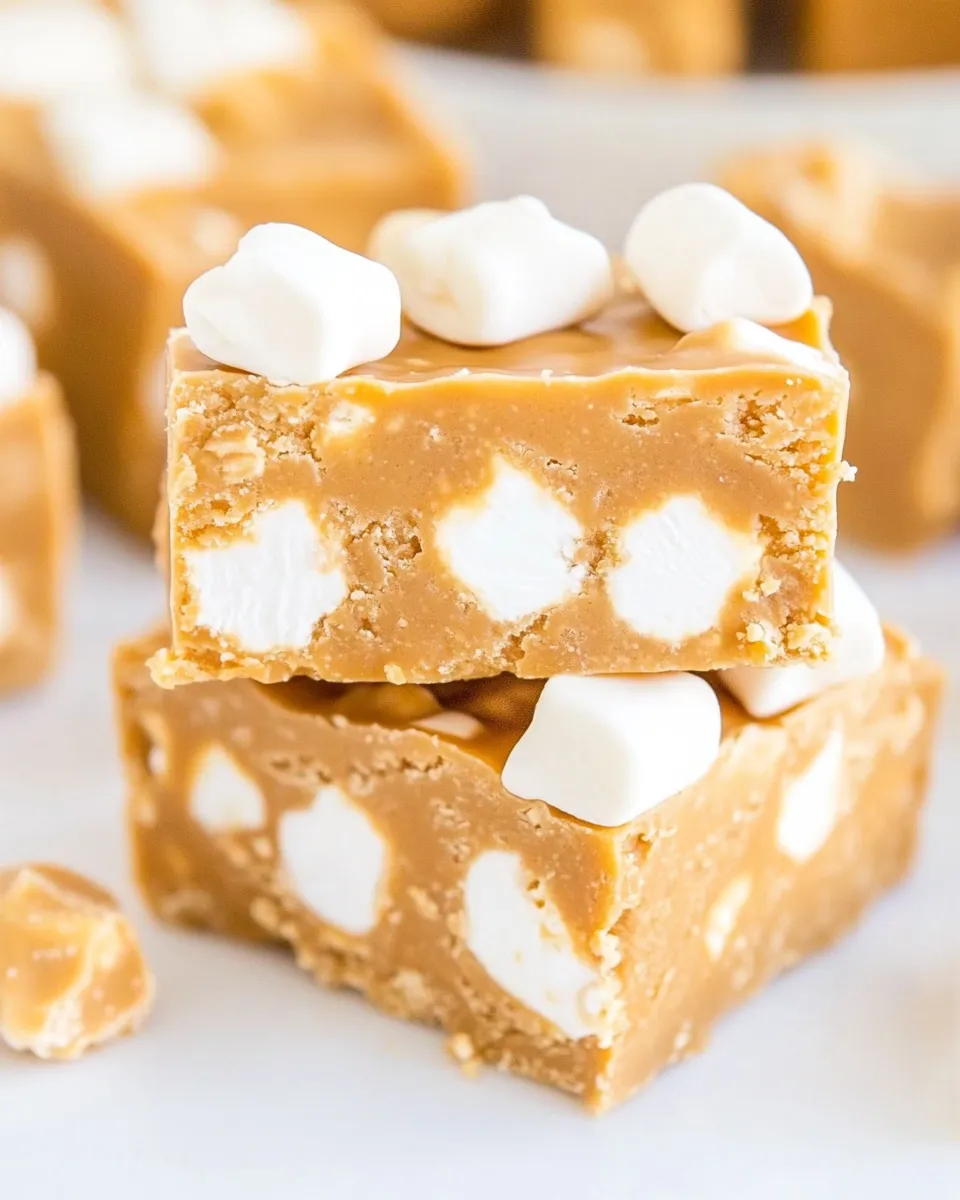
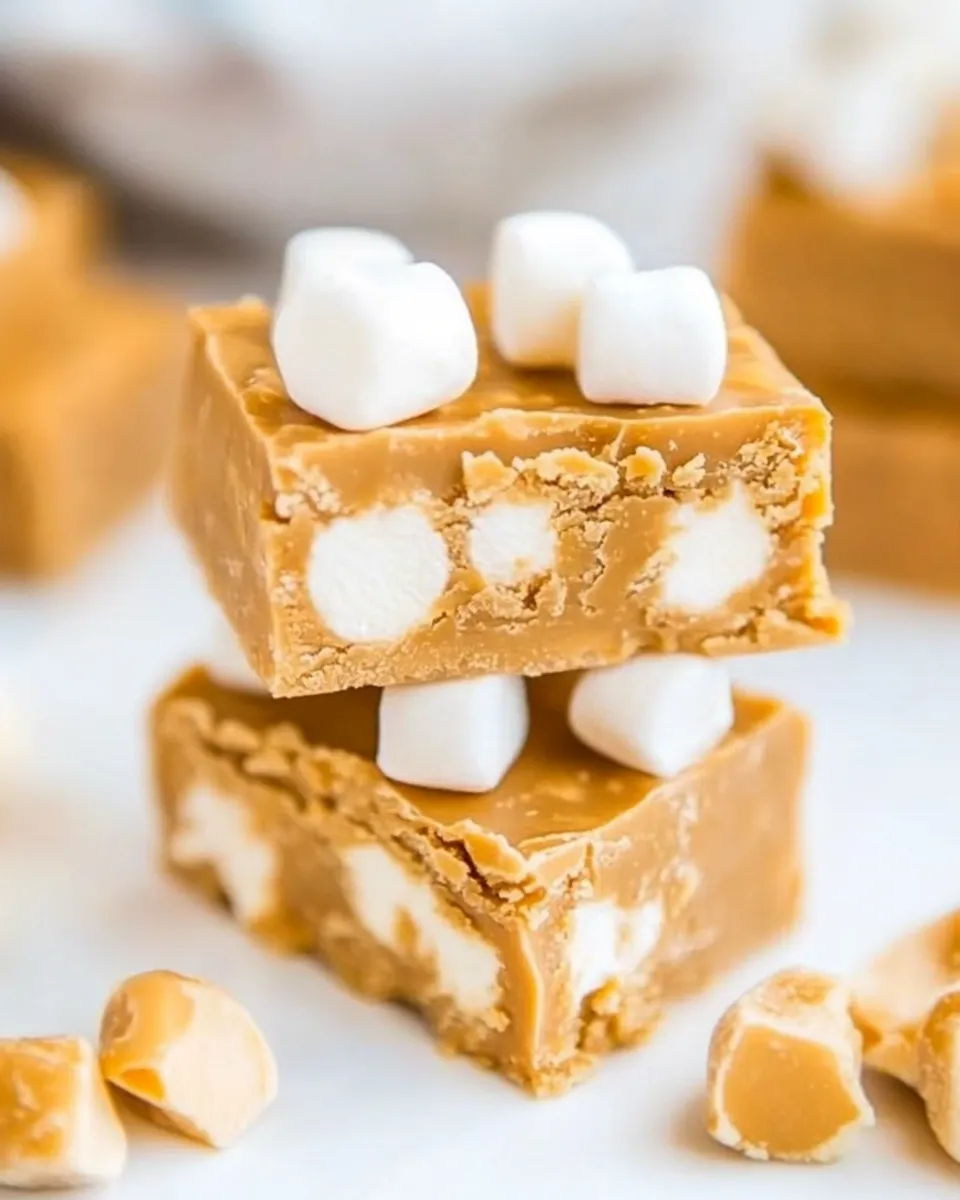
- one 10-ounce bag mini marshmallows, with 1/2 cup reserved for sprinkling — most melt into the fudge for chew and texture; the reserved 1/2 cup creates an appealing top layer.
Peanut Butter Butterscotch Marshmallow Fudge Made Stepwise
- Line a 9×9-inch pan with aluminum foil and lightly spray the foil with cooking spray. Set the prepared pan aside.
- Open the 10-ounce bag of mini marshmallows. Remove and reserve 1/2 cup for the topping; set the reserved marshmallows aside. Use the remaining marshmallows from the bag in Step 5.
- Place a large pot over low heat. Add 1/2 cup softened unsalted butter, 1 heaping cup creamy peanut butter (not natural), both 11-ounce bags of butterscotch chips, and 1/2 teaspoon salt.
- Stir the mixture almost continuously over low heat until it is smooth and mostly melted, scraping the bottom and sides of the pot to prevent scorching. Keep the heat low; if a few butterscotch chips remain un melted at the end, that is fine—they will finish melting from residual heat.
- Remove the pot from the heat. Add the remaining mini marshmallows (the 10-ounce bag minus the reserved 1/2 cup). Stir briefly and quickly to combine—do not overmix; you want some marshmallows to melt into the mixture and some to remain intact.
- Immediately pour the mixture into the prepared 9×9-inch pan and smooth the top lightly with a spatula.
- Evenly sprinkle the reserved 1/2 cup mini marshmallows over the top and gently press or tap them down so they adhere.
- Refrigerate the fudge for at least 4 hours or overnight until firm. Lift the fudge from the pan using the foil, slice, and serve. Store airtight in the refrigerator for up to 1 month.
Why You’ll Love This Recipe
This fudge hits several sweet spots: it’s fast to make, forgiving in technique, and intensely satisfying in flavor. The combination of butterscotch chips and creamy peanut butter creates a rounded sweetness that isn’t one-note. Marshmallows, both melted and whole, give soft pockets and a slightly chewy texture that keep every bite interesting.
It’s also a great recipe for gifts or potlucks because it slices cleanly when fully chilled and holds up well during transport if kept cool. No baking skills required, just a low-simmer patience and a spatula.
Quick Replacement Ideas
- Swap the creamy peanut butter for a different stable nut butter (commercial almond butter) if you want a different nut profile—use one that’s not runny.
- If you don’t love butterscotch, try swapping one bag of butterscotch chips for chocolate chips for a peanut butter–chocolate twist.
- Omit the salt only if you must; a small pinch helps cut the sweetness and round out flavors.
Gear Up: What to Grab
A short list of simple, reliable tools will make this easier and cleaner:
- Large heavy-bottomed pot — prevents hotspots so chips melt evenly.
- Sturdy spatula or wooden spoon — for low, steady stirring and scraping.
- 9×9-inch pan lined with foil — the foil makes lifting and slicing much easier.
- Nonstick cooking spray — for the foil, so the fudge releases cleanly.
- Measuring cups and a teaspoon — for accurate amounts, especially the salt.
Troubles You Can Avoid
Fudge that’s too soft, grainy, or scorched usually comes down to temperature and timing. Keep the heat low. High heat scorches the chips and butter and can make the texture grainy. Stir almost continuously and scrape the pot’s bottom and sides so nothing sticks.
Don’t overmix after you add the remaining marshmallows. The goal is to let some marshmallows melt and leave others whole. Overmixing will break everything down into a homogenous blob and rob you of texture. Finally, be patient while chilling. Cutting too early will cause the squares to lose shape.
Better-for-You Options
If you want to lighten a few aspects without changing the technique, consider these tweaks. None will be measured—just swap in the alternate ingredient and follow the same method.
- Use a reduced-fat commercial peanut butter to shave calories; expect a slightly less creamy texture.
- Choose lower-sugar chip options if available; melting behavior will be similar but flavor will be less sweet.
- Cut smaller portions to reduce per-serving calories; the fudge is rich, so smaller squares still feel indulgent.
Insider Tips
Melting and Heat Control
Always keep the heat at low. Butterscotch chips melt differently than chocolate; they soften and become glossy but can seize if overheated. If you see steam rising rapidly, lower the heat. Remove the pot from the burner as soon as it looks mostly smooth. Residual heat will finish the job.
Marshmallow Strategy
Reserve the 1/2 cup for the top. That little touch does two things: it gives a pretty, pillowy finish, and it offers a contrasting texture. When you add the bulk of the marshmallows before pouring, stir quickly. The marshmallows should partially melt so you get pockets of softness, not a uniform candy blob.
Pan Prep and Slicing
Line the pan with foil and spray the foil. That prevents sticking and makes removal easy. Chill the fudge at least 4 hours; overnight is better. Use a warmed, dry knife for cleaner cuts—dip the knife briefly in hot water, wipe it dry, and slice. Wiping between cuts keeps edges neat.
Refrigerate, Freeze, Reheat
Refrigerate: Store cut fudge in an airtight container in the refrigerator for up to 1 month. Place layers separated by parchment or wax paper so pieces don’t stick together.
Freeze: You can freeze fudge for longer storage. Wrap individual pieces tightly in plastic wrap and place them in a freezer-safe bag or container. Thaw in the refrigerator overnight before serving to keep texture intact.
Reheat: This fudge is best served cold or at room temperature. If you want it slightly softer, let it sit at room temperature for 15–20 minutes before serving. Avoid microwave reheating; that will melt the marshmallows and change the texture.
Reader Q&A
Q: Can I use natural peanut butter?
A: The recipe specifies not natural. Natural or homemade peanut butter tends to separate and be runny, which changes the fudge’s set and texture. Use a stable, commercial creamy peanut butter for the right consistency.
Q: My chips didn’t fully melt—what now?
A: If a few chips remain, don’t panic. As the directions say, residual heat will finish melting them. If you prefer an extra-smooth finish, return the pot to the very lowest heat and stir gently for a minute, then remove immediately.
Q: Why low heat and almost continuous stirring?
A: Low heat prevents scorching and graininess. Continuous stirring ensures even heat distribution and prevents chips or butter from sticking to the pot where they can burn.
Q: Can I add nuts or other mix-ins?
A: Yes—chopped nuts or toasted seeds can be folded in just before pouring. Keep pieces small so the fudge slices cleanly. Additions will change texture but can be delicious.
Ready to Cook?
Lay out your ingredients and line that pan. I recommend pre-measuring the marshmallows and setting aside the 1/2 cup before you start melting. Keep the heat patient and the stirring steady. Follow the steps exactly and you’ll have a tray of glossy, marshmallow-studded fudge waiting in the fridge in under an hour of active time. Slice, share, and enjoy.

Peanut Butter Butterscotch Marshmallow Fudge
Ingredients
Ingredients
- 1/2 cupunsalted butter softened
- 1 heaping cup creamy peanut butter not natural and not homemade because they’re too runny
- two 11-ounce bags butterscotch chips
- 1/2 teaspoonsalt or to taste
- one 10-ounce bag mini marshmallows with 1/2 cup reserved for sprinkling
Instructions
Instructions
- Line a 9×9-inch pan with aluminum foil and lightly spray the foil with cooking spray. Set the prepared pan aside.
- Open the 10-ounce bag of mini marshmallows. Remove and reserve 1/2 cup for the topping; set the reserved marshmallows aside. Use the remaining marshmallows from the bag in Step 5.
- Place a large pot over low heat. Add 1/2 cup softened unsalted butter, 1 heaping cup creamy peanut butter (not natural), both 11-ounce bags of butterscotch chips, and 1/2 teaspoon salt.
- Stir the mixture almost continuously over low heat until it is smooth and mostly melted, scraping the bottom and sides of the pot to prevent scorching. Keep the heat low; if a few butterscotch chips remain un melted at the end, that is fine—they will finish melting from residual heat.
- Remove the pot from the heat. Add the remaining mini marshmallows (the 10-ounce bag minus the reserved 1/2 cup). Stir briefly and quickly to combine—do not overmix; you want some marshmallows to melt into the mixture and some to remain intact.
- Immediately pour the mixture into the prepared 9×9-inch pan and smooth the top lightly with a spatula.
- Evenly sprinkle the reserved 1/2 cup mini marshmallows over the top and gently press or tap them down so they adhere.
- Refrigerate the fudge for at least 4 hours or overnight until firm. Lift the fudge from the pan using the foil, slice, and serve. Store airtight in the refrigerator for up to 1 month.
Equipment
- 9x9-inch Baking Pan
Notes
Keep the heat low while melting to avoid scorching; residual heat will finish melting any remaining chips.
Store airtight in the refrigerator for up to 1 month.


