
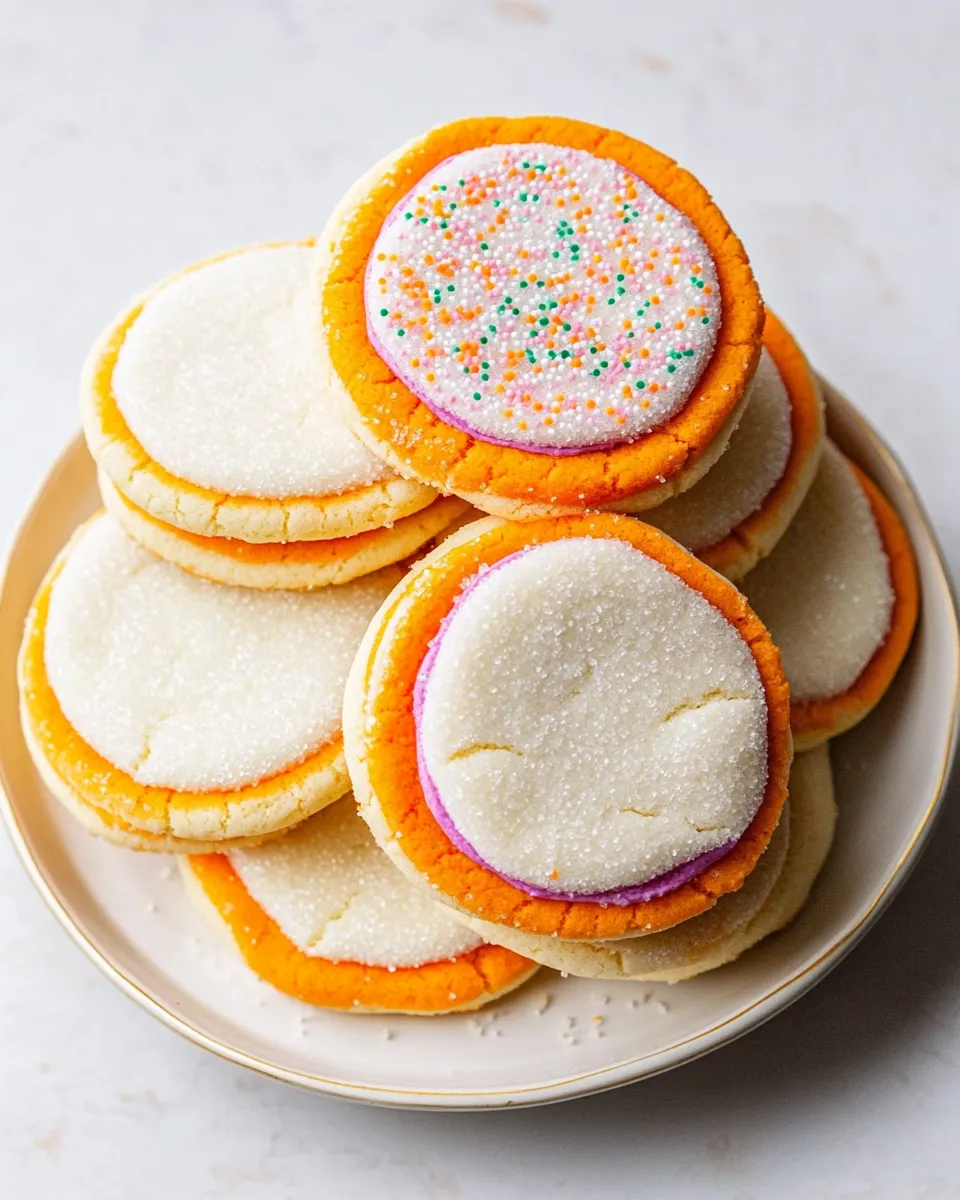
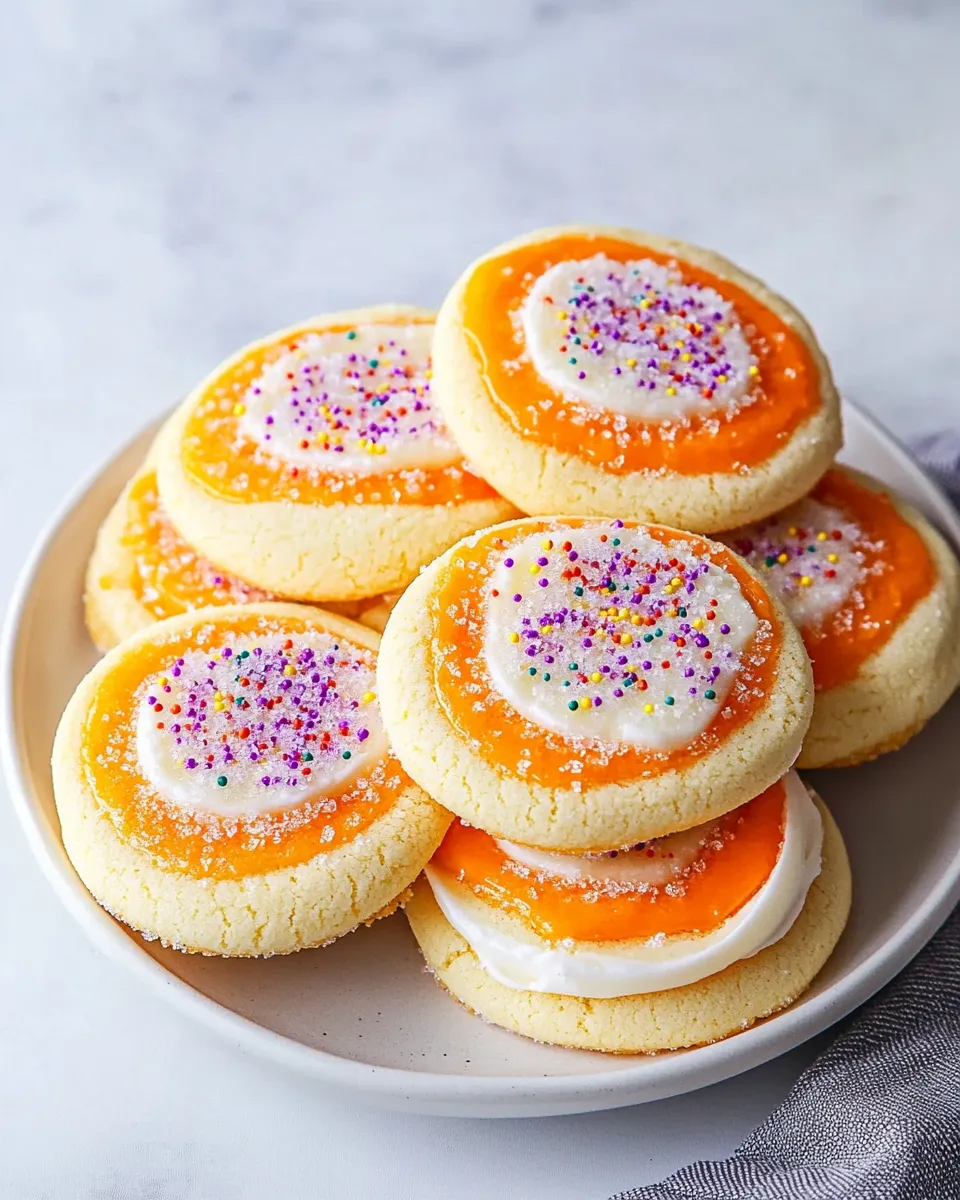
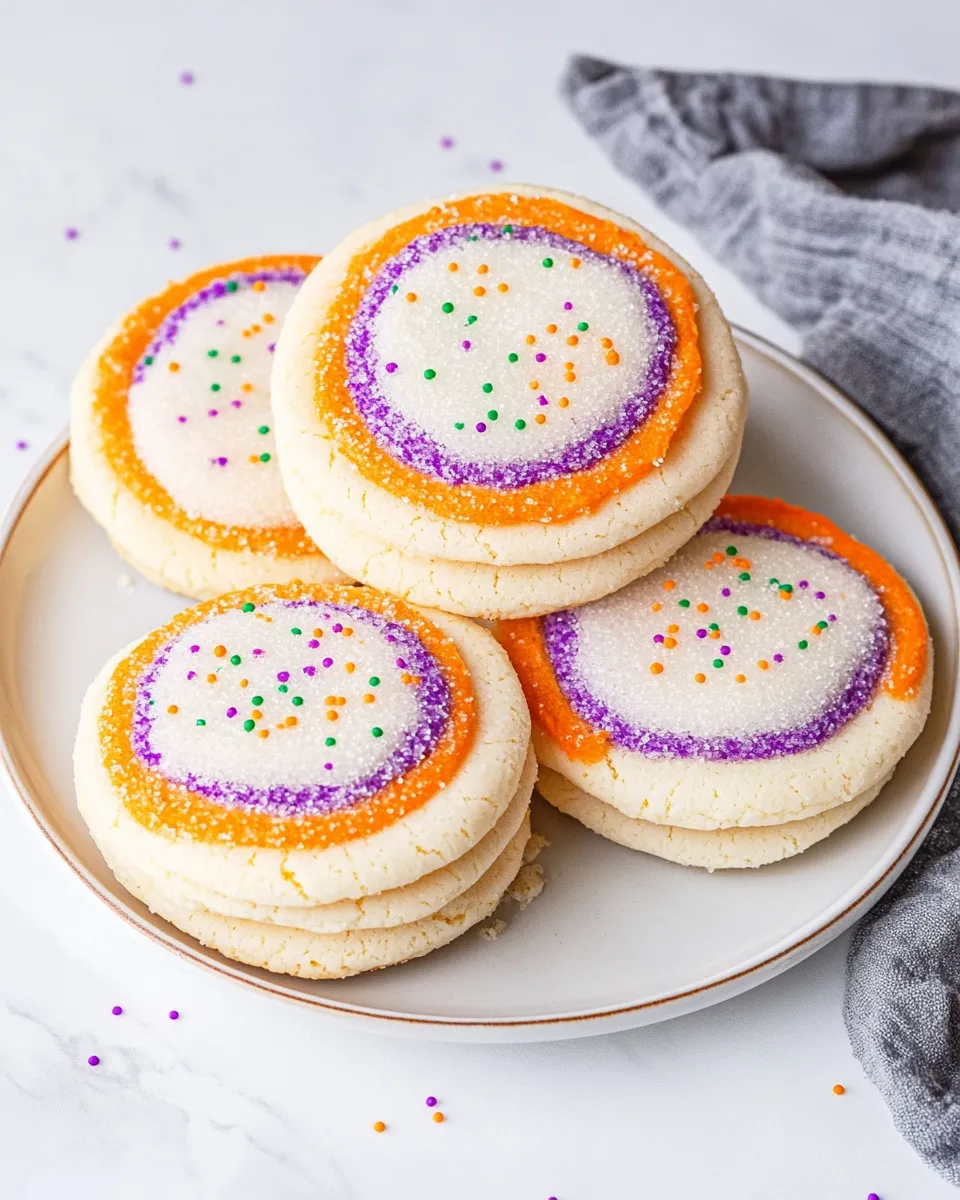
These stacked sugar cookies are one of my favorite last-minute desserts to bring to a party or to make with a kid on a rainy afternoon. They look special, but they’re shockingly easy: a rolled cookie ball coated in colorful sanding sugar, flattened, then topped with a shaped sugar cookie. The assembly feels a little like crafting, and the results are cheerful and reliable.
I lean on boxed cookies here—Pillsbury does the heavy lifting so you can focus on the fun parts: coating, pressing, and arranging. There’s no chilling, no creaming butter, and no rolling out dough for hours. If you want a quick bake that still delivers texture and color, this method is for you.
Below you’ll find the exact ingredients and step-by-step directions I use every time, followed by practical tips, tools, and troubleshooting notes. Read straight through before you start, and you’ll be assembling like a pro in under 20 minutes of hands-on time.
What’s in the Bowl
This section lists the exact ingredients the recipe uses. I keep my notes short so you can scan and shop fast.
Ingredients
- 1(24 count)package Pillsbury bake and break sugar cookies(see note) — these are the cookie pieces you break apart and roll into the bottom cookie balls.
- 2(20 count each)packages Pillsbury Shaped Sugar Cookies(see note) — set aside 24 shaped cookies to top each flattened ball; the remaining shaped cookies can be saved for another use.
- ½cupcolorful sanding sugar or nonpareils — gives the exterior color and sparkle; pick a color set that matches your occasion.
Directions: Pillsbury Stacked Sugar Cookies
- Preheat oven to 350°F. Line two cookie sheets with parchment paper.
- Remove all 24 cookies from the 1 (24-count) package Pillsbury Bake and Break sugar cookies. From the two (20-count each) packages of Pillsbury Shaped Sugar Cookies, set aside 24 shaped cookies to use as the tops (reserve the remaining 16 shaped cookies for another use).
- Break apart each Bake and Break cookie piece as needed and roll each into a ball.
- Pour the ½ cup colorful sanding sugar or nonpareils into a shallow bowl or plate and roll each cookie ball in the sugar/nonpareils to coat.
- Place the coated cookie balls on the prepared baking sheets, spacing about 2 inches apart. Press each ball lightly with the palm of your hand to flatten slightly.
- Center one shaped sugar cookie on top of each flattened ball, gently pressing so the pieces adhere.
- Bake in the preheated 350°F oven for 10–12 minutes, or until cookies are light golden brown and no longer glossy.
- Cool the cookies on the baking sheets for 10 minutes, then transfer them to a wire rack to cool completely.
- Store cooled cookies in an airtight container for up to 5 days or freeze for several months.
Why It’s My Go-To
I reach for this recipe when I want a festive cookie that’s low-effort but high-impact. Using ready-made cookies removes the variables that often make baking stressful—like dough hydration or oven spring—and lets you control presentation. The contrast between the textured, sugar-coated base and the smooth shaped cookie on top makes every cookie feel like a mini-decorated treat without piping or icing skills.
It’s also forgiving. If a ball flattens a little more in the oven or a shaped top shifts, the overall look holds. And because you only need a handful of ingredients, it’s perfect when your pantry supply is slim or when you’re shopping for speed.
Vegan & Vegetarian Swaps
Vegetarian? No changes needed—the provided ingredients are already vegetarian-friendly.
For a vegan version, swap in vegan-friendly boxed sugar cookies and shaped cookies that use plant-based ingredients. Use vegan sanding sugar or nonpareils (check the ingredients for confectioner’s glaze or shellac) and follow the same assembly and bake times. The process doesn’t change; only the cookie packages do.
Tools of the Trade
- Parchment paper — prevents sticking and makes cleanup fast.
- Two cookie sheets — you’ll need space to bake 24 cookies in manageable batches.
- Shallow bowl or plate — for the sanding sugar or nonpareils coating.
- Measuring cup — to portion the ½ cup colorful sanding sugar/nonpareils.
- Wire rack — cools cookies evenly so the bottoms don’t get soggy.
- Oven mitts and a timer — oven temperatures matter here; set the timer for the lower end and watch color.
Common Errors (and Fixes)
Here are the few things I see most often—and how I fix them fast.
Cookies spread too thin or flatten completely
If your flattened balls collapse into a thin disk, they may have been pressed too thin before baking or rolled too firmly. Next time, flatten gently—about 1/4 to 1/2 inch—so there’s still some structure to support the shaped cookie on top. Also avoid overly warm dough: if the kitchen is hot, keep the cookie pieces cool until you roll them.
Tops slide off after baking
If the shaped cookie doesn’t adhere, press it a touch firmer onto the flattened ball before baking. The slight tackiness of the rolled dough should glue them together during baking. If you wait to press after baking, use a small dab of icing as glue.
Excess browning
If cookies brown too quickly, your oven may run hot. Rotate the pans halfway through and bake closer to 10 minutes, watching for the cookies to lose their glossy sheen and take on light golden edges.
In-Season Flavor Ideas
Changing the sanding sugar color or the shaped-cookie theme makes these feel seasonal without changing the method.
- Holiday season: use red and green sanding sugar or gold and silver nonpareils for sparkle.
- Valentine’s Day: pink sanding sugar with heart-shaped cookies on top.
- Spring/Easter: pastel nonpareils and floral or bunny-shaped cookies.
- Fall: choose amber and brown sanding sugar or pumpkin-shaped tinted cookies for warmth.
Author’s Commentary
I started making stacked versions of boxed cookies because I wanted a decorated look without extra effort. The first time I tried this method I was skeptical—the assembly felt almost too simple—but the visual payoff was immediate. Family and friends always assume I spent hours decorating. The truth? Fifteen minutes of prep and a single baking sheet swap later, they look homemade and festive.
If you have kids, this is a great afternoon project. Let them pick the sanding sugar color and place the shaped cookies on top. It’s a tactile, safe way to introduce baking without hot-handled mixers or lengthy steps.
Keep It Fresh: Storage Guide
Follow the recipe’s instructions for best storage results: store cooled cookies in an airtight container for up to 5 days or freeze for several months. If you plan to freeze, place a sheet of parchment between layers so the sanding sugar and nonpareils don’t transfer.
To thaw frozen cookies, move them to the refrigerator for an hour, then bring to room temperature on the counter for 20–30 minutes before serving. Avoid microwaving to thaw; it can make the cookies soft or overly moist.
Frequently Asked Questions
Can I make these ahead? Yes. You can assemble and bake them the day before, storing them in an airtight container at room temperature up to 5 days. For longer storage, freeze as described above.
Can I use a different brand of cookies? Absolutely. The technique works with any ready-made sugar cookie pieces and shaped sugar cookies—just match quantities so you have 24 bottoms and 24 tops.
Do the nonpareils melt or lose color in the oven? Nonpareils and sanding sugar generally hold up at 350°F for a short bake. You may notice slight dulling as the cookie bakes; that’s normal. If you want brighter color after baking, add a light sprinkle of sanding sugar immediately after removing the cookies from the oven while the surface is still slightly tacky.
What if my shaped cookies are thicker than the Bake and Break pieces? Thicker shaped cookies can still be used; just make sure the flattened base is firm enough to support them. If necessary, press the base slightly more before topping to create a better adhesive surface.
Final Bite
These Pillsbury Stacked Sugar Cookies are proof that convenience and creativity can coexist. Minimal ingredients, simple steps, and bright, celebratory results make this my go-to for weekday treats and last-minute gatherings. Keep a couple of boxes in the pantry and colorful sanding sugar on hand—then you’re always ready to stack, bake, and smile.

Pillsbury Stacked Sugar Cookies
Ingredients
Ingredients
- 1 24 countpackage Pillsbury bake and break sugar cookies(see note)
- 2 20 count eachpackages Pillsbury Shaped Sugar Cookies(see note)
- 1/2 cupcolorful sanding sugar or nonpareils
Instructions
Instructions
- Preheat oven to 350°F. Line two cookie sheets with parchment paper.
- Remove all 24 cookies from the 1 (24-count) package Pillsbury Bake and Break sugar cookies. From the two (20-count each) packages of Pillsbury Shaped Sugar Cookies, set aside 24 shaped cookies to use as the tops (reserve the remaining 16 shaped cookies for another use).
- Break apart each Bake and Break cookie piece as needed and roll each into a ball.
- Pour the ½ cup colorful sanding sugar or nonpareils into a shallow bowl or plate and roll each cookie ball in the sugar/nonpareils to coat.
- Place the coated cookie balls on the prepared baking sheets, spacing about 2 inches apart. Press each ball lightly with the palm of your hand to flatten slightly.
- Center one shaped sugar cookie on top of each flattened ball, gently pressing so the pieces adhere.
- Bake in the preheated 350°F oven for 10–12 minutes, or until cookies are light golden brown and no longer glossy.
- Cool the cookies on the baking sheets for 10 minutes, then transfer them to a wire rack to cool completely.
- Store cooled cookies in an airtight container for up to 5 days or freeze for several months.
Equipment
- Oven
- Cookie sheets
- Parchment Paper
- shallow bowl
- Plate
- Wire Rack
Notes
Use any of the shapes (for any holiday)
Use any color sugar/nonpareils
If you want to use a log of cookie dough cut and roll 1 tablespoon balls
1 pack of bake and break makes 24 cookies and 1 pack of the shaped makes 20. So you either need 2 shaped cookies or you’ll have 4 sugar cookies left over.


