
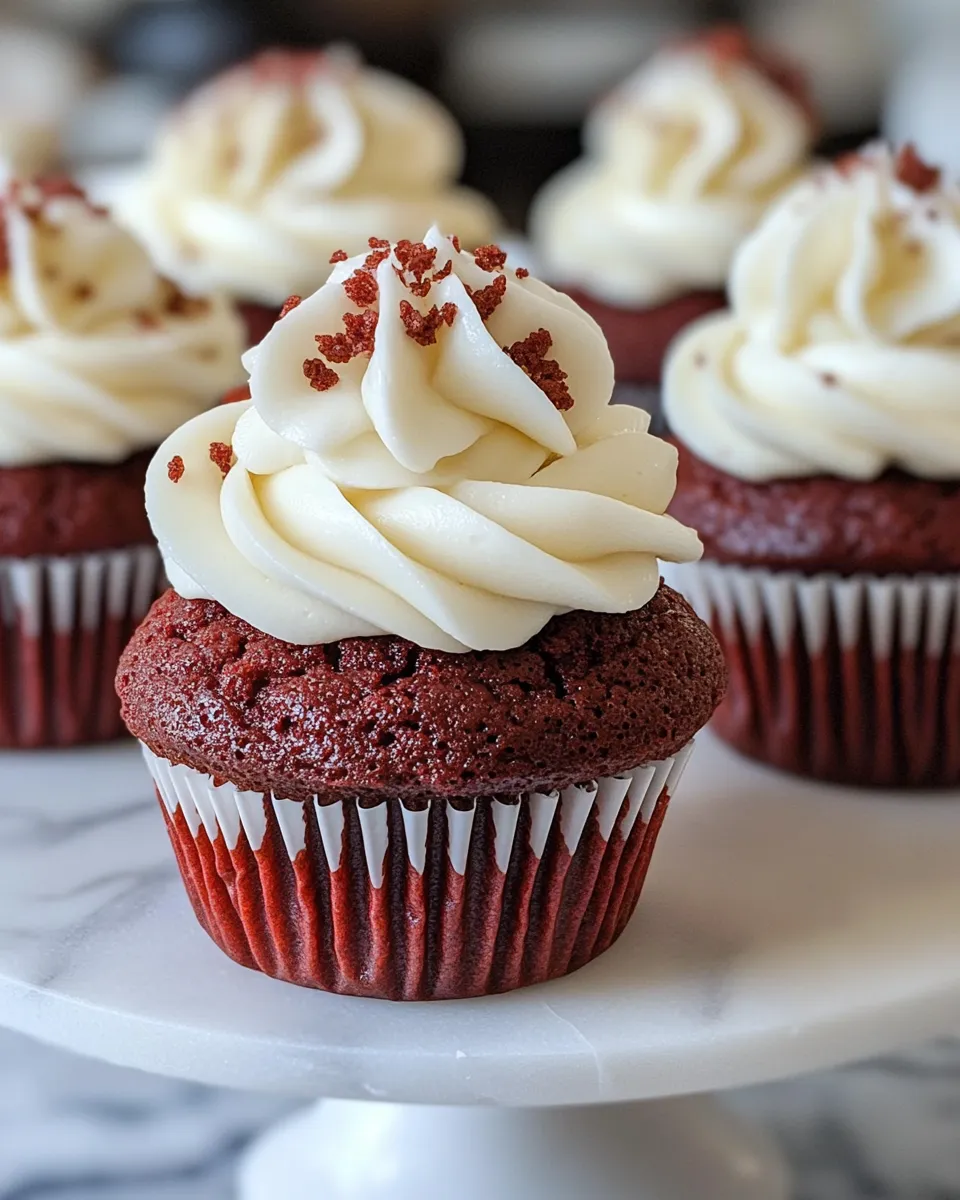
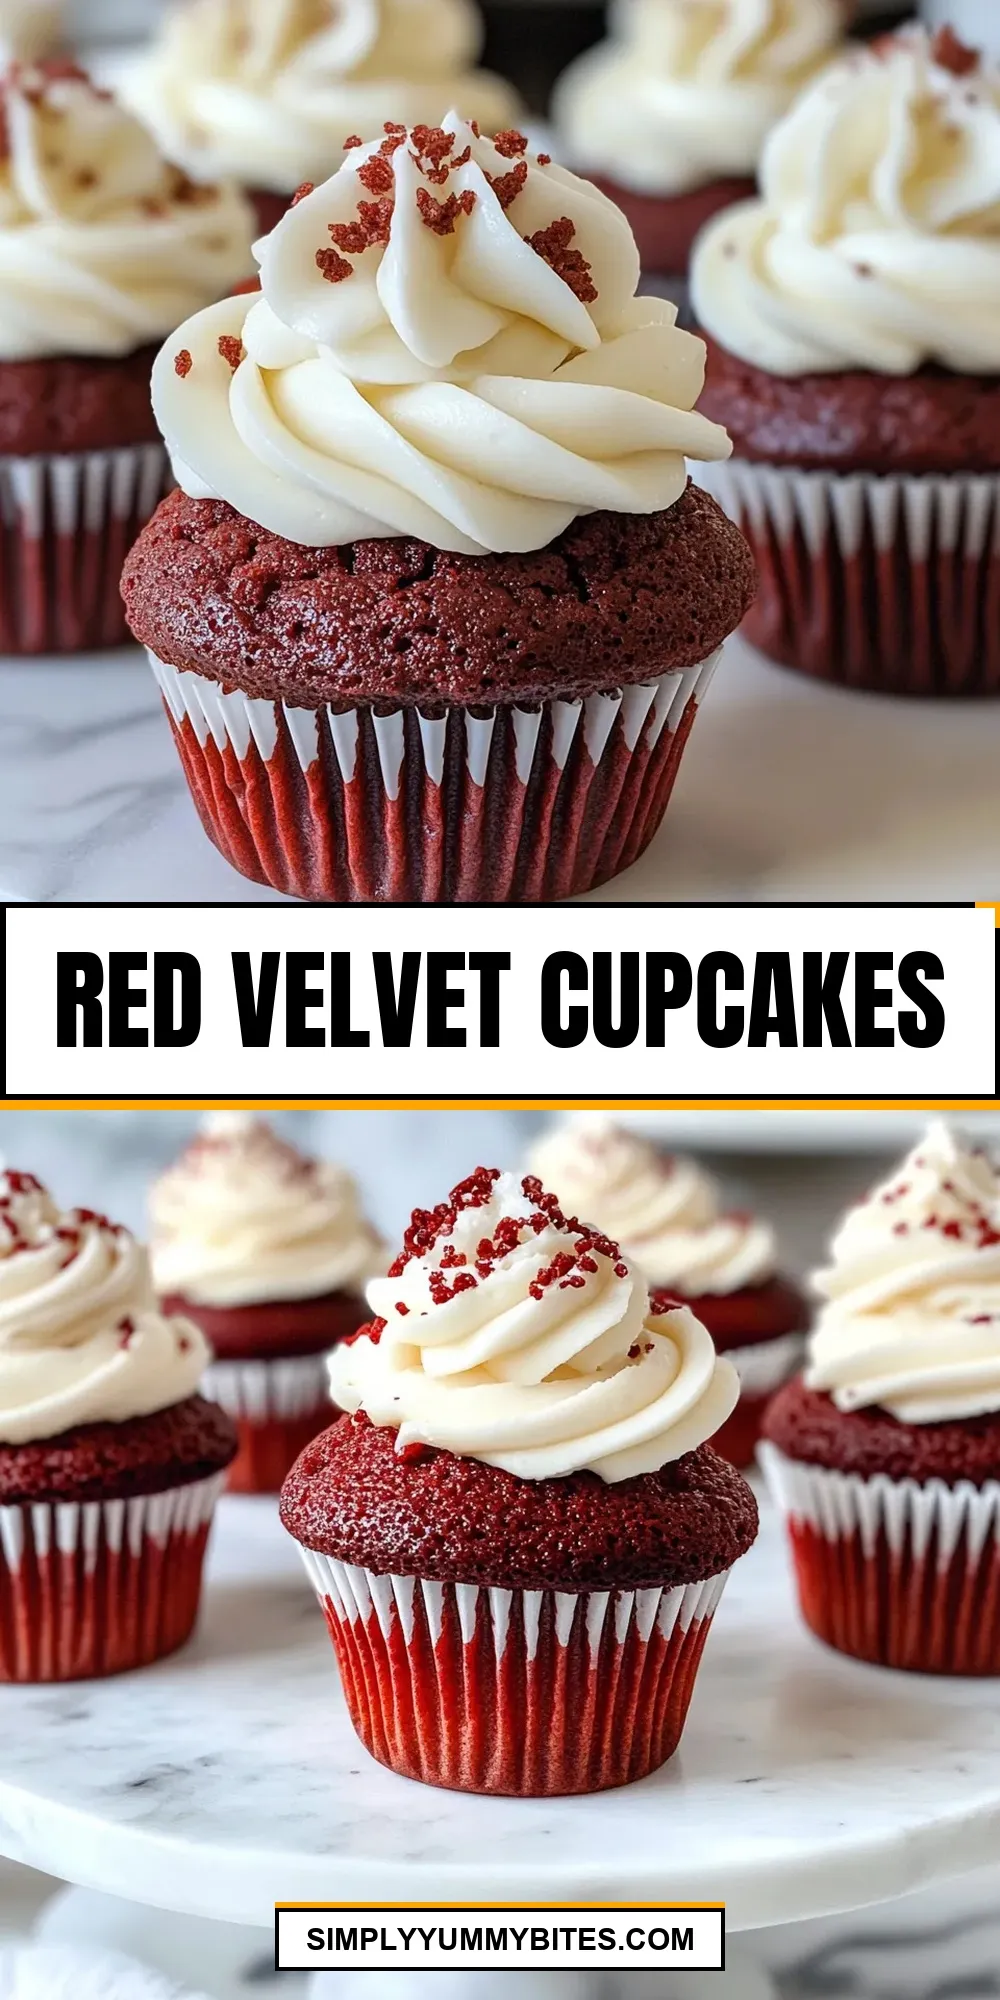
These Red Velvet Cupcakes are the kind of bake I turn to when I want something that looks special but doesn’t ask for an afternoon of fuss. The batter comes together quickly, the cupcakes bake reliably, and the light cream topping balances the mild cocoa and tang from the yogurt and lime zest. They feel celebratory without being complicated.
I test recipes until they behave predictably—this one has a straightforward mixing order, a short bake time, and a stable frosting that sets nicely in the fridge. I’ll walk you through each part, explain why every step matters, and troubleshoot the usual hiccups so you can get consistent results every time.
Whether you’re baking for a party, a quiet weekend treat, or to practice your frosting technique, this recipe is forgiving and adaptable. Read through the notes and Q&A if you’re unsure about swaps or storage—I’ve kept the practical tips front and center.
Ingredient Checklist
Ingredients
- 1 large egg — provides structure and moisture; helps with lift.
- 60g butter — creamed with sugar for tenderness and flavor.
- 110g white sugar — sweetens and helps with aeration when creamed.
- 10g dark cocoa — gives the subtle chocolate note that defines red velvet.
- 1/2 tsp red food coloring — classic color; adjust to preference for hue.
- 165g flour — the structural base; measured properly for light crumb.
- 1/4 tsp salt — balances sweetness and enhances flavor.
- 1/2 tsp baking soda — leavening to give the cupcakes lift.
- 100ml yogurt — adds moisture and a touch of acidity for tenderness.
- 1 tsp vanilla extract — rounds the flavors.
- 200g cream cheese — the creamy base for the frosting; use full-fat for stability.
- 50g powdered sugar — sweetens the cream cheese smoothly without graininess.
- 400g whipping cream — whipped and folded into the cream cheese for lightness.
- 1 tsp rose water (optional) — optional aromatic note; use sparingly if using.
- lime zest, grated — brightens the frosting; distribute evenly in the cream.
Red Velvet Cupcakes, Made Easy
- Preheat the oven to 180° C (356° F). Line a 12-cup muffin pan with parchment paper or paper liners.
- In a medium bowl, whisk together 165 g flour, 1/4 tsp salt, 1/2 tsp baking soda, and 10 g dark cocoa until evenly combined.
- In a large bowl, cream 60 g softened butter with 110 g white sugar until light and fluffy (about 2–3 minutes).
- Add 1 large egg and 1 tsp vanilla extract to the butter mixture and beat until combined.
- Add half of the dry mixture to the wet mixture and mix just until incorporated.
- Add 100 ml yogurt and 1/2 tsp red food coloring, mix until combined.
- Add the remaining dry mixture and mix until the batter is smooth, being careful not to overmix.
- Divide the batter among the prepared muffin cups, filling each about 2/3 full. Bake for 23–25 minutes, or until a toothpick inserted into the center comes out clean. Let the cupcakes cool in the pan for 5–10 minutes, then transfer to a wire rack to cool completely.
- While the cupcakes cool, make the cream: in a bowl, beat 200 g cream cheese with 50 g powdered sugar, grated lime zest, and 1 tsp rose water (optional) until smooth.
- In a separate bowl, whip 400 g whipping cream until firm peaks form.
- Gently fold the whipped cream into the cream cheese mixture until evenly combined and smooth.
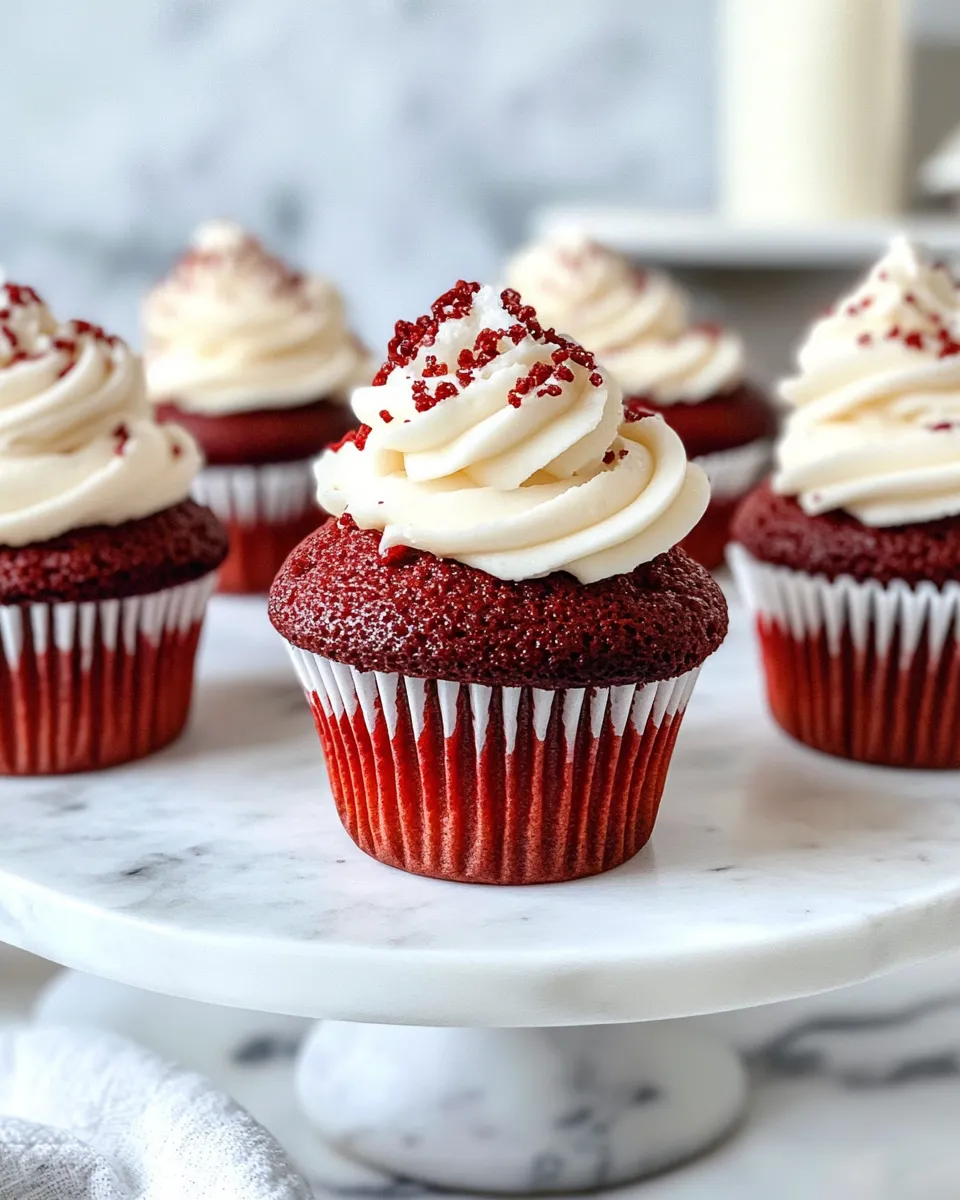
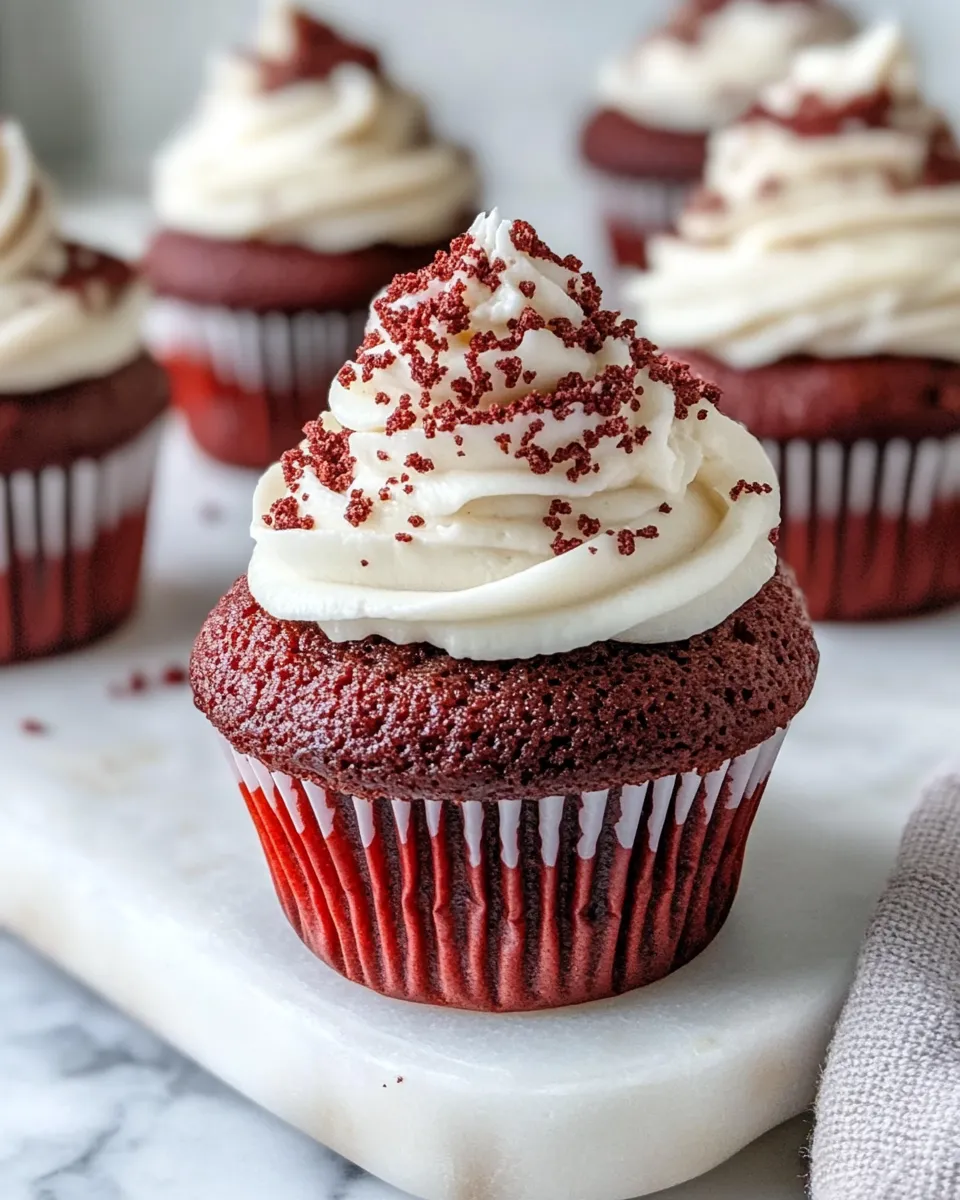
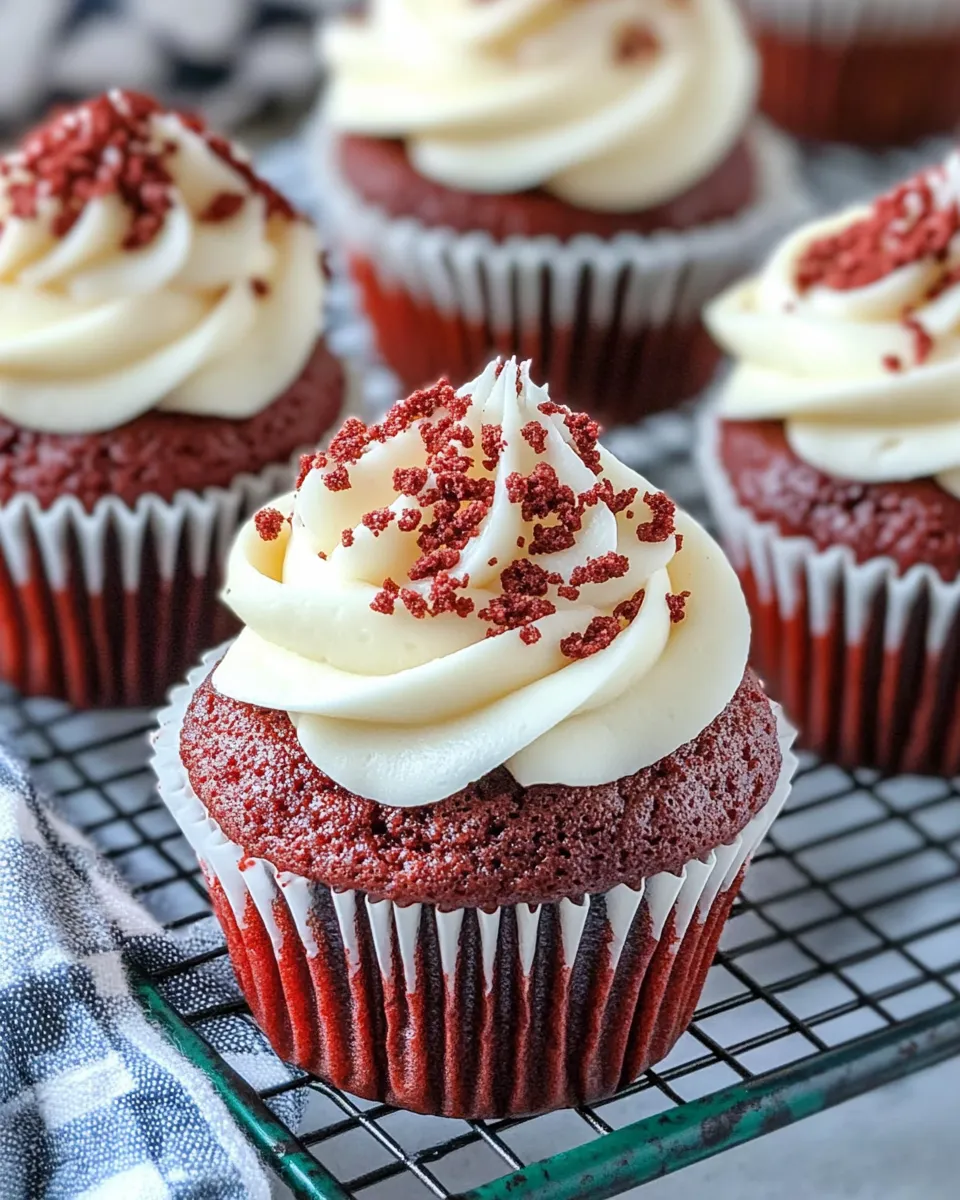
- Frost the fully cooled cupcakes with the cream mixture. Refrigerate the frosted cupcakes until the topping is set, then serve.
Why You’ll Love This Recipe
These cupcakes strike a comfortable balance between approachability and a finished look that feels special. The formula keeps mixing steps simple—cream the butter and sugar, alternate dry and wet additions, and the cupcakes come out tender and uniform. That makes them dependable for bakers who want a great result without a lot of guesswork.
The frosting is intentionally airy: folding whipped cream into the cream cheese lightens the texture while keeping a clean tang from the cream cheese and brightness from the lime zest. The rose water is optional and easy to skip if you prefer a more classic flavor profile.
Finally, the recipe’s timing and oven temperature create an even crumb and predictable bake time, which means less time fretting over doneness and more time enjoying the results.
Flavor-Forward Alternatives
- Deeper chocolate note — increase the dark cocoa slightly for a richer cocoa presence without changing the cupcake’s character.
- Brighter citrus — add a little more grated lime zest to the frosting if you like a sharper, fresher finish.
- Aromatic option — keep or omit the rose water; it’s subtle but gives a floral lift to the cream if you choose to include it.
- Less red intensity — reduce the red food coloring slightly if you prefer a muted tone and let the natural cocoa color show through.
Essential Tools for Success
- 12-cup muffin pan and paper liners or parchment cups — for even baking and easy release.
- Electric mixer (hand or stand) — speeds up creaming and whipping for reliable texture.
- Mixing bowls (medium and large) — keep dry and wet ingredients separate until called for.
- Rubber spatula — for folding and scraping bowls clean without deflating batter.
- Wire cooling rack — allows cupcakes to cool evenly and prevents sogginess.
- Measuring spoons and scale — the recipe uses grams and milliliters for accuracy.
- Toothpick or cake tester — to check doneness at the end of baking.
Watch Outs & How to Fix
Here are common problems and straightforward fixes so you can troubleshoot without starting over.
Dry or dense cupcakes
- If cupcakes are dry, you may have overbaked them or overmixed the batter. Stick to the 23–25 minute window and mix only until combined after adding dry ingredients.
- If they’re dense, check that your baking soda is fresh. Also, avoid packing flour into the measuring cup—use a scale for accuracy where possible.
Undercooked centers
- Ovens vary. If a toothpick comes out with wet batter, return cupcakes to the oven and test again in 2–3 minutes. Rotate the pan halfway through baking if your oven has hot spots.
Runny or unstable frosting
- Make sure cupcakes are fully cool before frosting; warm cakes will make the cream melt. Whip the cream to firm peaks and fold gently into chilled cream cheese that’s softened but not warm.
- If the frosting seems soft after assembly, chill the frosted cupcakes until the topping sets.
Frosting tastes grainy
- If powdered sugar isn’t fully incorporated, beat the cream cheese and powdered sugar until smooth before folding in whipped cream.
Variations for Dietary Needs
This recipe can adapt to dietary preferences with some ingredient swaps and attention to texture. Keep in mind swaps will change texture and flavor, so do small tests if serving guests with strict needs.
- Dairy-free: Substitute a plant-based butter and use a dairy-free cream cheese alternative; whip a suitable coconut or plant-based cream that whips to stable peaks. Chill everything well to help structure.
- Egg-free: Use an egg replacer appropriate for cakes (such as a commercial binder) or a flax egg, though texture may be slightly different. Expect a denser crumb and adjust expectations on lift.
- Gluten-free: Replace the flour with a measured, cup-for-cup gluten-free blend that includes xanthan gum or similar stabilizer to mimic gluten structure.
Chef’s Rationale
The sequence of mixing here is intentional. Creaming the butter and sugar traps air which contributes to lift; adding the egg and vanilla next emulsifies and stabilizes that air. Incorporating the dry ingredients in two additions prevents overworking the gluten in the flour, which keeps the cupcakes tender.
Yogurt introduces moisture and a mild acidity that reacts well with the baking soda, giving a gentle rise and contributing to the classic velvet-like crumb. The small amount of dark cocoa gives the subtle chocolate undertone that defines red velvet without making it a chocolate cake.
For the frosting, blending cream cheese with powdered sugar first ensures a smooth base. Folding in whipped cream lightens the topping so it’s creamy but not overly heavy—perfect for cupcakes rather than a thick buttercream.
Best Ways to Store
Because the frosting contains whipped cream, refrigeration is necessary. Store frosted cupcakes in a single layer in an airtight container in the fridge for up to 3 days. Chill them until the frosting firms so they don’t shift when covered.
If you need to store the unfrosted cupcakes, keep them in an airtight container at room temperature for 1–2 days, or freeze them (well wrapped) for up to 2 months. Thaw completely before frosting. For longer storage of the frosting, keep the cream cheese mixture and whipped cream separately chilled and assemble just before serving for best texture.
Red Velvet Cupcakes Q&A
Can I make the batter ahead of time?
You can prepare the batter and refrigerate it for a short period (up to a few hours), but for best rise and texture bake it soon after mixing. If you refrigerate, allow it to come closer to room temperature before baking.
My cupcakes are turning out pale—what gives?
Color intensity depends on the cocoa and the amount of red food coloring. The batter here uses a modest amount of cocoa and the specified coloring; increase the coloring cautiously if you want a deeper red. Remember that over-adding won’t change flavor much but can stain hands and clothing.
How do I prevent the frosting from becoming watery?
Make sure the whipped cream reaches firm peaks and that the cream cheese is cold but workable. Fold gently to maintain the whipped air. Chill the finished cupcakes until the topping sets.
Can I pipe the frosting?
Yes—once the cream mixture is properly chilled and slightly firm it will pipe nicely. If too soft, refrigerate briefly before piping.
Ready to Cook?
If you have your bowls, scale, and muffin tin ready, this recipe will take about 35–45 minutes from start to finish including bake and initial cooling time, plus chilling time for the frosting to set. Follow the steps in order, keep an eye on the bake time, and you’ll have a batch of dependable, elegant Red Velvet Cupcakes to share.
Happy baking—let me know how they turn out or if you want ideas for presentation or make-ahead plans.
Red Velvet Cupcakes
Ingredients
Ingredients
- 1 large egg
- 60 gbutter
- 110 gwhite sugar
- 10 gdark cocoa
- 1/2 tspred food coloring
- 165 gflour
- 1/4 tspsalt
- 1/2 tspbaking soda
- 100 mlyogurt
- 1 tspvanilla extract
- 200 gcream cheese
- 50 gpowdered sugar
- 400 gwhipping cream
- 1 tsprose water optional
- lime zestgrated
Instructions
Instructions
- Preheat the oven to 180° C (356° F). Line a 12-cup muffin pan with parchment paper or paper liners.
- In a medium bowl, whisk together 165 g flour, 1/4 tsp salt, 1/2 tsp baking soda, and 10 g dark cocoa until evenly combined.
- In a large bowl, cream 60 g softened butter with 110 g white sugar until light and fluffy (about 2–3 minutes).
- Add 1 large egg and 1 tsp vanilla extract to the butter mixture and beat until combined.
- Add half of the dry mixture to the wet mixture and mix just until incorporated.
- Add 100 ml yogurt and 1/2 tsp red food coloring, mix until combined.
- Add the remaining dry mixture and mix until the batter is smooth, being careful not to overmix.
- Divide the batter among the prepared muffin cups, filling each about 2/3 full. Bake for 23–25 minutes, or until a toothpick inserted into the center comes out clean. Let the cupcakes cool in the pan for 5–10 minutes, then transfer to a wire rack to cool completely.
- While the cupcakes cool, make the cream: in a bowl, beat 200 g cream cheese with 50 g powdered sugar, grated lime zest, and 1 tsp rose water (optional) until smooth.
- In a separate bowl, whip 400 g whipping cream until firm peaks form.
- Gently fold the whipped cream into the cream cheese mixture until evenly combined and smooth.
- Frost the fully cooled cupcakes with the cream mixture. Refrigerate the frosted cupcakes until the topping is set, then serve.
Equipment
- 12-cup muffin pan
- paper liners or parchment paper
- Mixing bowls
- Whisk
- Electric Mixer
- Spatula
- Wire Rack


