

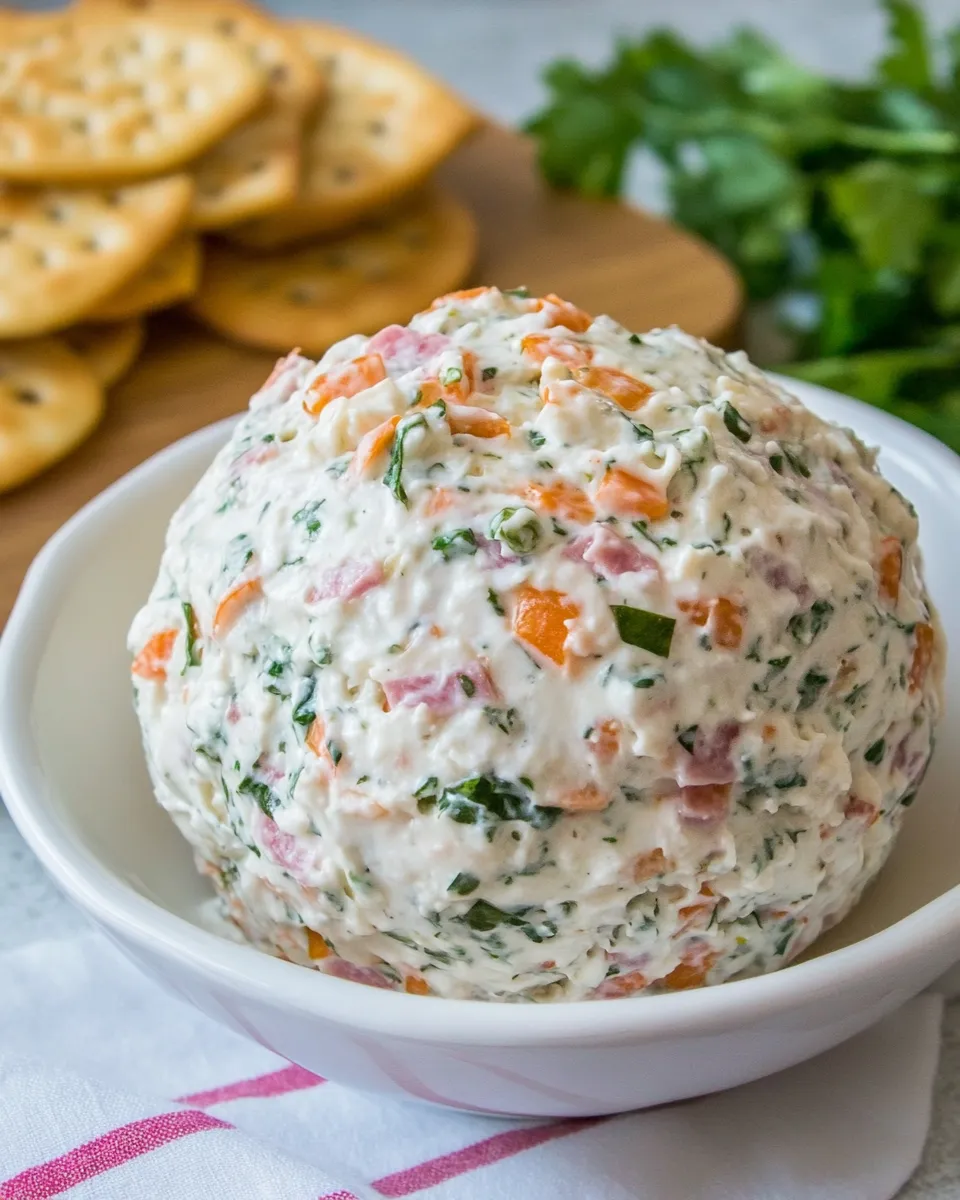
This salami cream cheese ball is one of those reliably crowd-pleasing appetizers I reach for when I need something fast, flavorful, and easy to assemble. It’s creamy, a little tangy from the cheddar, and has that satisfying bite from the hard salami. No complicated cooking—mostly chopping, mixing, shaping, and chilling—and it holds up well on a party table.
I like this recipe because it’s practical: the components are few, most are store-bought, and the technique is forgiving. You can assemble it in under half an hour, chill it briefly, and your spread is ready. It’s also portable and great for bringing to a potluck or setting out for a game night.
Below you’ll find the exact ingredient list and step-by-step instructions, followed by troubleshooting tips, small substitutions you can try without changing the spirit of the recipe, and answers to the questions I get most often about cheeseballs. Read the steps once, gather your tools, and you’ll be ready to mix up a perfect Salami Cream Cheese Ball.
Ingredient List
- 28oz packages cream cheese, softened — the base and binder; soften to room temperature so the ball mixes smoothly and forms easily.
- 1bunch of green onions,chopped — adds freshness and a mild onion bite; chop fine so they distribute evenly.
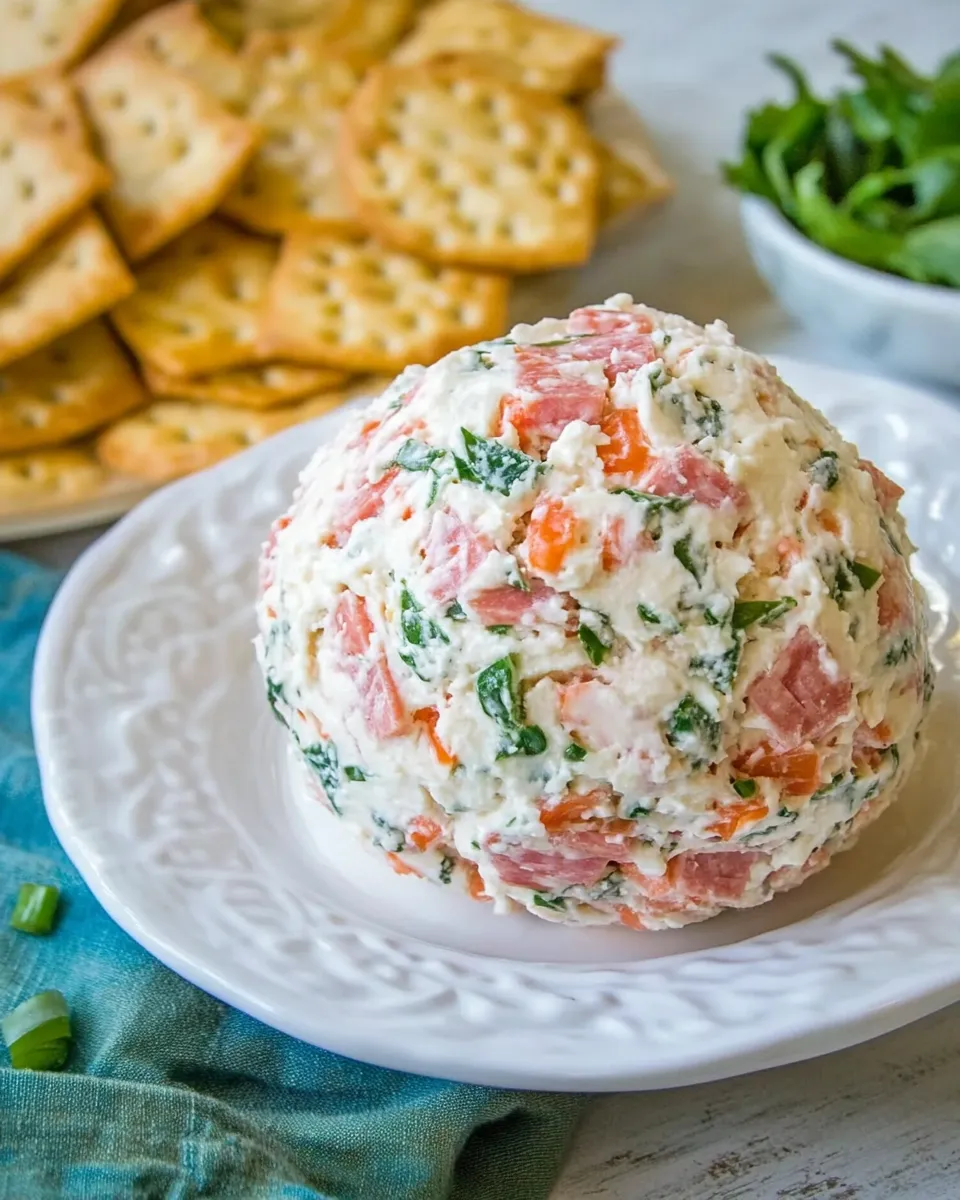
- 1/4lb- 1/3 lb. hard salami,I use Cervelat from the deli, cut into small pieces — provides the savory, cured-meat flavor and texture; small pieces ensure every bite has salami.
- 3tbspmayo — helps loosen and emulsify the mixture for a creamier texture and easier shaping.
- 1cupshredded cheddar cheese — adds sharpness and structure; shredded is easiest to fold in evenly.
- 1/4tspsalt — seasons the whole mixture; adjust only slightly if your salami or cheddar are particularly salty.
- 1/8tspblack pepper — a touch of pepper balances the richness and brightens the flavors.
Salami Cream Cheese Ball — Do This Next
- If the 28oz package(s) cream cheese are not already softened, let them sit at room temperature until they are easy to scoop and mix.
- Chop the green onions and cut the 1/4–1/3 lb hard salami into small pieces.
- Place the softened cream cheese into the bowl of a stand mixer fitted with the paddle attachment. Add the chopped green onions, salami, 3 Tbsp mayo, 1 cup shredded cheddar cheese, 1/4 tsp salt, and 1/8 tsp black pepper.
- Mix on low to medium speed until all ingredients are evenly combined, stopping once or twice to scrape down the bowl and ensure there are no streaks of cream cheese.
- Spoon the mixture onto a sheet of plastic wrap, place a second sheet of plastic wrap on top, and shape the mixture into a ball (or another shape you prefer). Wrap tightly.
- Chill the wrapped cheese ball in the refrigerator for 20–30 minutes to firm up.
- Unwrap, transfer to a serving plate, and serve with butter crackers and fresh-cut vegetables.
The Upside of Salami Cream Cheese Ball
This recipe’s biggest strength is simplicity without sacrificing flavor. You don’t need to turn on a stove or bake anything; the standout ingredients do the work. The hard salami brings meaty depth while the cheddar adds tang and a little sharpness. Green onions keep it bright, and the mayo and cream cheese make it spreadable and smooth.
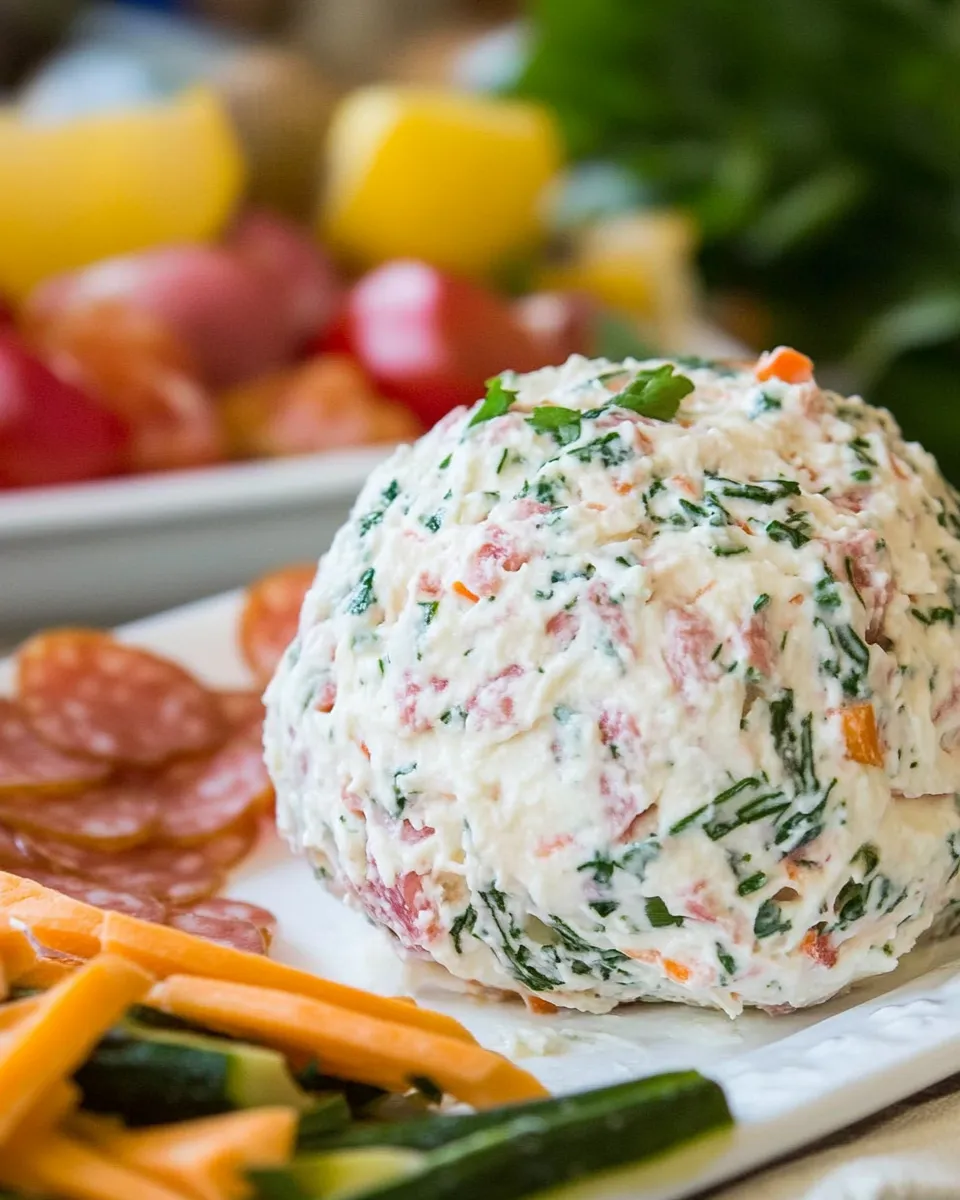
It’s versatile for parties: set it on a platter surrounded by crackers and veggies and people will dig in. Because it’s prepared ahead and chilled, it’s perfect for last-minute hosting. It travels well, reheats aren’t required, and plating is minimal—just unwrap, center on a plate, and you’re done.
Finally, it’s forgiving—the texture can be adjusted slightly by chilling time and shredding size, and the chopping lets you control how prominent the salami bites are.
Ingredient Flex Options
- Adjust salami amount within the given 1/4lb–1/3 lb. range to make the meat presence milder or more pronounced.
- If your cheddar is coarsely shredded, break up any large clumps so it integrates evenly.
- For a milder onion note, use only the green parts of the green onions; for more punch, include some of the white.
- Keep the mayo at 3 Tbsp as written for texture; reducing it will give a firmer ball, increasing it will make it looser and spreadable.
Gear Up: What to Grab
- Stand mixer with paddle attachment (recommended) or a mixing bowl and a sturdy spatula if mixing by hand.
- Measuring spoons (1/4 tsp and 1/8 tsp) and a measuring cup for the shredded cheddar.
- Cutting board and sharp knife for chopping green onions and salami.
- Plastic wrap (two sheets) for shaping and wrapping the ball.
- Serving plate and crackers/vegetables for presentation.
Watch Outs & How to Fix
Texture issues
- If the cream cheese is still cold and lumpy, let it sit a bit longer at room temperature. Cold cream cheese will tear rather than blend and you’ll see streaks—scrape and soften before finishing.
- If the mixture feels too runny after adding mayo, chill longer to firm up; small adjustments are better than adding more cream cheese, which changes proportion.
Mixing problems
- If you notice streaks of cream cheese while mixing, stop and scrape the bowl, then blend again until uniform. That ensures an even texture and flavor.
- Avoid over-beating on high speed. Mix low to medium. Over-mixing can break down texture and make the ball overly soft.
Salami size and distribution
- If salami pieces are too large, chop smaller so every bite gets balance. If they clump, fold gently to distribute evenly without smashing the pieces.
Dietary Customizations
Want to tweak this for dietary needs? Here are practical paths that preserve the recipe’s intent without inventing new quantities.
- To reduce sodium, use the lower end of the salami range (1/4 lb.) and taste before adding the full 1/4 tsp salt; you may need less.
- To make it vegetarian-friendly without introducing new brand-name replacements, omit the salami and consider increasing the shredded cheddar or adding extra chopped green onion to maintain texture and flavor.
- For a lighter version, keep the cream cheese at the specified 28oz package(s) softened but reduce the mayo slightly—note that will affect spreadability and chill time.
- For gluten-free service, pair the finished ball with gluten-free crackers or fresh-cut vegetables instead of butter crackers.
Pro Tips & Notes
- Softening the cream cheese evenly is the single best way to ensure a smooth, cohesive ball. If in doubt, cut the block into chunks to speed room-temperature softening.
- Shape the ball tightly with plastic wrap to remove air pockets and give it a neat, professional look. You can shape it into a log or a molded form just as easily if you prefer slices instead of scoops.
- Chill for the full 20–30 minutes for easier slicing and cleaner presentation. If you need it firmer, 45 minutes to an hour will make it slice nicely without crumbling.
- If you’re prepping ahead on the day of an event, you can assemble the ball earlier in the day and keep it tightly wrapped in the refrigerator until service time.
Save It for Later
Wrapped tightly, this cream cheese ball will stay good in the refrigerator for a few days—store on a plate or shallow container to keep it from picking up other flavors. If you need to prepare it ahead, assemble and chill, then keep it wrapped and refrigerated; unwrap and bring to room temperature for about 10–15 minutes before serving for easier spreading.
Top Questions & Answers
- Can I make this by hand? Yes. Use a roomy bowl and a sturdy spatula or wooden spoon. It will take a little more elbow grease than a mixer, but the result is the same if the cream cheese is softened.
- What if my cheddar is clumped? Break up clumps with your hands or a fork before adding. Large clumps will not distribute evenly, so separate them for best results.
- Can I freeze a finished cheeseball? Freezing will change texture slightly; if you must freeze, wrap extremely well and thaw overnight in the refrigerator. Expect a small loss in creaminess.
- How long should I chill it? The recipe calls for 20–30 minutes to firm up. For cleaner slices, chill up to 45 minutes to an hour.
Serve & Enjoy
Unwrap and place the Salami Cream Cheese Ball on a serving plate surrounded by butter crackers and fresh-cut vegetables as directed. Serve straight from the refrigerator for firm slices, or let sit 10–15 minutes at room temperature for easier spreading. This is an appetizer that gets eaten fast—set out small plates and a spreader so guests can help themselves and enjoy the creamy, savory bites.
Simple, dependable, and crowd-friendly—this cheeseball is a recipe I keep in my rotation for small gatherings and quick entertaining. Make it your own within the given proportions, and you’ll have a reliable go-to that looks polished and tastes like you put in more work than you did.

Salami Cream Cheese Ball
Ingredients
Ingredients
- 28 oz packages cream cheese softened
- 1 bunch of green onions chopped
- 1/4 lb- 1/3 lb. hard salami I use Cervelat from the deli, cut into small pieces
- 3 tbspmayo
- 1 cupshredded cheddar cheese
- 1/4 tspsalt
- 1/8 tspblack pepper
Instructions
Instructions
- If the 28oz package(s) cream cheese are not already softened, let them sit at room temperature until they are easy to scoop and mix.
- Chop the green onions and cut the 1/4–1/3 lb hard salami into small pieces.
- Place the softened cream cheese into the bowl of a stand mixer fitted with the paddle attachment. Add the chopped green onions, salami, 3 Tbsp mayo, 1 cup shredded cheddar cheese, 1/4 tsp salt, and 1/8 tsp black pepper.
- Mix on low to medium speed until all ingredients are evenly combined, stopping once or twice to scrape down the bowl and ensure there are no streaks of cream cheese.
- Spoon the mixture onto a sheet of plastic wrap, place a second sheet of plastic wrap on top, and shape the mixture into a ball (or another shape you prefer). Wrap tightly.
- Chill the wrapped cheese ball in the refrigerator for 20–30 minutes to firm up.
- Unwrap, transfer to a serving plate, and serve with butter crackers and fresh-cut vegetables.
Equipment
- Stand mixer
- paddle attachment
- Plastic Wrap
- Refrigerator
- Serving Plate
Notes
*to soften cream cheese quickly, unwrap the cream cheese and place on a microwave safe dish. Microwave each brick of cream cheese separately for just 20 seconds.


