Are you ready to take your mac and cheese game to the next level? If you’re a fan of bold flavors and a little bit of heat, this Spicy Takis Mac & Cheese is going to be your new favorite comfort food. Imagine creamy, cheesy pasta combined with the spicy crunch of Takis Fuego—it’s an explosion of flavor in every bite. Perfect for a cozy night in or a fun dinner party, this dish is sure to impress your friends and family. So, let’s dive into this unique recipe that will tantalize your taste buds!
Why This Recipe Is a Must-Try
This Spicy Takis Mac & Cheese is not just another variation of the classic dish. It combines the rich, creamy texture of traditional mac and cheese with the spicy, zesty kick of Takis. The sharp cheddar cheese provides a robust flavor that perfectly complements the heat from the Takis. Plus, it’s incredibly easy to make, taking only about 30 minutes from start to finish. Whether you’re looking for a quick weeknight dinner or a tasty side dish for your next gathering, this recipe is guaranteed to be a crowd-pleaser.
Ingredients
- 8 ounces elbow macaroni
- 2 cups shredded sharp cheddar cheese
- 1 cup milk
- 2 tablespoons butter
- 2 tablespoons all-purpose flour
- 1 teaspoon chili powder
- 1/2 teaspoon cayenne pepper
- 1/2 teaspoon garlic powder
- 1/2 teaspoon onion powder
- Salt to taste
- Pepper to taste
- 1 cup crushed Takis Fuego
- 2 tablespoons chopped green onions
How To Make Spicy Takis Mac & Cheese
Step 1: Cook the Elbow Macaroni
Start by boiling a large pot of salted water. Once it reaches a rolling boil, add the elbow macaroni and cook according to the package instructions until al dente. Drain the pasta and set it aside.
Step 2: Prepare the Cheese Sauce
In a medium saucepan, melt the butter over medium heat. Once melted, add the flour and whisk continuously for about 1-2 minutes to create a roux. Gradually pour in the milk while whisking to prevent lumps from forming. Continue to cook until the mixture thickens, which should take about 3-5 minutes.
Step 3: Add the Cheese and Spices
Lower the heat and stir in the shredded sharp cheddar cheese, allowing it to melt completely. Once melted, add the chili powder, cayenne pepper, garlic powder, onion powder, salt, and pepper. Mix well until all the spices are incorporated into the cheese sauce.
Step 4: Combine Pasta and Sauce
Add the cooked elbow macaroni to the cheese sauce, stirring until the pasta is evenly coated.
Step 5: Add the Crunch
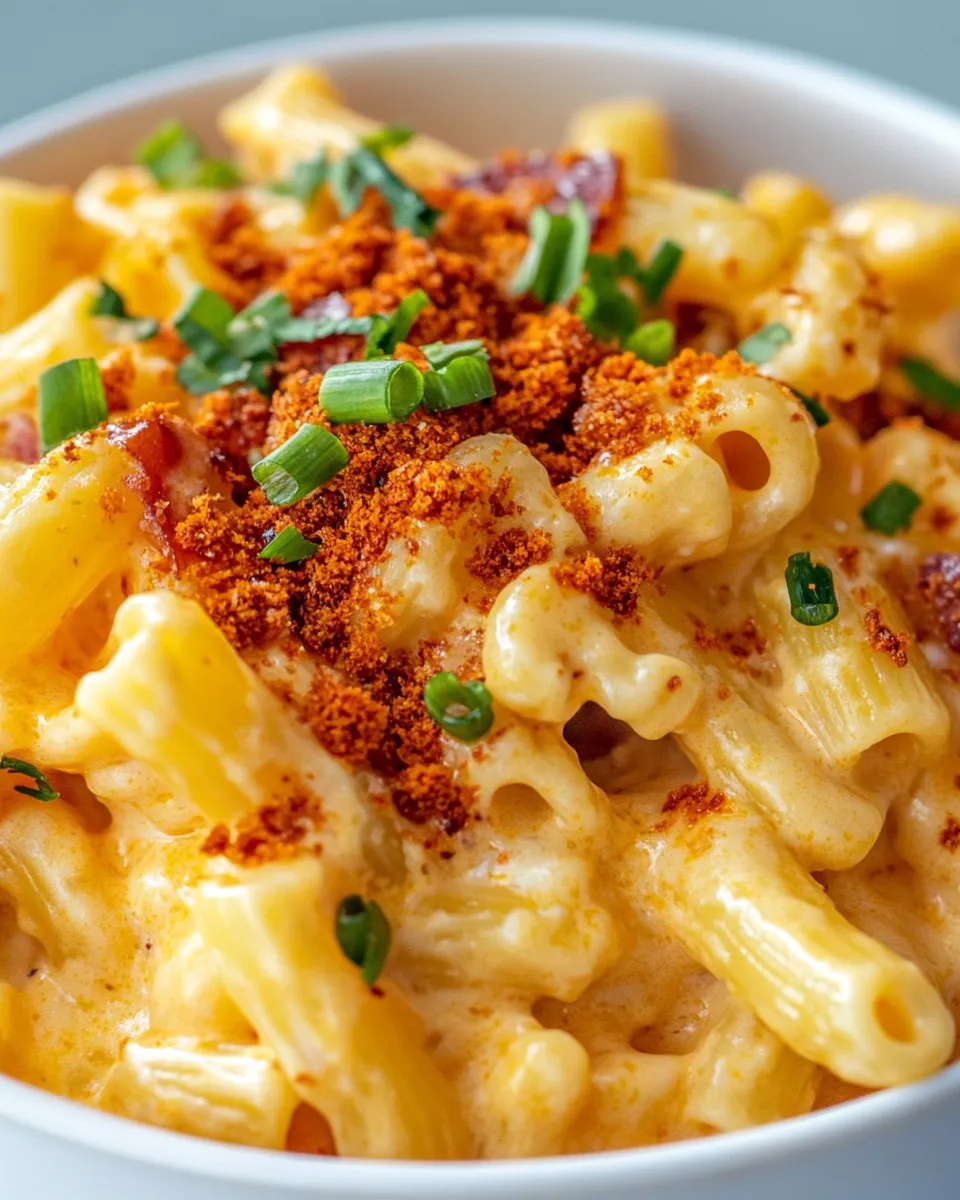
Fold in the crushed Takis Fuego, ensuring they are well distributed throughout the mac and cheese. This is where the magic happens—the spiciness and crunch elevate the dish to new heights!
Step 6: Serve and Garnish
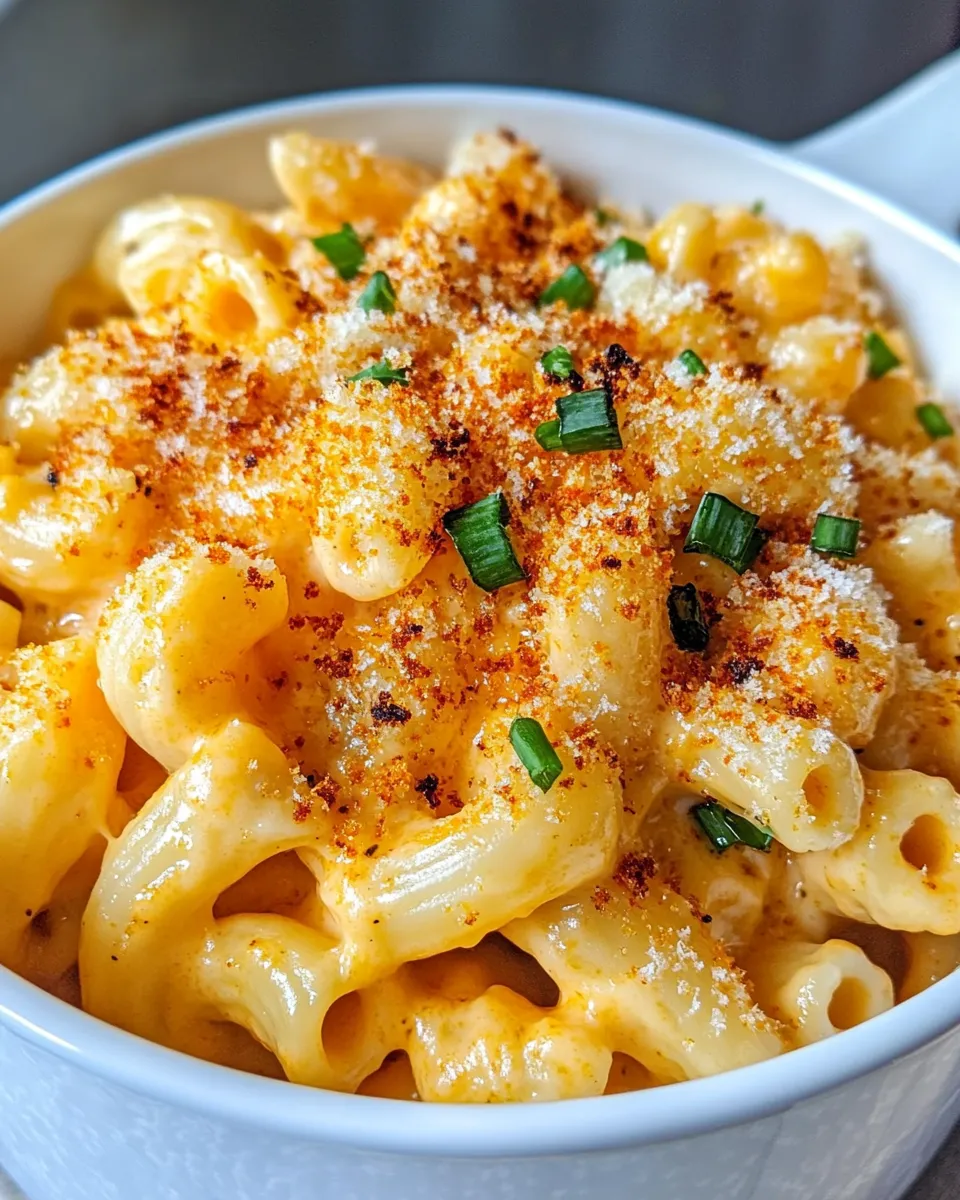
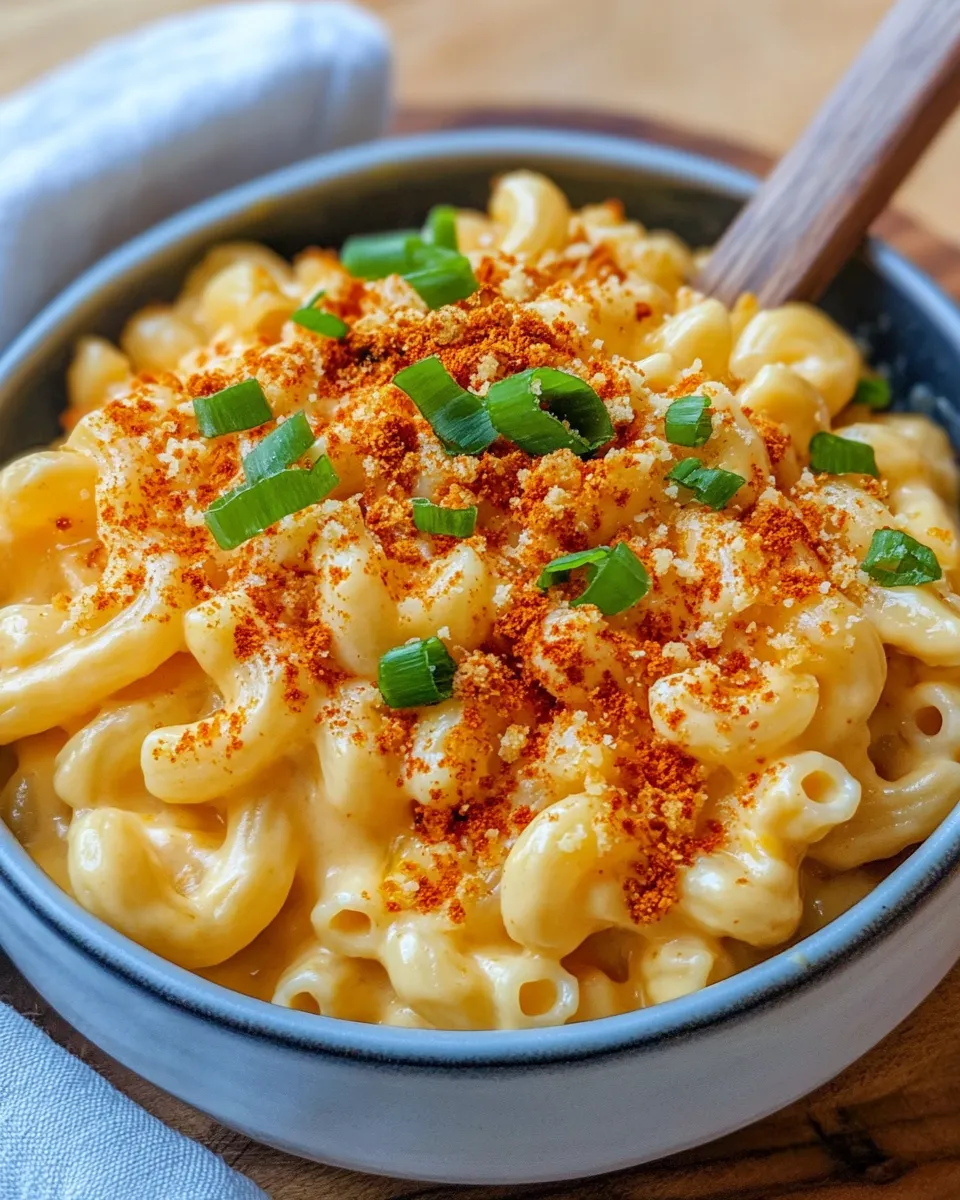
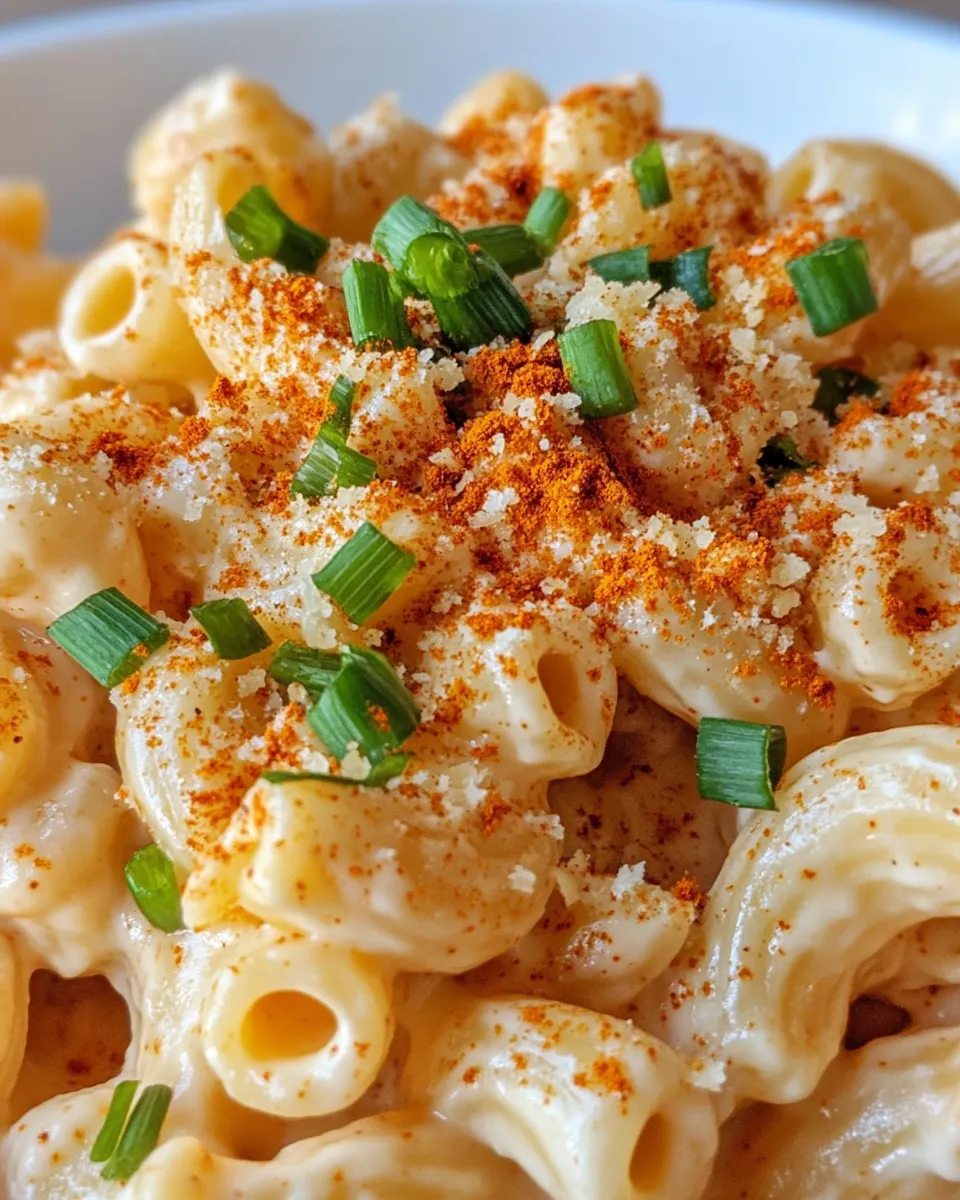
Transfer your Spicy Takis Mac & Cheese to a serving dish and sprinkle with chopped green onions for an extra pop of color and flavor. Serve hot and enjoy!
Expert Tips
- For an extra cheesy experience, try mixing in different types of cheese such as mozzarella or pepper jack.
- Adjust the level of spiciness by increasing or decreasing the amount of cayenne pepper.
- Use freshly grated cheese for the best melting results. Pre-shredded cheese often contains anti-caking agents that can affect the texture.
- If you want a crispy topping, transfer the mac and cheese to a baking dish, top with additional crushed Takis, and broil for a few minutes until golden brown.
Variations and Customizations
- For a protein boost, add cooked chicken or turkey to the mac and cheese.
- Incorporate vegetables like diced bell peppers, spinach, or jalapeños for added nutrition and flavor.
- Experiment with different flavored Takis, such as the Blue Heat or Nitro, for a unique twist on the dish.
- Try adding a splash of hot sauce or sriracha for an extra kick!
How to Store Leftovers
If you find yourself with any leftover Spicy Takis Mac & Cheese (which is unlikely!), you can store it in an airtight container in the refrigerator for up to 3 days. To reheat, place it in the microwave or on the stovetop with a splash of milk to help restore its creamy texture. You may need to add more crushed Takis on top for that crunchy finish!
FAQ
Can I make this mac and cheese ahead of time?
Yes, you can prepare the cheese sauce and pasta separately and combine them right before serving. This way, you can enjoy the dish fresh and hot!
Is there a way to make this recipe vegetarian?
Absolutely! The ingredients used in this recipe are already vegetarian. Just ensure that the cheese you use is suitable for your dietary preferences.
What can I serve with Spicy Takis Mac & Cheese?
This dish pairs wonderfully with a simple green salad or grilled vegetables. For a heartier meal, consider serving it alongside some grilled chicken or fish.
Can I freeze Spicy Takis Mac & Cheese?
While it’s best enjoyed fresh, you can freeze the mac and cheese for up to 2 months. Just make sure to let it cool completely before transferring it to a freezer-safe container. When you’re ready to eat, thaw it in the refrigerator overnight and reheat as needed.
Conclusion
This Spicy Takis Mac & Cheese is a delightful twist on the classic comfort food that’s sure to become a favorite in your household. With its creamy texture, sharp cheddar, and the unforgettable crunch of Takis, every bite is a flavor explosion. Whether you’re whipping it up for a family dinner or serving it at your next gathering, this dish will leave everyone asking for seconds. So grab your ingredients and let’s get cooking! And don’t forget to check out Takis Elote Street Corn Cups and Takis Crusted Chicken Tenders With Lime Ranch for more delicious ways to enjoy Takis!
Share on Pinterest


Spicy Takis Mac & Cheese
Ingredients
- 8 ounces elbow macaroni
- 2 cups shredded sharp cheddar cheese
- 1 cup milk
- 2 tablespoons butter
- 2 tablespoons all-purpose flour
- 1 teaspoon chili powder
- 0.5 teaspoon cayenne pepper
- 0.5 teaspoon garlic powder
- 0.5 teaspoon onion powder
- salt to taste
- pepper to taste
- 1 cup crushed Takis Fuego
- 2 tablespoons chopped green onions
Instructions
- Start by boiling a large pot of salted water. Once it reaches a rolling boil, add the elbow macaroni and cook according to the package instructions until al dente. Drain the pasta and set it aside.
- In a medium saucepan, melt the butter over medium heat. Once melted, add the flour and whisk continuously for about 1-2 minutes to create a roux.
- Gradually pour in the milk while whisking to prevent lumps from forming. Continue to cook until the mixture thickens, about 3-5 minutes.
- Lower the heat and stir in the shredded sharp cheddar cheese, allowing it to melt completely.
- Once melted, add the chili powder, cayenne pepper, garlic powder, onion powder, salt, and pepper. Mix well until all the spices are incorporated into the cheese sauce.
- Add the cooked elbow macaroni to the cheese sauce, stirring until the pasta is evenly coated.
- Fold in the crushed Takis Fuego, ensuring they are well distributed throughout the mac and cheese.
- Transfer your Spicy Takis Mac & Cheese to a serving dish and sprinkle with chopped green onions for an extra pop of color and flavor. Serve hot and enjoy!
Equipment
- Large Pot
- Medium Saucepan
- Whisk
- Strainer
Notes
- For an extra cheesy experience, mix in different cheeses like mozzarella or pepper jack.
- Adjust spiciness by changing the amount of cayenne pepper.
- Use freshly grated cheese for better melting results.
- For a crispy topping, broil with additional crushed Takis for a few minutes.
- Store leftovers in an airtight container in the fridge for up to 3 days; reheat with a splash of milk.