
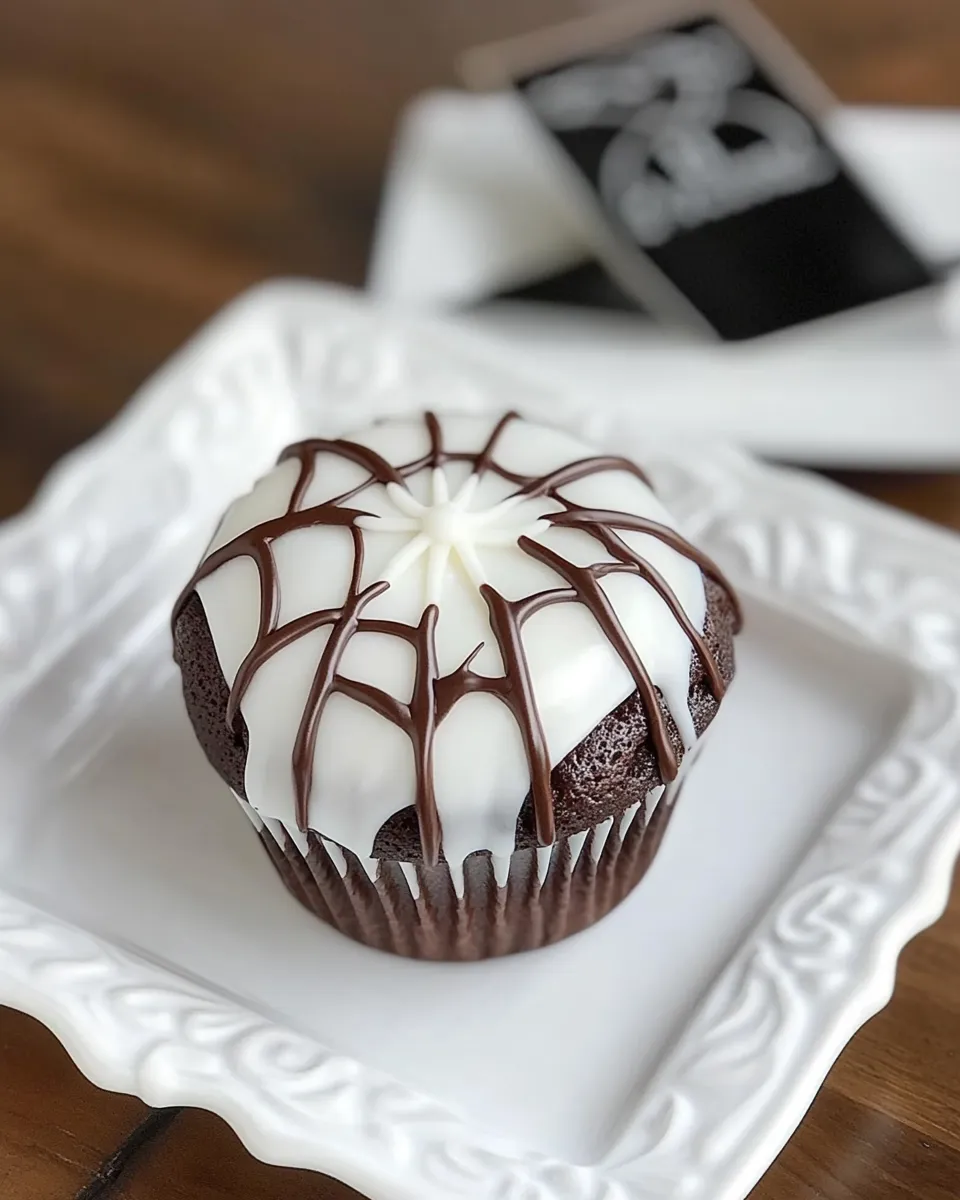
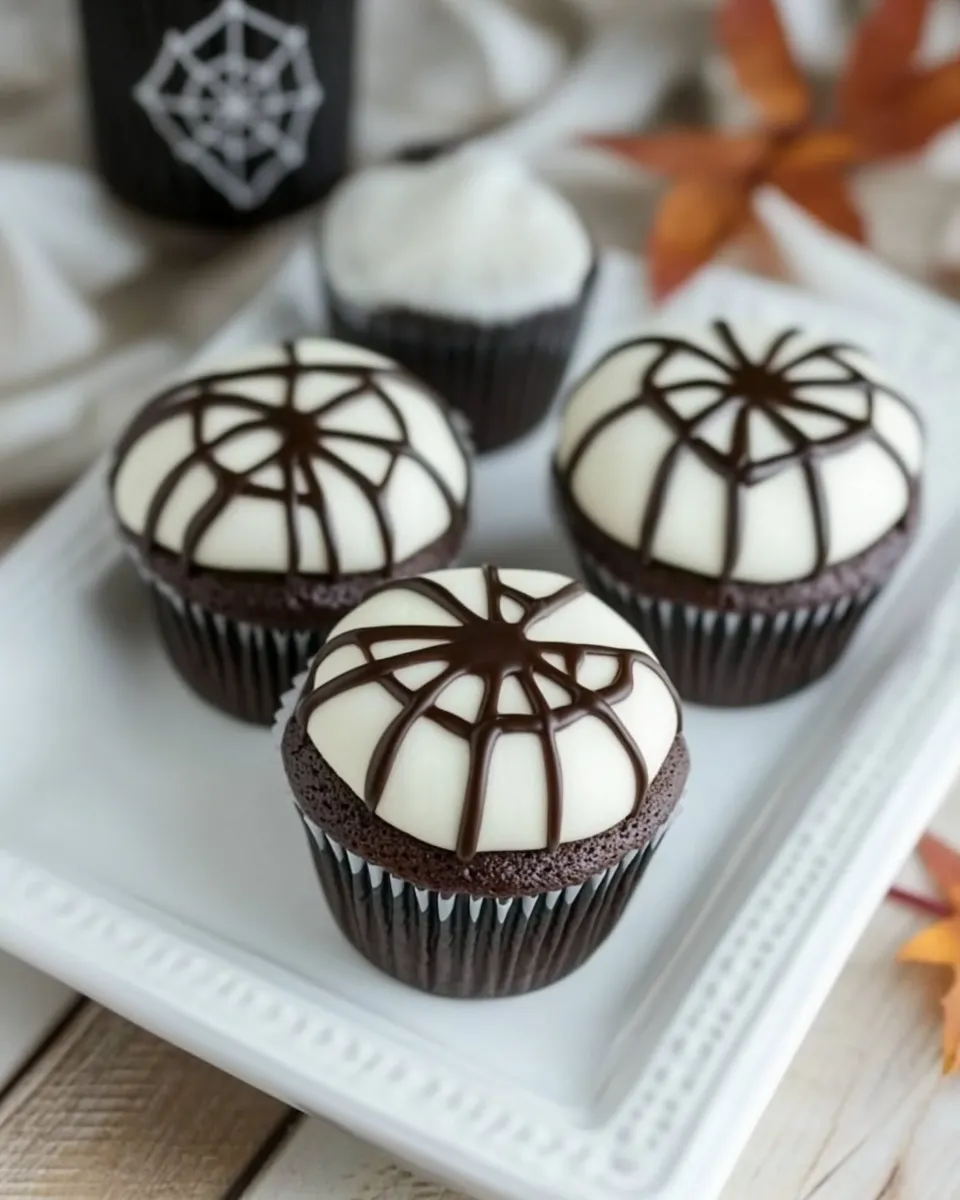
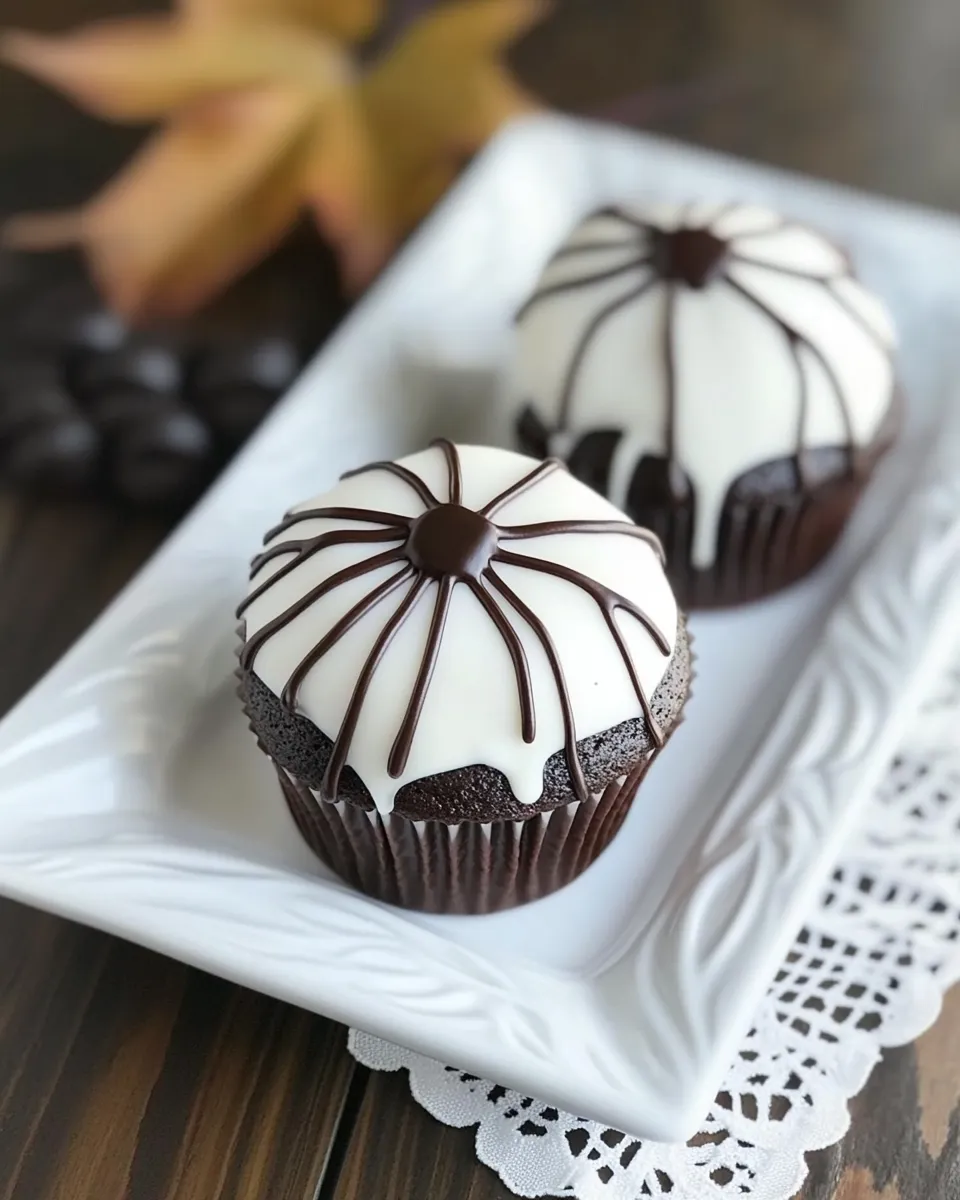
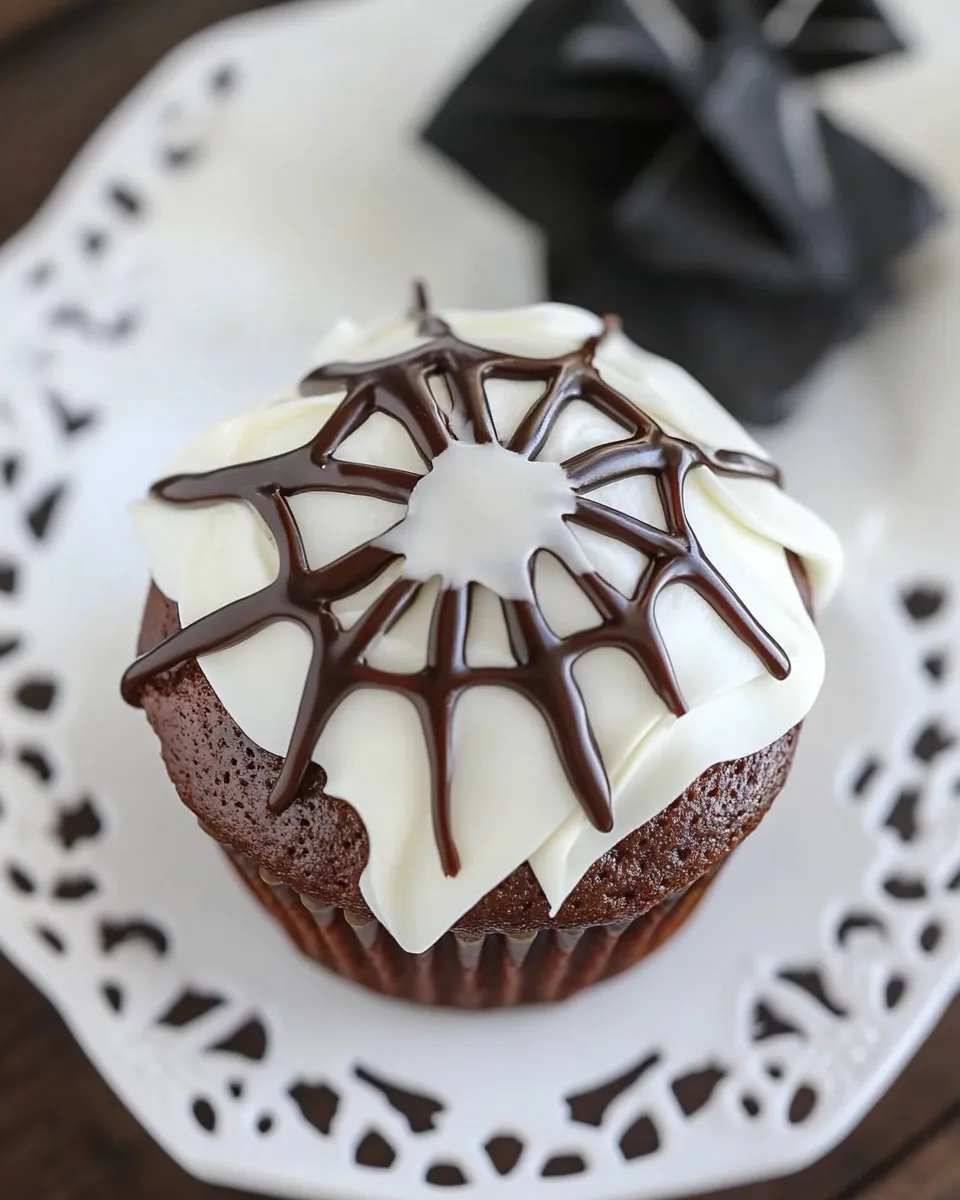
These spiderweb cupcakes are a quick celebration crowd-pleaser. Chocolate cupcakes get a glossy finish and a simple spiderweb decoration that looks dramatic but takes only minutes. If you’re baking for a party, a classroom event, or just Halloween at home, this recipe fits perfectly into a busy schedule.
I like recipes that get right to the point: clear steps, reliable results, and room for small creative tweaks. The cupcake batter here is intentionally thin; that produces a tender crumb and a moist texture. The spiderweb top is purely decorative, so you can keep it classic white-on-black or invent your own color scheme.
Below you’ll find everything you need: exact ingredients, the step-by-step method, troubleshooting notes, storage tips, and a few flavor-forward alternatives if you want to shake things up. Read the tips before you bake and you’ll avoid the common mistakes that slow people down.
What You’ll Need
Ingredients
- 1 cup sugar — provides sweetness and helps keep cupcakes moist.
- ¾ cup plus 2 tablespoons flour — all-purpose flour for structure; measured accurately for consistent texture.
- ¼ cup plus 2 tablespoons cocoa — unsweetened cocoa adds chocolate flavor and color.
- 1 teaspoon baking soda — leavening agent to help cupcakes rise.
- ½ teaspoon baking powder — additional lift for a light crumb.
- ½ teaspoon salt — balances sweetness and enhances chocolate notes.
- 1 egg — binds ingredients and contributes to structure.
- ½ cup buttermilk or sour milk* — adds tenderness and a slight tang; if using sour milk, it acts like buttermilk.
- ½ cup boiling water — helps bloom the cocoa and thins the batter for a moist cake.
- ¼ cup vegetable oil — keeps cupcakes tender and moist, and stays soft at room temperature.
- ½ teaspoon vanilla extract — rounds out flavor and brings depth to the chocolate.
How to Prepare (Spiderweb Cupcakes)
- Preheat the oven to 350°F. Line a 12-cup muffin tin with paper liners and set aside.
- In a large bowl whisk together 1 cup sugar, ¾ cup plus 2 tablespoons flour, ¼ cup plus 2 tablespoons cocoa, 1 teaspoon baking soda, ½ teaspoon baking powder, and ½ teaspoon salt until evenly combined.
- Add 1 egg, ½ cup buttermilk (or sour milk), ¼ cup vegetable oil, and ½ teaspoon vanilla extract to the dry ingredients.
- Beat the mixture with an electric mixer on medium speed for about 2 minutes, scraping down the sides of the bowl once or twice. The batter will be thin.
- With the mixer on low (or using a spoon), carefully add ½ cup boiling water a little at a time and mix just until smooth and evenly combined.
- Fill each paper-lined cup about 2/3 to 3/4 full with batter.
- Bake for 15 minutes, or until a toothpick inserted in the center of a cupcake comes out clean.
- Let the cupcakes cool in the tin for a few minutes (about 3–5 minutes), then transfer them to a wire rack to cool completely.
- Once cool, serve the cupcakes or store them in an airtight container.
What Sets This Recipe Apart
The balance here is in the batter consistency. Many chocolate cupcake recipes are thick; this one is thin because of the boiling water step. That makes the crumb especially moist and gives a pronounced chocolate flavor without heavy cake density. It’s a technique you’ll see in successful boxed and from-scratch recipes alike.
Another distinguishing feature is simplicity. There’s no need to create a separate frosting if you want a quick finish—glaze or powdered sugar spiderwebs work fine. The recipe was designed for reliability: straightforward ingredients, predictable rise, and fast bake time. Fifteen minutes in the oven yields consistent cupcakes every time.
Flavor-Forward Alternatives
Want to pivot from classic chocolate? A few simple swaps will alter the profile without changing the method or bake time.
- Espresso boost — add 1–2 teaspoons instant espresso to the boiling water to deepen the chocolate flavor.
- Orange-chocolate — fold in 1 teaspoon orange zest with the vanilla for a citrus lift.
- Mint touch — add ¼ teaspoon peppermint extract instead of vanilla, but start small; mint can dominate quickly.
- Chocolate chips — stir ¼ to ½ cup mini chocolate chips into the batter just before filling the cups for pockets of melted chocolate.
Essential Tools for Success
These cupcakes require very little specialized equipment, but a few tools make the process easier and more consistent.
- 12-cup muffin tin — for even heat distribution and uniform cupcakes.
- Paper liners — keep cupcakes from sticking and make serving simpler.
- Electric mixer — helps achieve the correct batter texture in the prescribed time; a whisk works but expect slower mixing.
- Wire rack — cools cupcakes quickly and prevents steam from making bottoms soggy.
- Toothpick or cake tester — checks doneness quickly and accurately.
Slip-Ups to Skip
Several common mistakes can ruin the bake if you’re not careful. Watch for these and you’ll breeze through the recipe.
- Overmixing after adding the boiling water — the batter should be mixed just until smooth. Overmixing can develop gluten and toughen the crumb.
- Incorrect measuring — too much flour makes cupcakes dry. Spoon flour into the measuring cup and level with a knife instead of scooping directly from the bag.
- Filling cups unevenly — fill each liner to the same level (2/3–3/4 full) for uniform baking. Use an ice cream scoop for consistency.
- Baking too long — these cupcakes bake quickly. Start checking at 14 minutes if your oven runs hot.
Seasonal Serving Ideas
Spiderweb cupcakes work well for seasonal themes beyond Halloween. Here are quick serving ideas that take minutes to execute.
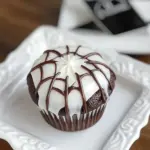
- Halloween — pipe white frosting circles and drag a toothpick from center to edge to create a web, then add a candy spider or licorice leg.
- Autumn — dust with cinnamon sugar and top with a caramel drizzle for a fall twist.
- Winter — swap white webs for silver or blue edible glitter on a dark chocolate glaze for a frosty look.
- Birthday — place small fondant shapes or edible eyes in the center of the web for playful toppers kids love.
What Could Go Wrong
Even simple recipes have pitfalls. Here’s what to watch for and how to fix issues if they arise.
- Sunken centers — usually from underbaking or opening the oven too soon. Test with a toothpick and avoid opening the door during the first 12 minutes.
- Dry cupcakes — often due to overbaking or too much flour. Check timing, and measure flour properly.
- Dense texture — overmixing after the wet and dry ingredients are combined can compress the batter. Mix only as directed.
- Uneven rise — uneven oven temperature or unevenly filled cups. Rotate the pan once if your oven has hot spots, and fill liners evenly.
Cooling, Storing & Rewarming
Cooling properly keeps texture intact. Let the cupcakes cool in the tin for 3–5 minutes, then transfer to a wire rack to finish cooling. This prevents steam from sogging the cupcake base.
Store cooled cupcakes in an airtight container at room temperature for up to two days. For longer storage, refrigerate for up to five days, but bring to room temperature before serving for best flavor. You can freeze unfrosted cupcakes in a single layer on a baking sheet until solid, then transfer to a sealed container or freezer bag for up to three months. Thaw in the refrigerator or at room temperature.
To rewarm, place a cupcake on a microwave-safe plate and heat for 8–12 seconds to restore a freshly-baked warmth. If you warmed from frozen, allow it to thaw fully before reheating briefly.
FAQ
Q: Can I make these dairy-free?
A: The recipe calls for buttermilk or sour milk. You can substitute a dairy-free milk mixed with 1 tablespoon vinegar per ½ cup to mimic the acidity, but the ingredient list provided is the source of truth for measurements, so test carefully if you swap.
Q: How do I make the spiderweb decoration?
A: A simple approach: pipe a circle of white frosting on a dark chocolate glaze, then drag a toothpick from the center outward at evenly spaced points to form web lines. Repeat concentric circles and pull through. Use white royal icing or melted white chocolate for a crisp, contrasting web.
Q: Can I double the recipe?
A: Yes. Use two muffin tins or bake in batches. Keep the proportions exactly the same and watch bake time; it should remain similar for the same cupcake size.
Q: What if I don’t have buttermilk?
A: The recipe lists “buttermilk or sour milk.” Sour milk works as indicated. If making a substitute, add 1 tablespoon vinegar or lemon juice to a measuring cup, then fill to the ½ cup line with milk and let sit 5 minutes.
Final Thoughts
These Spiderweb Cupcakes deliver on both speed and effect. The batter is forgiving, the bake time is short, and the decoration is an easy way to elevate a simple treat. Keep your tools and ingredients organized before you start, measure carefully, and follow the steps in order for the best result.
Whether you need a last-minute party dessert or a themed snack, this recipe gives you dependable cupcakes with a show-stopping finish. Bake once, and you’ll see how a few simple techniques—blooming the cocoa, gentle mixing, and timely cooling—can produce impressive results every time.
Spiderweb Cupcakes
Ingredients
Ingredients
- 1 cup sugar
- 3/4 cup plus 2 tablespoons flour
- 1/4 cup plus 2 tablespoons cocoa
- 1 teaspoon baking soda
- 1/2 teaspoon baking powder
- 1/2 teaspoon salt
- 1 egg
- 1/2 cup buttermilk or sour milk*
- 1/2 cup boiling water
- 1/4 cup vegetable oil
- 1/2 teaspoon vanilla extract
Instructions
Instructions
- Preheat the oven to 350°F. Line a 12-cup muffin tin with paper liners and set aside.
- In a large bowl whisk together 1 cup sugar, ¾ cup plus 2 tablespoons flour, ¼ cup plus 2 tablespoons cocoa, 1 teaspoon baking soda, ½ teaspoon baking powder, and ½ teaspoon salt until evenly combined.
- Add 1 egg, ½ cup buttermilk (or sour milk), ¼ cup vegetable oil, and ½ teaspoon vanilla extract to the dry ingredients.
- Beat the mixture with an electric mixer on medium speed for about 2 minutes, scraping down the sides of the bowl once or twice. The batter will be thin.
- With the mixer on low (or using a spoon), carefully add ½ cup boiling water a little at a time and mix just until smooth and evenly combined.
- Fill each paper-lined cup about 2/3 to 3/4 full with batter.
- Bake for 15 minutes, or until a toothpick inserted in the center of a cupcake comes out clean.
- Let the cupcakes cool in the tin for a few minutes (about 3–5 minutes), then transfer them to a wire rack to cool completely.
- Once cool, serve the cupcakes or store them in an airtight container.
Equipment
- 12-cup muffin tin
- Paper liners
- Mixing Bowl
- Electric Mixer
- Spoon
- Wire Rack
- toothpick


