
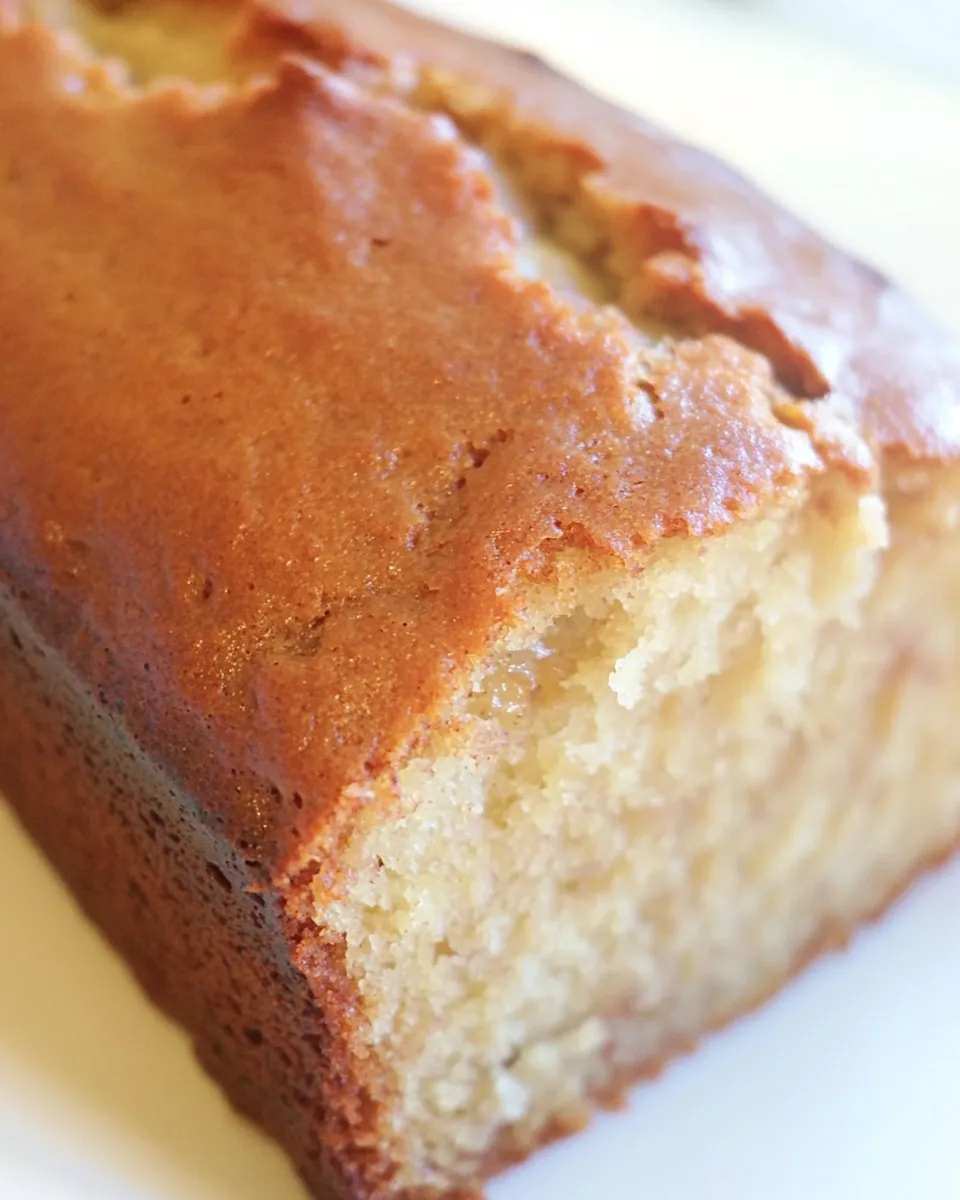
This banana bread recipe is exactly what you’d want on a busy morning or when you need a reliable loaf to bring to a friend. It uses simple pantry staples, leans on ripe bananas for sweetness and moisture, and gives you a tender crumb without fuss. No special flours, no strange add-ins—just dependable results every time.
I’ve baked this loaf dozens of times, dialing in small touches that matter: room-temperature eggs for stable emulsion, melted butter for a denser, more tender crumb, and a touch of sour cream to keep the bread moist for days. The method is straightforward, and the outcome is forgiving—perfect when your bananas go past the point of eating but are ideal for baking.
Below you’ll find a clear ingredient list with notes, the exact step-by-step method, and practical tips to fix or adapt the loaf to what you have on hand. If you want a classic, sliceable banana bread that pleases everyone, this is the one I reach for again and again.
Ingredient Rundown

Ingredients
- 1/2 cup (4 ounces) unsalted butter, melted — provides richness and tenderness; melt and cool slightly so it doesn’t cook the eggs.
- 2 teaspoons pure vanilla extract — rounds out flavor and lifts the banana notes; use real vanilla if you have it.
- 2 eggs, at room temperature — structure and emulsification; room temperature eggs incorporate more evenly.
- 1/2 teaspoon salt — balances sweetness and enhances other flavors; don’t skip it.
- 1 cup granulated sugar — sweetness and some moisture; fine granulated sugar keeps the texture classic.
- 1 1/2 cups flour — the structure of the loaf; measure by spooning into the cup and leveling for accuracy.
- 1 teaspoon baking soda — leavening; it reacts with the acidic sour cream and bananas to give lift.
- 2 dashes of nutmeg (optional) — warm spice note; include only if you like a hint of autumn warmth.
- 1 teaspoon cinnamon — complements the banana flavor without overpowering.
- 4 large, ripe bananas, mashed — the star ingredient for sweetness and moisture; very ripe (spotted or mostly brown) gives best flavor.
- 1/2 cup + 2 tablespoons sour cream (full-fat is preferred) — adds moisture, tenderness, and a slight tang that brightens the loaf.
Basic Banana Bread: From Prep to Plate
- Preheat the oven to 350°F (175°C). Grease a loaf pan with butter or nonstick cooking spray and set it aside.
- In a large bowl, combine the melted butter and granulated sugar and beat until smooth.
- Add the vanilla extract and the room-temperature eggs to the butter–sugar mixture and beat until fully combined.
- In a separate medium bowl, whisk together the flour, baking soda, salt, cinnamon, and nutmeg (if using) until evenly mixed.
- Add the dry ingredients to the wet ingredients and stir gently until just combined — stop as soon as the flour is mostly incorporated to avoid overmixing.
- Fold the mashed bananas and the sour cream into the batter until evenly distributed and the batter is uniform in texture.
- Pour the batter into the prepared loaf pan and smooth the top with a spatula.
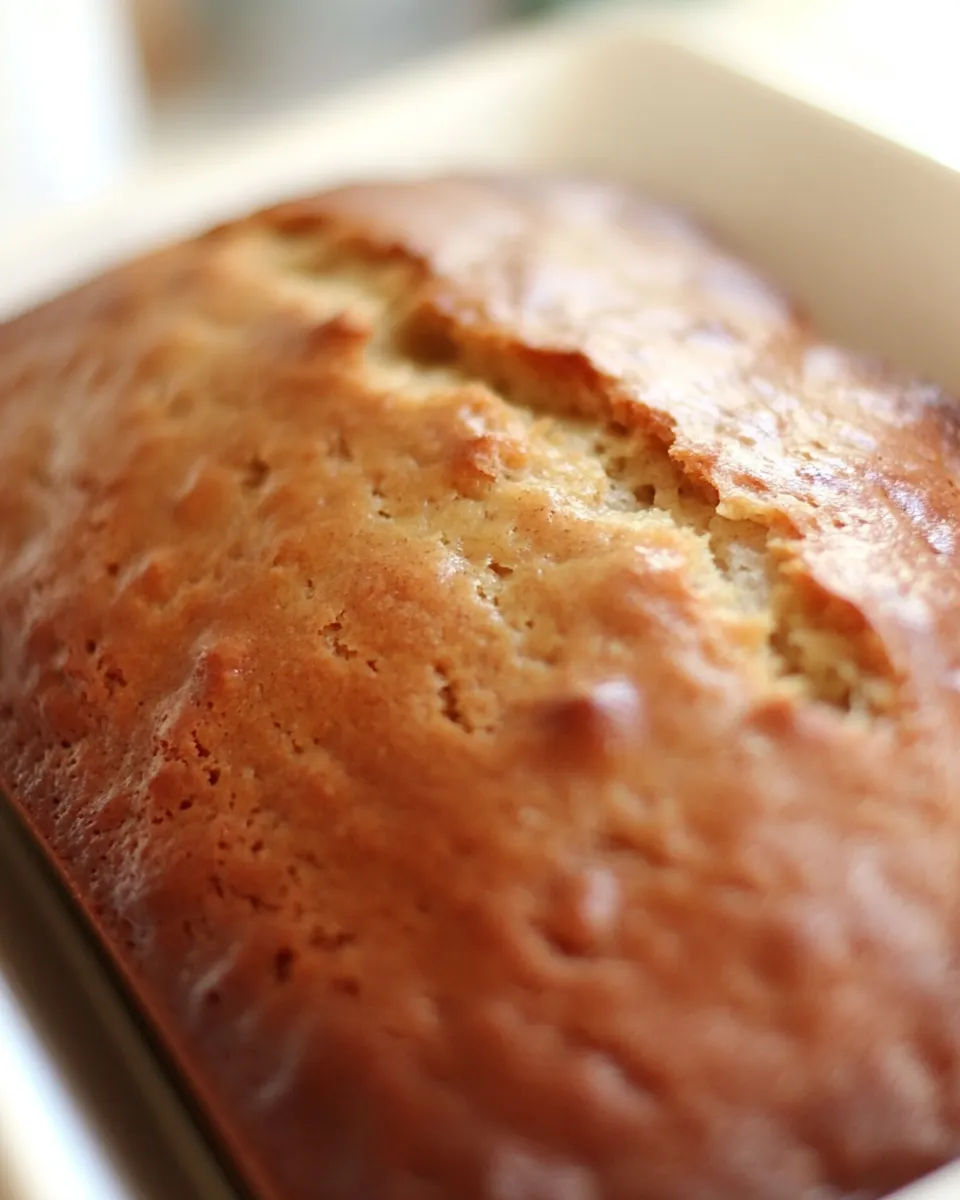
- Bake for 50–55 minutes, or until the top is golden brown and a toothpick inserted into the center comes out clean or with just a few moist crumbs attached.
- Let the bread cool in the pan for 10 minutes, then loosen the edges, transfer it to a cooling rack, and cool completely before slicing and serving.
Why It’s My Go-To

This loaf is the right balance of simple and satisfying. The combination of melted butter and sour cream creates a tender, moist crumb that keeps well for several days. I like recipes that are forgiving in both technique and timing—this one doesn’t punish you if your mixing is a touch heavy-handed or the oven runs slightly hot. The banana flavor is honest and upfront without being cloying.
Another reason I return to this recipe: it’s versatile. From a quick breakfast with coffee to a mid-afternoon snack or a friendly housewarming gift, it fits. It also serves as a reliable base for more creative versions—add chocolate chips, nuts, or a glaze—and it handles those additions without losing its structure.
Ingredient Swaps & Substitutions
Swap sparingly and thoughtfully. The recipe relies on a balance of fat, acid, and leavening; change one thing and the texture shifts.
- Butter: You can substitute an equal amount of neutral oil (like canola) for a slightly lighter crumb. The flavor will be less buttery but still pleasant.
- Sour cream: Greek yogurt (full-fat) is a one-to-one substitute and gives similar tang and moisture. If you only have low-fat versions, expect a slightly denser loaf.
- All-purpose flour: Stick with it. If you try whole-wheat, substitute up to half the flour and expect a heartier texture; add a touch more liquid if the batter seems stiff.
- Granulated sugar: Brown sugar can replace half or all of the granulated sugar for a deeper, caramel-like note and slightly more moisture.
- Eggs: For each egg, you can use 1/4 cup unsweetened applesauce in a pinch, but the structure will be looser and the crumb more cake-like.
- Nutmeg and cinnamon: Omit one or both if you prefer a pure banana flavor. A pinch of ground ginger or cardamom can be interesting, but use sparingly.
Tools of the Trade
You don’t need fancy equipment to make this well. A few reliable tools make the process easier and more consistent:
- Loaf pan (standard 9×5 inches) — size matters for baking time and final shape.
- Mixing bowls — one large for wet and one medium for dry.
- Spatula or wooden spoon — for gentle folding.
- Measuring cups and spoons — accurate measuring keeps texture consistent.
- Metal or silicone spatula — smooth the batter and scrape bowls clean.
- Toothpick or cake tester — to check doneness.
Troubles You Can Avoid
Fear of a flat or gummy loaf is common. Here are the concrete fixes I use.
Common issues and how to fix them
- Dense, under-risen bread: Check your baking soda—it’s the leavening. If it’s old, replace it. Also avoid overmixing once the flour is in; overworked batter creates gluten and yields a tough loaf.
- Gummy or wet center: Your oven temperature might be off, or the pan size is too small. Use an oven thermometer and make sure you’re using a standard loaf pan. If the top browns too quickly while the center is raw, loosely tent with foil for the last 10–15 minutes.
- Too dry: Measure flour correctly. Spoon and level the flour into the cup rather than scooping with the cup. Also, ensure the sour cream quantity is as written; it’s critical for moisture.
- Cracked top: A crack on top is normal and not a problem. It means the loaf rose well. If it’s extremely split or collapsing, it likely overproved or the oven temperature spiked.
Variations by Season
Small seasonal swaps keep this loaf feeling fresh through the year.
- Spring: Stir in 1/2 cup frozen, defrosted raspberries or a handful of chopped fresh strawberries for brightness. Reduce added cinnamon if using fruit that’s tart.
- Summer: Fold in a 1/2 cup of chocolate chips or toasted coconut for a beachy twist. Use ripe bananas for sweetness; they’re abundant in summer markets.
- Autumn: Increase the cinnamon to 1 1/2 teaspoons and add a pinch more nutmeg. Fold in 1/2 cup chopped toasted pecans for crunch.
- Winter: Add 1/4 cup molasses or replace part of the sugar with brown sugar for a deep, spiced loaf. A tablespoon of espresso powder can deepen the chocolate chip variation.
Behind-the-Scenes Notes
I test this loaf in a few different ovens and pans to make sure it behaves. The key patterns I found: melted butter yields a tighter, more tender crumb than creamed butter in quick breads; sour cream consistently keeps the crumb moist longer than milk; and very ripe bananas (almost fully brown) give the best aroma and sweetness without extra sugar.
When I teach this to friends, I emphasize the gentle folding at the dry-into-wet stage. It’s where many home bakers accidentally create toughness. Stop mixing when the flour is mostly incorporated; a few streaks are fine and will disappear during baking.
Keep It Fresh: Storage Guide
Store completely cooled banana bread at room temperature for up to 3 days in a loosely covered container or wrapped in a tea towel and placed in a bread box. For longer storage, tightly wrap in plastic wrap and then foil, and refrigerate up to 1 week.
To freeze, wrap the cooled loaf or individual slices tightly in plastic wrap and place in a freezer bag for up to 3 months. Thaw overnight in the refrigerator or on the counter; warm slices briefly in a 300°F oven for 8–10 minutes or in the microwave for 20–30 seconds if you like it warm.
Basic Banana Bread Q&A
Q: Can I make this into muffins?
A: Yes. Divide the batter into a lined or greased muffin tin and bake at 350°F. Start checking at 18–22 minutes; they’ll be done sooner than a loaf.
Q: Why does the recipe call for both butter and sour cream?
A: Butter provides flavor and tenderness, while sour cream adds acidity and moisture. The acid reacts with the baking soda to help the loaf rise and keeps the texture soft.
Q: My bananas aren’t ripe. What then?
A: For best flavor, use very ripe bananas. If you need to ripen them, place unpeeled bananas on a baking sheet in a 300°F oven for 15–20 minutes until the skins are blackened—cool before using. That concentrates their sugars and softens them quickly.
Q: Can I reduce the sugar?
A: You can reduce up to 1/4 cup of the granulated sugar with modest effect on texture, but the bananas and sour cream need to be at their best to keep the loaf moist. Reducing sugar too much will change the crumb and browning.
Q: How do I know when it’s done without a toothpick?
A: The top will be golden brown and spring back lightly when pressed. The loaf should release from the pan edges after cooling 10 minutes. If unsure, cut into the center; underdone batter will be glossy and dense.
In Closing
This Basic Banana Bread is exactly what I turn to when I want something straightforward, dependable, and warmly familiar. It rewards attention to small details—ripe fruit, measured flour, gentle mixing—without demanding perfection. Whether you keep it plain, fold in chips or nuts, or adapt it seasonally, it’s a reliable loaf that feels like a little kindness when you bring it to the table.
Make the recipe once as written to get the feel of its texture and timing. After that, you’ll know how to tweak it to your taste and pantry. Slice it thick, toast a piece, or wrap it and send it with a note to a neighbor. It travels well and brings smiles.

The Best Basic Banana Bread
Ingredients
Ingredients
- 1/2 cup 4 ounces unsalted butter, melted
- 2 teaspoonspure vanilla extract
- 2 eggs at room temperature
- 1/2 teaspoonsalt
- 1 cupgranulated sugar
- 1 1/2 cupsflour
- 1 teaspoonbaking soda
- 2 dashes of nutmeg optional
- 1 teaspooncinnamon
- 4 large ripe bananas, mashed
- 1/2 cup+ 2 tablespoons sour cream full-fat is preferred
Instructions
Instructions
- Preheat the oven to 350°F (175°C). Grease a loaf pan with butter or nonstick cooking spray and set it aside.
- In a large bowl, combine the melted butter and granulated sugar and beat until smooth.
- Add the vanilla extract and the room-temperature eggs to the butter–sugar mixture and beat until fully combined.
- In a separate medium bowl, whisk together the flour, baking soda, salt, cinnamon, and nutmeg (if using) until evenly mixed.
- Add the dry ingredients to the wet ingredients and stir gently until just combined — stop as soon as the flour is mostly incorporated to avoid overmixing.
- Fold the mashed bananas and the sour cream into the batter until evenly distributed and the batter is uniform in texture.
- Pour the batter into the prepared loaf pan and smooth the top with a spatula.
- Bake for 50–55 minutes, or until the top is golden brown and a toothpick inserted into the center comes out clean or with just a few moist crumbs attached.
- Let the bread cool in the pan for 10 minutes, then loosen the edges, transfer it to a cooling rack, and cool completely before slicing and serving.
Equipment
- Loaf Pan
- Mixing bowls
- Whisk or electric mixer
- Spatula
- Measuring cups and spoons
- Cooling rack
Notes
Photos updated 4/25/2015


