
These “paffles” are exactly what they sound like: pancake-style batter cooked in a waffle iron to give you tender insides and crisp, golden edges. I make this version when I want the comfort of pancakes but the texture and hold of a waffle — they’re easier than you think and forgiving, which is why I reach for this batter on busy weekend mornings.
The recipe uses straightforward pantry ingredients and a short rest time to let the leavening work. You get consistent results without fiddly steps. I’ll walk you through the exact method I use, what each ingredient does, and how to rescue or adapt the batter if needed.
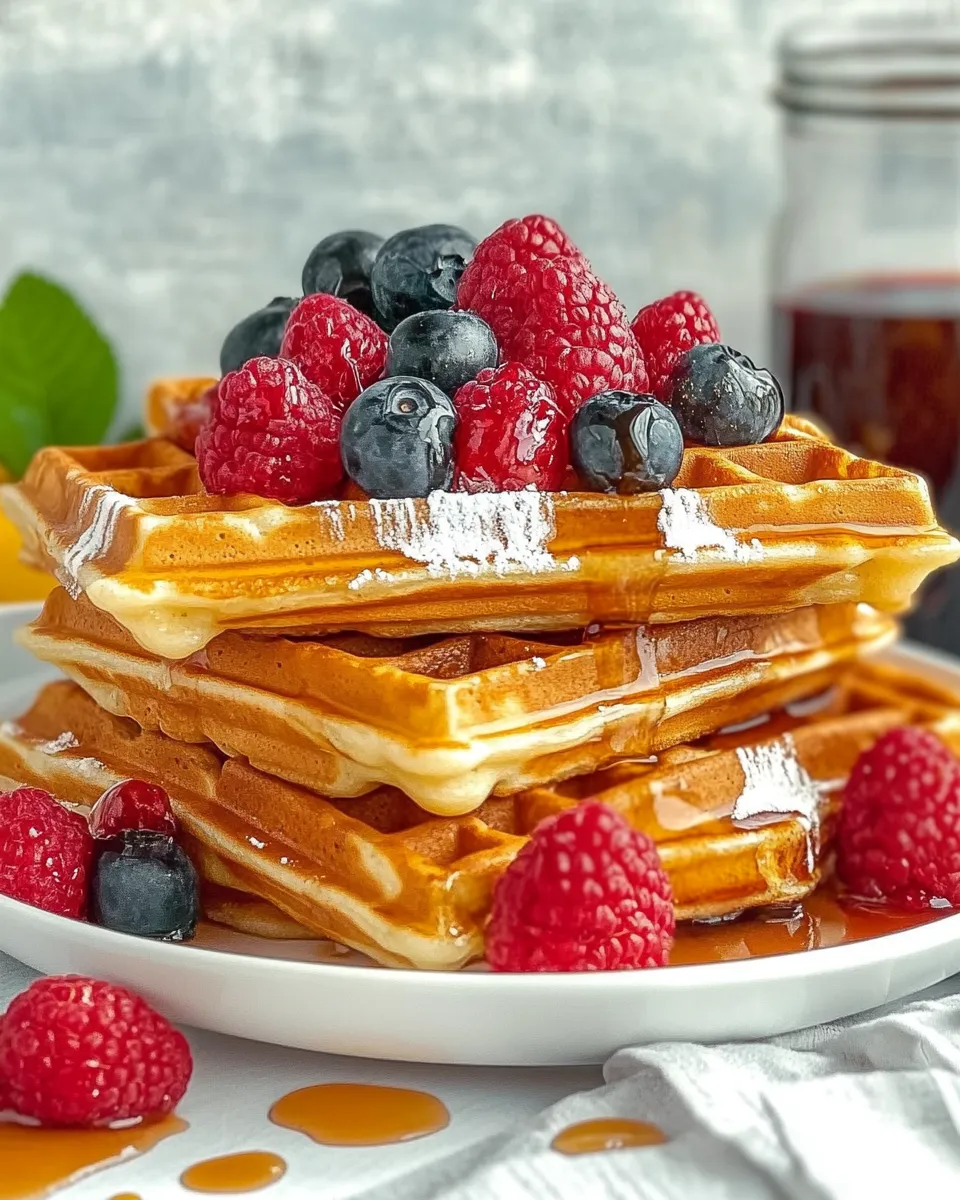
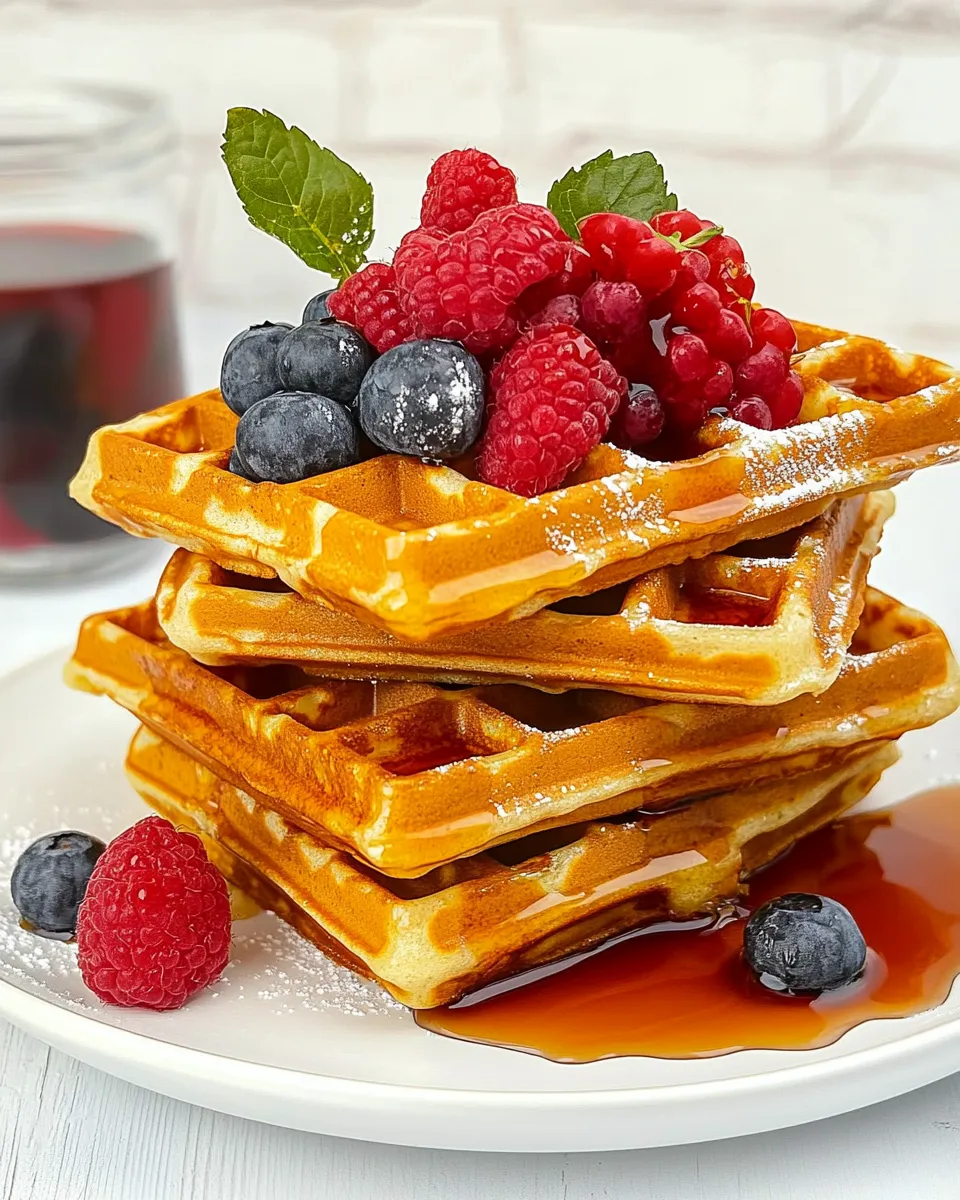
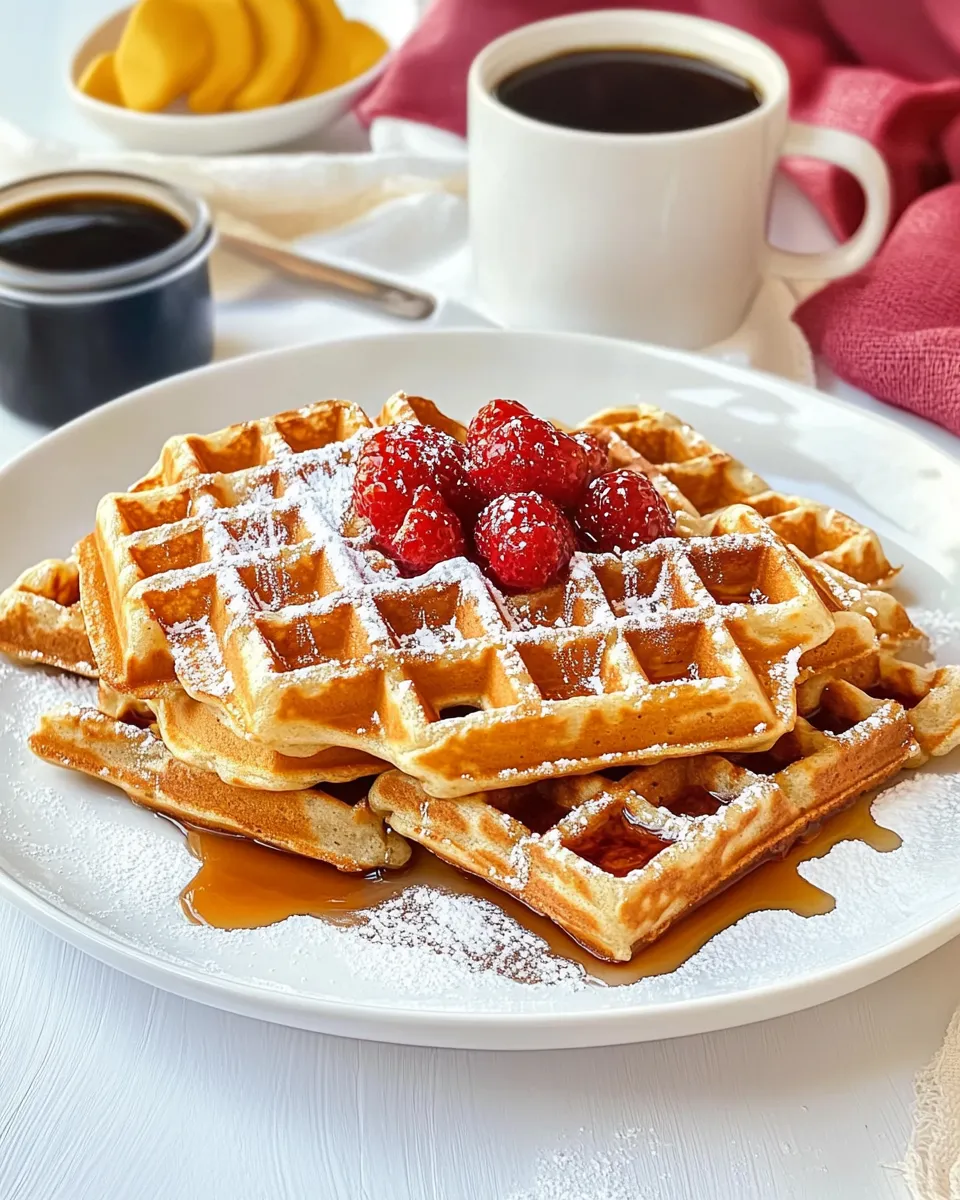
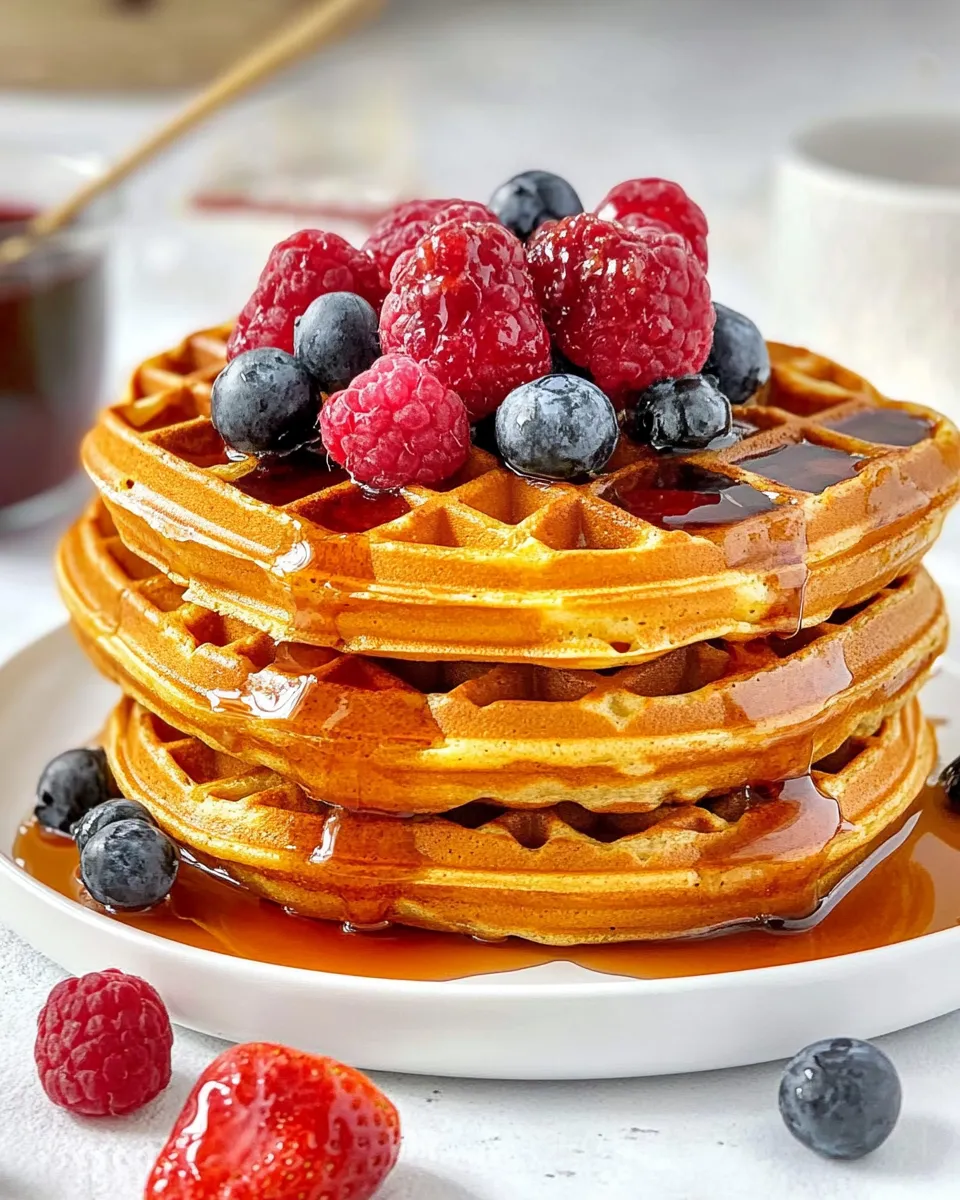
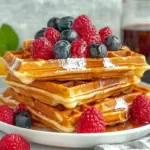
Expect soft, slightly cakey centers with crisp ridges that hold toppings without sogging out. Serve them fresh from the iron with maple syrup, fruit, or whipped cream — or make a batch and freeze them for quick breakfasts later in the week.
Ingredient Rundown
Ingredients
- 2 cups all-purpose or plain flour — provides the structure and bulk for the paffles.
- 1/4 cup granulated sugar or sweetener — adds a touch of sweetness; reduce slightly if you prefer savory toppings.
- 4 teaspoons baking powder — the primary leavening agent that gives lift and light texture.
- 1/4 teaspoon baking soda — assists browning and responds to any acidic components in the mix.
- 1/2 teaspoon salt — balances flavor and enhances the other ingredients.
- 1 3/4 cups milk — hydrates the dry ingredients and controls batter thickness; any milk works.
- 1/4 cup butter — melted for richness and to help crisp the edges.
- 2 teaspoons pure vanilla extract — adds aromatic flavor that complements the batter.
- 1 large egg — binds the batter and contributes to structure and tenderness.
Make Paffles (Waffle Pancakes): A Simple Method
- Measure the dry ingredients: in a large bowl whisk together 2 cups all-purpose flour, 1/4 cup granulated sugar, 4 teaspoons baking powder, 1/4 teaspoon baking soda, and 1/2 teaspoon salt until evenly combined.
- Melt 1/4 cup butter and let it cool slightly. In a separate bowl whisk together 1 3/4 cups milk, the cooled melted butter, 2 teaspoons vanilla extract, and 1 large egg until smooth.
- Pour the wet mixture into the bowl with the dry ingredients. Whisk gently from the center outward just until the batter is mostly smooth and no dry flour pockets remain; a few small lumps are fine. Do not overmix.
- Let the batter rest at room temperature for 5–10 minutes to allow the leavening to activate and the batter to relax. While the batter rests, preheat your waffle maker according to the manufacturer’s instructions and lightly grease the plates with butter or nonstick spray.
- When the waffle maker is hot, pour enough batter to cover the waffle plates (about 1/4 to 1/3 cup per waffle, depending on your machine). Close the lid and cook until the waffles are golden brown and crisp and the steam has mostly stopped (follow your waffle maker’s indicator if it has one).
- Carefully remove each paffle with tongs or a fork. Serve immediately, hot, with your choice of toppings (for example: maple syrup, fruit, or whipped cream).
What You’ll Love About This Recipe
- Simple pantry ingredients produce a consistent, reliable batter every time.
- Short rest time (5–10 minutes) makes it quick, but still gives the leavening a chance to start working.
- Texture balance: tender pancake-like interior with crisp, sturdy waffle edges that stand up to toppings.
- Flexible: you can sweeten, spice, or top them however you like — they play well with most breakfast and brunch flavors.
- Easy to scale up or down for a crowd or a single serving.
What to Use Instead
- Milk: swap for any plant-based milk (almond, oat, soy) in the same amount if you need dairy-free paffles.
- Butter: you can use neutral oil (vegetable or canola) instead of melted butter for a slightly lighter crust and easier handling in the fridge or freezer.
- Flour: try half whole-wheat/half all-purpose for a nuttier flavor; the texture will be a bit denser, but still very good. Expect to lose a small amount of lift when using whole-grain flours.
- Sugar: use your preferred granulated sweetener; for no added sugar, omit and rely on sweet toppings.
- Vanilla: if you don’t have vanilla extract, a splash of another extract (like almond) or a pinch of cinnamon will change the profile in a pleasant way.
Setup & Equipment
Essential
- Waffle maker — the size and depth determine how much batter you pour (about 1/4 to 1/3 cup per paffle is a starting point).
- Large mixing bowl — for the dry ingredients.
- Medium bowl — for whisking wet ingredients.
- Whisk — to combine dry and wet ingredients without overworking the batter.
- Measuring cups and spoons — accurate dry and liquid measurements matter for consistent results.
- Tongs or fork — to remove paffles safely from the hot iron.
Optional but helpful
- Nonstick spray or brush and extra butter — for greasing the plates.
- Sifter — if you like to aerate flour and baking powder before measuring.
- Cooling rack — keeps finished paffles crisp while you cook the rest.
Common Errors (and Fixes)
- Too-thick batter: If your batter seems heavy, add a tablespoon of milk at a time until it flows more easily. The batter should be pourable but not watery.
- Overmixed batter: Overmixing creates gluten and yields tougher paffles. Stop whisking when most flour is incorporated and a few small lumps remain.
- Soggy paffles: Make sure your waffle iron is fully preheated and the plates are greased. Cook until steam slows or the indicator signals done. Transfer finished paffles to a wire rack to keep air circulating and prevent condensation.
- Burned exterior / raw interior: Your iron may be too hot or too full. Use less batter, lower the heat if possible, and allow the cycle to finish before opening the lid.
- Lack of rise: Double-check baking powder freshness. If it’s old, increase lift will be weak; fresh leavening gives better height and tenderness.
Seasonal Serving Ideas
- Spring: Top with macerated strawberries, lemon curd, and a dusting of powdered sugar for brightness.
- Summer: Pile on fresh berries, sliced peaches, or grilled stone fruit with a drizzle of honey or balsamic glaze.
- Autumn: Serve with warm spiced apple compote, toasted pecans, and a spoonful of yogurt or crème fraîche.
- Winter: Offer warmed fruit preserves, maple butter, and a sprinkle of cinnamon; add a dollop of whipped cream for extra indulgence.
- Savory twist: Hold back the sugar and top with fried chicken, hot sauce, or herb butter for a brunch-worthy main.
Behind-the-Scenes Notes
The rest period (5–10 minutes) is small but important: it lets the baking powder begin creating bubbles and gives time for the flour to hydrate, which smooths the batter and improves texture. Melting the butter and allowing it to cool slightly prevents it from cooking the egg when combined with milk.
Whisking the wet into the dry gently and stopping while a few lumps remain keeps gluten development minimal and yields a tender crumb. The presence of a little baking soda in addition to baking powder helps with browning and supports lift, particularly if you use milk with a touch of acidity (buttermilk substitutes will amplify that effect).
Meal Prep & Storage Notes
- Make ahead: Cook paffles completely, cool on a rack, and stack with parchment between each. Refrigerate for up to 3 days.
- Freeze for later: Once cooled, place paffles in a single layer on a baking sheet until firm, then transfer to a freezer bag. They keep well for up to 2 months.
- Reheating: For best texture, reheat frozen or refrigerated paffles in a toaster or oven at 375°F (190°C) on a rack until warm and crisp. Microwaving will heat them but may soften the exterior.
- Make-ahead batter: I don’t recommend storing mixed batter for long. The leavening is most effective fresh; if you must, let it rest briefly and use within 30 minutes for best results.
Popular Questions
- Can I make this without a waffle maker? You can cook the batter on a griddle as pancakes, but you’ll lose the crisp ridges that define paffles.
- Can I use oil instead of butter? Yes. Substitute an equal amount of neutral oil if you prefer or need a dairy-free option.
- Why both baking powder and baking soda? Baking powder is the main leavener here. The small amount of baking soda helps with browning and works with any mild acids in the milk or added ingredients.
- How many paffles does this make? It depends on your waffle iron size. Using about 1/4 to 1/3 cup per paffle typically yields around 6–8 standard paffles.
- Can I double the recipe? Yes. Use a larger mixing bowl and keep the same technique. Work in batches on the iron and keep finished paffles on a rack in a low oven to stay warm.
Final Thoughts
This paffle recipe is one of those dependable go-tos that’s easy to adapt and hard to mess up. The method intentionally keeps mixing minimal and timing practical. Follow the simple steps, pay attention to the waffle iron heat, and you’ll have breakfast that’s crisp where you want it and soft where it counts.
Make a double batch if you want quick weekday breakfasts, or treat a weekend crowd to hot paffles straight off the iron. Either way, you’ll have a versatile base to dress up sweet or savory — and that’s exactly the point of a great paffle.
The Best Paffles (Waffle Pancakes)
Ingredients
Ingredients
- 2 cupsall-purposeor plain flour
- 1/4 cupgranulated sugaror sweetener
- 4 teaspoonsbaking powder
- 1/4 teaspoonbaking soda*
- 1/2 teaspoonsalt
- 1 3/4 cupsmilk
- 1/4 cupbutter
- 2 teaspoonspure vanilla extract
- 1 largeegg
Instructions
Instructions
- Measure the dry ingredients: in a large bowl whisk together 2 cups all-purpose flour, 1/4 cup granulated sugar, 4 teaspoons baking powder, 1/4 teaspoon baking soda, and 1/2 teaspoon salt until evenly combined.
- Melt 1/4 cup butter and let it cool slightly. In a separate bowl whisk together 1 3/4 cups milk, the cooled melted butter, 2 teaspoons vanilla extract, and 1 large egg until smooth.
- Pour the wet mixture into the bowl with the dry ingredients. Whisk gently from the center outward just until the batter is mostly smooth and no dry flour pockets remain; a few small lumps are fine. Do not overmix.
- Let the batter rest at room temperature for 5–10 minutes to allow the leavening to activate and the batter to relax. While the batter rests, preheat your waffle maker according to the manufacturer’s instructions and lightly grease the plates with butter or nonstick spray.
- When the waffle maker is hot, pour enough batter to cover the waffle plates (about 1/4 to 1/3 cup per waffle, depending on your machine). Close the lid and cook until the waffles are golden brown and crisp and the steam has mostly stopped (follow your waffle maker’s indicator if it has one).
- Carefully remove each paffle with tongs or a fork. Serve immediately, hot, with your choice of toppings (for example: maple syrup, fruit, or whipped cream).
Equipment
- Mixing Bowl
- Whisk
- Measuring Cups
- Measuring Spoons
- Waffle maker
- Tongs
Notes
Resting the batterfor 5–10 minutes makes a huge difference in texture—trust us.
Your first Paffle is a test run. Every waffle maker has its own personality, so don’t panic if the first one’s not perfect.
Let them cool completely before freezing.Then reheat in the toaster or low oven for a crispy comeback.
Want extra flair?Fold in mini chocolate chips, blueberries, or a dash of cinnamon before cooking.


