
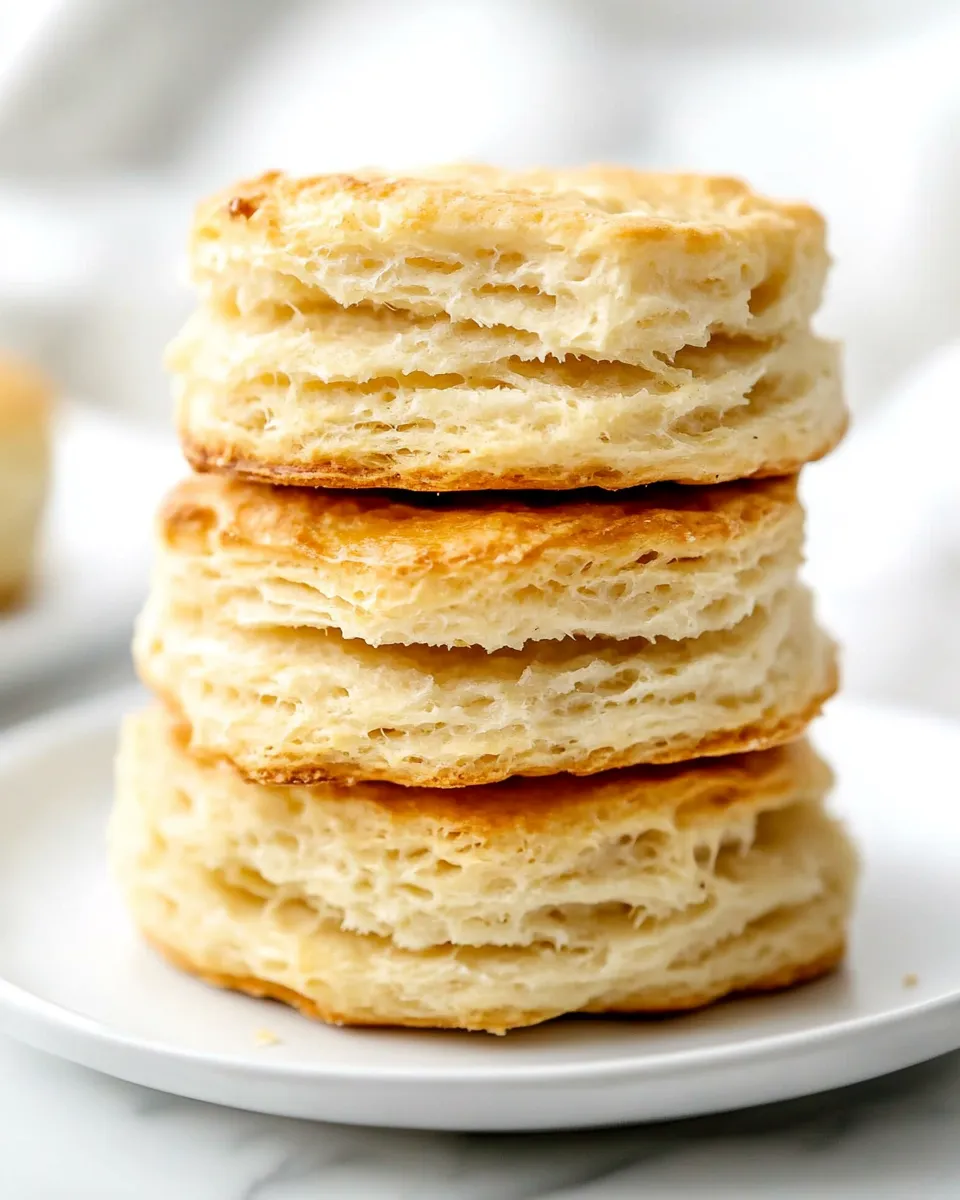
There’s something quietly heroic about a batch of biscuits you can pull from the freezer and bake straight into warm, flaky goodness. No rise to time, no last-minute panic. Just a small store of comfort that transforms a hectic morning or a busy holiday into something simple and delicious.
I’ve tested this method until the edges were brown and the centers stayed tender. The technique is straightforward. The ingredients are few. The result is biscuits that are flaky, buttery, and reliably good whether you bake them right away or keep them frozen for weeks.
Below you’ll find the exact ingredient list, the precise step-by-step directions I use every time, troubleshooting notes, little habits that make a big difference, and freezer-specific tips so these biscuits are always ready when you are.
Gather These Ingredients
- 4 cups all-purpose flour — the structure of the biscuit; measure by spooning into the cup and leveling for accuracy.
- 3 teaspoons baking powder — the leavening that gives lift; fresh baking powder is key for rise.
- 1 teaspoon salt — seasons the dough; adjust slightly if using salted butter.
- 4 ounces butter (1/2 cup) — cold butter creates steam pockets for flaky layers; keep it chilled until cutting into the flour.
- 1 1/2 cup milk — hydrates the dough and adds tenderness; cold milk helps keep the dough cool while you work.
Homemade Freezer Biscuits: From Prep to Plate
- In a large bowl, combine 4 cups all-purpose flour, 3 teaspoons baking powder, and 1 teaspoon salt; stir with a fork to mix evenly.
- Place 4 ounces (1/2 cup) butter in a plastic bag and flatten it thin with a rolling pin or the back of a heavy pan. Add the flattened butter to the bowl with the flour mixture.
- Using your fingertips, a pastry cutter, or two forks, work the butter into the flour until the pieces are about pea-sized.
- Gradually add 1 1/2 cups milk to the flour-and-butter mixture, stirring just until the dough comes together and is slightly tacky. Do not overmix.
- Turn the dough out onto a lightly floured board and gently press or pat it into a large round about 1/2 to 3/4 inch thick.
- Use a biscuit cutter to cut the dough into about 12 rounds. Gently press scraps together only as needed to cut remaining biscuits.
- Place the 12 biscuit rounds on a baking sheet lined with parchment paper or foil, leaving a little space between them. Cover the biscuits with plastic wrap and freeze until very firm, about 2 to 3 hours.
- Once firm, transfer the frozen biscuits to an airtight container or a zip-top bag. Store in the freezer for up to 2 months.
- To bake from frozen (no thawing needed): preheat the oven to 475°F. Arrange frozen biscuits on a baking sheet, brush the tops lightly with milk or with a little melted butter, and bake for about 8 minutes.
- After 8 minutes, turn the oven off and leave the biscuits inside for an additional 5 to 6 minutes to finish baking. Remove and serve warm.
Why Homemade Freezer Biscuits is Worth Your Time
These biscuits are a small investment in future meals. The active work time is short: mix, shape, freeze. You aren’t babysitting dough, watching it rise, or timing layers of proofing. That makes them practical for busy households or for anyone who hates last-minute runs to the bakery.
Texture-wise, freezing the formed rounds locks the butter in small pieces. When the biscuits bake from frozen, those butter pockets turn to steam and give you flaky layers without extra fuss. The high-temperature bake followed by the short finish in a turned-off oven produces risen, tender interiors and gently browned tops.
Finally, they’re versatile. Serve them with breakfast, alongside soup, as a base for a quick sandwich, or with a spread. They’re a reliable blank canvas for whatever the morning or meal needs.
Easy Ingredient Swaps
Keep swaps minimal to preserve texture. The recipe leans on two things: cold fat and the right flour.
- Butter — stick with real butter for the best flavor and flake. If you must use salted butter, reduce the added salt by a pinch.
- Milk — whole milk gives a slightly richer crumb. 2% will work if that’s what you have on hand; the measurements remain the same.
- Flour — use all-purpose flour only for the same rise and structure. Higher-protein flours will change texture.
Setup & Equipment
Good organization speeds the process and keeps the butter cold. Line up these tools before you start.
- Large mixing bowl — roomy enough to mix without overworking dough.
- Rolling pin or heavy pan — needed to flatten the butter in a bag.
- Plastic bag — to flatten butter and keep work surfaces clean.
- Pastry cutter, two forks, or fingertips — to cut butter into the flour.
- Biscuit cutter — a 2.5–3 inch cutter works well for about 12 rounds.
- Baking sheet lined with parchment or foil — for freezing the rounds flat first.
- Airtight container or zip-top bags — for long-term storage in the freezer.
Missteps & Fixes
Dough too sticky
Tip: Chill briefly. If the dough is overly tacky and hard to cut, pop it in the fridge for 15–20 minutes to firm slightly, then proceed. Avoid adding too much flour — that dries the biscuits.
Biscuits didn’t rise
Check your baking powder. If it’s old, replace it. Also, don’t overwork the dough; overmixing knocks out the pockets of air that become lift.
Biscuit tops burn before center cooks
Place the baking sheet on the lower oven rack. If that doesn’t help, tent with foil for the final minute or two, but avoid steaming the tops too long as it changes texture.
Holiday & Seasonal Touches
These biscuits are a reliable base for seasonal serving ideas without changing the recipe. For the holidays, warm them and serve alongside savory mains, or make a brunch spread that’s mostly about the sides and toppings — the biscuits hold up well.
For a colder season, pre-bake frozen rounds as instructed and serve them straight from the oven with butter warmed to soften. In warmer months, these are great for picnic sandwiches because you can bake a tray quickly and let people assemble as they like.
Little Things that Matter
Small habits make a noticeable difference in biscuit quality.
- Keep everything cold. Cold butter and cold milk reduce melting while you work and promote flakiness.
- Press gently. Pat the dough into a round rather than rolling hard; heavy rolling compresses layers and reduces rise.
- Cut straight down. When using the biscuit cutter, press straight down and lift straight up. Twisting seals edges and limits rise.
- Don’t overmix. Stir only until the dough comes together. A slightly shaggy texture promises tenderness.
Freezer-Friendly Notes
The freezer process is the heart of this approach. Freeze the formed rounds on a tray first so they hold shape, then move them into a container. This prevents clumping and keeps edges from crushing.
- Freezing flat first — flash-freezing the biscuits on a sheet makes them easy to transfer without sticking.
- Packaging — remove as much air as you can from the zip-top bag or use an airtight container. Label with the date.
- Storage time — keep them for up to 2 months for best texture and flavor.
- Bake straight from frozen — no thawing required. Follow the bake times in the instructions for best results.
Common Qs About Homemade Freezer Biscuits
Here are the questions I hear most often, with direct answers.
Can I freeze the dough before cutting?
It’s best to cut the rounds before freezing so they hold their classic biscuit shape. Freezing a whole slab of dough will work, but slicing individual rounds from a frozen slab is harder and can compress layers.
Do I need to brush with milk or butter before baking?
Brushing the tops with a little milk or melted butter before baking promotes even browning and adds a nice sheen. Either option in the instructions produces good results.
Will they be as fluffy baked from frozen?
Yes. The method is designed for that. The frozen butter and short high-heat bake create steam that helps lift the biscuits. The brief finish time in the turned-off oven allows centers to set without over-browning.
Can I double the recipe?
Yes. Double the ingredients and work in batches if needed. Make sure not to overcrowd your work surface when rolling and cutting so the dough stays cool.
How do I reheat leftovers?
Reheat baked biscuits in a 350°F oven until warmed through, about 8–10 minutes. Cover loosely with foil if they start to brown too much.
Bring It to the Table
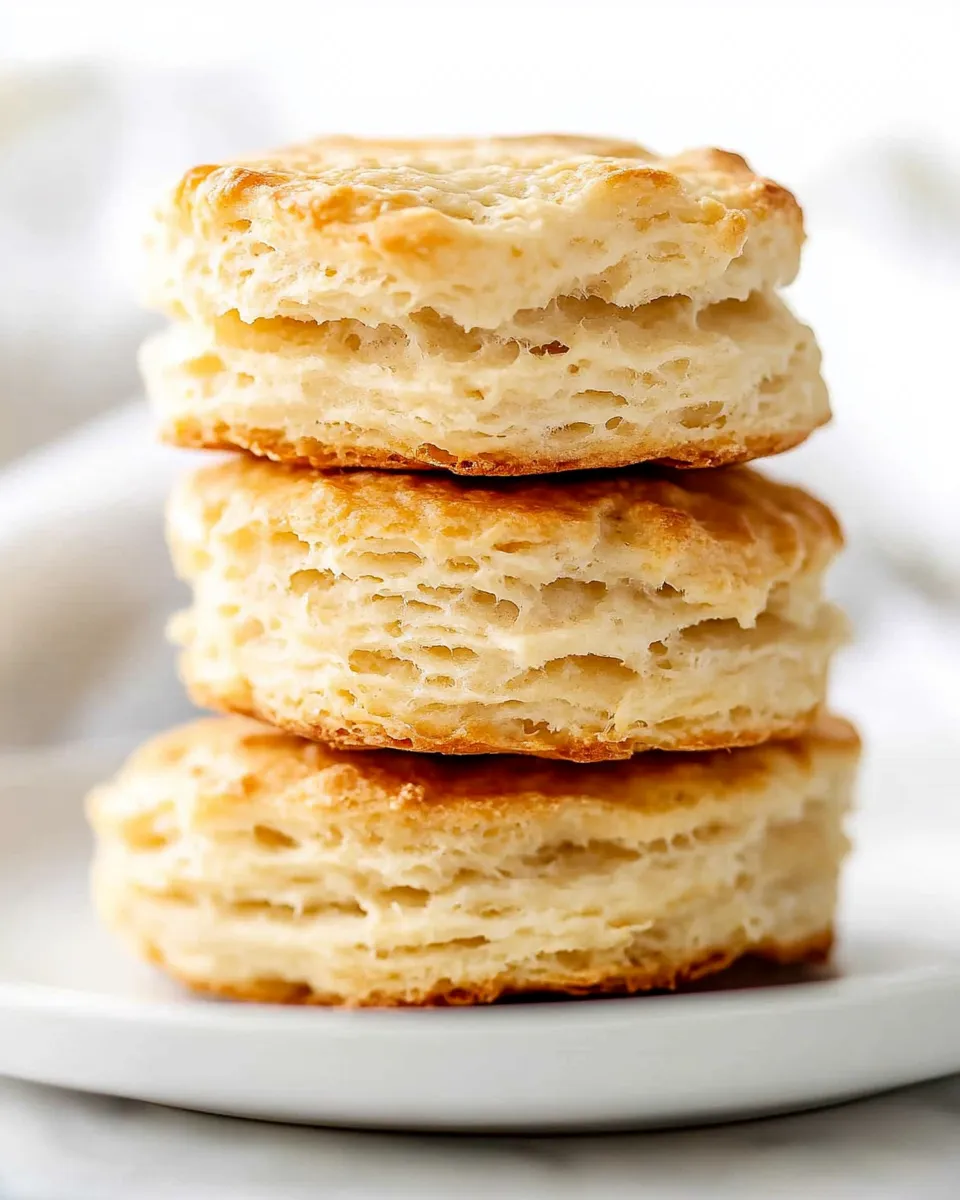
These biscuits arrive at the table warm, flaky, and just a little buttery. A small pat of butter, a ripple of jam, or a simple savory topping transforms them into a meal component rather than a side note.
For casual servings, place a warm stack on a platter and let people pull what they want. For a more composed plate, split and fill right before serving so the biscuits keep their texture. Either way, this is a recipe that rewards planning: spend a short time today and enjoy comforting biscuits whenever you need them.
Keep a stash in the freezer. You’ll be surprised how often you reach for one.

The Ultimate Guide to Homemade Freezer Biscuits: Fluffy, Buttery, and Ready When You Are
Ingredients
Ingredients
- 4 cupsall purpose flour
- 3 teaspoonsbaking powder
- 1 teaspoonsalt
- 4 ouncesbutter1/2 cup
- 1 1/2 cupmilk
Instructions
Instructions
- In a large bowl, combine 4 cups all-purpose flour, 3 teaspoons baking powder, and 1 teaspoon salt; stir with a fork to mix evenly.
- Place 4 ounces (1/2 cup) butter in a plastic bag and flatten it thin with a rolling pin or the back of a heavy pan. Add the flattened butter to the bowl with the flour mixture.
- Using your fingertips, a pastry cutter, or two forks, work the butter into the flour until the pieces are about pea-sized.
- Gradually add 1 1/2 cups milk to the flour-and-butter mixture, stirring just until the dough comes together and is slightly tacky. Do not overmix.
- Turn the dough out onto a lightly floured board and gently press or pat it into a large round about 1/2 to 3/4 inch thick.
- Use a biscuit cutter to cut the dough into about 12 rounds. Gently press scraps together only as needed to cut remaining biscuits.
- Place the 12 biscuit rounds on a baking sheet lined with parchment paper or foil, leaving a little space between them. Cover the biscuits with plastic wrap and freeze until very firm, about 2 to 3 hours.
- Once firm, transfer the frozen biscuits to an airtight container or a zip-top bag. Store in the freezer for up to 2 months.
- To bake from frozen (no thawing needed): preheat the oven to 475°F. Arrange frozen biscuits on a baking sheet, brush the tops lightly with milk or with a little melted butter, and bake for about 8 minutes.
- After 8 minutes, turn the oven off and leave the biscuits inside for an additional 5 to 6 minutes to finish baking. Remove and serve warm.
Equipment
- Large Bowl
- Fork
- plastic bag
- Rolling Pin
- heavy pan
- pastry cutter or two forks
- Measuring Cups
- Measuring Spoons
- Baking Sheet
- parchment paper or foil
- Plastic Wrap
- airtight container or zip-top bag


