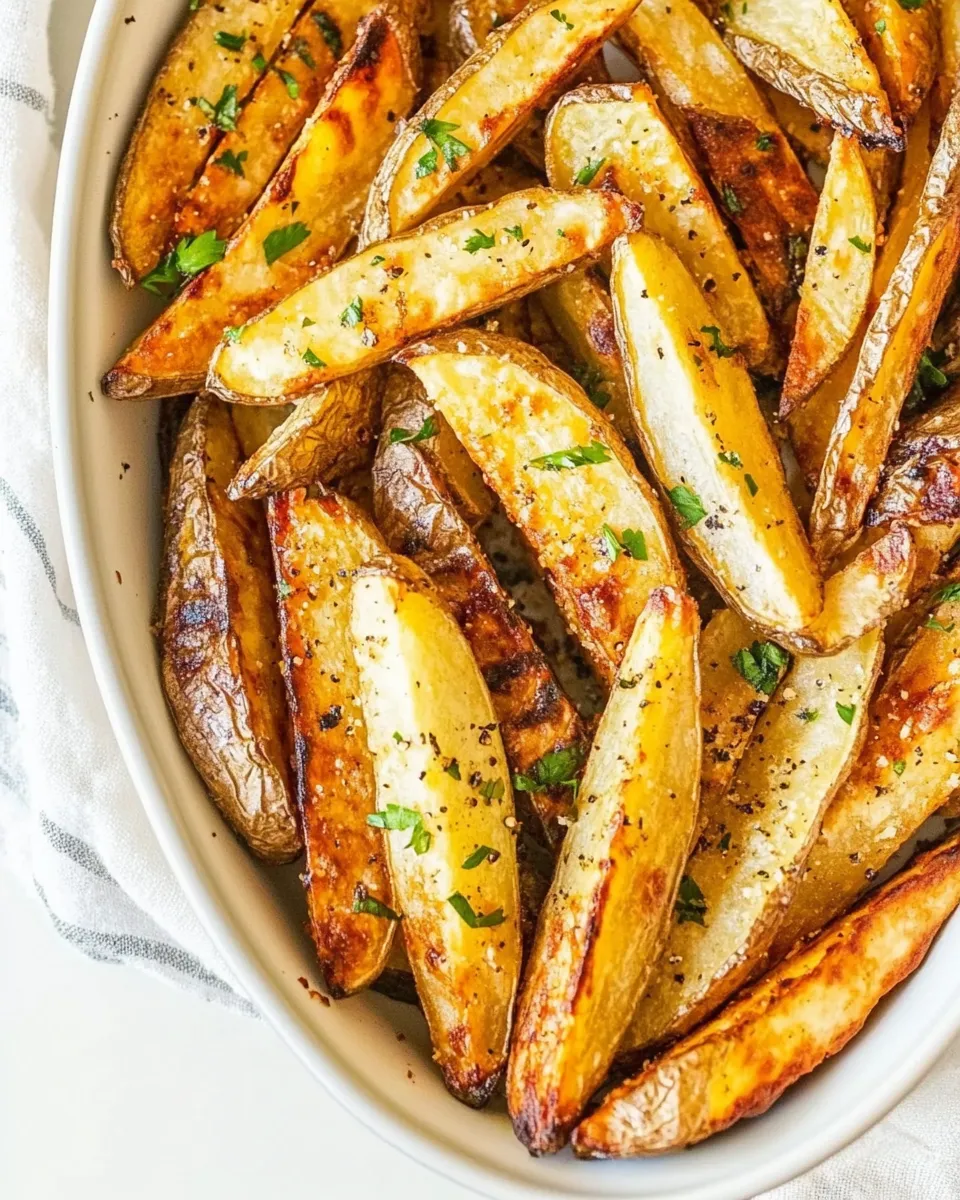
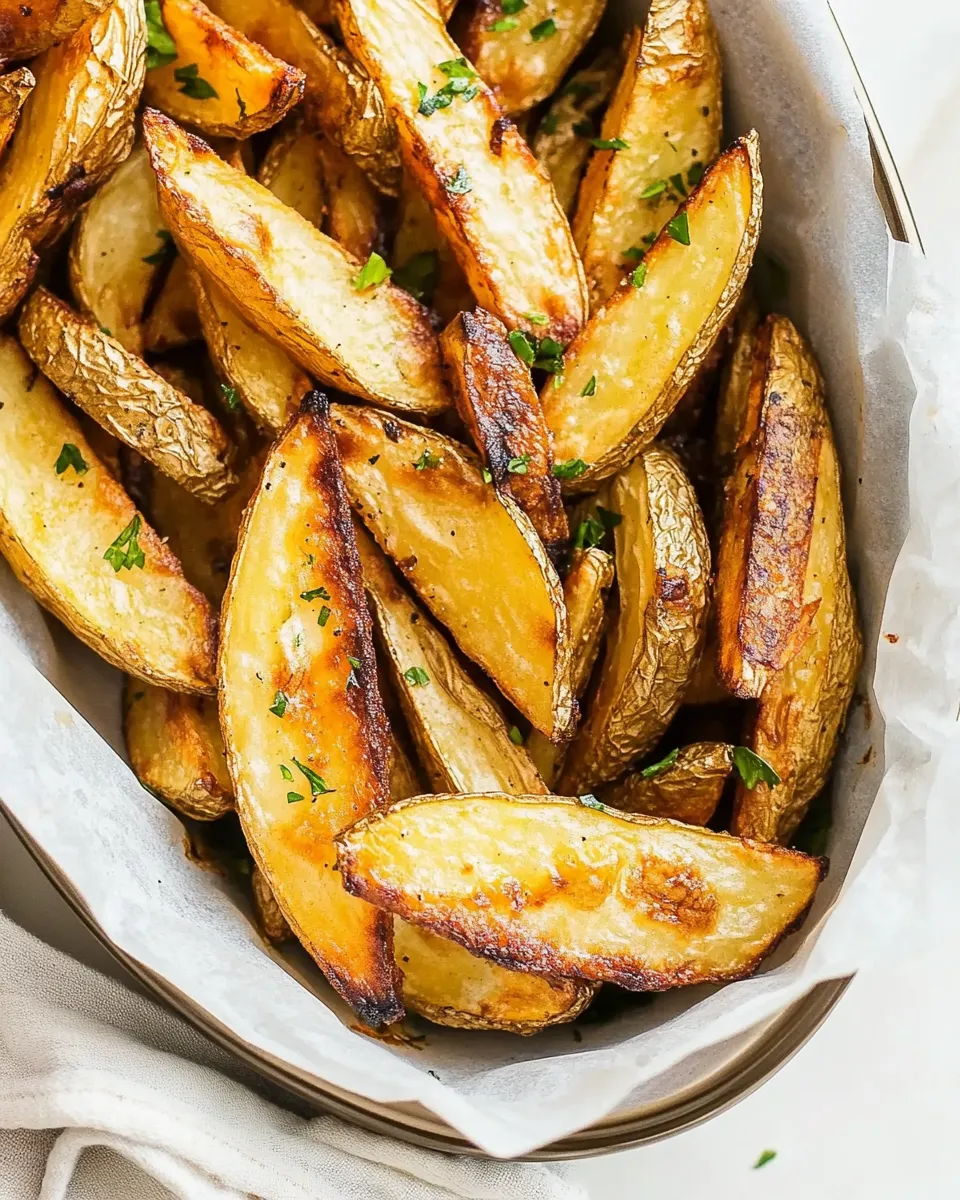
Thick Cut Oven Roasted Fries are my go-to when I want a satisfying, hands-on side that browns deeply and stays fluffy inside. They take a little time in the oven, but most of that is passive: a hot oven and a single sheet pan do the heavy lifting. You get a crisp exterior without the extra oil and fuss of frying.
I like these for weeknight dinners and for company because they’re reliable. The method is simple: scrub the potatoes, toss with a little neutral oil, space them out on a rimmed sheet, and roast until golden. Turning them once or twice during cooking helps develop even browning and texture.
Below you’ll find a clear ingredient breakdown, the exact steps to follow, and practical tips that make a real difference—how to keep them from steaming, when to flip, and how to store and reheat so they stay good for leftovers. No gimmicks—just better fries from the oven.
Ingredient Breakdown
Ingredients
- nonstick vegetable oil cooking spray — prevents sticking and helps the cut sides caramelize without adding extra oil.
- 2 pounds unpeeled russet potatoes, scrubbed and cut lengthwise into ½ to ⅓-inch wedges — russets give a starchy, fluffy interior and a good contrast with crisp edges; leave skins on for texture and flavor.
- 2 tablespoons vegetable or canola oil — just enough to coat the wedges and promote browning; neutral oils tolerate the high oven heat well.
- kosher salt and freshly ground black pepper, to taste — basic seasoning; salt is essential for bringing out the potato’s flavor, and pepper adds a subtle bite.
Cook Thick Cut Oven Roasted Fries Like This
- Preheat the oven to 450°F and place a rack in the center position. Spray a large, rimmed baking sheet with nonstick vegetable oil cooking spray.
- Put the 2 pounds of scrubbed, unpeeled russet potato wedges (cut lengthwise into ½ to ⅓-inch wedges) in a large bowl. Add 2 tablespoons vegetable or canola oil and toss until all wedges are evenly coated.
- Sprinkle kosher salt and freshly ground black pepper over the potatoes to taste and toss again to distribute the seasoning.
- Arrange the potato wedges in a single layer on the prepared baking sheet with some space between pieces (do not overcrowd; use a second sheet if necessary). Place the cut sides down when possible for better browning.
- Roast in the preheated oven until the potatoes are tender and browned in spots, about 45 minutes, turning the wedges once or twice during cooking (about every 15 minutes) to promote even browning.
- Remove from the oven, taste and adjust seasoning with additional kosher salt and freshly ground black pepper if desired, then serve immediately.
What Sets This Recipe Apart

There are a few straightforward choices here that make a big difference. First: cut size. The ½ to ⅓-inch wedges are thick enough to develop a tender, fluffy interior while still getting a respectable crust on the outside. Too thin and they’ll crisp through without the soft center; too thick and they may not brown enough.
Second: heat and time. Roasting at 450°F gives you Maillard browning without sogginess. The 45-minute roasting time, with turns every 15 minutes, is deliberate—lower temperatures or skipping turns lead to uneven color and texture.
Finally: spacing. If wedges touch, they steam instead of roast. Use a second sheet pan rather than crowd the first; it’s the simplest step toward consistent crisping.
Vegan & Vegetarian Swaps
This recipe is inherently vegan and vegetarian as written—potatoes, oil, and salt. That makes it easy to dress up depending on dietary preferences:
- To keep things plant-based and add flavor, finish with chopped fresh herbs (parsley, chives, or rosemary) and a squeeze of lemon for brightness.
- For a vegetarian (not vegan) option, a light dusting of grated hard cheese after roasting adds salt and umami—sprinkle while fries are hot so it melts slightly.
- If you prefer a different oil, use any high-heat neutral oil you trust; olive oil will work but has a lower smoke point and a more pronounced flavor.
Gear Checklist
- Large, rimmed baking sheet — rimmed pans catch any oil and allow air to circulate under the wedges.
- Nonstick vegetable oil cooking spray — for the pan; helps with even browning and easy release.
- Large mixing bowl — to toss potatoes and oil evenly.
- Spatula or tongs — for flipping wedges during roasting without breaking them.
- Wire rack (optional) — if you have one that fits the sheet pan, elevating wedges on a rack promotes air circulation and extra crispness.
- Sharp knife and cutting board — consistent cuts are essential for even cooking.
Slip-Ups to Skip
These are the mistakes I see most often. Avoid them and your results improve dramatically.
- Crowding the pan — if wedges touch, they steam and become soggy. Use a second sheet if needed.
- Uneven cuts — different thicknesses mean some pieces finish sooner than others. Aim for consistent ½ to ⅓-inch wedges.
- Skipping the preheat — a fully hot oven is essential. If the pan goes into an oven that’s still heating, you’ll lose time and crispness.
- Over-oiling — too much oil makes fries greasy instead of crisp. The listed 2 tablespoons is enough for 2 pounds of potatoes.
- Neglecting to flip — turning once or twice helps all sides brown; leaving them untouched risks uneven color.
Spring–Summer–Fall–Winter Ideas
Fries are versatile. Here are seasonal pairings and serving ideas that keep them feeling fresh year-round.
- Spring — serve with a light green salad and a lemon-herb dipping sauce; herbs like parsley and chives make the plate look and taste brighter.
- Summer — pair with grilled burgers or a big platter of grilled vegetables; a chilled yogurt-based dip or tangy ketchup is perfect for warm evenings.
- Fall — hearty pairings like roast chicken, roasted root vegetables, or a warm mushroom ragout complement the comforting texture of thick fries.
- Winter — these stand up to bold flavors: think beef stew, braised short ribs, or a rich gravy. They also go well with a sharp melted cheese on top.
Little Things that Matter
Cut & Placement
Place cut sides down when you can. The flat, exposed starches get direct contact with the hot pan and brown faster. Keep the wedges as uniform as possible so everything finishes at the same time.
Oil & Salt Timing
Toss the wedges with the 2 tablespoons of oil before seasoning so the salt and pepper stick evenly. Taste and adjust salt after roasting; sometimes a tiny sprinkle at the end brightens the finished fries.
Oven Position
Use the center rack to balance even air circulation. If you’re using two pans, rotate them halfway through cooking so both get similar exposure to heat.
Save It for Later
Leftovers keep well if stored and reheated properly. Cool the fries to room temperature, then store in an airtight container in the refrigerator for up to 3 days. Avoid sealing them while still warm to prevent condensation.
To reheat and recapture crispness, spread leftovers on a rimmed sheet and bake at 425°F for 8–12 minutes, turning once, until hot and crisp. An oven or a hot skillet works better than the microwave, which tends to make them limp.
Quick Q&A
Q: Can I peel the potatoes?
A: Yes. The recipe uses unpeeled russets for texture and ease, but peeling is fine if you prefer a uniform look.
Q: Can I use Yukon Gold or other potatoes?
A: You can, but texture will differ. Yukon Golds are waxier and will be creamier inside but may not crisp as much as russets.
Q: Can I cut the fries thicker or thinner?
A: You can adjust thickness, but cooking time will change. Thinner fries cook faster and crisp more; thicker wedges need more time to become tender throughout.
Q: Is there a way to make them extra crispy?
A: Two reliable tricks: don’t crowd the pan, and either use a hot sheet pan from the oven at the start or roast on a wire rack over the sheet so air circulates under the wedges.
Time to Try It
Follow the simple steps above, and you’ll have crunchy-edged, fluffy-centered fries that are easy to make and big on comfort. Keep the process steady: scrub, cut evenly, coat, space out on the pan, and roast at 450°F with a couple of turns. Taste and adjust salt at the end.
Make a batch tonight. Once you get the cut and timing down, these Thick Cut Oven Roasted Fries will be the kind of side that becomes a habit—reliable, forgiving, and delicious.

Thick Cut Oven Roasted Fries
Ingredients
Ingredients
- nonstick vegetable oil cooking spray
- 2 poundsunpeeled russet potatoes scrubbed and cut lengthwise into 1/2 to 1/3-inch wedges
- 2 tablespoonsvegetable or canola oil
- kosher salt and freshly ground black pepper to taste
Instructions
Instructions
- Preheat the oven to 450°F and place a rack in the center position. Spray a large, rimmed baking sheet with nonstick vegetable oil cooking spray.
- Put the 2 pounds of scrubbed, unpeeled russet potato wedges (cut lengthwise into ½ to ⅓-inch wedges) in a large bowl. Add 2 tablespoons vegetable or canola oil and toss until all wedges are evenly coated.
- Sprinkle kosher salt and freshly ground black pepper over the potatoes to taste and toss again to distribute the seasoning.
- Arrange the potato wedges in a single layer on the prepared baking sheet with some space between pieces (do not overcrowd; use a second sheet if necessary). Place the cut sides down when possible for better browning.
- Roast in the preheated oven until the potatoes are tender and browned in spots, about 45 minutes, turning the wedges once or twice during cooking (about every 15 minutes) to promote even browning.
- Remove from the oven, taste and adjust seasoning with additional kosher salt and freshly ground black pepper if desired, then serve immediately.
Equipment
- Oven
- Rimmed baking sheet
- Large Bowl
- Tongs or spatula
Notes
For a Paleo diet, use avocado or olive oil instead of vegetable.