
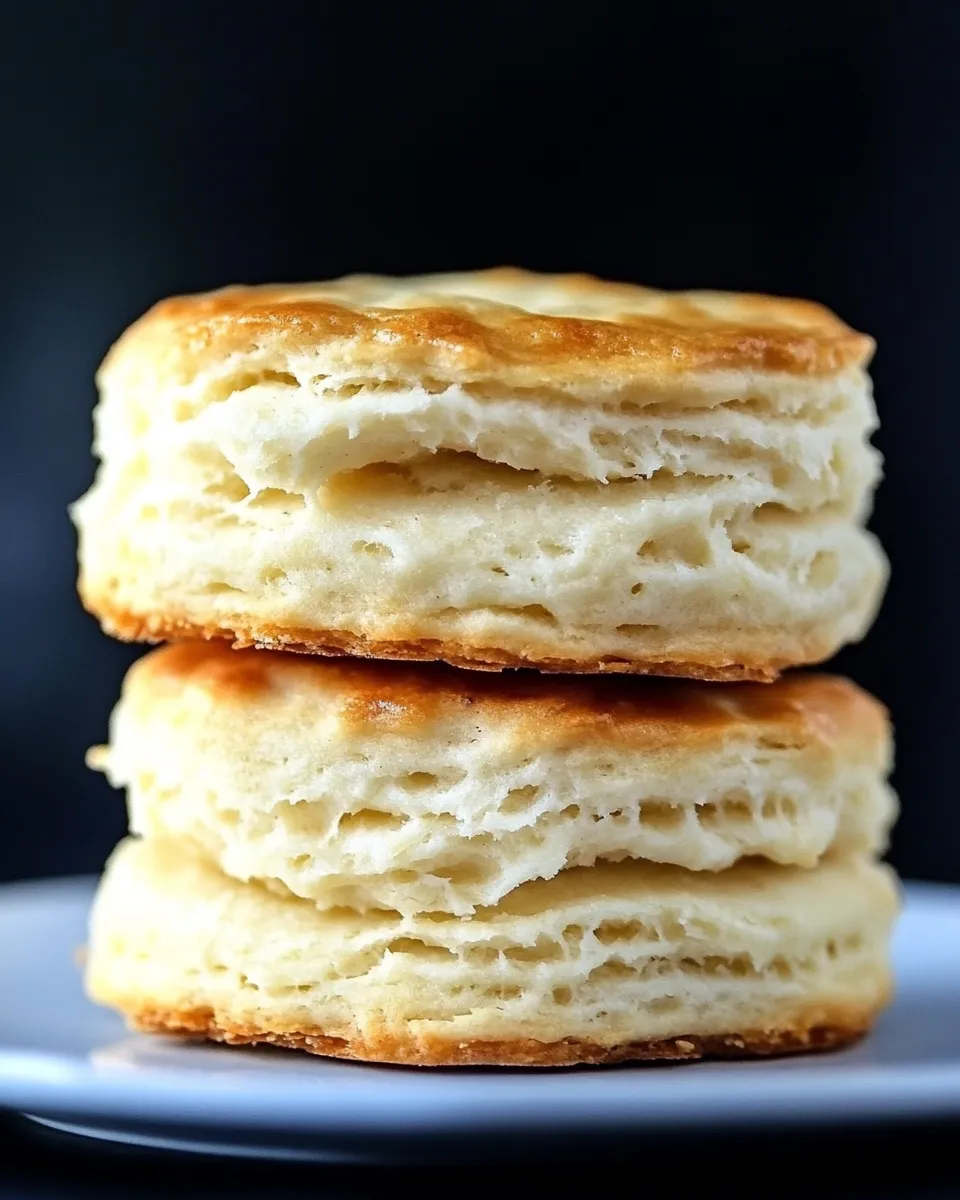
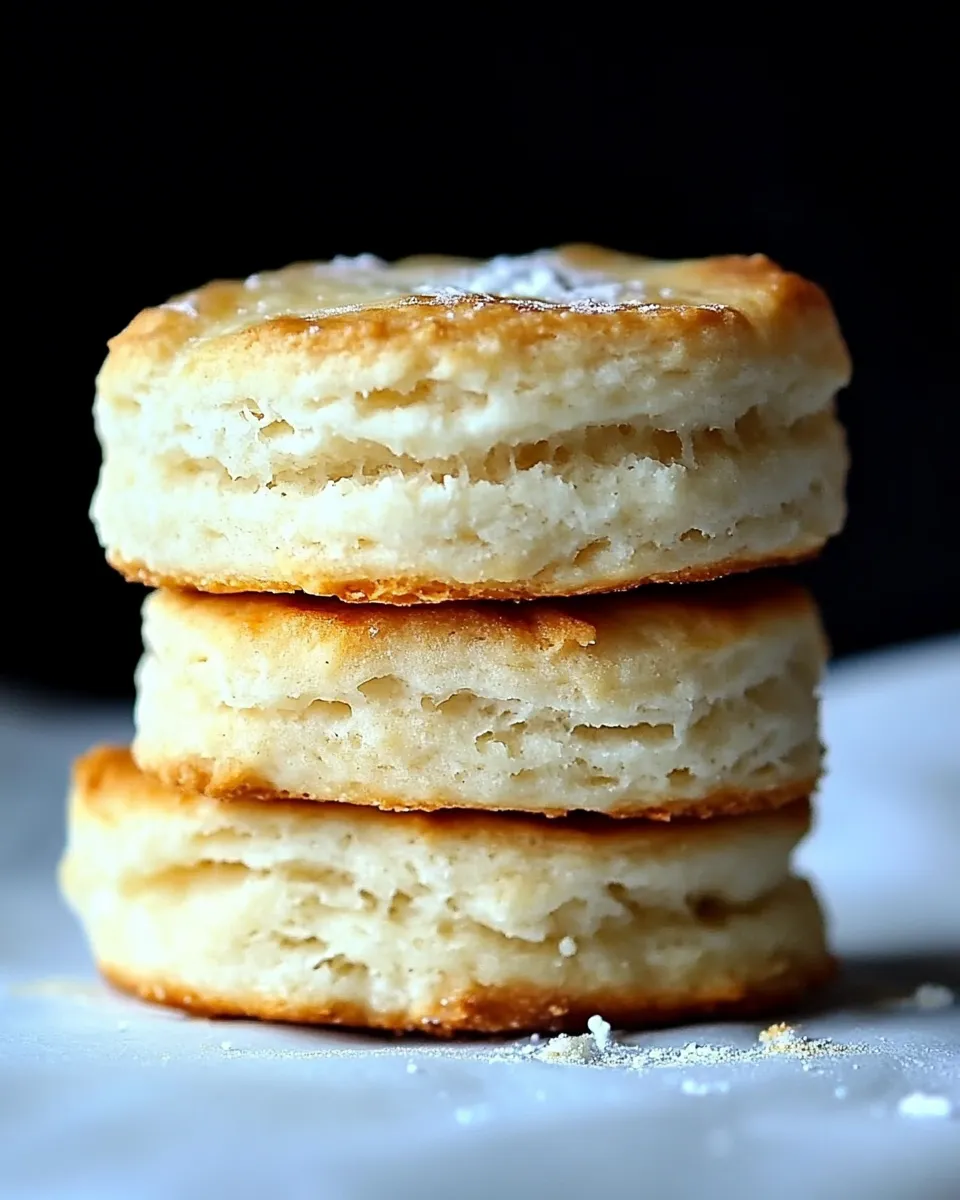
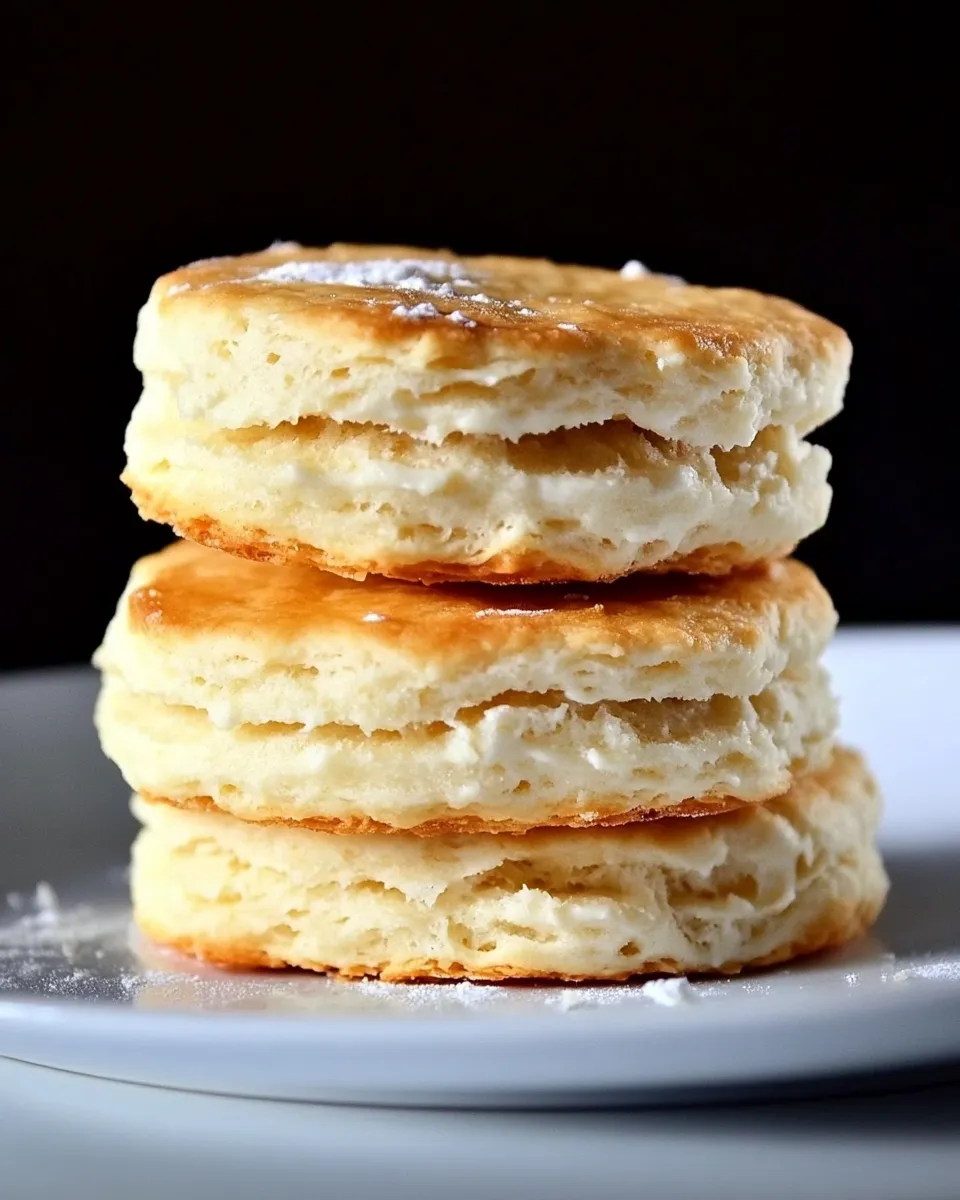
Biscuits that come together with just two pantry staples and a few minutes of gentle handling—what’s not to love? This version uses self-rising flour and heavy whipping cream. No cutting in butter, no chilling, no fuss. You mix, pat, cut, and bake. The result is tender, flaky-topped biscuits with a soft interior and a quick turnaround time from bowl to table.
I test and cook enough to know that dishes that deliver on simplicity and flavor get used again and again. These biscuits are exactly that: forgiving, quick, and versatile. They’re perfect with a spread of butter, a drizzle of jam, alongside eggs, or split and filled with ham and cheese. You can keep the process simple or dress them up — both work.
Below you’ll find a clear ingredient list, step-by-step instructions pulled directly from the recipe source, helpful swaps and tools, troubleshooting tips, and storage guidance. I write the way I cook: practical, direct, and focused on getting a reliable result every time.
Ingredient Rundown

Ingredients
- 2 cups (226 g) self-rising flour — provides structure, leavening, and the base flavor. Make sure it’s not packed tightly when measuring.
- 1 1/2 cups (357 g) heavy whipping cream — hydrates the flour and adds richness for a tender crumb and golden tops.
From Start to Finish: Two Ingredient Cream Biscuit Recipe
- Preheat the oven to 475°F and place a rack in the center position.
- Put 2 cups (226 g) self-rising flour into a large mixing bowl.
- Slowly pour 1 1/2 cups (357 g) heavy whipping cream into the flour. Stir gently with a spatula or wooden spoon just until the dough comes together — it should be shaggy and slightly sticky. Do not overmix.
- Lightly flour a clean work surface with a little of the flour and turn the dough out onto it.
- Gently pat or roll the dough to about 1/2 inch (1.3 cm) thickness; handle the dough as little as possible.
- Use a ~2-inch biscuit cutter to cut out biscuits. Press straight down (do not twist) for the best rise. Gather the scraps, gently press them together, and re-roll or re-pat to cut additional biscuits.
- Arrange the biscuits on a rimmed baking sheet or in a cast-iron skillet, leaving about 1 inch of space between each biscuit.
- Bake in the preheated oven for 10–12 minutes, until the tops are golden brown.
- Remove from the oven and serve warm.
What You’ll Love About This Recipe
- Speed: From mixing to the oven in under 10 minutes. The hands-on time is minimal.
- Simplicity: Two ingredients. No measuring of multiple leavening agents or butter folding. It’s a recipe that reduces decision fatigue.
- Texture: A tender interior with golden, slightly crisp tops. The cream creates a rich, moist crumb that feels indulgent.
- Versatility: Eat them plain, split and fill, or use them as a base for savory toppings. They pair well with sweet and savory alike.
- Reliability: If you keep your measurements consistent and avoid overworking the dough, it produces repeatable results.
Substitutions by Category
Flour
If you only have all-purpose flour, you can use it if you have a method to add leavening and salt, but that introduces extra steps outside the two-ingredient premise. For consistent results, using store-bought self-rising flour is easiest.
Dairy
The heavy whipping cream does two jobs: fat and liquid. Lower-fat creams or milk will produce a different texture and may not brown the same. If you need a richer finish, use full-fat cream as specified.
Add-ins & Mix-ins
You can fold in grated cheese, chopped herbs, or a pinch of sugar before patting the dough if you wish. These are optional and don’t change the base ingredient list, but they will alter the biscuit’s character.
Tools & Equipment Needed
- Large mixing bowl — roomy enough for stirring without spilling.
- Spatula or wooden spoon — for gentle mixing.
- Measuring cups or kitchen scale — accuracy helps, especially with the flour.
- Clean work surface — for patting and cutting the dough.
- ~2-inch biscuit cutter — a round cutter gives a classic rise; a drinking glass works in a pinch.
- Rimmed baking sheet or cast-iron skillet — either will bake the biscuits through and give nice bottoms.
- Oven thermometer (optional) — useful if your oven runs hot or cool.
Watch Outs & How to Fix
Underbaked or Doughy Centers
- Cause: Oven temperature too low or biscuits too thick. Fix: Verify oven temperature and add 1–2 minutes to bake time as needed, checking for a golden top.
Flat or Dense Biscuits
- Cause: Overmixing or twisting the cutter. Fix: Mix only until the dough comes together and press straight down with the cutter instead of twisting. Handle the dough as little as possible and keep the thickness close to 1/2 inch (1.3 cm).
Too Sticky to Work With
- Cause: Humidity or slightly wetter cream. Fix: Lightly dust your work surface and hands with a little additional flour. Do not add large amounts; gently work flour into the outer surface to make cutting manageable.
Not Golden on Top
- Cause: Oven spot or low temperature. Fix: Move the sheet to the center rack if it was too low. Use an oven thermometer to confirm 475°F. A brief finish under broil (very short, watch closely) can help color but use caution to avoid burning.
Adaptations for Special Diets
Because this recipe is deliberately minimal, adapting it for special diets requires some care. Below are general approaches; test modest batches when changing fundamental ingredients.
Lower-Fat Diets
Substituting a lower-fat dairy will change texture significantly; biscuits may be less tender and less rich. If you try a lighter cream or milk, expect a different crumb and possibly a slightly longer bake time.
Gluten-Free
To make a gluten-free version, use a gluten-free self-rising flour blend formulated for quick breads and biscuits. Results will vary by blend; xanthan gum or other stabilizers in the mix affect texture. Work in small test batches to dial in thickness and bake time.
Dairy-Free / Vegan
Replacing heavy cream with a plant-based cream alternative is possible, but the fat content and emulsifiers in dairy cream contribute to the biscuit’s structure and browning. Use a canned, high-fat non-dairy cream substitute that’s designed for baking for the closest match. Expect texture differences.
Testing Timeline
Here’s a practical timeline when you want to make these biscuits start-to-finish with minimal idle time.
- 0:00–0:05 — Preheat oven to 475°F and measure ingredients.
- 0:05–0:08 — Combine flour and cream; stir gently until dough forms.
- 0:08–0:12 — Turn out, pat or roll to 1/2 inch, and cut biscuits.
- 0:12–0:25 — Bake for 10–12 minutes; allow a minute or two to cool before serving warm.
This timeline assumes your oven is already preheated and your workspace is ready. Plan a few extra minutes if you’re trying a variation for the first time.
Storage & Reheat Guide
These biscuits are best served the day they are baked but keep well if stored properly:
- Room temperature: Store in an airtight container for up to 24 hours. They’ll soften slightly as steam reabsorbs.
- Refrigeration: Keep in the fridge for up to 3 days in an airtight container. Reheat gently to revive texture.
- Freezing: Cool completely, then freeze in a single layer on a sheet pan before transferring to a freezer bag. Freeze up to 1 month. Reheat from frozen in a 350°F oven until warmed through.
- Reheating: For best texture, rewarm in a preheated oven at 350°F for 5–10 minutes until hot. Microwave will warm quickly but can make the exterior soft.
Ask the Chef
Q: Can I halve or double the recipe?
A: Yes. Halving works fine for a small batch. Doubling is straightforward; mix in a larger bowl and maintain the same gentle handling and thickness when patting out the dough.
Q: Can I brush the tops with butter before or after baking?
A: You can brush melted butter on warm biscuits right after they come out of the oven for a glossy, richer finish. Brushing before baking will increase browning but isn’t necessary.
Q: Why does the recipe call for self-rising flour?
A: Self-rising flour contains the leavening and salt balance suited for quick breads and biscuits. It simplifies the ingredient list and helps achieve lift without added steps.
Q: Can I make them larger or smaller?
A: Yes. Larger cutters yield thicker biscuits that may need an extra minute or two of baking; smaller biscuits will bake faster. Keep an eye on color and test with the timing window provided.
The Last Word
This Two Ingredient Cream Biscuit Recipe is a dependable shortcut for days when you want homemade biscuits without a long list of ingredients. It rewards gentle handling and modest patience: measure accurately, mix just until combined, pat to the right thickness, and press straight down with your cutter. The payoff is quick—golden, tender biscuits that pair with nearly anything.
Make them plain for breakfast, split them for sandwiches, or dress them up with cheese and herbs for a savory twist. Keep the process simple the first few times. Once you know how your oven behaves and how the dough feels, small tweaks will be easy. Happy baking.

Two Ingredient Cream Biscuit Recipe
Ingredients
Ingredients
- 2 cups 226 gself-rising flour
- 1 1/2 cups 357 gheavy whipping cream
Instructions
Instructions
- Preheat the oven to 475°F and place a rack in the center position.
- Put 2 cups (226 g) self-rising flour into a large mixing bowl.
- Slowly pour 1 1/2 cups (357 g) heavy whipping cream into the flour. Stir gently with a spatula or wooden spoon just until the dough comes together — it should be shaggy and slightly sticky. Do not overmix.
- Lightly flour a clean work surface with a little of the flour and turn the dough out onto it.
- Gently pat or roll the dough to about 1/2 inch (1.3 cm) thickness; handle the dough as little as possible.
- Use a ~2-inch biscuit cutter to cut out biscuits. Press straight down (do not twist) for the best rise. Gather the scraps, gently press them together, and re-roll or re-pat to cut additional biscuits.
- Arrange the biscuits on a rimmed baking sheet or in a cast-iron skillet, leaving about 1 inch of space between each biscuit.
- Bake in the preheated oven for 10–12 minutes, until the tops are golden brown.
- Remove from the oven and serve warm.
Equipment
- Oven
- Mixing Bowl
- Spatula
- Wooden Spoon
- clean work surface
- biscuit cutter (about 2-inch)
- Rimmed baking sheet
- cast-iron skillet (optional)
Notes
Make-Ahead and Freezer Instructions:
Prepare biscuits as directed in instructions except for baking. Once you have biscuits cut and on baking sheet, wrap tightly to make freezer safe and place in the freezer for up to two months. When ready to bake, preheat oven as directed in recipe, place sheet pan directly from the freezer to the oven and bake a few additional minutes over the standard baking time.
For individual biscuits: Once biscuits have frozen, remove from sheet pan and place in a zip top freezer bag up to two months. Remove the number of biscuits you plan to use and place onto a baking sheet and directly into the oven or toaster. Bake as included above.
I recommend using White Lily® self-rising flour in this cream biscuit recipe. It produces a lighter biscuit with a great texture and flavor.


