
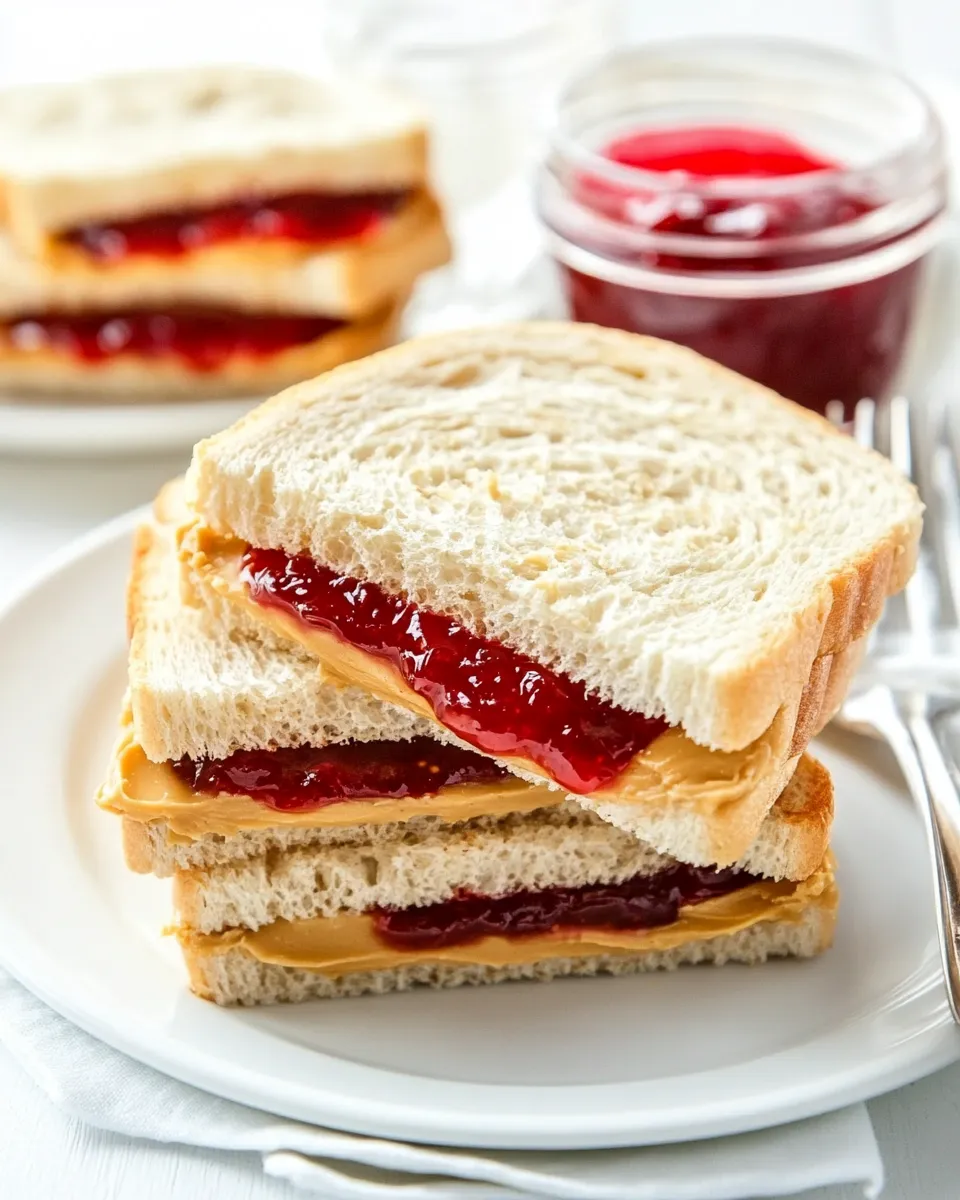
I love a sandwich that tells a story: soft, warm bread you made yourself, creamy nut butter freshly ground, and bright jam that sings. This version starts with a straightforward white loaf, then finishes with real peanut butter from roasted peanuts and a jar of homemade strawberry jam. It’s approachable, good for school lunches, and impressive enough for adults who still treasure simple comforts.
No shortcuts here unless you want them. I’ll walk you through each stage—proofing the yeast, developing the dough, shaping the loaf, and finishing with a speedy food-processor peanut butter. The method gives predictably tender slices that hold a thick smear of peanut butter without collapsing or tearing.
Read through once, gather your few tools, and follow the steps in order. You’ll come away with more than a sandwich: a small ritual that turns pantry staples into something homemade and memorable.
The Essentials
The goal: a soft, evenly textured loaf that slices neatly into 1/2-inch pieces for classic PB&J. The dough is enriched with milk and butter for tenderness; the oven trick—starting hot then lowering—helps the loaf get an even rise and color. The peanut butter is straightforward: roasted peanuts and a pinch of salt, processed until smooth.
Time at a glance: plan for about 1 hour 45 minutes active time including kneading and shaping, and about 1 hour 30–60 minutes of passive time for rises and cooling. Make the peanut butter while the loaf cools to save time and keep things warm in sequence.
Ingredients
- 1 teaspoon active-dry yeast — leavens the dough; proof briefly to confirm activity.
- 1/2 cup luke warm water — hydrates and wakes the yeast; not hot or it will kill the yeast.
- 1 tablespoon unsalted butter, melted — adds richness and tender crumb.
- 1/2 cup milk — improves softness and helps the crust brown.
- 1 tablespoon granulated sugar — feeds the yeast and balances flavor.
- 1 1/2 teaspoons salt — controls fermentation and seasons the bread.
- 2 1/2 to 3 cups all-purpose flour — structure; add gradually to reach the right dough consistency.
- oil, for coating — prevents sticking during the first rise.
- 2 cups (10 ounces) roasted, unsalted peanuts — the only flavor base for the homemade peanut butter.
- 1/4 teaspoon fine sea salt — seasons the peanut butter; adjust to taste.
- 1 jarhomemade strawberry jam — the classic jelly partner; use your favorite jarred jam.
Step-by-Step: Ultimate Scratch-Made Peanut Butter and Jelly Sandwiches
- Pour 1/2 cup luke warm water into a large mixing bowl or the bowl of a stand mixer and sprinkle 1 teaspoon active-dry yeast over the surface. Let stand 5 minutes, until the mixture is frothy.
- Add 1/2 cup all-purpose flour, 1 tablespoon melted unsalted butter, 1/2 cup milk, 1 tablespoon granulated sugar, and 1 1/2 teaspoons salt to the yeast mixture. Stir until a loose dough forms (a few lumps are okay).
- Gradually add 2 to 2 1/2 cups more all-purpose flour, stirring until the dough comes together into a shaggy ball. Reserve any remaining flour.
- Attach the dough hook to the stand mixer and knead on medium-low speed for 8–10 minutes, or knead by hand on a lightly floured surface for the same time. If the dough sticks excessively to the bowl or counter, add reserved flour 1 tablespoon at a time until it no longer sticks. The final dough should feel slightly tacky and spring back when poked.
- Lightly coat a clean bowl with oil. Gather the dough into a ball, place it in the oiled bowl, and turn the dough to coat the surface with oil. Cover the bowl and let the dough rise in a warm spot until doubled in size, about 1 hour.
- Turn the risen dough out onto a lightly floured surface and shape it into a loose ball. Let it rest, uncovered, for 10 minutes.
- Grease one standard-size loaf pan with oil. Gently shape the rested dough into an oblong oval with a taut surface and transfer it to the prepared pan (place seam side down). Stretch the surface taut as you shape to help the loaf expand and avoid a dense crumb.
- Cover the pan and let the dough rise a second time until it begins to dome over the edge of the pan, about 30 minutes.
- While the dough finishes the second rise, preheat the oven to 425°F (set the oven before baking so it is fully hot when you put the loaf in).
- Using a serrated knife, make one or two shallow slashes across the top of the loaf. Place the loaf in the oven, immediately reduce the oven temperature to 375°F, and bake 30–35 minutes, until the top is dark golden-brown and the loaf sounds hollow when tapped on the bottom.
- Remove the loaf from the pan and let it cool completely on a wire rack before slicing.
- Meanwhile, make the peanut butter: place 2 cups (10 ounces) roasted, unsalted peanuts and 1/4 teaspoon fine sea salt in the bowl of a food processor or high-powered blender. Secure the lid and process, starting at low speed and increasing to high, until the peanuts break down and the mixture becomes smooth and begins to flow. Stop occasionally to scrape down the sides for even mixing. Continue until you reach your desired peanut butter consistency.
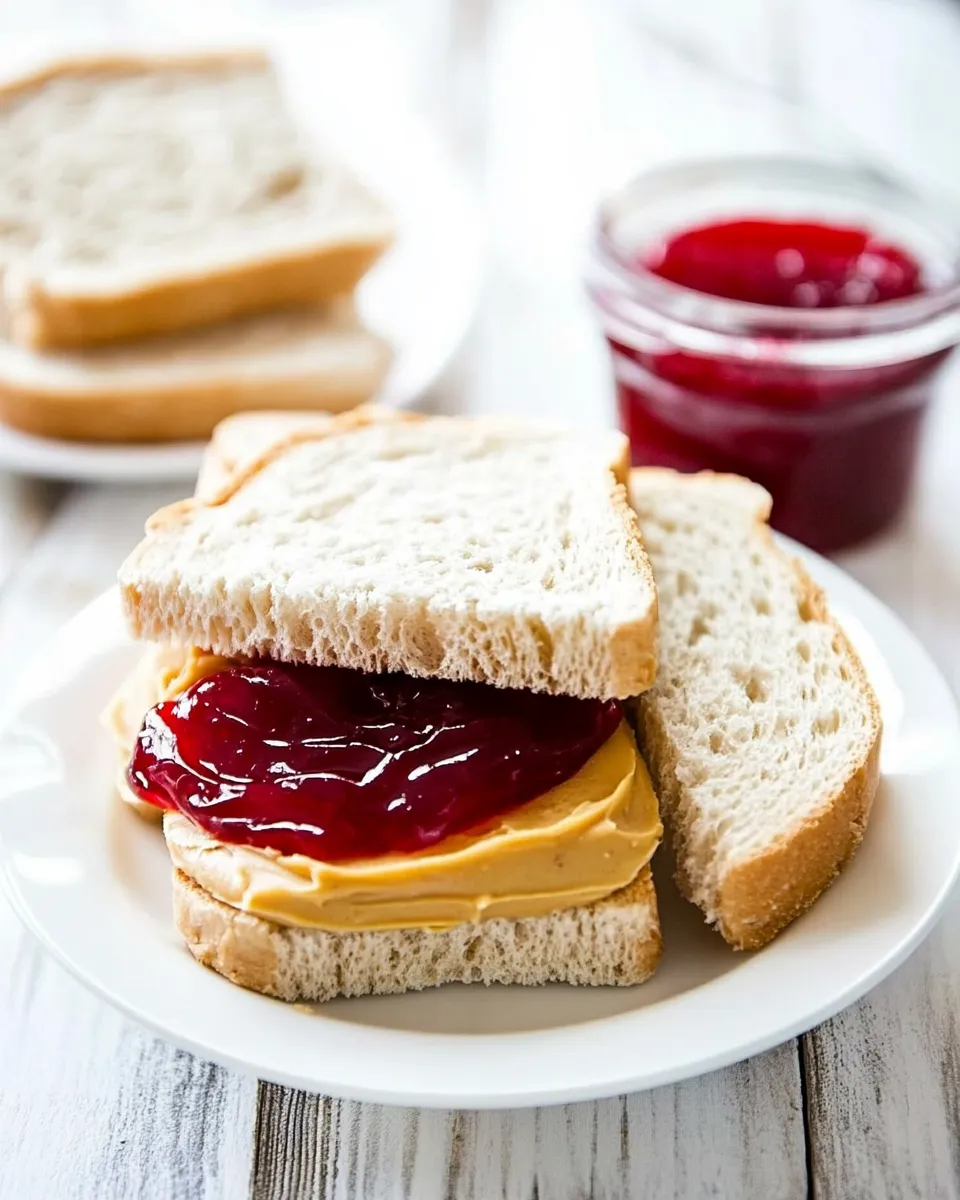
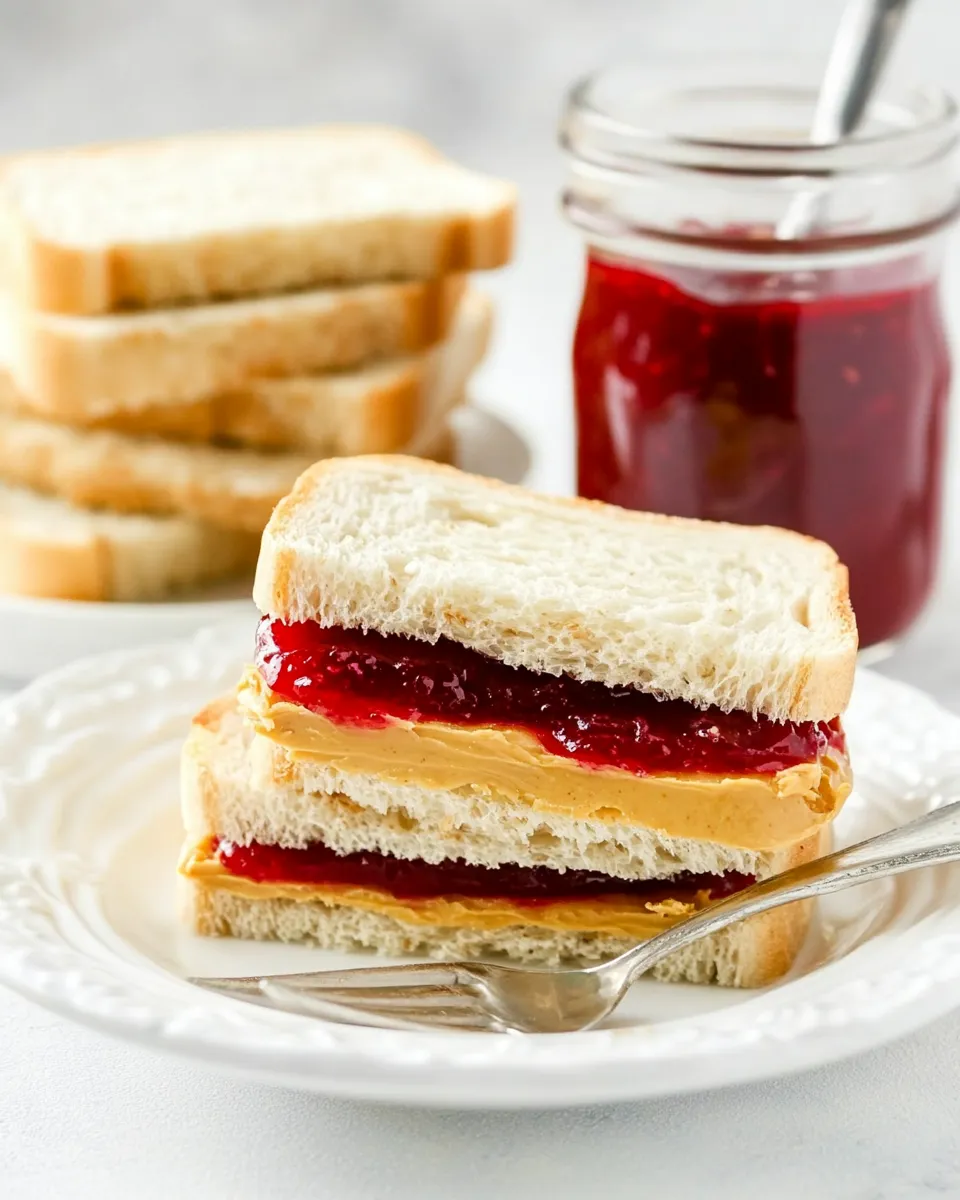
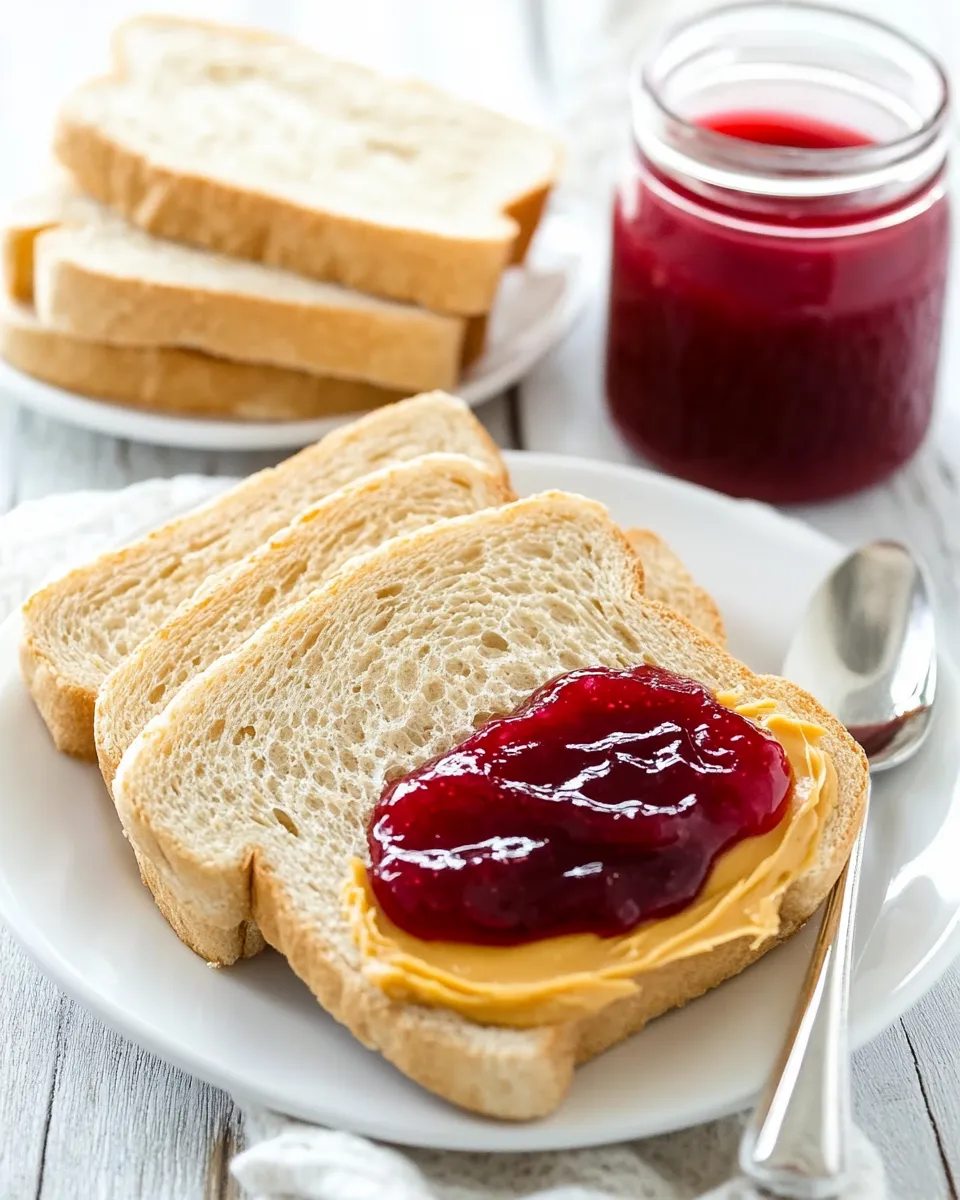
- To assemble sandwiches: slice the cooled bread into 1/2-inch-thick pieces. If desired, lightly toast the slices. Spread one slice with a thick layer of the fresh peanut butter and spread the other slice with homemade strawberry jam from the jar. Press the slices together and cut each sandwich in half to serve.
- Store baked bread at room temperature for several days, or wrap tightly and freeze for up to three months.
Why You’ll Love This Recipe
Flavor and texture: fresh-baked bread lifts the whole sandwich. It’s softer and more fragrant than store loaf, with just enough structure to hold a generous smear of freshly processed peanut butter. The peanut butter tastes brighter than jarred versions because you control the grind and salt.
Simplicity: the techniques are basic—proof, mix, knead, rise, bake. No fancy ingredients, no complicated timing. The payoff is a sandwich that feels homemade at every bite. It’s a great gateway recipe if you’ve never made bread or nut butter before.
Control: you decide the peanut butter consistency. Pulse less for a chunkier texture, process longer for ultra-smooth. The loaf thickness is up to you—1/2-inch is a classic, but slice thicker for an indulgent sandwich.
Ingredient Flex Options
Keep the core ingredients as listed for best results, but you can adjust technique rather than quantities to suit taste.
- Peanut butter texture — process the peanuts less for a rustic, chunky result or longer for ultra-silky butter. No other ingredients are required.
- Salt level — the dough and peanut butter include precise salt amounts. If you prefer less salt, reduce the 1 1/2 teaspoons in the dough by a pinch; likewise, omit or reduce the 1/4 teaspoon in the peanut butter to taste.
- Bread thickness and toasting — slice the loaf thinner for lighter sandwiches, or toast slices if you like contrast between crunch and creamy peanut butter.
Essential Tools for Success
- Stand mixer with dough hook (or a sturdy bowl and hands) — speeds kneading and keeps arms happy.
- Food processor or high-powered blender — critical for smooth, evenly processed peanut butter.
- Serrated knife and a wire rack — for clean slices and proper cooling.
- Standard-size loaf pan and a small bowl for proofing — shape and rise need structure and a warm spot.
- Oven thermometer (optional) — helpful if your oven runs hot or cold, especially for the 425°F → 375°F bake method.
Troubles You Can Avoid
Dense crumb: most often caused by under-kneading or not enough rise. Knead until the dough is smooth and springy, and wait for it to double in the first rise. When in doubt, give it a little more time rather than less.
Sticky dough that’s impossible to handle: add the reserved flour 1 tablespoon at a time as instructed, but avoid over-flouring. The final dough should be slightly tacky.
Collapsed loaf: this can happen if the second rise goes too far. Watch for the loaf to dome just above the pan edge; if it’s growing too fast, it’s ready to bake.
Peanut butter graininess: save time by processing continuously and scraping down the bowl. A few extra minutes at high speed turns the mixture from gritty to smooth.
Adaptations for Special Diets
If you need to adapt the recipe, think in terms of function—what role each ingredient plays—and substitute accordingly. For example, milk and butter add fat and tenderness; a non-dairy milk and melted non-dairy butter or oil can provide similar texture if you follow manufacturer conversion guidance for baking. For nut allergies, this recipe is inherently peanut-focused; consider making a different spread entirely and follow an appropriate recipe for that spread.
For lower-sodium preferences, reduce the 1 1/2 teaspoons salt in the dough and the 1/4 teaspoon in the peanut butter, then taste as you go. Adjustments can alter fermentation slightly, so watch dough behavior rather than the clock alone.
Method to the Madness
Why the oven is preheated to 425°F then reduced: that initial blast of heat gives the loaf an early lift and encourages a good oven spring. Reducing to 375°F after the loaf goes in prevents over-browning while allowing the interior to bake through.
Shaping into a taut oval before the final rise creates surface tension. That tension guides an even expansion and helps avoid large holes or a collapsed top. Placing seam side down in the pan allows the seam to seal as it bakes.
Making the peanut butter while the bread cools is efficient. Freshly processed peanut butter also benefits from a little rest: oils settle and flavors meld, making spreading easier and flavor more rounded.
Storing, Freezing & Reheating
Store baked bread at room temperature for several days, or wrap tightly and freeze for up to three months.
For sandwiches, assemble just before serving if you’re packing lunches to avoid sogginess over time. Peanut butter acts as a moisture barrier, so spread it on the slice that will touch the jam to slow soaking if you must assemble early.
To refresh frozen bread: thaw at room temperature and, if desired, warm briefly in a 300°F oven for 8–10 minutes to revive the crust and aroma. For leftover peanut butter, store in an airtight container in the refrigerator if you prefer it chilled, or at room temperature for easier spreading; oil separation is natural—stir before use.
Quick Questions
Can I use instant yeast instead of active-dry?
Yes—with instant yeast you can usually mix it directly into the dry flour and cut a few minutes from the first rise, but because the recipe lists active-dry, I follow the proofing step to ensure activity.
Do I have to use a food processor?
A food processor or high-powered blender makes the job quicker and smoother. A sturdy blender or an electric nut grinder can work, but a manual option will take much longer.
What if my dough never doubles?
Check temperature and yeast viability. If the kitchen is cold, move the bowl to a warmer spot or place it near but not on a warm stove. If the yeast didn’t froth in step one, use fresh yeast.
Before You Go
There’s joy in small, repeatable baking projects. Once you’ve made this loaf and the peanut butter, you’ll find yourself reaching for them more than store-bought options. They’re simple, satisfying, and fully customizable by technique rather than exotic ingredients.
If you try it, tell me what you do with your peanut butter texture or if you have a favorite jam pairing. I read every comment and love hearing how a recipe becomes part of someone’s routine.

Ultimate Scratch-Made Peanut Butter and Jelly Sandwiches
Ingredients
Ingredients
- 1 teaspoon active-dry yeast
- 1/2 cup luke warm water
- 1 tablespoon unsalted butter melted
- 1/2 cup milk
- 1 tablespoon granulated sugar
- 1 1/2 teaspoons salt
- 2 1/2 to 3 cups all-purpose flour
- oil for coating
- 2 cups 10 ounces roasted, unsalted peanuts
- 1/4 teaspoon fine sea salt
- 1 jarhomemade strawberry jam
Instructions
Instructions
- Pour 1/2 cup luke warm water into a large mixing bowl or the bowl of a stand mixer and sprinkle 1 teaspoon active-dry yeast over the surface. Let stand 5 minutes, until the mixture is frothy.
- Add 1/2 cup all-purpose flour, 1 tablespoon melted unsalted butter, 1/2 cup milk, 1 tablespoon granulated sugar, and 1 1/2 teaspoons salt to the yeast mixture. Stir until a loose dough forms (a few lumps are okay).
- Gradually add 2 to 2 1/2 cups more all-purpose flour, stirring until the dough comes together into a shaggy ball. Reserve any remaining flour.
- Attach the dough hook to the stand mixer and knead on medium-low speed for 8–10 minutes, or knead by hand on a lightly floured surface for the same time. If the dough sticks excessively to the bowl or counter, add reserved flour 1 tablespoon at a time until it no longer sticks. The final dough should feel slightly tacky and spring back when poked.
- Lightly coat a clean bowl with oil. Gather the dough into a ball, place it in the oiled bowl, and turn the dough to coat the surface with oil. Cover the bowl and let the dough rise in a warm spot until doubled in size, about 1 hour.
- Turn the risen dough out onto a lightly floured surface and shape it into a loose ball. Let it rest, uncovered, for 10 minutes.
- Grease one standard-size loaf pan with oil. Gently shape the rested dough into an oblong oval with a taut surface and transfer it to the prepared pan (place seam side down). Stretch the surface taut as you shape to help the loaf expand and avoid a dense crumb.
- Cover the pan and let the dough rise a second time until it begins to dome over the edge of the pan, about 30 minutes.
- While the dough finishes the second rise, preheat the oven to 425°F (set the oven before baking so it is fully hot when you put the loaf in).
- Using a serrated knife, make one or two shallow slashes across the top of the loaf. Place the loaf in the oven, immediately reduce the oven temperature to 375°F, and bake 30–35 minutes, until the top is dark golden-brown and the loaf sounds hollow when tapped on the bottom.
- Remove the loaf from the pan and let it cool completely on a wire rack before slicing.
- Meanwhile, make the peanut butter: place 2 cups (10 ounces) roasted, unsalted peanuts and 1/4 teaspoon fine sea salt in the bowl of a food processor or high-powered blender. Secure the lid and process, starting at low speed and increasing to high, until the peanuts break down and the mixture becomes smooth and begins to flow. Stop occasionally to scrape down the sides for even mixing. Continue until you reach your desired peanut butter consistency.
- To assemble sandwiches: slice the cooled bread into 1/2-inch-thick pieces. If desired, lightly toast the slices. Spread one slice with a thick layer of the fresh peanut butter and spread the other slice with homemade strawberry jam from the jar. Press the slices together and cut each sandwich in half to serve.
- Store baked bread at room temperature for several days, or wrap tightly and freeze for up to three months.
Equipment
- Large Mixing Bowl
- Stand mixer
- dough hook
- Loaf Pan
- Oven
- serrated knife
- Food Processor
- High-Powered Blender
- Wire Rack


