
This is a straightforward, tender vegan red velvet cake that delivers the classic color and cocoa-kissed flavor without eggs or dairy. I test desserts a lot and I like recipes that are unfussy: exact enough to be reliable, flexible enough to adapt to what’s in your pantry. This cake fits both bills — bright, soft layers that frost well and hold up for celebrations or a weeknight dessert.
You’ll find swaps built into the recipe, clear timing, and a few practical notes to avoid common missteps. I kept the instructions in the order they were tested so you can follow along in real time in the kitchen. If you want a two-layer showstopper, use two 8-inch pans; if you prefer one-sheet ease, the 9×13 option works too.
Read through the shopping list and the equipment notes before you start. Measure as you go, preheat the oven on time, and plan a little chill time for easier frosting. Let’s get to it.
Shopping List
- All-purpose flour — for the cake structure; buy enough for 2 cups plus a little extra for dusting pans.
- Cocoa powder — unsweetened, for that subtle chocolate base flavor.
- Baking soda — leavening; check freshness (drop a little in vinegar — it should fizz).
- Salt — balances sweetness and enhances cocoa flavor.
- Sugar or xylitol — choose sugar for the standard cake or xylitol if you’re making it sugar-free.
- Applesauce, banana, or vegan yogurt — wet binder and moisture; pick one option before starting.
- Neutral oil or almond butter — oil keeps the crumb tender; almond butter is an alternative (warm gently first).
- Pure vanilla extract — flavor booster.
- Water — used in the wet mix; measure 1 1/3 cup.
- Vegan red food coloring — 2 tablespoons to get the classic red velvet hue.
- White vinegar — 1 teaspoon; omit only if you use vegan yogurt.
Ingredients
- 2 cups flour — the main structure for the cake (for low carb, try this Keto Cake Recipe).
- 3/4 cup cocoa powder — provides the chocolate background and classic red velvet tone.
- 1 tsp baking soda — leavening; helps the cake rise and stay tender.
- 1 tsp salt — balances sweetness and enhances chocolate notes.
- 1 1/2 cups sugar or xylitol for sugar free — sweetener; choose sugar for traditional texture, xylitol for sugar-free.
- 1/2 cup applesauce or banana or vegan yogurt — moisture and binding agent; yogurt can give a slightly tangier crumb.
- 1/2 cup oil or almond butter — fat for tenderness; warm almond butter gently so it stirs smoothly if you choose it.
- 1 1/2 tbsp pure vanilla extract — aroma and flavor lift.
- 1 1/3 cup water — thins the batter to the correct consistency.
- 2 tbsp vegan red food coloring — the color that defines red velvet; use the amount listed for vibrant results.
- 1 tsp white vinegar (omit if using yogurt) — reacts with baking soda for lift and a gentle tang; skip only when you use vegan yogurt.
Vegan Red Velvet Cake: Step-by-Step Guide
- Preheat the oven to 350 F. Grease two 8-inch pans or one 9×13-inch pan and set aside.
- In a large bowl, whisk together the dry ingredients: 2 cups flour, 3/4 cup cocoa powder, 1 tsp baking soda, 1 tsp salt, and 1 1/2 cups sugar (or xylitol if making sugar-free).
- In a separate bowl, combine the wet ingredients: 1/2 cup applesauce (or mashed banana or vegan yogurt), 1/2 cup oil (or 1/2 cup almond butter — if using almond butter, gently warm until soft and easy to stir), 1 1/2 tbsp vanilla extract, 1 1/3 cup water, and 2 tbsp vegan red food coloring. Add 1 tsp white vinegar unless you are using vegan yogurt (omit the vinegar if using yogurt). Whisk until smooth and uniform.
- Pour the wet mixture into the dry ingredients and stir gently with a spatula or whisk until just evenly combined. Do not overmix.
- Divide the batter evenly between the two prepared 8-inch pans (or pour into the prepared 9×13-inch pan) and smooth the tops.
- Bake in the preheated oven for 28 minutes, or until a toothpick inserted into the center comes out mostly clean.
- Remove the pans from the oven and let the cakes cool. Run a knife around the edges, then invert each cake onto a plate or wire rack to cool completely.
- If time permits, refrigerate the cooled cake layers so they are firmer and easier to frost.
- Frost as desired. If making a double-layer cake, frost each layer separately before stacking.
Top Reasons to Make Vegan Red Velvet Cake
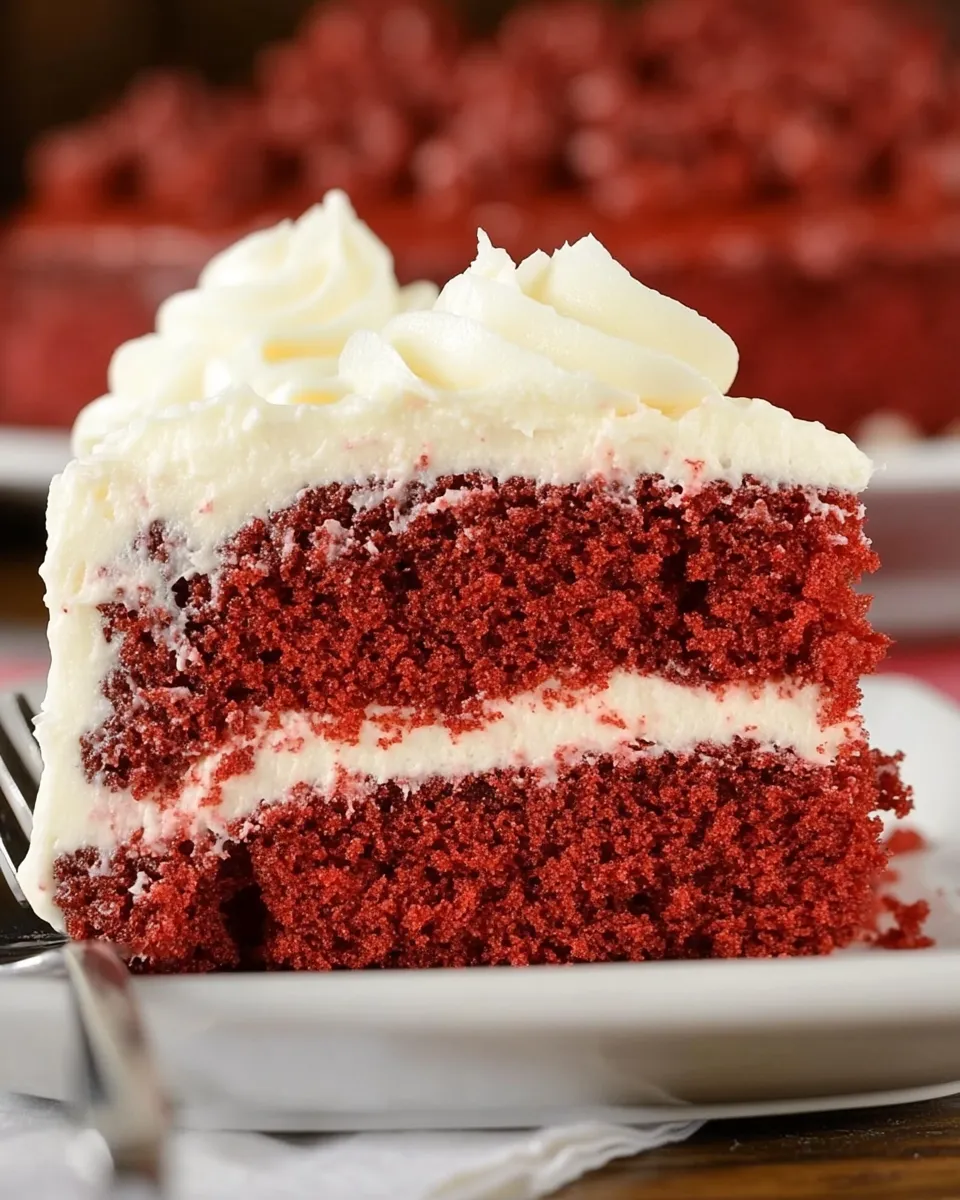
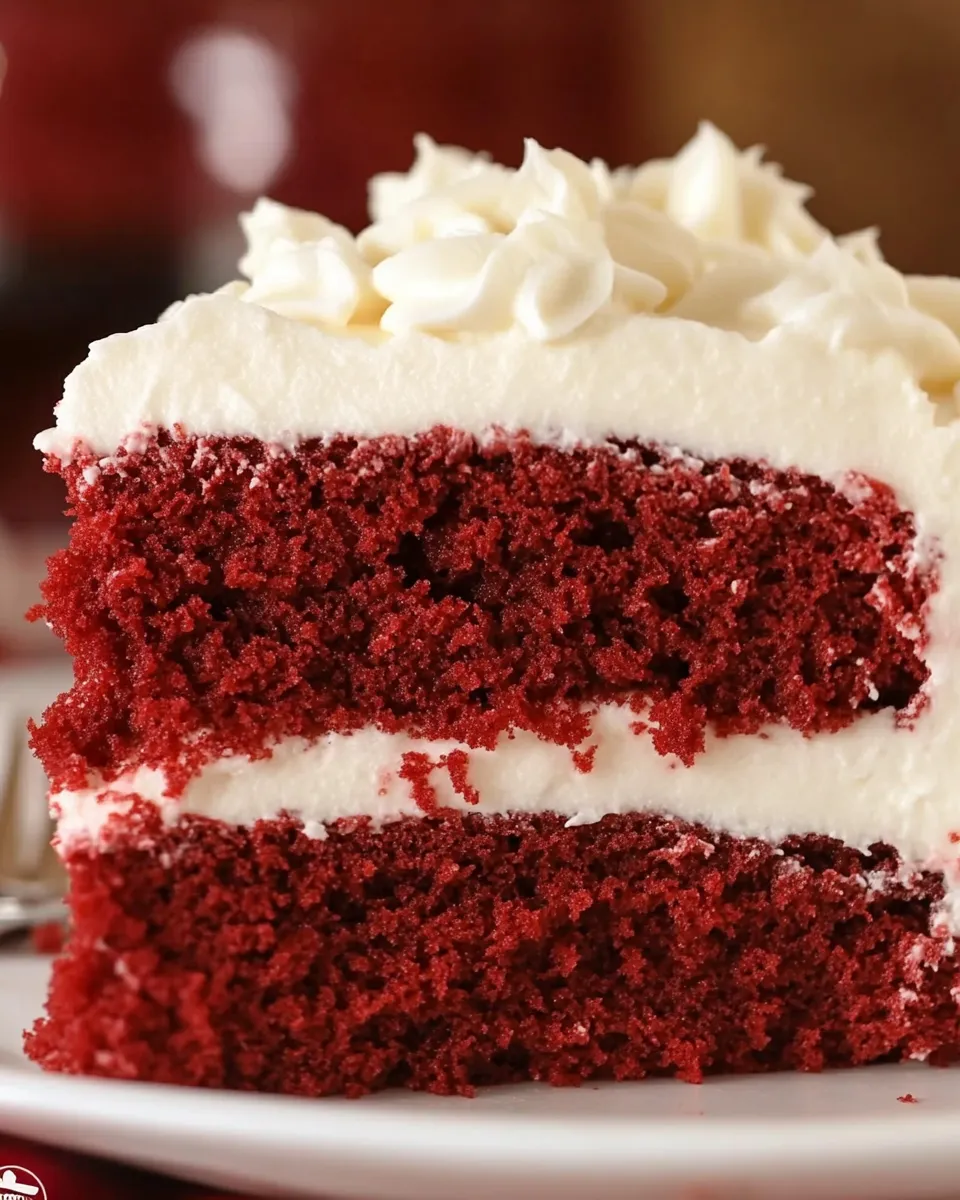
First, it’s reliably tender and moist. The combination of applesauce (or banana or yogurt) and oil keeps the crumb soft without any eggs. You get the same silkiness you expect from a classic red velvet, but entirely plant-based.
Second, it’s flexible. The recipe lists options for sugar-free sweeteners, an almond butter swap for oil, and multiple wet-binder choices. That means you can adapt it to what’s in your pantry without starting over.
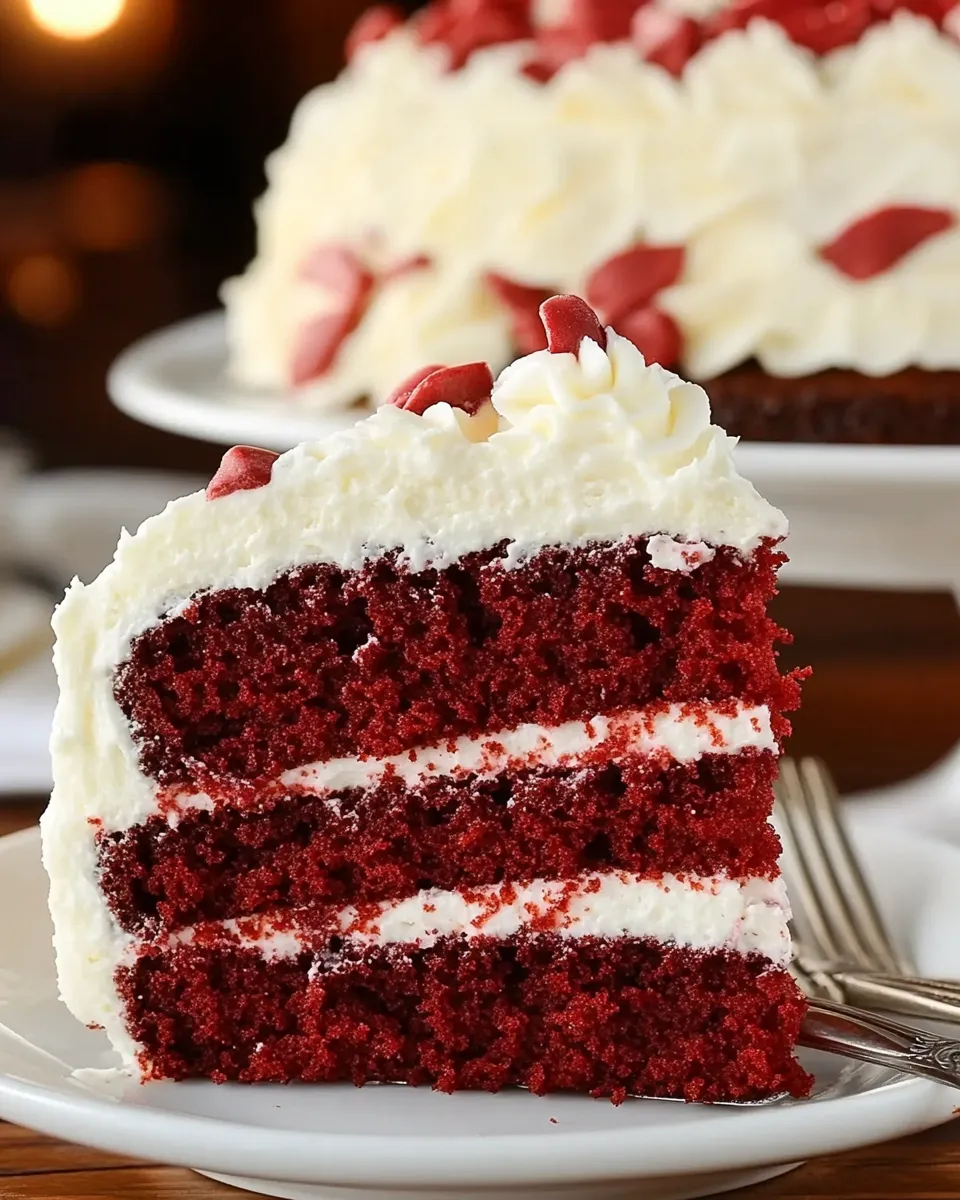
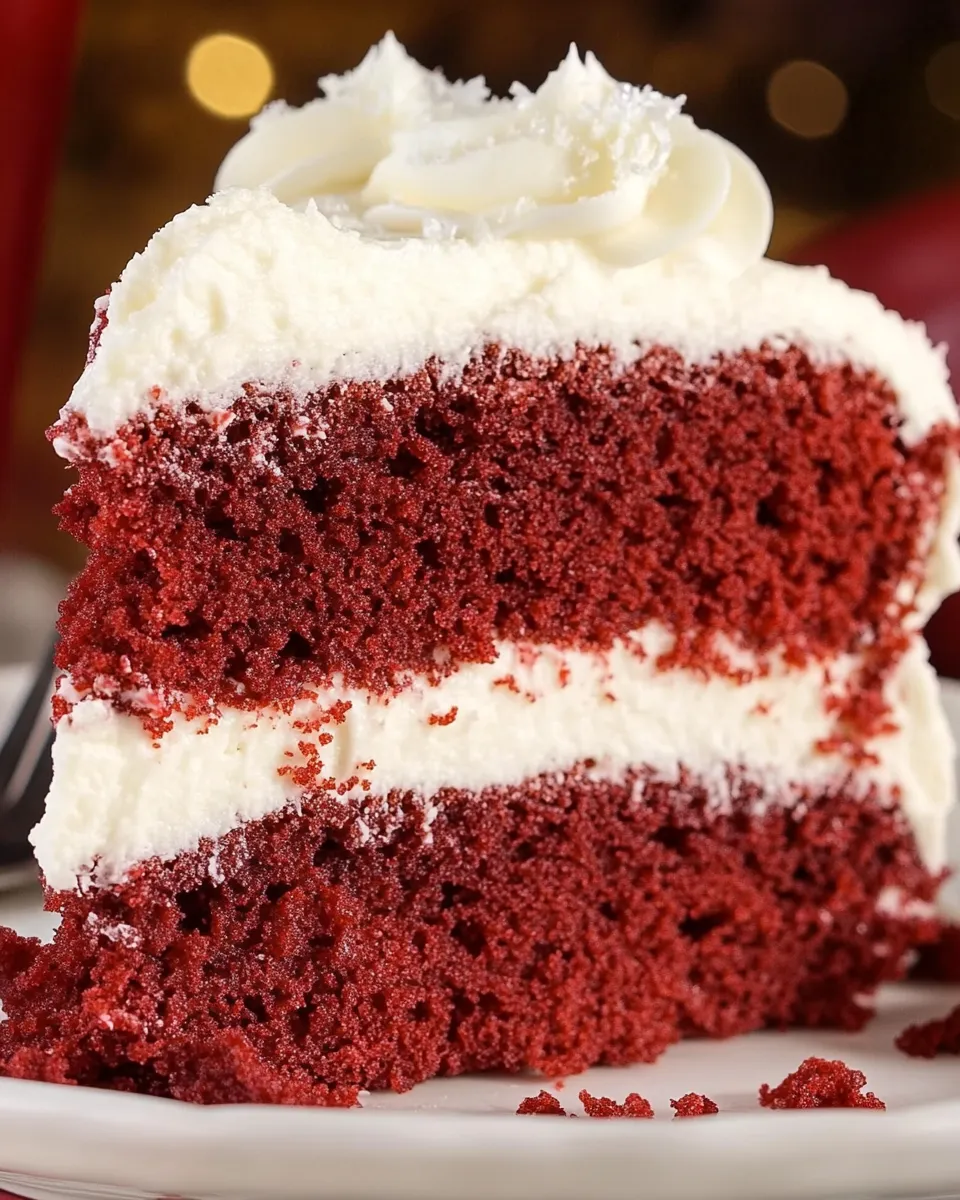
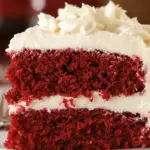
Third, it looks great. Two 8-inch layers frosted and stacked make an impressive centerpiece, and the red color pops — especially with a light, white vegan frosting.
What to Use Instead
- Applesauce, mashed banana, or vegan yogurt — any of these will work as the wet binder and moisture source; yogurt gives a slightly tangier crumb.
- Oil or almond butter — oil keeps the texture classic and tender; almond butter is a direct swap but warm it first so it’s easy to stir.
- Sugar or xylitol — use xylitol for a sugar-free version; follow the same amounts listed in the recipe.
- Omit the 1 tsp white vinegar only if you choose vegan yogurt — the vinegar reacts with baking soda for lift but yogurt provides acidity too.
- For low-carb needs, follow the note in the ingredients referencing a Keto Cake Recipe as a separate low-carb approach rather than modifying this exact ingredient set.
Equipment & Tools
- Mixing bowls — at least two: one for dry ingredients, one for wet.
- Whisk and spatula — whisk for dry blending, spatula for folding batter.
- Measuring cups and spoons — accurate measuring keeps the crumb consistent.
- Two 8-inch cake pans or one 9×13-inch pan — greased and ready.
- Toothpick or cake tester — to check doneness.
- Wire rack — for cooling and preventing soggy bottoms.
- Refrigerator — chilling layers makes frosting and stacking easier.
Avoid These Mistakes
- Overmixing the batter — stir until just combined. Overworking develops gluten and makes the cake tough.
- Skipping the vinegar (unless using yogurt) — that 1 tsp reacts with baking soda to give a lighter crumb.
- Using cold almond butter — if you opt for almond butter, warm it gently so it blends smoothly and doesn’t create pockets in the batter.
- Opening the oven too early — wait most of the bake time before checking to avoid collapse from temperature shock.
- Frosting warm layers — always cool completely (and chill if possible) before frosting to prevent sliding or melting frosting.
- Substituting new ingredients without testing — the recipe includes tested swaps; introducing other replacements can change texture and bake time.
Make It Diet-Friendly
The recipe already includes a sugar-free option: swap sugar for xylitol using the same quantity listed. If you use xylitol, taste the batter lightly (don’t swallow raw batter) and be aware that some people are sensitive to sugar alcohols.
For a lower-refined-sugar version without xylitol, use mashed banana or applesauce as listed to increase natural sweetness, but that will change flavor and moisture slightly. The ingredient list also suggests almond butter instead of oil, which adds protein and a richer mouthfeel. Finally, if you need a low-carb alternative, follow a dedicated Keto Cake Recipe — the ingredients note references that option rather than altering this recipe’s balance.
Notes from the Test Kitchen
Practical tips that save time
- Measure flour by spooning it into your cup and leveling with a knife. Packing flour leads to dry, dense cake.
- Sift or whisk cocoa before measuring to remove lumps. Cocoa compacts easily and will create streaks if not blended well.
- If using almond butter, microwave it in short bursts (5–10 seconds) or warm in a bowl over hot water until soft. It should be stirrable but not hot.
- Use the toothpick test near the center and a little off-center; a mostly clean toothpick with a few moist crumbs indicates doneness. If too wet, add 2–3 minutes and test again.
- Chill layers if you plan to stack and decorate — cold layers are firmer and easier to work with, per step 8 in the directions.
Storing, Freezing & Reheating
Store frosted cake in the refrigerator, covered, for up to 4–5 days. The fridge helps vegan frosting hold shape and prevents oils in fillings from going soft at room temperature.
To freeze layers: wrap each cooled layer tightly in plastic wrap and then in foil. Freeze for up to 2 months. Thaw overnight in the refrigerator while still wrapped, then bring to room temperature for an hour before frosting.
Reheating is not necessary for frosted cake. If serving slices straight from the fridge, let them sit 10–15 minutes at room temperature to soften slightly for the best texture.
Vegan Red Velvet Cake FAQs
Q: Can I make this in one 9×13 pan instead of two 8-inch pans?
A: Yes. The recipe explicitly gives the 9×13 option. Baking time should be about the same; check with a toothpick and allow the full 28 minutes as listed, adding time if the tester comes out wet.
Q: Do I have to use vegan food coloring?
A: The ingredient list calls for 2 tbsp vegan red food coloring. Use a plant-based or certified vegan food coloring to keep the cake vegan-friendly. The 2 tablespoons amount gives a vivid color; reduce if you prefer a subtler hue.
Q: What happens if I omit the vinegar?
A: Vinegar reacts with baking soda to produce lift and a subtle tang. Omit it only if you’re using vegan yogurt as the wet binder; yogurt provides the acidity needed and the recipe notes say to skip the vinegar in that case.
Q: Can I make this sugar-free?
A: Yes. The recipe lists 1 1/2 cups sugar or xylitol for sugar-free. Use the same measured amount of xylitol if you choose that path, and be mindful of xylitol’s different taste and digestive effects for some people.
Q: How long will the batter hold before baking?
A: For best rise and texture, bake batters shortly after mixing. The recipe mixes wet into dry and bakes; delays can reduce the effectiveness of the baking soda reaction and lead to a denser cake.
Bring It Home
This Vegan Red Velvet Cake is a reliable, adaptable recipe that gives you that classic red velvet vibe without animal ingredients. Keep the swaps listed in mind, follow the step-by-step directions in order, and you’ll have tender layers ready for your favorite vegan frosting. Don’t skip the chill if you want clean, confident slices — it makes assembly far easier.
Make it your own: try the almond butter swap for a nuttier note, or choose applesauce for a lighter crumb. However you bake it, this cake is built to be shared. Happy baking.
Vegan Red Velvet Cake
Ingredients
Ingredients
- 2 cupsflour for low carb, try thisKeto Cake Recipe
- 3/4 cupcocoa powder
- 1 tspbaking soda
- 1 tspsalt
- 1 1/2 cupsugaror xylitol for sugar free
- 1/2 cupapplesauceor banana or vegan yogurt
- 1/2 cupoilor almond butter
- 1 1/2 tbsppure vanilla extract
- 1 1/3 cupwater
- 2 tbspvegan red food coloring
- 1 tspwhite vinegar omit if using yogurt
Instructions
Instructions
- Preheat the oven to 350 F. Grease two 8-inch pans or one 9×13-inch pan and set aside.
- In a large bowl, whisk together the dry ingredients: 2 cups flour, 3/4 cup cocoa powder, 1 tsp baking soda, 1 tsp salt, and 1 1/2 cups sugar (or xylitol if making sugar-free).
- In a separate bowl, combine the wet ingredients: 1/2 cup applesauce (or mashed banana or vegan yogurt), 1/2 cup oil (or 1/2 cup almond butter — if using almond butter, gently warm until soft and easy to stir), 1 1/2 tbsp vanilla extract, 1 1/3 cup water, and 2 tbsp vegan red food coloring. Add 1 tsp white vinegar unless you are using vegan yogurt (omit the vinegar if using yogurt). Whisk until smooth and uniform.
- Pour the wet mixture into the dry ingredients and stir gently with a spatula or whisk until just evenly combined. Do not overmix.
- Divide the batter evenly between the two prepared 8-inch pans (or pour into the prepared 9×13-inch pan) and smooth the tops.
- Bake in the preheated oven for 28 minutes, or until a toothpick inserted into the center comes out mostly clean.
- Remove the pans from the oven and let the cakes cool. Run a knife around the edges, then invert each cake onto a plate or wire rack to cool completely.
- If time permits, refrigerate the cooled cake layers so they are firmer and easier to frost.
- Frost as desired. If making a double-layer cake, frost each layer separately before stacking.
Equipment
- Oven
- Mixing bowls
- Whisk
- Spatula
- 8-inch cake pans or 9x13-inch pan
- Knife
- Wire Rack
Notes
Still craving cake? Try this recipe for
Vegan Carrot Cake
.


