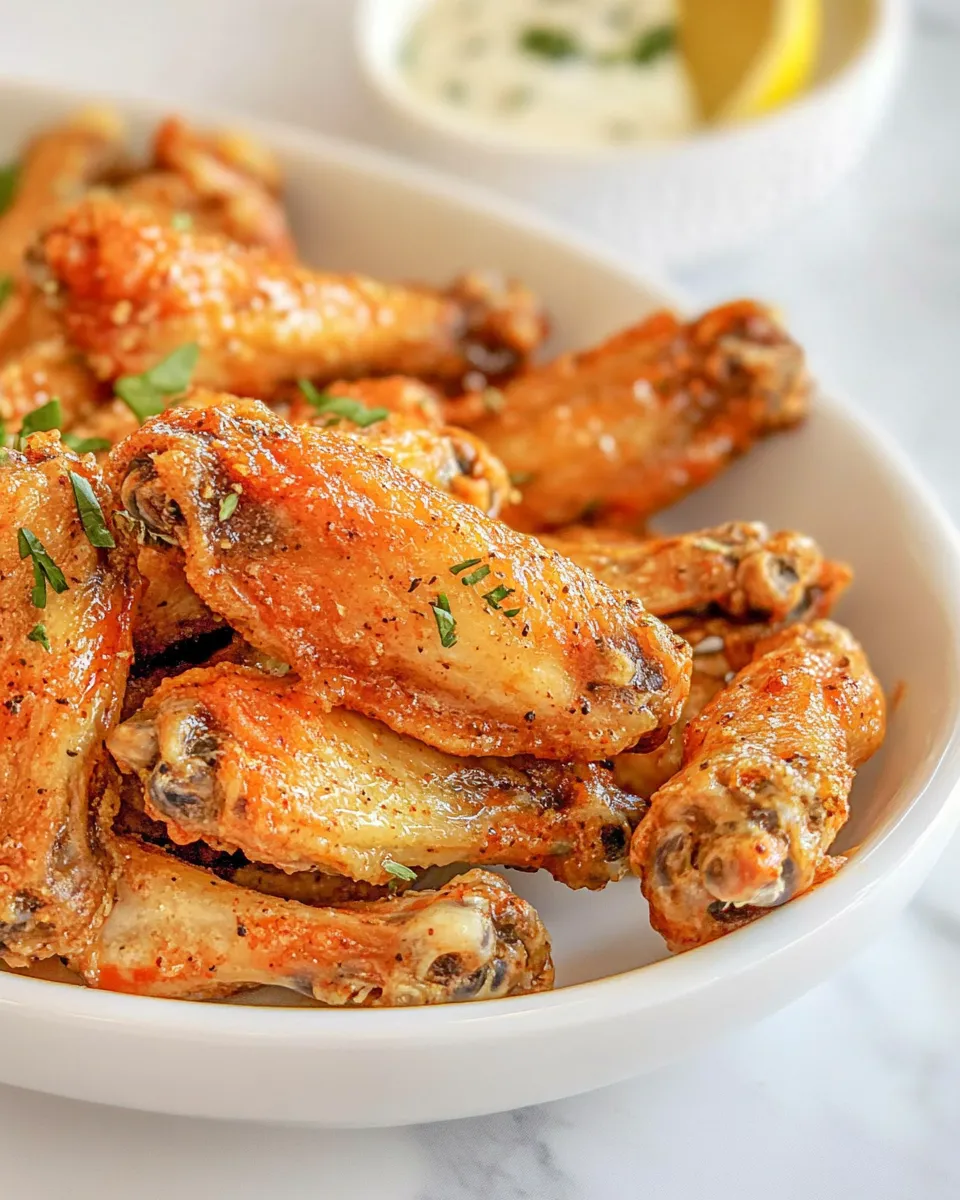
I adore the bright, peppery snap that lemon pepper wings bring to a game-day spread or a casual weeknight dinner. These wings balance the richness of melted butter with the citrusy, slightly floral backbone of lemon pepper seasoning. They’re straightforward to make, and the payoff is juicy, crisp wings coated in that unmistakable tang.
This recipe follows the classic frying method so you get crisp skin every time. It’s forgiving: a few simple steps—drying the wings, maintaining oil temperature, and tossing in a butter-seasoning mix—deliver the signature texture and flavor that keeps people reaching for more.
Below you’ll find a clear ingredient list, step-by-step directions based strictly on the original method, and practical tips for variations, tools, and troubleshooting. If you want reliably crisp, bright, buttery wings without fuss, this is a keeper.
Ingredient Breakdown
- 2 1/2 pounds chicken wings — split at the joints into drumettes and flats; drying them first improves browning and crispness.
- vegetable oil for frying — neutral oil with a high smoke point; use enough to reach 4 inches in your pot or fryer for even frying.
- 1/3 cup butter, melted — melts into a glossy coating that carries the lemon pepper seasoning and adds richness.
- 1 teaspoon lemon pepper seasoning — the primary seasoning; toss with the melted butter to evenly flavor the wings.
Directions: Wingstop Lemon Pepper Wings
- Separate the wings at each joint into drumettes and flats; discard the wing tips or save them for stock. Pat the wings dry with paper towels.
- Add vegetable oil to a large, heavy-bottomed pot until the oil reaches a depth of 4 inches, or prepare a deep fryer to the same depth. Leave ample space so the oil won’t overflow when wings are added.
- Heat the oil to 350°F (use a deep-fry or candy thermometer to monitor the temperature). Maintain the oil at 350°F while frying.
- Fry the wings in batches (about 5–6 wings per batch, depending on pot size) for 8 to 10 minutes. Stir or turn the wings once during frying so they cook evenly. Fry until they are just beginning to brown and cooked through.
- Using a slotted spoon or tongs, transfer fried wings to a wire rack set over a cookie sheet to drain while you finish the remaining batches.
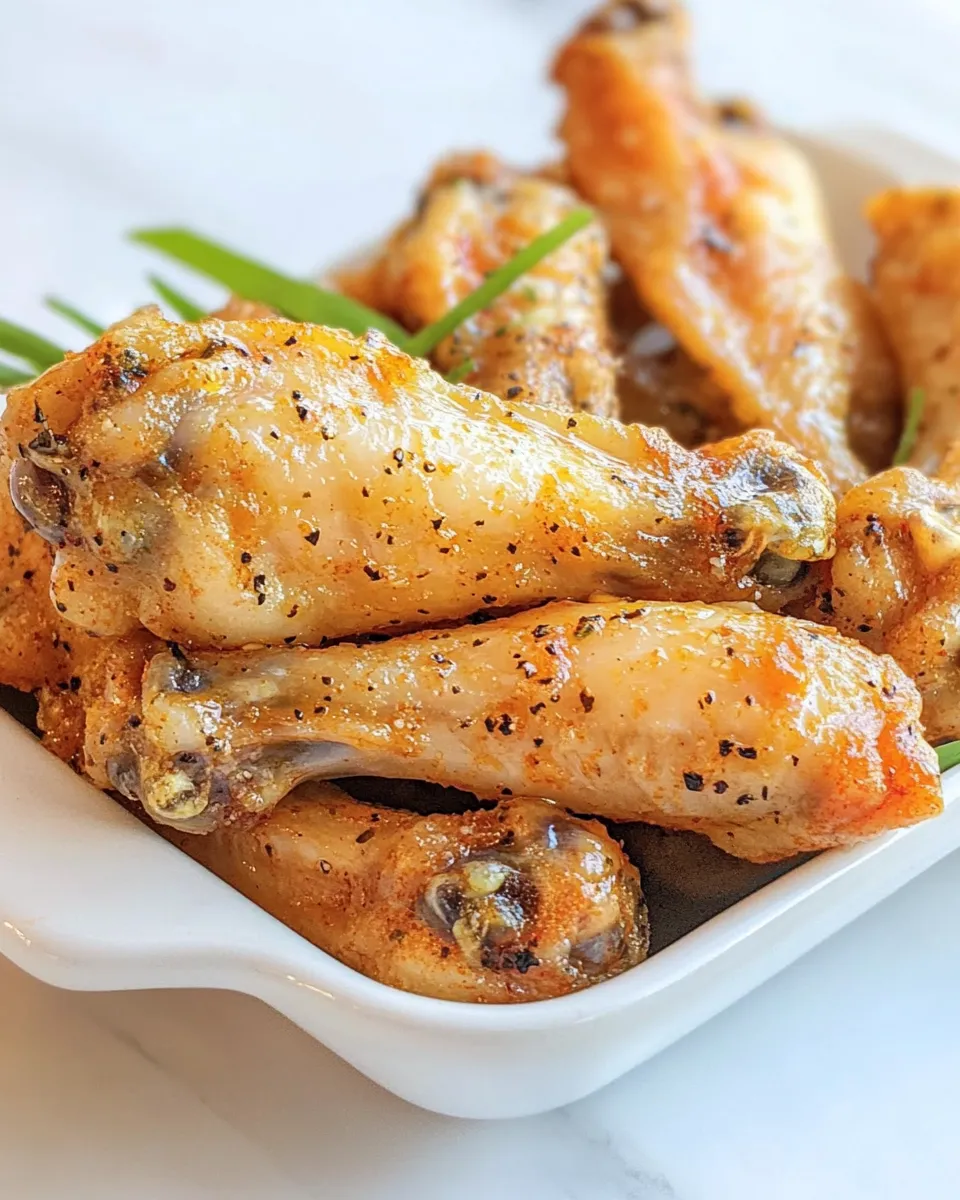
- In a large bowl, combine 1/3 cup butter, melted, with 1 teaspoon lemon pepper seasoning and stir to mix.
- Add the drained wings to the bowl with the butter mixture and toss until all wings are evenly coated. Serve immediately.
Why This Recipe is a Keeper
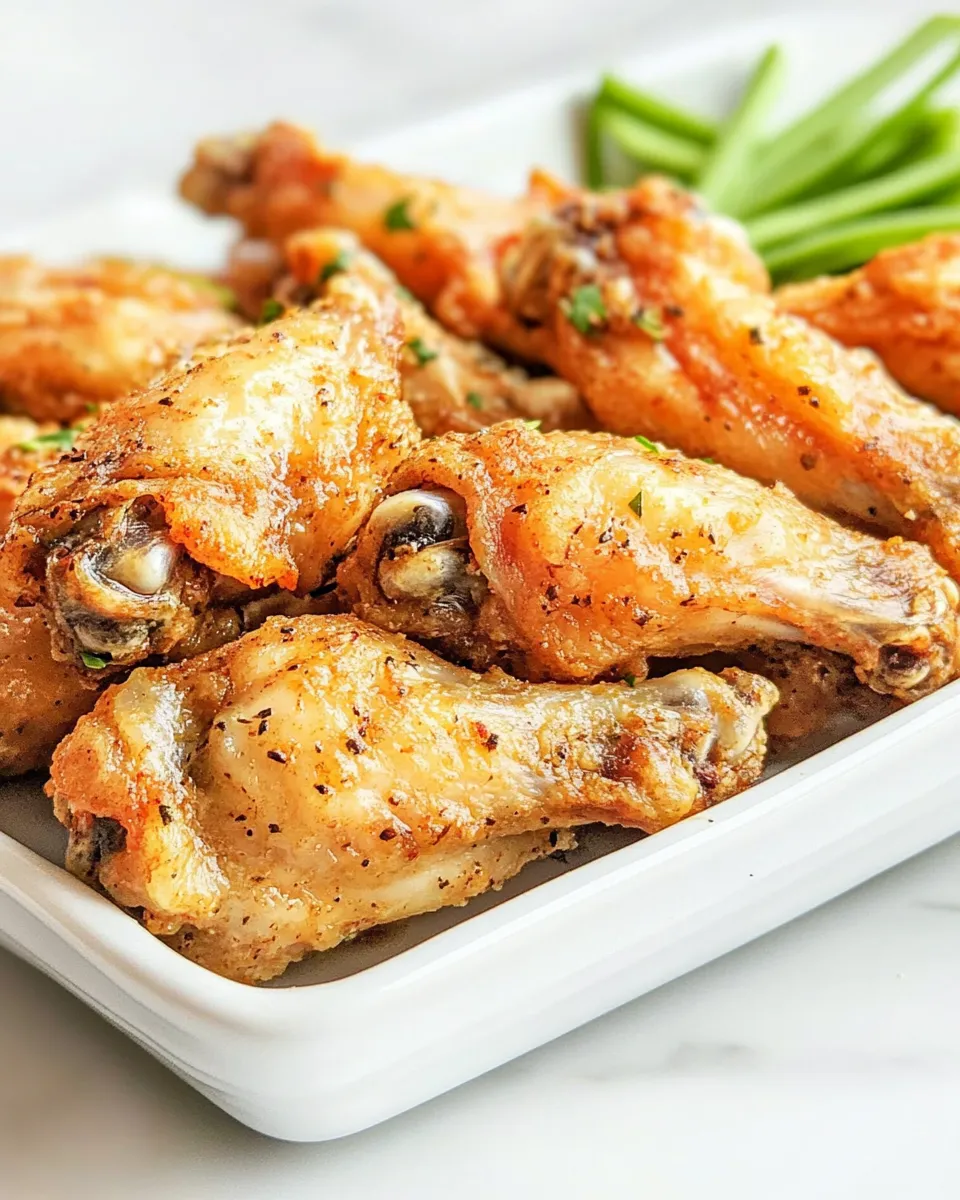
There’s a reason lemon pepper wings are so beloved: they deliver bright flavor without overcomplicating the process. The butter softens and distributes the seasoning evenly so each wing has that classic tang without being dry. Frying at a steady 350°F crisps the skin and seals in juices, so you get a contrast of textures—crispy exterior, tender interior—that’s irresistible.
This method is quick to scale up for a crowd, straightforward enough for weeknight cooking, and forgiving if your timing isn’t perfect. The flavors are familiar and crowd-pleasing, and the technique teaches fundamentals—temperature control, batch frying, and finishing—that you can use for other wing flavors and small fried proteins.
Quick Replacement Ideas
- Bake or air-fry instead of deep-frying if you want less oil: roast at high heat or use an air fryer for a similar crispness with less oil.
- Use drumettes only if you prefer more meat per piece; cooking time will be similar but monitor for doneness.
- Swap melted butter for ghee or clarified butter for a higher smoke point and a nuttier finish if you’re concerned about butter burning.
- If you don’t have lemon pepper seasoning, toss with extra black pepper and a light sprinkle of lemon zest right before serving for a fresher citrus hit.
Essential Tools for Success
- Heavy-bottomed pot or deep fryer — maintains stable oil temperature and prevents hot spots.
- Deep-fry or candy thermometer — essential for hitting and holding 350°F so wings cook evenly and safely.
- Slotted spoon or tongs — for safe, controlled transfers between oil, rack, and bowl.
- Wire rack set over a cookie sheet — lets excess oil drain away so the wings stay crisp instead of sitting in oil.
- Large mixing bowl — roomy enough to toss wings in the butter-and-seasoning mixture without spilling.
Errors to Dodge
Not drying the wings before frying: Moisture is the enemy of crispness. Pat them thoroughly with paper towels; even slightly damp skin will steam and prevent a good crust.
Overcrowding the fryer or pot: Adding too many wings at once drops the oil temperature and causes uneven cooking and soggy skin. Fry in small batches and wait for the oil to return to 350°F between batches.
Skipping the thermometer: Relying on guesses for oil temperature leads to underdone or burned wings. Use a thermometer and stabilize the temperature before adding wings.
Applying the butter mixture too early: If the wings are excessively oily or wet when tossed with butter, the coating won’t adhere properly. Drain on a wire rack long enough for excess oil to drip off, then toss.
Seasonal Spins
Spring/Summer: Brighten the finish by squeezing fresh lemon over the tossed wings just before serving or adding a scattering of chopped fresh herbs for lift.
Fall/Winter: Add a warm touch by stirring a tiny pinch of smoked paprika or cayenne into the melted butter for an autumnal or cozy spicy edge that pairs well with richer sides.
Game-Day Variations: Offer a trio of finishes—classic lemon pepper, spicy lemon pepper (add chili flakes to the butter), and garlic-lemon pepper (mix in finely minced garlic or garlic powder)—so guests can pick their favorite.
Pro Tips & Notes
Dry thoroughly and give them space: After patting wings dry, let them rest uncovered on a wire rack in the fridge for 30 minutes if you have time. This extra drying step tightens the skin and improves crispness.
Maintain oil temp between batches: The first batch often takes slightly longer while the oil settles. Watch the thermometer and adjust the heat to keep it steady at 350°F; this consistency ensures even color and doneness across batches.
Toss gently but thoroughly: Use a large bowl and a gentle toss to coat each wing fully. Overmixing can bruise the crust; under-mixing leaves uneven seasoning.
Serve immediately for peak texture: The butter coating is deliciously glossy right away. As the wings sit, they’ll soften slightly, so plan to serve them as soon as they’re tossed.
Keep-It-Fresh Plan
Refrigeration: Store cooled, uncovered or loosely covered wings in an airtight container in the refrigerator for up to 3–4 days. Put a paper towel in the container to absorb excess moisture and help preserve crispness.
Freezing: Freeze cooked, cooled wings on a sheet tray until solid, then transfer to a freezer-safe bag for up to 2–3 months. Thaw overnight in the refrigerator before reheating.
Reheating: Re-crisp in a 400°F oven on a wire rack set over a sheet pan for 8–12 minutes, or use an air fryer at 375°F for 5–8 minutes. Avoid microwaving unless you’re okay with softer skin—microwaving will speed up reheating but sacrifice texture.
Handy Q&A
Q: Can I make these in an air fryer?
A: Yes. Air fry at 380–400°F, shake halfway through, and watch closely for crispness. Times vary by model; expect roughly 20–25 minutes depending on size and quantity.
Q: What if I only have frozen wings?
A: Thaw completely in the refrigerator before patting dry and frying. Frying from frozen increases splatter and leads to uneven cooking.
Q: Can I prepare the butter-lemon pepper coating ahead?
A: You can melt butter and mix it with the lemon pepper seasoning ahead of time, but keep it at room temperature to avoid solidifying. Toss wings just before serving for best texture.
Q: My wings are greasy after frying—what went wrong?
A: Likely the oil temperature dropped too low due to overcrowding, or wings weren’t drained long enough on a wire rack. Give wings room to fry and let excess oil drip off before coating.
See You at the Table
These Wingstop Lemon Pepper Wings are simple, satisfying, and built around a few reliable techniques: dry the skin, keep oil at 350°F, drain on a rack, and finish with a butter-seasoning toss. Follow those steps and you’ll have wings that are crisp, flavorful, and hard to put down.
Make a batch for game night or a casual dinner, and tweak the finish to suit your crowd—more pepper, a hint of heat, or an extra squeeze of citrus. Either way, these wings are meant to be eaten hot, shared, and enjoyed. See you at the table.

Wingstop Lemon Pepper Wings
Ingredients
Ingredients
- 2 1/2 poundschicken wings
- vegetable oil for frying
- 1/3 cupbuttermelted
- 1 teaspoonlemon pepper seasoning
Instructions
Instructions
- Separate the wings at each joint into drumettes and flats; discard the wing tips or save them for stock. Pat the wings dry with paper towels.
- Add vegetable oil to a large, heavy-bottomed pot until the oil reaches a depth of 4 inches, or prepare a deep fryer to the same depth. Leave ample space so the oil won’t overflow when wings are added.
- Heat the oil to 350°F (use a deep-fry or candy thermometer to monitor the temperature). Maintain the oil at 350°F while frying.
- Fry the wings in batches (about 5–6 wings per batch, depending on pot size) for 8 to 10 minutes. Stir or turn the wings once during frying so they cook evenly. Fry until they are just beginning to brown and cooked through.
- Using a slotted spoon or tongs, transfer fried wings to a wire rack set over a cookie sheet to drain while you finish the remaining batches.
- In a large bowl, combine 1/3 cup butter, melted, with 1 teaspoon lemon pepper seasoning and stir to mix.
- Add the drained wings to the bowl with the butter mixture and toss until all wings are evenly coated. Serve immediately.
Equipment
- large heavy-bottomed pot or deep fryer
- deep-fry or candy thermometer
- Slotted spoon or tongs
- Wire Rack
- Cookie Sheet
- Large Bowl
Notes
Pat wings completely dry
Don’t overcrowd the fryer
Maintain oil temperature
Locate the two joints
Use sharp knife or kitchen shears
Cut through skin first
Save wing tips for stock