
I make these peanut butter balls on a regular rotation — for holiday platters, last-minute guests, and the times when I need a small, completely reliable treat. They come together quickly, keep well, and hit that perfect balance of creamy peanut butter, a touch of crunch from cereal, and smooth chocolate coating. No complicated steps, no tempering chocolate, just straightforward technique that anyone can follow.
My approach is practical: measure, melt, mix, scoop, chill, dip, and set. I’ll walk you through the exact steps you need, point out where things can go wrong, and offer small adjustments so the texture and finish match what you prefer. Expect tips for storage, equipment notes that actually matter, and quick fixes for common problems.
Gather These Ingredients
Ingredients
- 1/4 cup salted butter — adds richness and helps the mixture bind and set smoothly.
- 1 cup creamy peanut butter — the main flavor and fat that makes the centers tender; creamy keeps the texture uniform.
- 1 1/2 cups powdered sugar — sweetens and firms the centers when combined with the peanut butter and butter.
- 1 1/2 cups Rice Krispies cereal — gives a light, pleasant crunch without overwhelming the bite.
- 1 cup melting chocolate or chocolate chips — coats the balls for a glossy shell and chocolate contrast.
- 1 teaspoon vegetable oil — thins the melted chocolate slightly for smoother dipping and a shinier finish.
Peanut Butter Balls: How It’s Done
- Line a baking sheet with parchment or wax paper and set aside.
- In a large microwave-safe bowl combine 1/4 cup salted butter and 1 cup creamy peanut butter. Microwave in 30-second intervals, stirring between each interval, until completely melted and smooth (about 1 1/2 minutes total).
- Add 1 1/2 cups powdered sugar and 1 1/2 cups Rice Krispies cereal to the melted mixture. Stir gently but thoroughly until evenly combined.
- Using a 2-teaspoon cookie scoop, portion the mixture into 24 even scoops. Roll each scoop between your palms to form smooth balls and place them on the prepared baking sheet. Freeze the baking sheet for 10 minutes to firm the balls.
- While the balls are freezing, place 1 cup melting chocolate (or chocolate chips) and 1 teaspoon vegetable oil in a small microwave-safe bowl. Microwave in 30-second intervals, stirring between each, until the chocolate is completely melted and smooth.
- Remove the peanut butter balls from the freezer. One at a time, drop a ball into the melted chocolate, use a fork to roll and coat it evenly, lift the ball with the fork, and gently tap the fork on the edge of the bowl to remove excess chocolate. Return the coated ball to the parchment-lined baking sheet.
- Repeat step 6 until all balls are coated.
- Chill the coated peanut butter balls until the chocolate is set (about 15–30 minutes in the refrigerator or 5–10 minutes in the freezer). Serve.
Reasons to Love Peanut Butter Balls
They’re fast. From melting to dipped, you can finish a batch in under an hour if you keep your station organized. That makes these ideal for last-minute trays or a quick homemade gift.
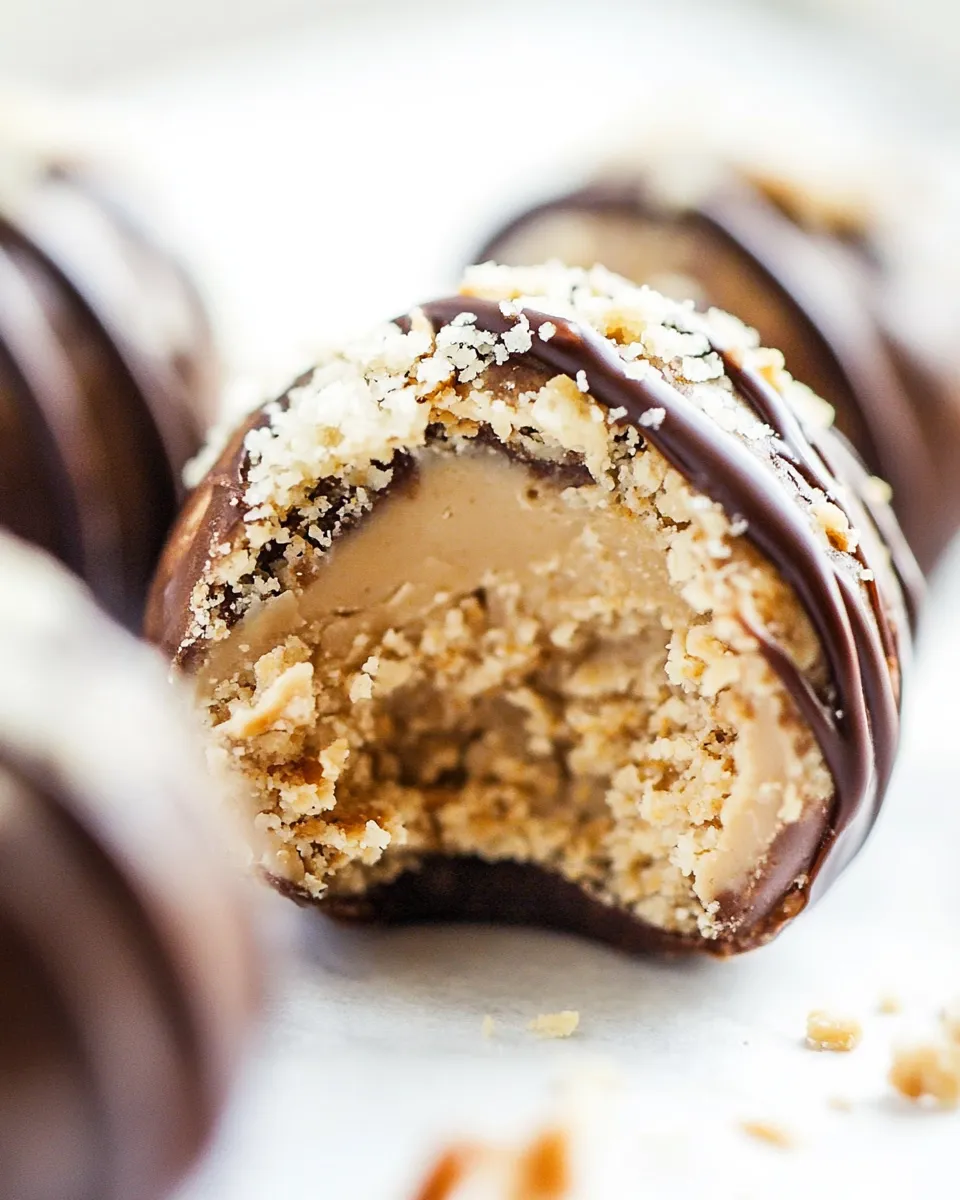
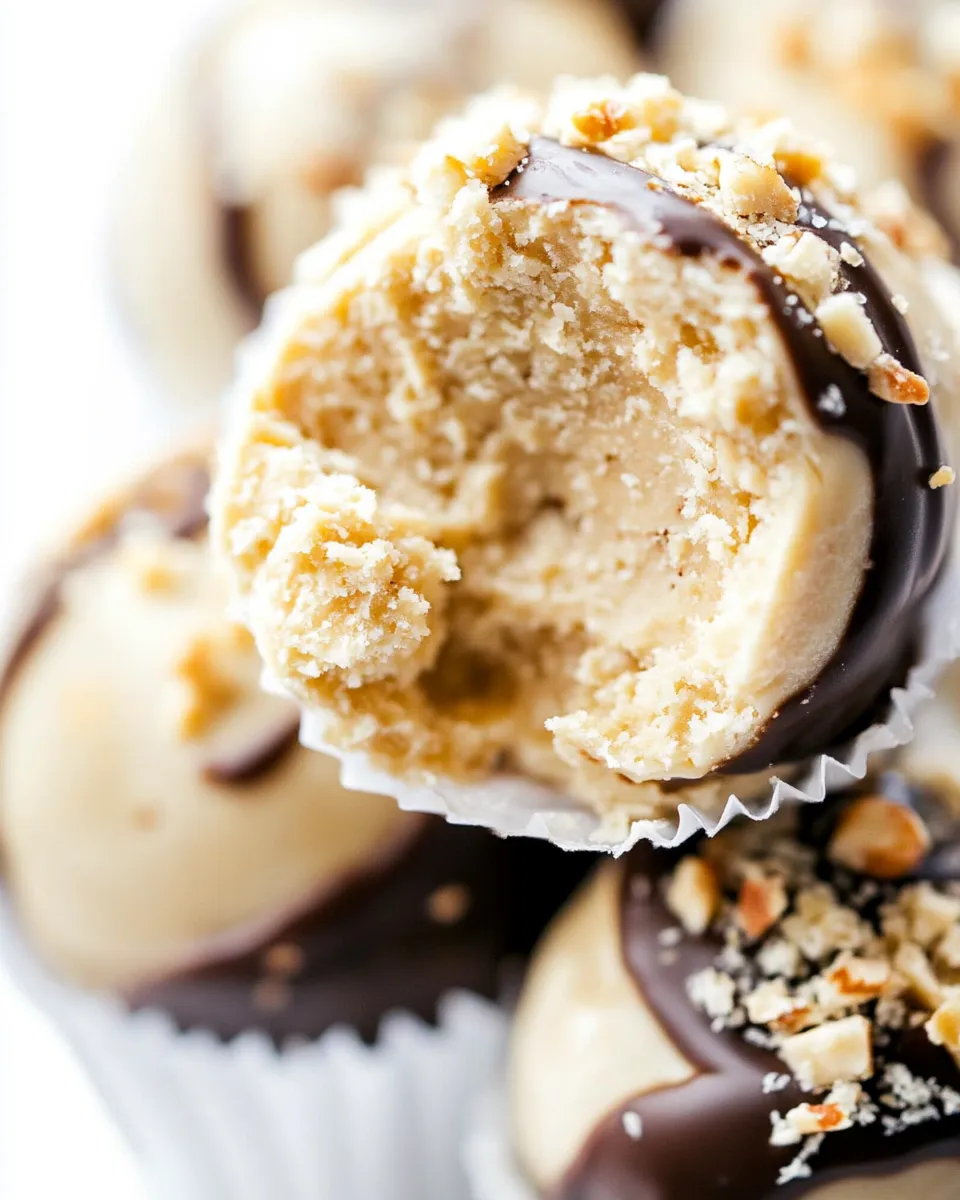
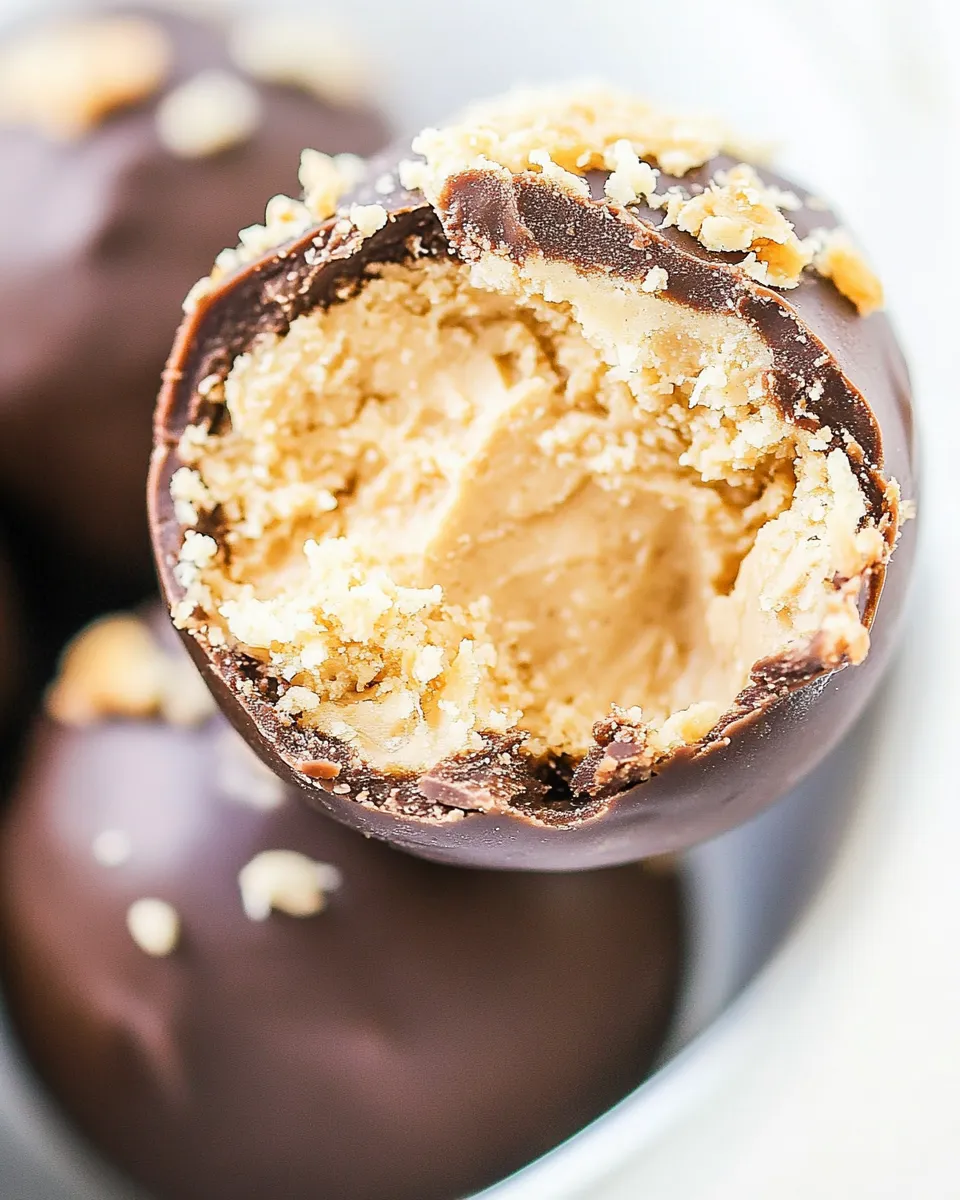
The texture contrast is satisfying. A tender, slightly dense peanut butter core with a thin, crisp chocolate shell gives you bite-by-bite variety without complexity. The Rice Krispies keep the centers light rather than gummy.
They travel well and store well. Once chilled, the chocolate shell protects the centers and lets you stack them for gifting. They also freeze nicely, so you can make a big batch ahead of time.
Texture-Safe Substitutions
If you want to tweak the mouthfeel without compromising the structural balance, here are options that focus on texture rather than changing the core flavor profile:
- For a firmer center: increase the ratio of powdered sugar slightly (add a bit at a time) until you reach desired density. Work in small amounts so centers don’t become dry.
- For more crunch inside: fold in a little extra Rice Krispies, rather than replacing them entirely. That retains the lightness while boosting crunch.
- If you prefer a softer, creamier chew: make sure the peanut butter and butter are fully melted and well combined, and resist packing the balls too tightly when rolling.
- To make dipping easier without thinning the chocolate too much: keep the balls well chilled and use the vegetable oil sparingly to adjust chocolate fluidity.
Equipment & Tools
You don’t need specialized gear, just a few basics done well:
- Microwave-safe bowls — one large for mixing, one small for melting chocolate.
- Baking sheet and parchment or wax paper — for assembly and final setting.
- 2-teaspoon cookie scoop — ensures consistent portion sizes for uniform coating and chilling times.
- Fork or dipping tool — for rolling and lifting each ball out of the chocolate.
- Refrigerator and/or freezer — quick chilling makes dipping easier and speeds setting.
Pitfalls & How to Prevent Them
Soft or falling-apart centers: If the mixture feels too loose when you try to scoop it, refrigerate or briefly freeze the mixing bowl for 10–15 minutes; colder mixture firms up and scoops cleanly. You can also add a tiny bit more powdered sugar, but add sparingly.
Chocolate that’s too thick for dipping: Heat the chocolate gently and add the vegetable oil by the teaspoon if it needs thinning. Avoid overheating—stir between 30-second intervals to keep it smooth.
Uneven coating or lumpy shell: Make sure each ball is nicely shaped and chilled before dipping. Tap the fork firmly (but gently) on the rim to remove excess chocolate; too much excess will pool and create a bumpy finish.
Blooming (dull or streaky chocolate): This is usually due to temperature shifts. Let coated pieces set in the refrigerator briefly and then move to an airtight container at cool room temperature for storage. Rapid temperature changes encourage bloom.
Fit It to Your Goals
Need a gift? Make them slightly smaller for bite-size treats, arrange in paper liners, and stack in a box with parchment layers. A ribbon and a handwritten tag make them feel special with almost no extra work.
Making ahead for an event: Freeze uncoated centers on the baking sheet, then transfer to an airtight container. When you’re ready, dip from frozen—chocolate will set quickly and you’ll get a clean shell. Or dip them now, set the shells, then freeze the finished candies for long-term storage.
Watching the sugar: These are a sweet treat by design. To reduce sweetness perception without changing quantities, serve chilled — cold temps slightly mute sweetness and highlight texture.
Behind the Recipe
This version is a classic riff on the peanut-butter-and-chocolate combo many households end up perfecting through trial and error. The Rice Krispies addition is practical: it lightens the center, keeps the mouthfeel interesting, and stretches the batch to a satisfying number of pieces without diluting flavor.
The method borrows from candy-making basics—melt, bind, shape, chill, and coat—so even if you’re not used to making confections, the sequence is forgiving. The microwave takes care of melting without a double boiler, and chilling steps make the coating predictable and tidy.
Meal Prep & Storage Notes
Short-term: Store finished, chilled peanut butter balls in a single layer or with parchment between layers in an airtight container in the refrigerator for up to 2 weeks.
Long-term: Freeze in a tightly sealed container for up to 3 months. Thaw in the refrigerator for several hours before serving to avoid condensation forming on the chocolate shell.
Transport: Keep chilled until serving. If you need to transport them a long distance, include a small ice pack wrapped in a towel under the container. Avoid stacking heavy items on top of the treats to prevent crushing.
Ask the Chef
Q: Can I make these without a microwave?
A: Yes. Melt the butter and peanut butter together in a small saucepan over low heat, stirring constantly until smooth. For the chocolate, use a double boiler or a heatproof bowl set over simmering water, stirring until melted and glossy. Keep heat gentle to avoid seizing.
Q: How can I get perfectly round balls?
A: Use a small cookie scoop for consistent portions. Roll quickly between slightly damp or powdered-sugar-dusted palms to smooth the surface; chilling helps them hold shape during dipping.
Q: What if the chocolate seizes while melting?
A: If the chocolate becomes grainy, stop heating and stir in a tiny amount of warm oil (start with 1/4 teaspoon). If that doesn’t help, cool it and try again in a clean bowl—sometimes a little moisture causes seizing.
Next Steps
Make a test batch. Use the provided scoop and timing, and treat the first few pieces as your calibration set: note the chilling time that works for your freezer or fridge, watch how much chocolate you end up needing, and adjust the scoop size if you want larger or smaller pieces next time.
Once you have a method that fits your kitchen and taste, scale the recipe, double it, or freeze extras. They make thoughtful, homemade gifts that travel well and keep the recipient’s expectations pleasantly simple: familiar flavors, tidy presentation, and reliable results.

Best Recipe for Peanut Butter Balls
Ingredients
Ingredients
- 1/4 cupsalted butter
- 1 cupcreamy peanut butter
- 1 1/2 cupspowdered sugar
- 1 1/2 cupsrice krispies cereal
- 1 cupmelting chocolateor chocolate chips
- 1 teaspoonvegetable oil
Instructions
Instructions
- Line a baking sheet with parchment or wax paper and set aside.
- In a large microwave-safe bowl combine 1/4 cup salted butter and 1 cup creamy peanut butter. Microwave in 30-second intervals, stirring between each interval, until completely melted and smooth (about 1 1/2 minutes total).
- Add 1 1/2 cups powdered sugar and 1 1/2 cups Rice Krispies cereal to the melted mixture. Stir gently but thoroughly until evenly combined.
- Using a 2-teaspoon cookie scoop, portion the mixture into 24 even scoops. Roll each scoop between your palms to form smooth balls and place them on the prepared baking sheet. Freeze the baking sheet for 10 minutes to firm the balls.
- While the balls are freezing, place 1 cup melting chocolate (or chocolate chips) and 1 teaspoon vegetable oil in a small microwave-safe bowl. Microwave in 30-second intervals, stirring between each, until the chocolate is completely melted and smooth.
- Remove the peanut butter balls from the freezer. One at a time, drop a ball into the melted chocolate, use a fork to roll and coat it evenly, lift the ball with the fork, and gently tap the fork on the edge of the bowl to remove excess chocolate. Return the coated ball to the parchment-lined baking sheet.
- Repeat step 6 until all balls are coated.
- Chill the coated peanut butter balls until the chocolate is set (about 15–30 minutes in the refrigerator or 5–10 minutes in the freezer). Serve.
Equipment
- fondue utensils
Notes
5. While the balls are freezing, place 1 cup melting chocolate (or chocolate chips) and 1 teaspoon vegetable oil in a small microwave-safe bowl. Microwave in 30-second intervals, stirring between each, until the chocolate is completely melted and smooth.


