
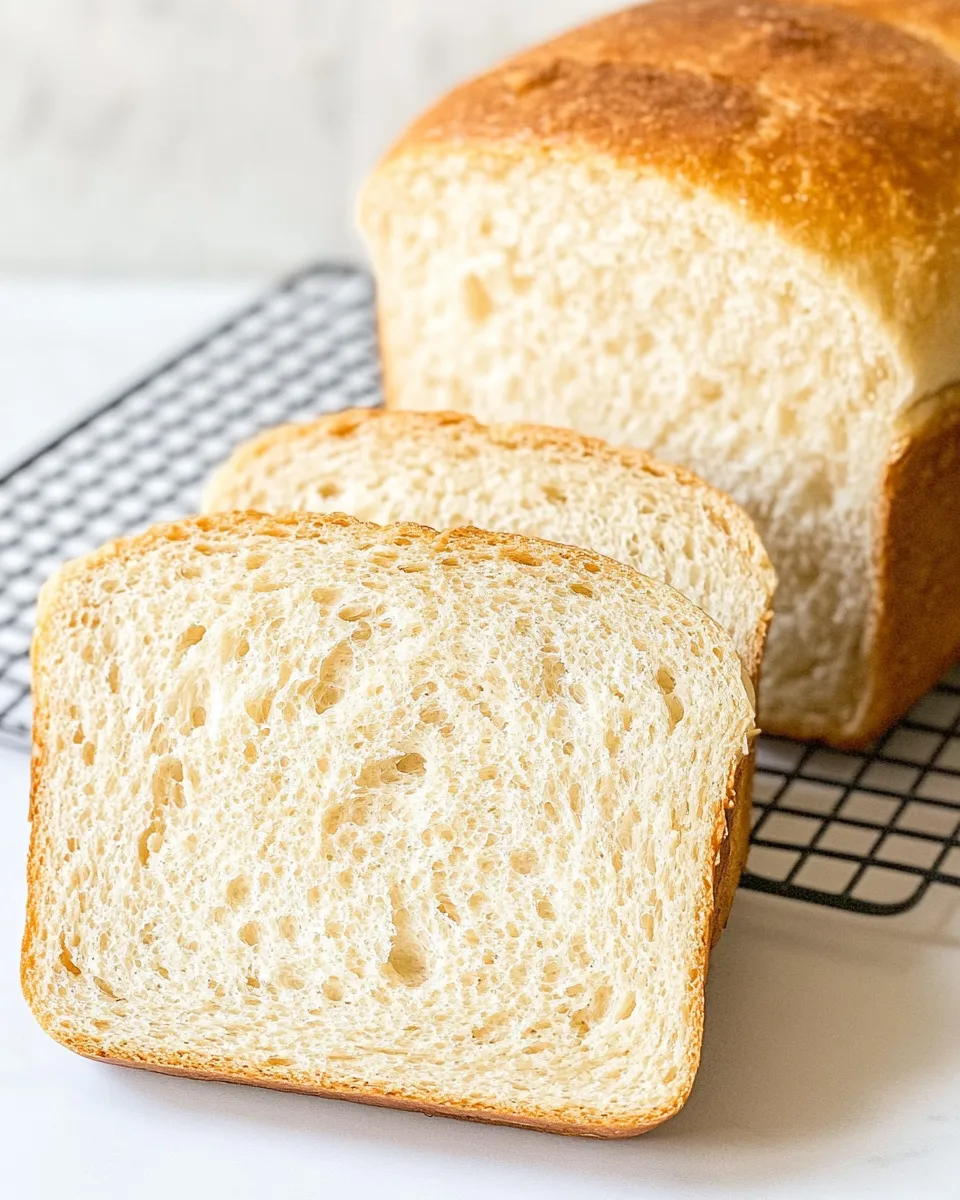
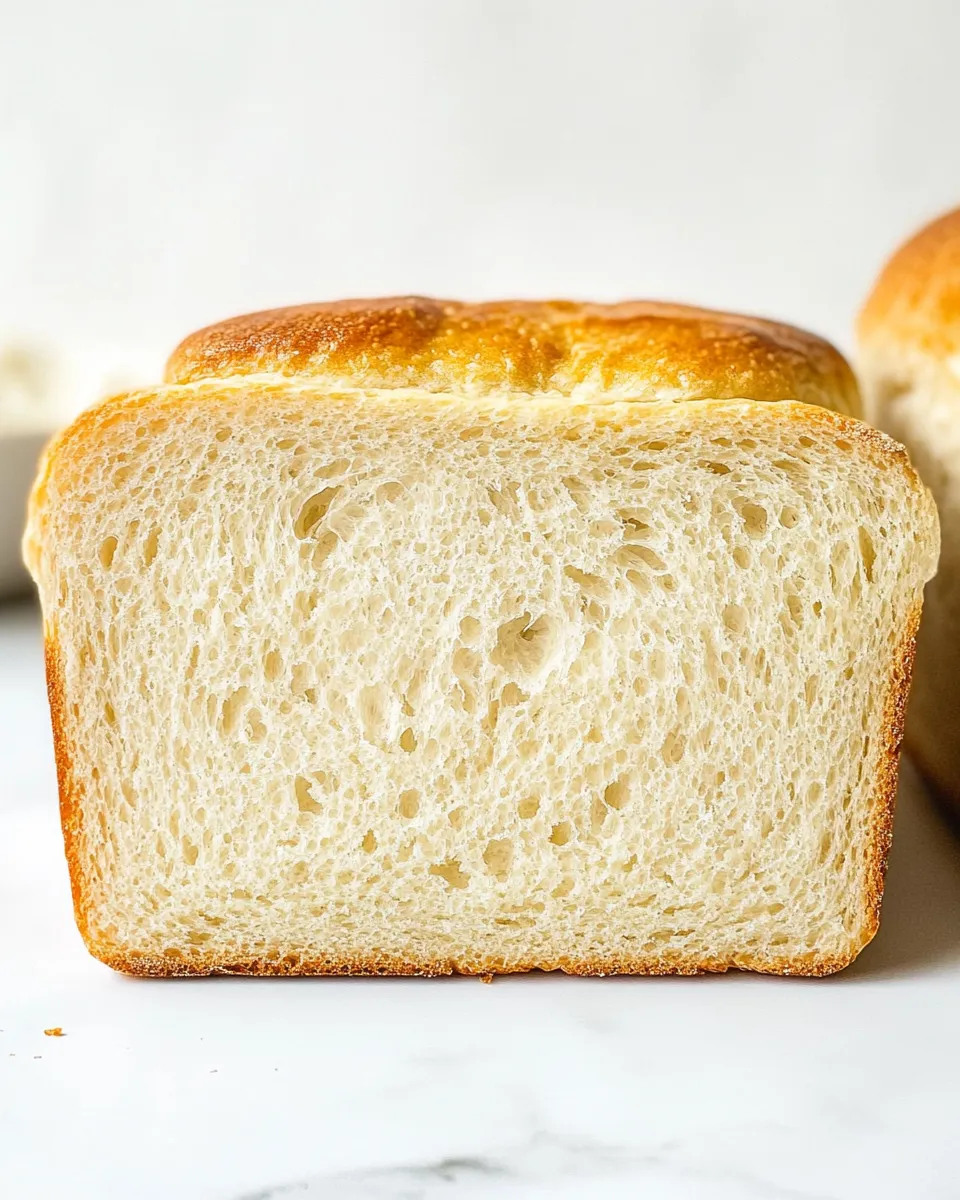
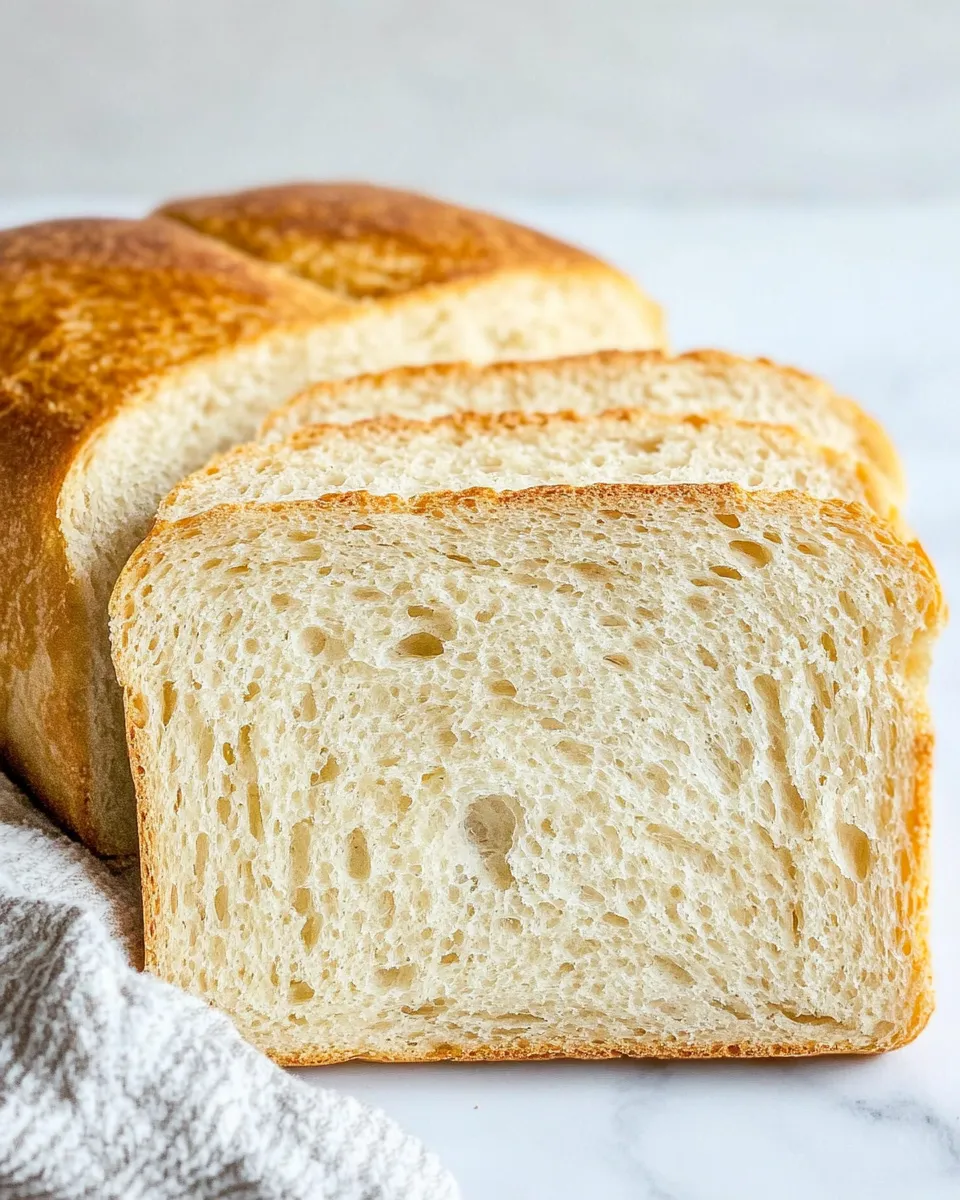
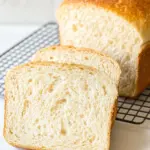
There’s something quietly satisfying about a loaf of white bread that comes out of the oven warm, with a thin crackle to the crust and a soft, springy crumb inside. This recipe is exactly that: straightforward, forgiving, and perfect when you want a classic sandwich loaf without drama. I use it on busy mornings and for last-minute dinner plans because it reliably behaves and tastes like what you remember from home.
If you’ve baked before, you’ll appreciate that the method leans on RapidRise yeast and a stand mixer to speed things along. If you’re newer to bread, the steps are explicit enough to follow and the dough is forgiving — it won’t punish you for a little overflouring or a slightly cool kitchen. Read through once, gather the few tools you need, and you’ll have two loaves within a couple of hours.
My approach is practical: highlight where things go wrong, show simple swaps, and explain the why behind a few choices so you can tweak this recipe to your pantry and taste. Let’s get to it.
Ingredient Checklist
Ingredients
- 5 ½ to 6cups(744g) all-purpose flour — Provides structure; add the extra flour gradually until the dough pulls away from the bowl.
- 3tablespoons(37g) granulated sugar — Feeds the yeast and adds a subtle sweetness and crust color.
- 2packets(14g) Fleischmann’s® RapidRise® Yeast(4 ½ teaspoons) — Quick-acting yeast that shortens rise time; make sure it’s fresh for best results.
- 2teaspoonssalt — Balances flavor and controls yeast activity; measure carefully.
- 1 ½cups(355ml) water — Warm liquid activates the yeast; aim for 120° to 130°F for the step described.
- ½cup(118ml) milk — Enriches the dough for a tender crumb and softer crust.
- 2tablespoons(28g) butter — Adds flavor and improves softness; it doesn’t have to be fully melted for the warm liquid step.
Mastering White Bread: How-To
- In the bowl of a stand mixer, combine 2 cups of the all-purpose flour, the sugar, the yeast and the salt; stir to blend.
- In a microwave-safe bowl, combine the water, milk and butter. Microwave on HIGH in 15-second increments until the mixture is very warm but not hot to the touch (120° to 130°F). Butter may not melt completely. An instant-read thermometer is helpful.
- Add the warm liquid to the flour mixture.
- Beat 2 minutes at medium speed, scraping the bowl occasionally.
- Add 1 cup flour and beat 2 minutes at high speed, scraping the bowl occasionally.
- Add just enough of the remaining flour (from the total 5 ½ to 6 cups) a little at a time, stirring until the dough pulls away from the bowl and forms a soft ball.
- Turn the dough onto a lightly floured surface and knead until smooth and elastic and it springs back when lightly pressed with two fingers, about 6 to 8 minutes.
- Cover the dough with a towel and let rest for 10 minutes.
- Cut the dough into 2 equal pieces. Roll each piece into a 12 x 7-inch rectangle.
- Beginning at the short end of each rectangle, roll up tightly. Pinch the seams and ends to seal.
- Spray two 8-1/2 x 4-1/2-inch loaf pans with nonstick cooking spray and place the loaves seam-side down in the pans. Cover with a towel and let rise in a warm place until doubled in size, about 45 minutes. During the last 10 minutes of rising, preheat the oven to 400°F.
- Bake in the preheated 400°F oven for 20 to 30 minutes, or until the loaves are golden brown.
- Remove from the pans by running a knife around the edges and invert the loaves onto a wire rack to cool.
What Sets This Recipe Apart
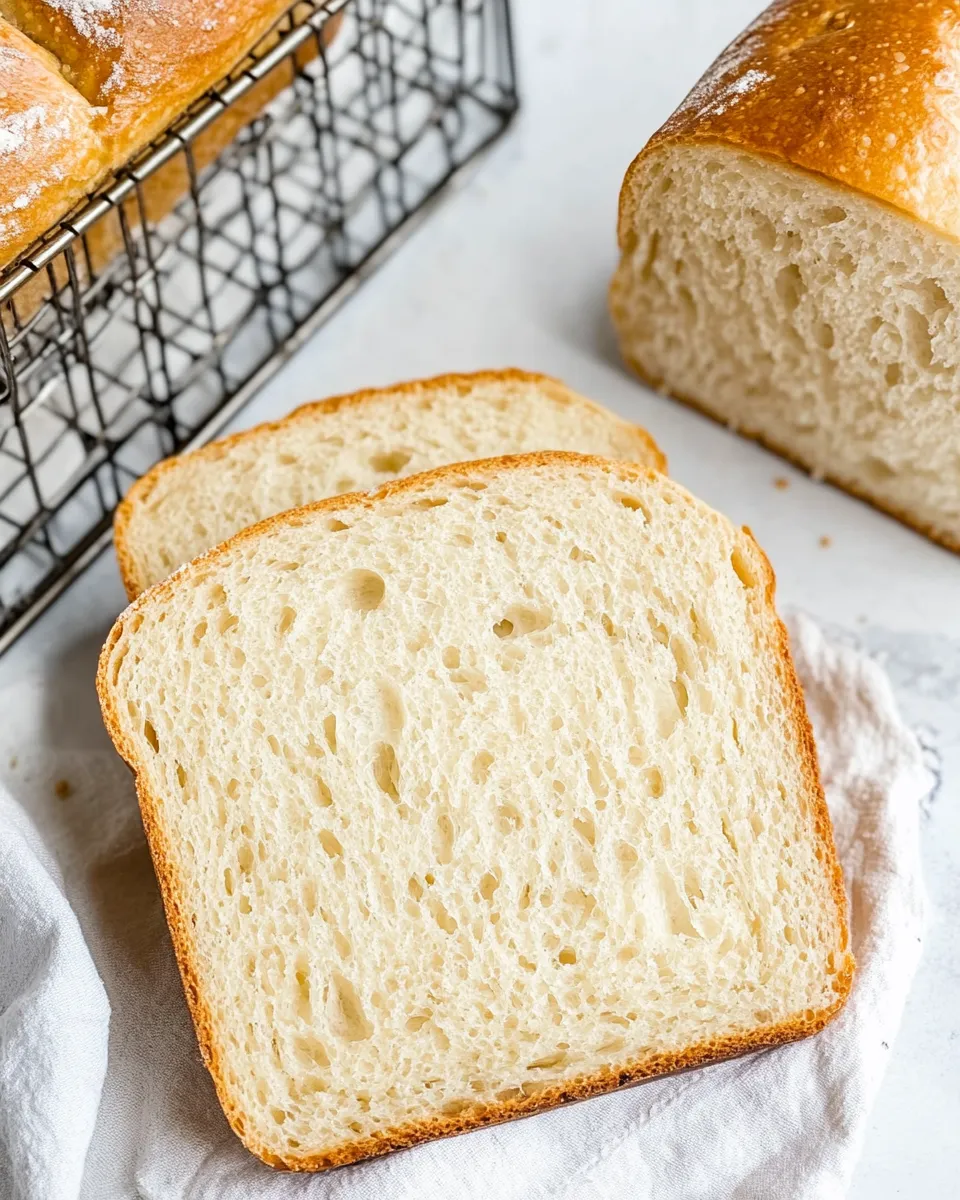
This is a straightforward, short-rise white loaf that leans on RapidRise yeast and a little mechanical help from a mixer. The two key decisions that define the result are the warm milk-and-water mix and the controlled addition of the remaining flour. Together they create a dough that’s easy to handle, stays soft, and gives you two even loaves with a consistently tender crumb.
Another point is convenience: the recipe uses a microwave to warm the liquid, which saves time and keeps the recipe approachable for busy cooks. The method doesn’t require overnight fermentation or multiple long rises, so you get fresh bread on the same day without compromise.
Swap Guide
Swaps can be helpful depending on what you have in the pantry or dietary needs. Below are pragmatic options and what they’ll change in the final loaf.
- Bread flour for all-purpose flour — If you want a slightly chewier, taller loaf, use bread flour. It increases gluten strength and structure.
- Non-dairy milk for dairy milk — Use unsweetened soy or oat milk for a similar richness; flavor will be mildly different but still pleasant.
- Margarine or oil for butter — You can use an equal amount of a neutral-tasting oil if you need to avoid dairy. Butter adds the best flavor.
- Active dry yeast for RapidRise — If you switch, you’ll need to proof it in warm liquid and allow additional rise time; the instructions here assume RapidRise.
Recommended Tools
- Stand mixer with a dough hook — Makes mixing and the initial kneading hands-off and consistent.
- Instant-read thermometer — Helpful to confirm the warm liquid is in the 120°–130°F range without being hot.
- 8-1/2 x 4-1/2-inch loaf pans (two) — The size matters for the shaping and baking time called for in the recipe.
- Microwave-safe bowl — For warming the liquid quickly and safely.
- Wire cooling rack — Allows the loaves to cool evenly after baking.
- Bench scraper (optional) — Handy for dividing and shaping dough cleanly.
Avoid These Traps
Keep a close eye on a few common missteps that turn a good attempt into frustration.
- Too-hot liquid — If the liquid is hotter than ~130°F, it can kill the yeast. Test by touch and use a thermometer if you’re unsure.
- Adding all the flour at once — The recipe calls for adding flour gradually. Dumping it in will make a dry, tough loaf.
- Under- or over-kneading — Knead until smooth and elastic; too little and the crumb is dense, too much and the bread can be tight. The dough should spring back when pressed.
- Rising in a cold spot — Yeast works best in a warm, draft-free place. If your kitchen is cool, a slightly warm oven (turned off) or near a warm appliance works better.
- Skipping the seal — Pinching seams and ends tight prevents the loaf from unrolling and keeps an even shape in the pan.
Fresh Seasonal Changes
White bread is an excellent blank canvas. Small, seasonal touches make it feel fresh without complicating the process.
- Spring — Thinly sliced scallions or finely chopped chives folded into the dough after the first rise add a gentle onion note (small amounts only).
- Summer — Fold in some finely diced sun-dried tomatoes (oil-packed, patted dry) for a savory loaf that pairs well with salads.
- Autumn — A sprinkle of toasted seeds on top before baking brings warmth and texture; brush the loaves with a little melted butter or milk to help seeds stick.
- Winter — Add a teaspoon of cinnamon or a pinch of nutmeg to the dough for an aromatic twist; keep additions modest so the bread remains versatile.
Flavor Logic
Understanding what each ingredient does helps you adapt the recipe confidently.
- Flour — The backbone. More gluten-forming protein means more chew and structure.
- Sugar — Feeds yeast, contributes to browning, and softens crumb.
- RapidRise yeast — Works quickly and reduces total proofing time versus traditional active dry yeast.
- Salt — Controls yeast and strengthens gluten networks while seasoning the loaf thoroughly.
- Milk and butter — Enrich the dough. Milk gives tenderness and a finer crumb; butter adds flavor and softness.
- Water temperature — Warm, not hot, liquids encourage a prompt yeast response without damage.
Meal Prep & Storage Notes
Make-ahead and storage are easy with this loaf. Cool the bread completely before storing to prevent condensation and sogginess.
- Short-term — Keep at room temperature up to 3 days, wrapped in plastic or a bread box. Slice as needed to keep it fresher longer.
- Freezing — Slice and flash-freeze on a tray, then transfer to a freezer bag for up to 3 months. Toast straight from frozen or thaw whole at room temperature.
- Reheating — Warm slices in a toaster or wrap the whole loaf in foil and heat in a 300°F oven for 10–15 minutes to refresh the crumb.
- Make-ahead — You can bake one loaf and freeze the second, or bake both and freeze them in portions. Label with the date.
White Bread Q&A
Answers to the questions I get most often.
- Q: Can I make this by hand without a mixer? A: Yes. Mix in a large bowl and knead by hand, adding flour gradually until the dough pulls away. You’ll spend a bit more elbow power—expect about 8–10 minutes of kneading.
- Q: My loaves are dense. What happened? A: Likely under-kneaded or the dough didn’t rise enough. Make sure the dough is smooth and springs back when pressed; allow the full rise time in a warm spot.
- Q: How do I know when the bread is done? A: The crust should be golden brown and the internal temperature about 190°F–200°F for enriched loaves. If you don’t have a thermometer, tap the bottom; it should sound hollow.
- Q: Can I reduce the sugar? A: A small reduction is fine—sugar is primarily for yeast activity and color. Too little can slow the rise and affect crust color.
- Q: What’s the best way to slice warm bread? A: Use a serrated knife and let the loaf cool enough to avoid gummy slices—about 30–60 minutes. If you need immediate slices, go gently and expect slightly squished pieces.
- Q: Can I double this recipe? A: Yes, adjust equipment accordingly. Make sure your mixer and bowls are large enough to handle the increased dough volume, or split into two batches.
Next Steps
Try this recipe as written once to get comfortable with the feel of the dough and the timing. After that, experiment with one small change at a time—try bread flour for a chewier crumb, or add a modest amount of seeds or herbs during shaping. Keep notes on what you change and the outcome so you can reproduce your favorites.
When you’ve got a loaf that sings for sandwiches, toast, or just buttered slices, you’ve done something simple and satisfying: you made bread. Share it, freeze half, and enjoy the small wins of a recipe that’s both reliable and easy to adapt.
Easy White Bread
Ingredients
Ingredients
- 5 1/2 to 6 cups 744 g all-purpose flour
- 3 tablespoons 37 g granulated sugar
- 2 packets 14 g Fleischmann's® RapidRise® Yeast(4 1/2 teaspoons)
- 2 teaspoonssalt
- 1 1/2 cups 355 ml water
- 1/2 cup 118 ml milk
- 2 tablespoons 28 g butter
Instructions
Instructions
- In the bowl of a stand mixer, combine 2 cups of the all-purpose flour, the sugar, the yeast and the salt; stir to blend.
- In a microwave-safe bowl, combine the water, milk and butter. Microwave on HIGH in 15-second increments until the mixture is very warm but not hot to the touch (120° to 130°F). Butter may not melt completely. An instant-read thermometer is helpful.
- Add the warm liquid to the flour mixture.
- Beat 2 minutes at medium speed, scraping the bowl occasionally.
- Add 1 cup flour and beat 2 minutes at high speed, scraping the bowl occasionally.
- Add just enough of the remaining flour (from the total 5 ½ to 6 cups) a little at a time, stirring until the dough pulls away from the bowl and forms a soft ball.
- Turn the dough onto a lightly floured surface and knead until smooth and elastic and it springs back when lightly pressed with two fingers, about 6 to 8 minutes.
- Cover the dough with a towel and let rest for 10 minutes.
- Cut the dough into 2 equal pieces. Roll each piece into a 12 x 7-inch rectangle.
- Beginning at the short end of each rectangle, roll up tightly. Pinch the seams and ends to seal.
- Spray two 8-1/2 x 4-1/2-inch loaf pans with nonstick cooking spray and place the loaves seam-side down in the pans. Cover with a towel and let rise in a warm place until doubled in size, about 45 minutes. During the last 10 minutes of rising, preheat the oven to 400°F.
- Bake in the preheated 400°F oven for 20 to 30 minutes, or until the loaves are golden brown.
- Remove from the pans by running a knife around the edges and invert the loaves onto a wire rack to cool.
Equipment
- Stand mixer
- Microwave
- Measuring Cups
- Measuring Spoons
- 8-1/2 x 4-1/2-inch loaf pans
- Wire Rack
Notes
You can use any fat milk or nondairy
You can use salted or unsalted butter
I have not tested this recipe with whole wheat flour.
I get lots of questions about 2 cups vs 6 cups flour. Be sure to read the recipe, not just the post: You start with 2 cups flour to stir with the yeast and wet ingredients and add up to 6 cups once you start mixing.
Don’t pack your flour – be sure to spoon and level it.
Homemade bread will not last on the counter as long as regular bread – it’ll stay fresh about 2-3 days at most. You canfreeze leftoversor the second loaf by allowing to cool completely and then wrapping in plastic wrap.
Youknow your white bread is done bakingwhen it’s 190°F in the center and light golden around the edges.
Use an instant read thermometer – you can find cheaper ones on Amazon but I love theThermapenthe most. This makes sure your liquid is the right temperature to activate and not kill the yeast.


