
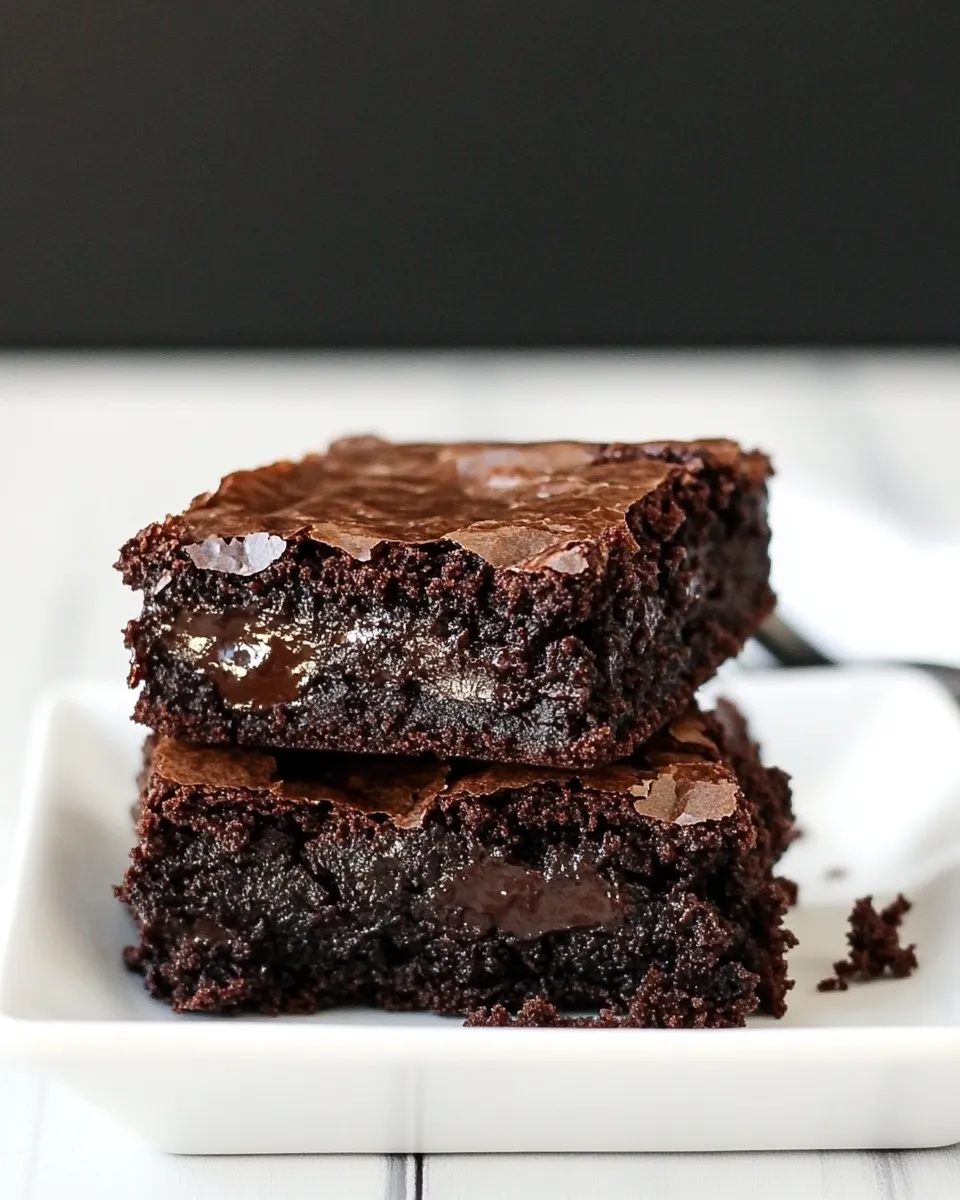
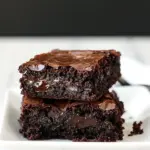
These brownies strike that comforting balance between deep chocolate flavor and a dense, almost molten center. They bake up with set edges and a very moist middle — the way I like them when I’m craving something rich but not cakey. The recipe is straightforward, and the technique focuses on temperature and gentle mixing to keep the texture dense and fudgy.
I test this tray frequently with a toothpick and a timer because a few minutes make all the difference. Read through the steps before you start so you know when to pull them from the oven: you want a few moist crumbs on the tester, not wet batter. Little habits like warming the sugar with the butter and using room-temperature eggs change the outcome more than you might expect.
If you love chocolate chips scattered through the batter, this version is for you. They add pockets of melty chocolate without making the crumb heavy. I’ll walk you through the exact ingredients and the simple process, list equipment I reach for every time, and cover swaps and common mistakes so your first pan (or your tenth) comes out exactly how you want.
Gather These Ingredients
- 1 cup unsalted butter — melts into the batter and gives brownies their rich, fudgy mouthfeel; use unsalted so you control the salt level.
- 2 1/4 cups granulated sugar — sweetens and helps create a glossy top when warmed with butter.
- 1 1/4 cups Dutch-process cocoa — provides deep chocolate flavor and a darker color; sift if lumpy for a smoother batter.
- 1 teaspoon baking powder — a small lift to keep these dense but not flat; measure precisely.
- 1 teaspoon salt — balances sweetness and enhances chocolate notes; use table salt or fine sea salt.
- 1 tablespoon vanilla extract — adds warmth and rounds the chocolate without overpowering it.
- 4 large eggs, at room temperature — room-temp eggs incorporate more smoothly and help set the structure; cold eggs can seize the butter.
- 1 1/2 cups all purpose flour — provides structure; avoid overmixing once added to keep them fudgy.
- 2 cups semi-sweet chocolate chips — pockets of melty chocolate that intensify each bite; use good-quality chips for best flavor.
Cooking (Fudgy Brownie): The Process
- Preheat the oven to 350°F. Grease a 9″ x 13″ pan and set it aside.
- In a medium saucepan over low heat, melt 1 cup unsalted butter. Remove the pan from the heat.
- Stir 2 1/4 cups granulated sugar into the melted butter until combined. Return the pan to low heat and warm, stirring constantly, just until the mixture is hot and the sugar begins to dissolve and the surface looks glossy—do not let it bubble.
- Transfer the butter-sugar mixture to a medium mixing bowl. Add 1 1/4 cups Dutch-process cocoa, 1 teaspoon baking powder, 1 teaspoon salt, and 1 tablespoon vanilla extract. Stir until evenly combined.
- Add 4 large eggs (at room temperature) and whisk them into the mixture until smooth and fully incorporated.
- Add 1 1/2 cups all-purpose flour and 2 cups semi-sweet chocolate chips. Stir gently just until the flour and chips are evenly distributed and no large streaks of flour remain; avoid overmixing.
- Spoon the batter into the prepared 9″ x 13″ pan and spread it into an even layer.
- Bake for about 30–35 minutes, or until a cake tester or toothpick inserted into the center comes out with just a few moist crumbs (the edges should be set and the center very moist but not wet).
- Remove the pan from the oven and place it on a wire rack to cool. Allow the brownies to cool before cutting and serving.
What Sets This Recipe Apart
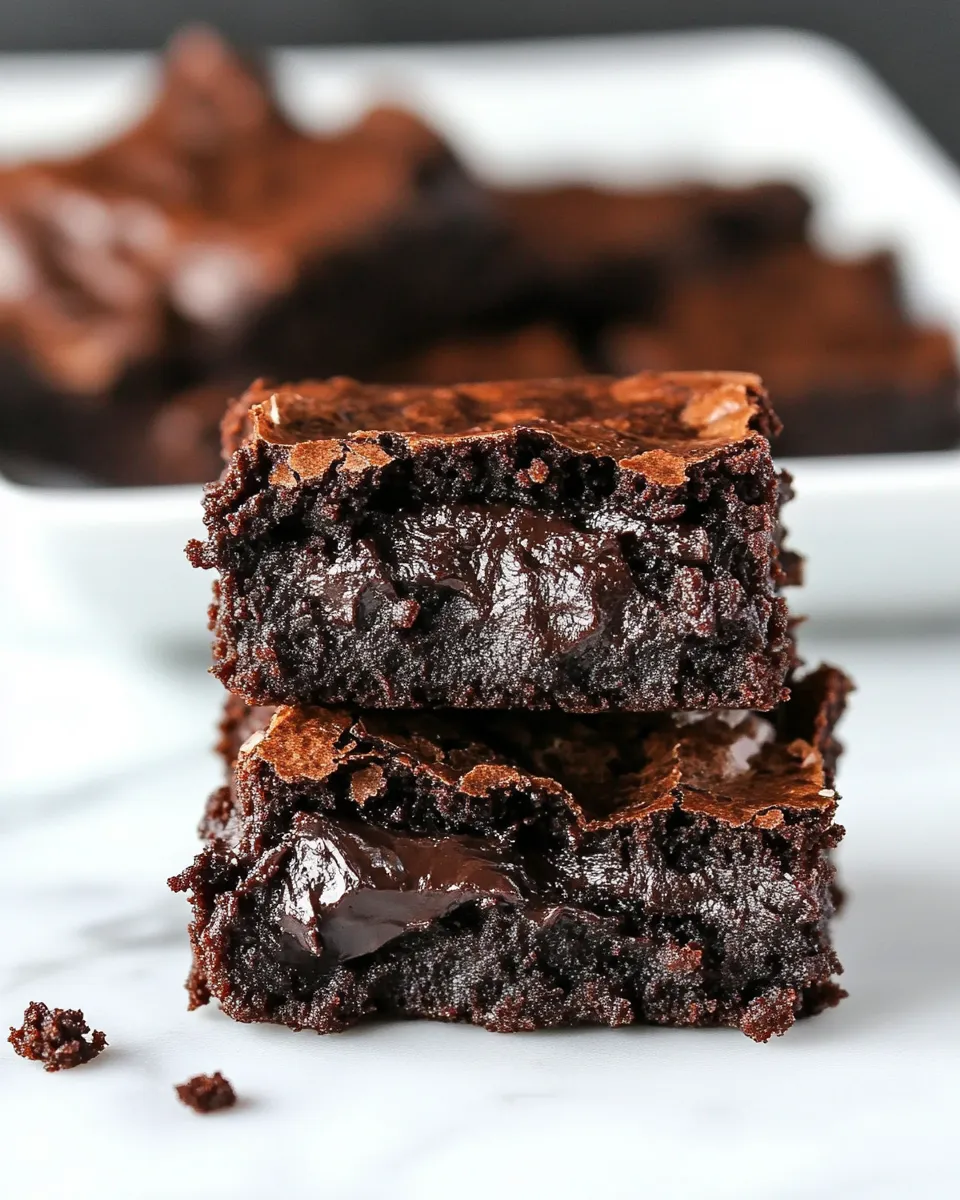
This recipe leans into fudginess rather than cakiness by using melted butter, a relatively high sugar-to-flour ratio, and only a teaspoon of leavening. Warming the sugar briefly in the melted butter gives you a glossy surface and a tighter crumb without changing the flavor. Dutch-process cocoa deepens the chocolate profile and keeps the color dark. The chocolate chips folded into the batter create concentrated pockets of molten chocolate that contrast nicely with a dense crumb.
Texture control is deliberate here: room-temperature eggs smooth and emulsify the batter, and minimal stirring after the flour goes in preserves that dense, chewy structure. The result is a brownie that slices cleanly after cooling but still offers a luxurious, almost molten center.
Allergy-Friendly Substitutes
If you need to adapt for allergies, here are reliable swaps that keep texture and flavor in mind.
- Eggs — For each egg, use 1/4 cup unsweetened applesauce or 1/4 cup mashed banana as a binder in a pinch; note the texture will be slightly cake-ier and sweeter with banana.
- Dairy (butter) — Use equal parts vegan butter or a neutral-tasting coconut oil; vegan butter gives a closer texture, while coconut oil adds subtle flavor and can make the crumb slightly more tender.
- Flour (gluten) — Use a 1:1 gluten-free all-purpose flour blend that contains xanthan gum; expect small differences in chew but similar results.
- Chocolate chips — Use dairy-free chocolate chips for a dairy-free version; check labels for cross-contamination if severe allergy is a concern.
Must-Have Equipment
You don’t need a lot of fancy gear for these brownies. A few reliable tools make the process predictable and easy:
- 9″ x 13″ baking pan — size matters here for the right thickness and bake time.
- Medium saucepan — to melt butter and warm the sugar gently.
- Mixing bowls — one medium bowl for combining the warmed mixture and another if you want to whisk eggs separately.
- Silicone spatula or wooden spoon — gentle folding avoids overworking the batter.
- Wire rack — for cooling the pan evenly before cutting.
- Cake tester or toothpick — to check doneness at the center.
Easy-to-Miss Gotchas
These small missteps are common and easy to fix once you know them.
- Letting the mixture boil — the recipe says do not let it bubble. Boiling changes the sugar and butter interaction and can yield a grainy surface.
- Using cold eggs — cold eggs can shock the warm mixture and make it seize or create uneven texture; bring them to room temperature first.
- Overmixing after the flour — once the flour is added, stir just until combined. Overworking develops gluten and makes the brownies more cake-like.
- Cutting too soon — they’ll finish setting as they cool. Cutting while too warm leads to squashed slices and an under-set center.
- Ignoring pan size — a smaller pan will deepen the brownies and require additional bake time; a larger pan will make them thin and quick-drying.
Substitutions by Diet
Here are targeted swaps depending on what you need: vegetarian, vegan, lower sugar, or gluten-free.
- Vegetarian — this recipe is already vegetarian if your chocolate chips are free from animal-derived additives.
- Vegan — use vegan butter, flax or chia eggs (1 tablespoon ground flax/chia + 3 tablespoons water per egg, chilled until gelled), and dairy-free chocolate chips.
- Lower sugar — reduce sugar by up to 25% and expect a denser, less glossy top; consider adding a tablespoon of honey or a touch more vanilla to round flavors if sweetness drops significantly.
- Gluten-free — replace the flour with a 1:1 gluten-free all-purpose blend and check for added xanthan gum; bake times are roughly the same but check the center for moist crumbs.
Pro Tips & Notes
Small habits in the kitchen make the difference between good and great brownies.
- Line the pan — for the cleanest slices, line the pan with parchment paper or foil overhang; lift the whole slab out to slice after cooling.
- Test for doneness — start checking at 28 minutes. You’re aiming for a tester that comes out with a few moist crumbs, not wet batter.
- Flavor boost — a pinch of espresso powder mixed into the dry cocoa can deepen the chocolate note without adding a coffee flavor.
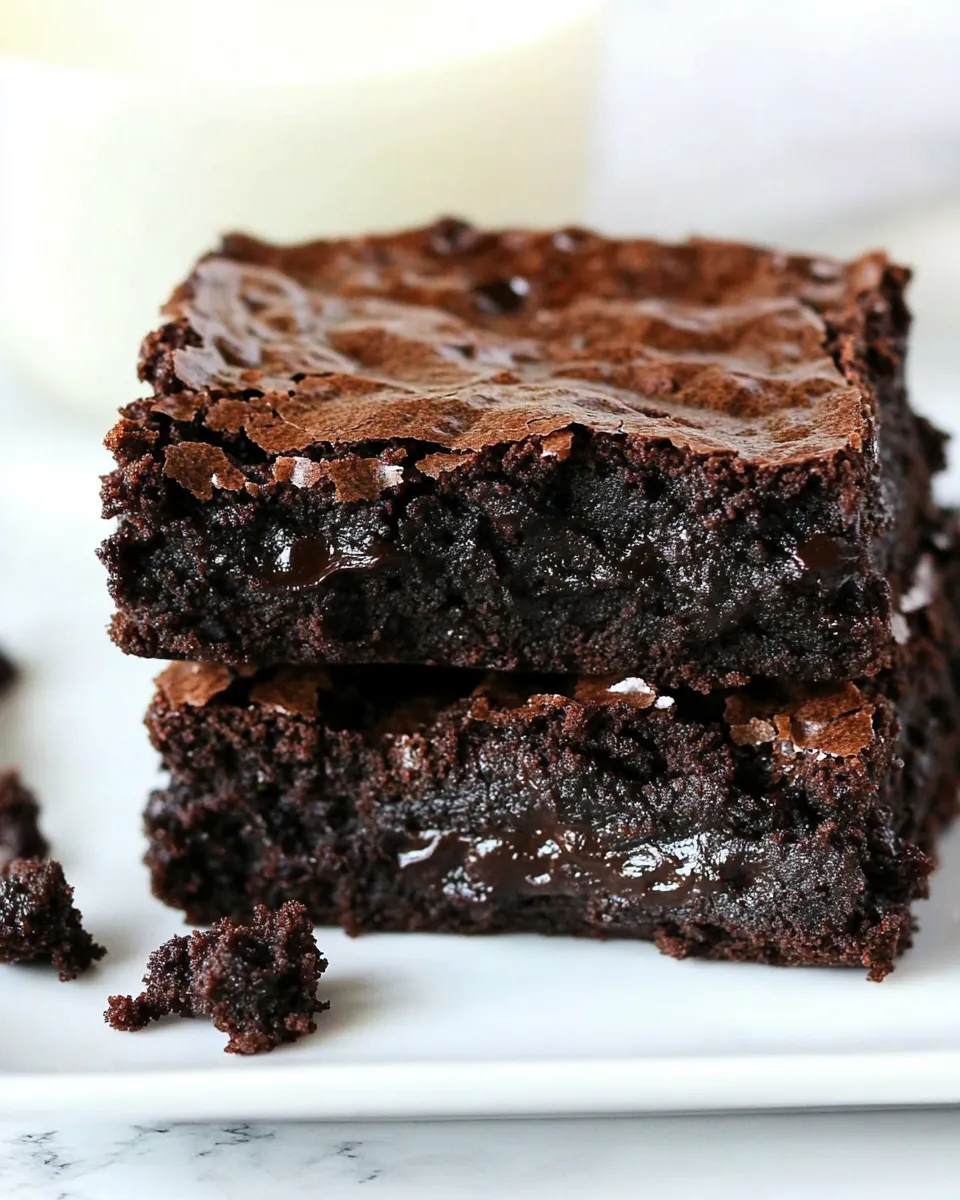
- Chocolate chips — fold half in and sprinkle the rest on top before baking for a glossy, chip-studded crust.
- Slice warm vs. cooled — warm gives a gooey experience; fully cooled gives cleaner slices. I usually let them cool for at least 45 minutes.
Save It for Later
Storage is forgiving with these brownies because of their fudgy nature.
- Room temperature — store in an airtight container for up to 3 days; keep separated by parchment to avoid sticking.
- Refrigerator — up to 1 week; bring to room temperature or warm briefly in the microwave for that freshly-baked texture.
- Freezer — freeze sliced brownies in a single layer for 1–2 hours, then stack with parchment between pieces in an airtight container for up to 3 months. Thaw overnight in the fridge or at room temperature.
Quick Questions
Q: Can I make these in a smaller pan? A: Yes, but bake time will increase. Check at the 35-minute mark and plan to add time in 5–minute increments until the center tests with moist crumbs.
Q: Why Dutch-process cocoa? A: It’s less acidic and gives a deeper, smoother chocolate flavor. You can use natural cocoa, but it will change flavor and color slightly; if you do, reduce baking powder to 1/2 teaspoon for balance.
Q: Can I omit the chocolate chips? A: Yes. They add pockets of gooey chocolate but aren’t necessary for structure or texture.
Q: My top came out grainy. What happened? A: That usually means the sugar didn’t dissolve into the butter properly. Warm the sugar gently with the butter until glossy but do not boil.
Before You Go
These brownies are one of those recipes I come back to when I want a reliable, deeply chocolatey treat with minimal fuss. Follow the order: melt the butter, warm the sugar (without boiling), add the dry ingredients gently, and watch the bake toward the end. Little attentions—room-temp eggs, not overmixing, and the toothpick test—are the things that make the difference.
Make a pan, let it cool slightly, and cut yourself that first, slightly imperfect slice. It’s often the best one. If you try the recipe, leave a note about any swaps you made or what you did to tweak the texture. I love hearing how people personalize their brownies.
Fudgy Brownie Recipe
Ingredients
Ingredients
- 1 cupunsalted butter
- 2 1/4 cupsgranulated sugar
- 1 1/4 cupsDutch-process cocoa
- 1 teaspoonbaking powder
- 1 teaspoonsalt
- 1 tablespoonvanilla extract
- 4 large eggs at room temperature
- 1 1/2 cupsall purpose flour
- 2 cupssemi-sweet chocolate chips
Instructions
Instructions
- Preheat the oven to 350°F. Grease a 9″ x 13″ pan and set it aside.
- In a medium saucepan over low heat, melt 1 cup unsalted butter. Remove the pan from the heat.
- Stir 2 1/4 cups granulated sugar into the melted butter until combined. Return the pan to low heat and warm, stirring constantly, just until the mixture is hot and the sugar begins to dissolve and the surface looks glossy—do not let it bubble.
- Transfer the butter-sugar mixture to a medium mixing bowl. Add 1 1/4 cups Dutch-process cocoa, 1 teaspoon baking powder, 1 teaspoon salt, and 1 tablespoon vanilla extract. Stir until evenly combined.
- Add 4 large eggs (at room temperature) and whisk them into the mixture until smooth and fully incorporated.
- Add 1 1/2 cups all-purpose flour and 2 cups semi-sweet chocolate chips. Stir gently just until the flour and chips are evenly distributed and no large streaks of flour remain; avoid overmixing.
- Spoon the batter into the prepared 9″ x 13″ pan and spread it into an even layer.
- Bake for about 30–35 minutes, or until a cake tester or toothpick inserted into the center comes out with just a few moist crumbs (the edges should be set and the center very moist but not wet).
- Remove the pan from the oven and place it on a wire rack to cool. Allow the brownies to cool before cutting and serving.
Equipment
- 9 x 13-inch pan
- Saucepan
- Mixing Bowl
- Whisk
- Spoon or Spatula
- Wire Rack
- Toothpick or cake tester
Notes
Storing
:
Store brownies in an airtight container at room temperature for up to 5 days. For longer storage, freeze for up to 3 months. Reheat for a few seconds to enjoy that fresh, fudgy texture!


