
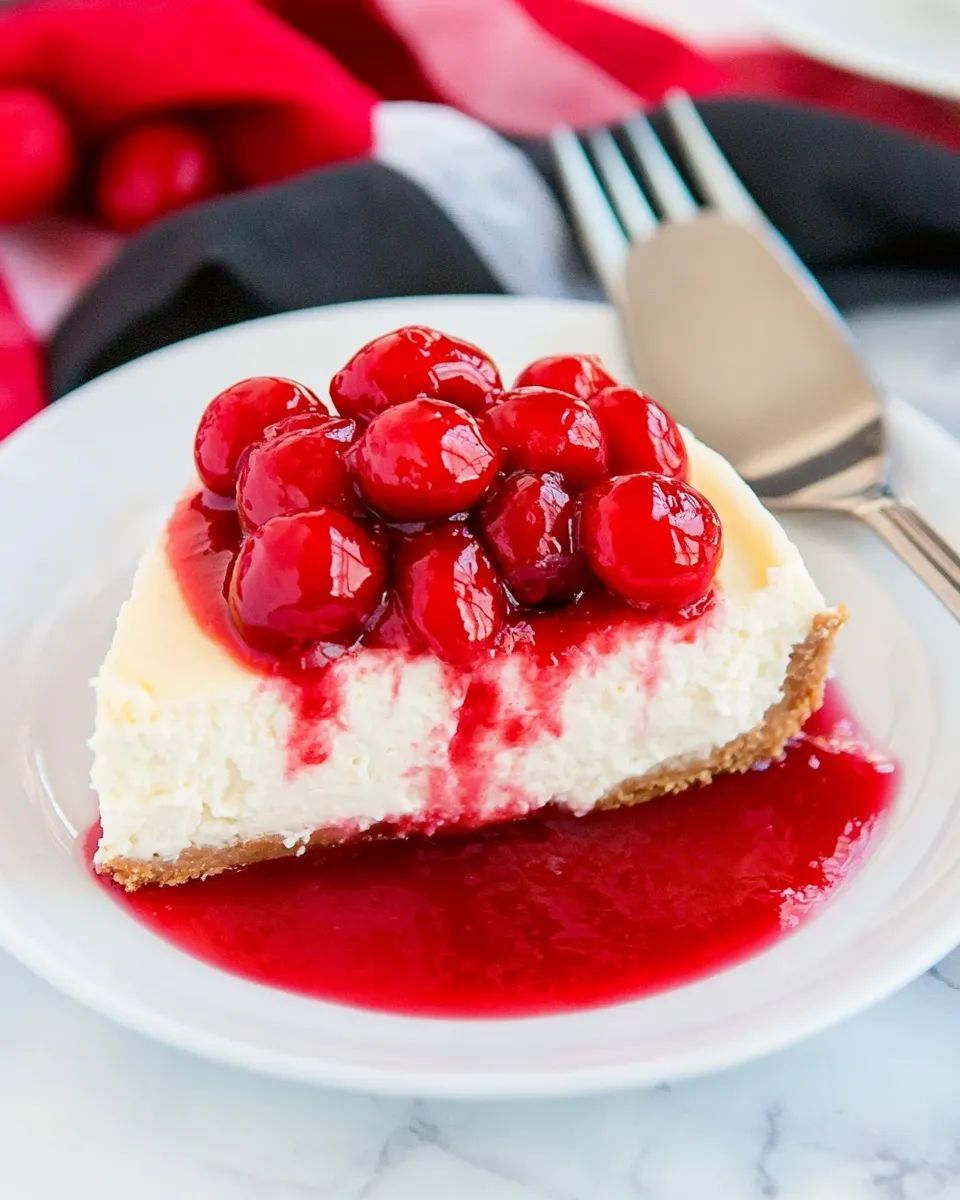
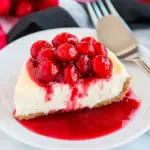
Indulging in dessert doesn’t have to mean sacrificing your dietary goals. This Low-Carb Cheesecake with Cherry Topping is the perfect solution, offering a creamy, dreamy cheesecake experience without the carb overload. Rich cream cheese, a hint of lemon, and the sweetness of Monkfruit come together to create a decadent treat that satisfies your sweet tooth while keeping your carb intake in check. Top it all off with a luscious cherry topping, and you have a dessert that’s not only delicious but also visually stunning. Whether you’re hosting a dinner party or simply treating yourself, this cheesecake is sure to impress.
Why This Recipe Belongs in Your Rotation
This Low-Carb Cheesecake with Cherry Topping is not just another dessert; it’s a versatile, crowd-pleasing treat that fits perfectly into a low-carb lifestyle. The creamy texture and rich flavors make it an ideal dessert for any occasion—from birthday celebrations to holiday gatherings. Plus, it’s easy to make and requires minimal ingredients, allowing you to whip it up quickly without feeling overwhelmed. The cherry topping adds a burst of flavor that beautifully complements the cheesecake, making it even more irresistible. Once you try it, you’ll want to keep this recipe on hand for all your dessert needs.
What to Buy
Before you dive into this delicious recipe, here’s what you’ll need to gather:
- 3 (8 oz.) packages of cream cheese
- 4 large eggs
- 3/4 cup sour cream
- 1/2 cup + 2 tablespoons granulated Monkfruit Sweetener
- 2 tablespoons fresh-squeezed lemon juice
- 1 (20 oz.) can no-sugar added cherry pie filling or fresh berries
Make sure to choose high-quality ingredients for the best flavor and texture in your Low-Carb Cheesecake with Cherry Topping.
Before You Start: Equipment
Gathering the right equipment will make your cheesecake-making experience smooth and enjoyable. Here’s what you’ll need:
- Mixing bowls – for combining ingredients.
- Electric mixer – to achieve a smooth and creamy batter.
- 9-inch springform pan – perfect for baking and serving your cheesecake.
- Rubber spatula – for scraping down the sides of bowls and mixing ingredients.
- Oven – to bake your cheesecake.
- Refrigerator – for chilling the cheesecake after baking.
Having everything on hand will ensure that your Low-Carb Cheesecake with Cherry Topping comes together effortlessly.
Low-Carb Cheesecake with Cherry Topping: From Prep to Plate
Creating this delicious cheesecake is a straightforward process. Follow these steps for a perfect result every time.
Step 1: Preheat the Oven
Start by preheating your oven to 325°F (160°C). This is the ideal temperature for baking your cheesecake evenly without cracking.
Step 2: Prepare the Cream Cheese
In a large mixing bowl, add the 3 packages of cream cheese. Using an electric mixer, beat the cream cheese until it’s smooth and creamy, with no lumps remaining. This step is crucial for achieving a velvety texture in your cheesecake.
Step 3: Add the Sweetener and Eggs
Gradually add the 1/2 cup + 2 tablespoons of granulated Monkfruit Sweetener to the cream cheese, mixing until well combined. Then, add the 4 large eggs, one at a time, ensuring each egg is fully incorporated before adding the next. This will help create a smooth batter.
Step 4: Mix in the Sour Cream and Lemon Juice
Next, add the 3/4 cup of sour cream and the 2 tablespoons of fresh-squeezed lemon juice to your mixture. Beat until everything is well combined and the batter is creamy and smooth.
Step 5: Prepare the Springform Pan
Lightly grease your 9-inch springform pan with a bit of butter or non-stick spray. This will help prevent the cheesecake from sticking to the sides when it’s done baking.
Step 6: Pour the Batter
Pour the cheesecake batter into the prepared springform pan, smoothing the top with a rubber spatula. This step ensures an even surface for your cheesecake.
Step 7: Bake
Place the springform pan in the preheated oven and bake for about 50-60 minutes, or until the edges are set but the center still has a slight jiggle. It’s important not to overbake your cheesecake, as it will continue to set while cooling.
Step 8: Cool and Chill
Once baked, turn off the oven and let the cheesecake cool in the oven with the door slightly ajar for about an hour. This gradual cooling helps prevent cracks. After it has cooled, transfer it to the refrigerator and let it chill for at least 4 hours, or overnight for the best results.
Step 9: Add the Topping
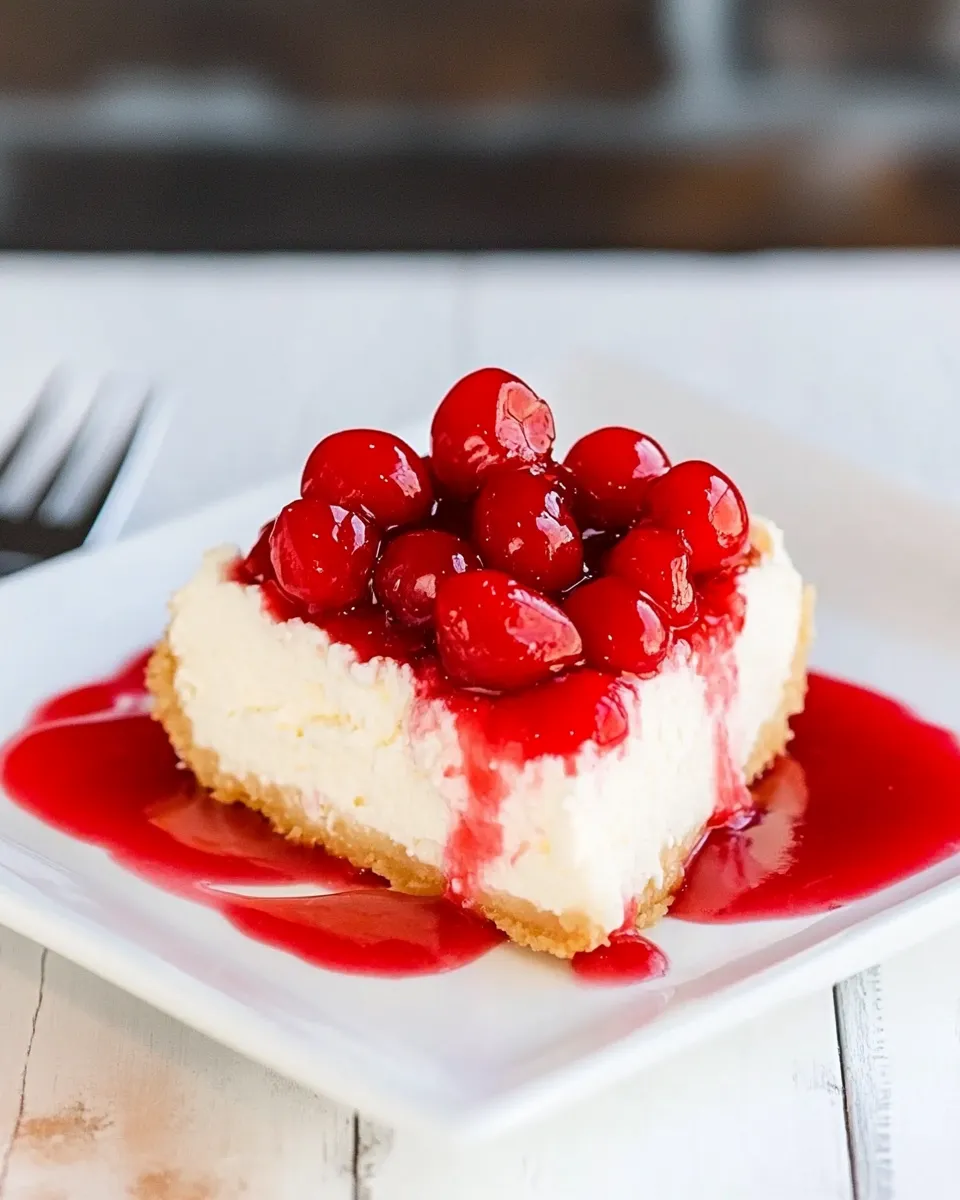
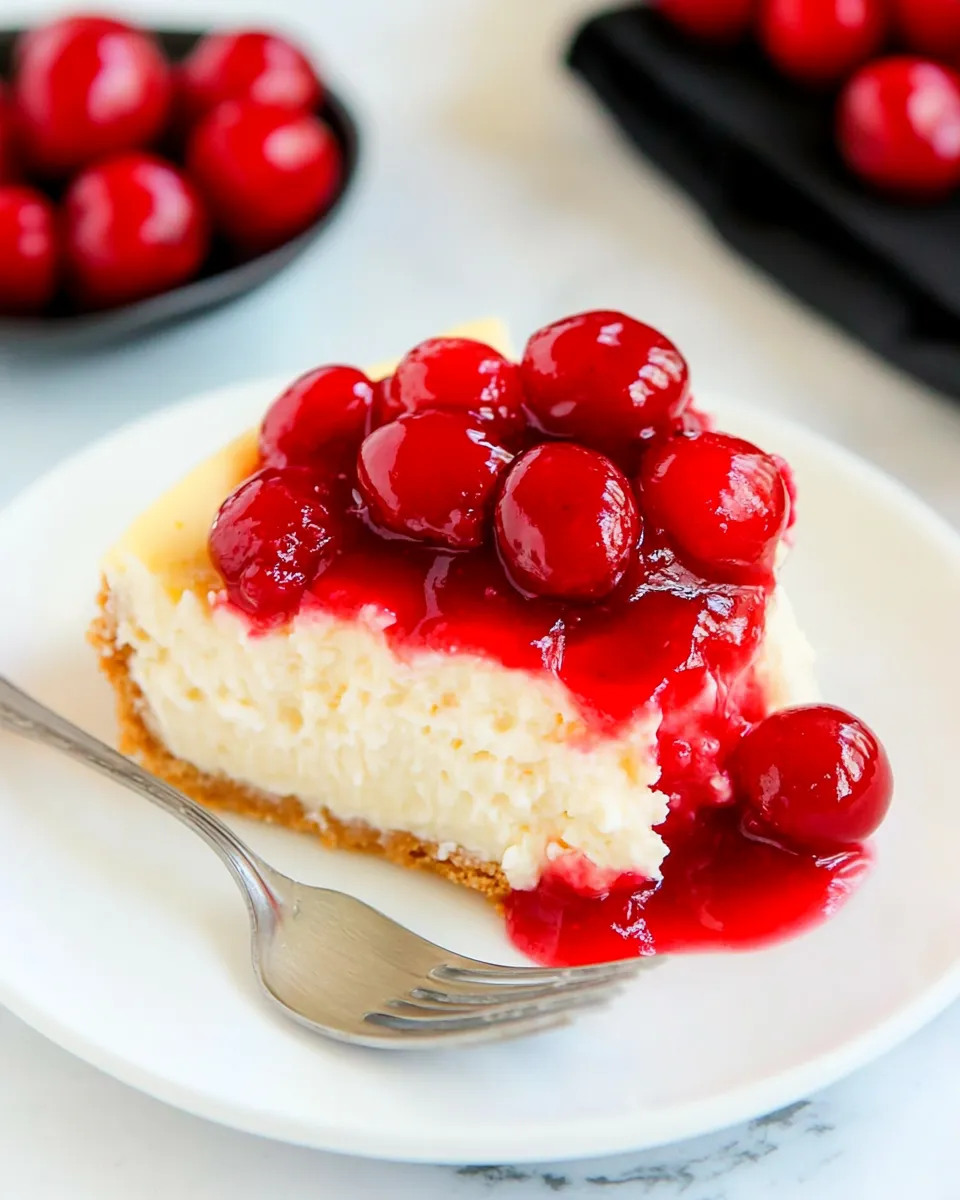
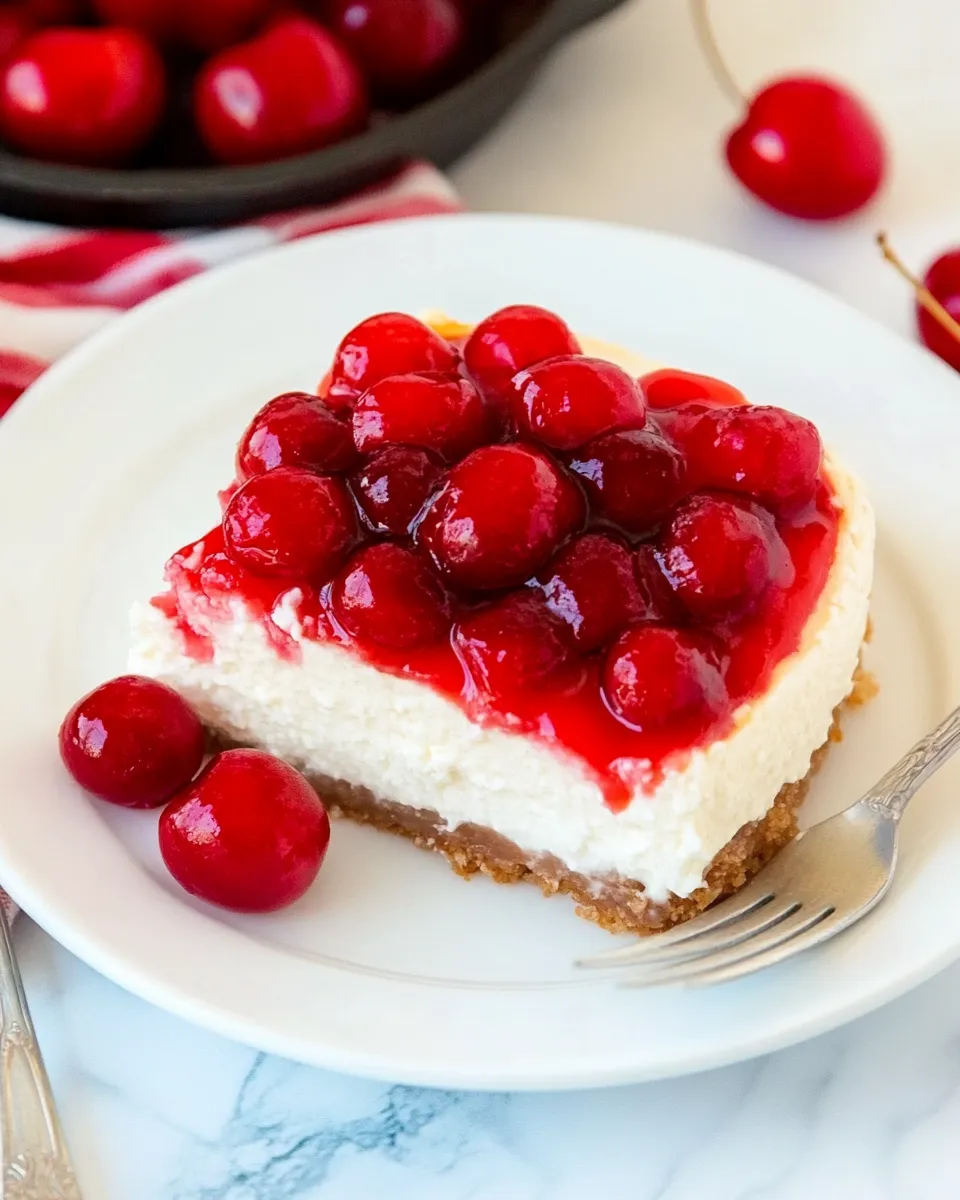
When you’re ready to serve, remove the cheesecake from the springform pan. Top it generously with the no-sugar added cherry pie filling or fresh berries for a vibrant, fruity finish.
Step 10: Slice and Serve
Cut your Low-Carb Cheesecake with Cherry Topping into slices and serve. Enjoy this delightful, guilt-free dessert with friends and family!
Spring–Summer–Fall–Winter Ideas
This Low-Carb Cheesecake with Cherry Topping is versatile enough to suit any season. Here are some creative ideas for variations and toppings throughout the year:
- Spring: Top with fresh strawberries or a berry compote for a light, refreshing twist.
- Summer: Use a mix of fresh peaches and blueberries for a colorful summer delight.
- Fall: Add a sprinkle of cinnamon and top with spiced apples or pumpkin puree for a seasonal treat.
- Winter: Drizzle with melted dark chocolate and garnish with crushed peppermint for a festive flair.
The possibilities are endless, making this cheesecake a year-round favorite.
Avoid These Traps
When making your Low-Carb Cheesecake with Cherry Topping, keep the following tips in mind to avoid common pitfalls:
- Overmixing: Be cautious not to overmix the batter once the eggs are added, as it can incorporate too much air, leading to cracks.
- Overbaking: Keep an eye on your cheesecake to avoid overbaking, which can lead to a dry texture.
- Skipping the Cooling Step: Allowing the cheesecake to cool gradually in the oven helps prevent cracks and ensures a smooth finish.
- Neglecting to Chill: Don’t skip the chilling time—this step is crucial for setting the cheesecake properly.
By being aware of these traps, you can ensure a beautiful, creamy cheesecake every time.
Meal Prep & Storage Notes
This Low-Carb Cheesecake with Cherry Topping is perfect for meal prep! Here’s how to store it effectively:
- Refrigeration: Store leftover cheesecake in an airtight container in the refrigerator for up to 5 days.
- Freezing: You can freeze slices wrapped in plastic wrap and then placed in a freezer-safe bag for up to 2 months. Thaw in the refrigerator before serving.
- Toppings: For best results, add toppings just before serving to maintain freshness and texture.
Planning ahead makes it easy to enjoy this delicious cheesecake anytime!
Frequently Asked Questions
Can I use a different sweetener instead of Monkfruit?
Yes! You can substitute Monkfruit with other low-carb sweeteners like erythritol or stevia, but be sure to check the conversion ratios as they may differ.
Can I make this cheesecake dairy-free?
Yes, you can use dairy-free cream cheese and coconut cream in place of sour cream to create a dairy-free version of this cheesecake.
How do I know when the cheesecake is done baking?
The cheesecake is done when the edges are set, and the center has a slight jiggle. It will firm up as it cools.
Can I use fresh cherries instead of pie filling?
Absolutely! Fresh cherries or any other berries can be used as a topping for a lighter and fresher option.
If you loved this , here are some more delicious recipes to explore:
Each of these recipes offers a unique twist on low-carb indulgence, ensuring you always have a delicious dessert at your fingertips.
Final Bite
This Low-Carb Cheesecake with Cherry Topping is not only a dessert but a celebration of flavors and textures. With its creamy consistency, delightful cherry topping, and low-carb profile, it invites you to savor every bite without guilt. Whether you’re sharing it with loved ones or enjoying a slice on your own, this cheesecake is sure to become a beloved staple in your dessert rotation. So go ahead, indulge in this delicious treat—you deserve it!
Low-Carb Cheesecake with Cherry Topping
Ingredients
For the Cheesecake:
- 3 packages cream cheese (8 oz. each)
- 4 large eggs
- 3/4 cup sour cream
- 1/2 cup granulated Monkfruit Sweetener
- 2 tablespoons granulated Monkfruit Sweetener (for total of 1/2 cup + 2 tablespoons)
- 2 tablespoons fresh-squeezed lemon juice
For the Topping:
- 1 can no-sugar added cherry pie filling (20 oz.) or fresh berries
Instructions
Preparation Steps:
- Step 1: Preheat the Oven. Start by preheating your oven to 325°F (160°C).
- Step 2: Prepare the Cream Cheese. In a large mixing bowl, add the cream cheese and beat until smooth and creamy.
- Step 3: Add the Sweetener and Eggs. Gradually mix in the Monkfruit Sweetener, then add the eggs one at a time.
- Step 4: Mix in the Sour Cream and Lemon Juice. Add the sour cream and lemon juice, beating until well combined.
- Step 5: Prepare the Springform Pan. Lightly grease your springform pan to prevent sticking.
- Step 6: Pour the Batter. Pour the cheesecake batter into the prepared pan and smooth the top.
- Step 7: Bake. Bake for about 50-60 minutes until the edges are set but the center jiggles slightly.
- Step 8: Cool and Chill. Let the cheesecake cool in the oven, then refrigerate for at least 4 hours.
- Step 9: Add the Topping. Top with cherry pie filling or fresh berries before serving.
- Step 10: Slice and Serve. Cut into slices and enjoy your cheesecake!
Equipment
- Mixing bowls
- Electric Mixer
- 9-inch springform pan
- Rubber spatula
- Oven
- Refrigerator
Notes
- Store leftovers in an airtight container in the refrigerator for up to 5 days.
- Freeze slices wrapped in plastic wrap for up to 2 months.
- Add toppings just before serving for the best texture.


