
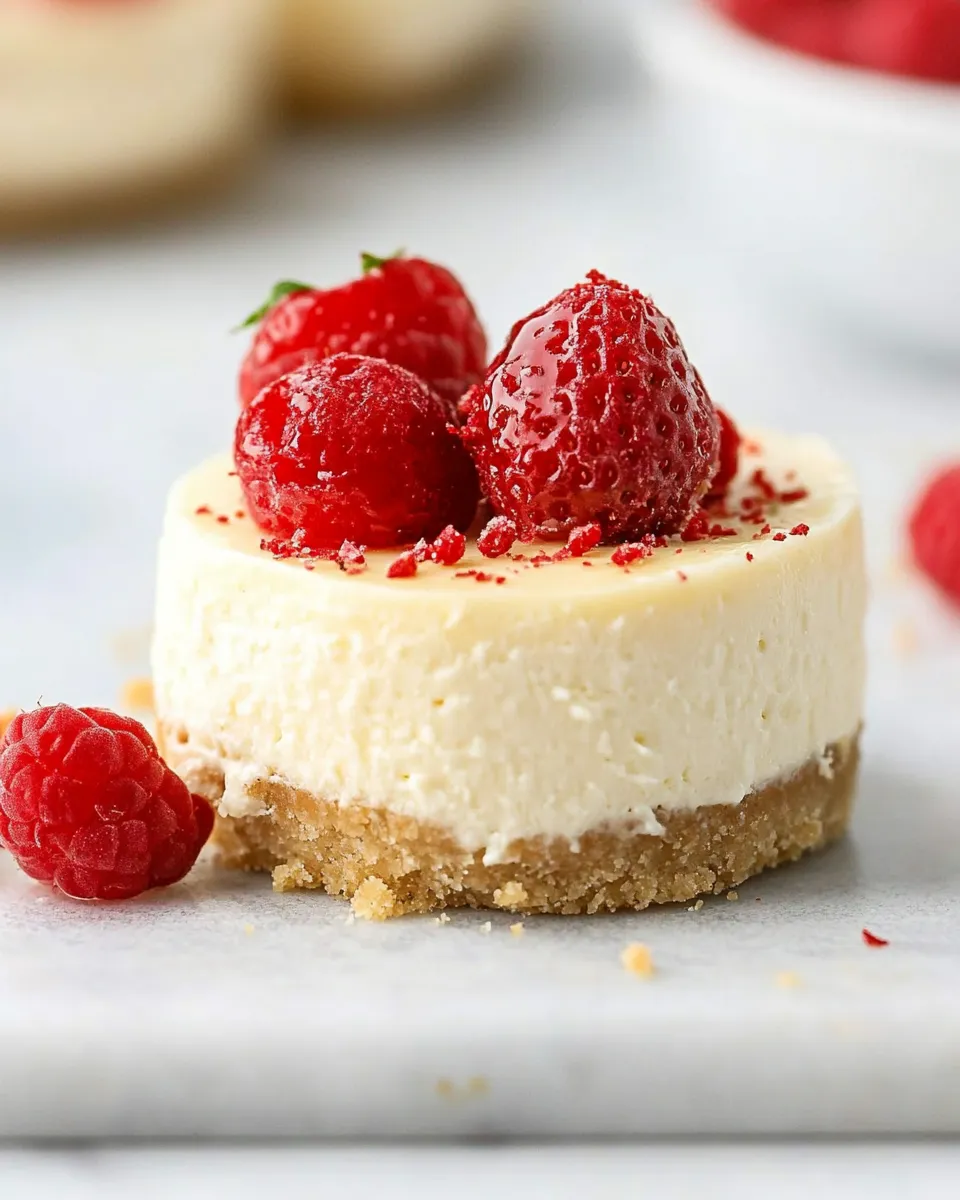
I make these mini cheesecakes all the time when I want something that feels special but doesn’t take over my afternoon. They come together quickly, bake in a single muffin tin, and chill into the kind of silky little rounds everyone reaches for first. No special skills required—just a few straightforward steps and a tiny bit of patience while they cool.
What I love most is how forgiving this recipe is. The crust is buttery and crisp, the filling is smooth and mildly sweet, and the portion size is perfect for sharing or for keeping a stash in the fridge for unexpected guests. You can top them with whipped cream, fresh fruit, or leave them plain—the base is reliable and pleasing.
If you’ve made full-size cheesecakes and found them intimidating, these minis are a gentle way to get the same silky texture without the drama. Read through the steps once, gather your ingredients, and you’ll be surprised how quickly the pan fills with golden-edged, slightly jiggly cheesecakes that turn into little chilled miracles.
What You’ll Need
Ingredients
- 1 1/2 cups graham cracker crumbs — for crust; use finely crushed crumbs so the crust presses together easily.
- 5 tablespoons unsalted butter, melted — for crust; melted butter binds and browns the crumbs.
- 1 1/2 tablespoons granulated sugar — for crust; adds a touch of sweetness and helps the crust set.
- 16 ounces cream cheese — softened to room temperature; the base of the filling. Room temp prevents lumps.
- 3/4 cup granulated sugar — sweetens the filling; measure carefully to avoid over-sweetness.
- 3 tablespoons sour cream — at room temperature; adds moisture and a subtle tang.
- 1 1/4 teaspoons vanilla extract — for flavor; quality vanilla makes a noticeable difference.
- 2 large eggs — at room temperature; add one at a time to keep the batter smooth.
- Whipped cream — for serving (optional); adds lightness as a topping.
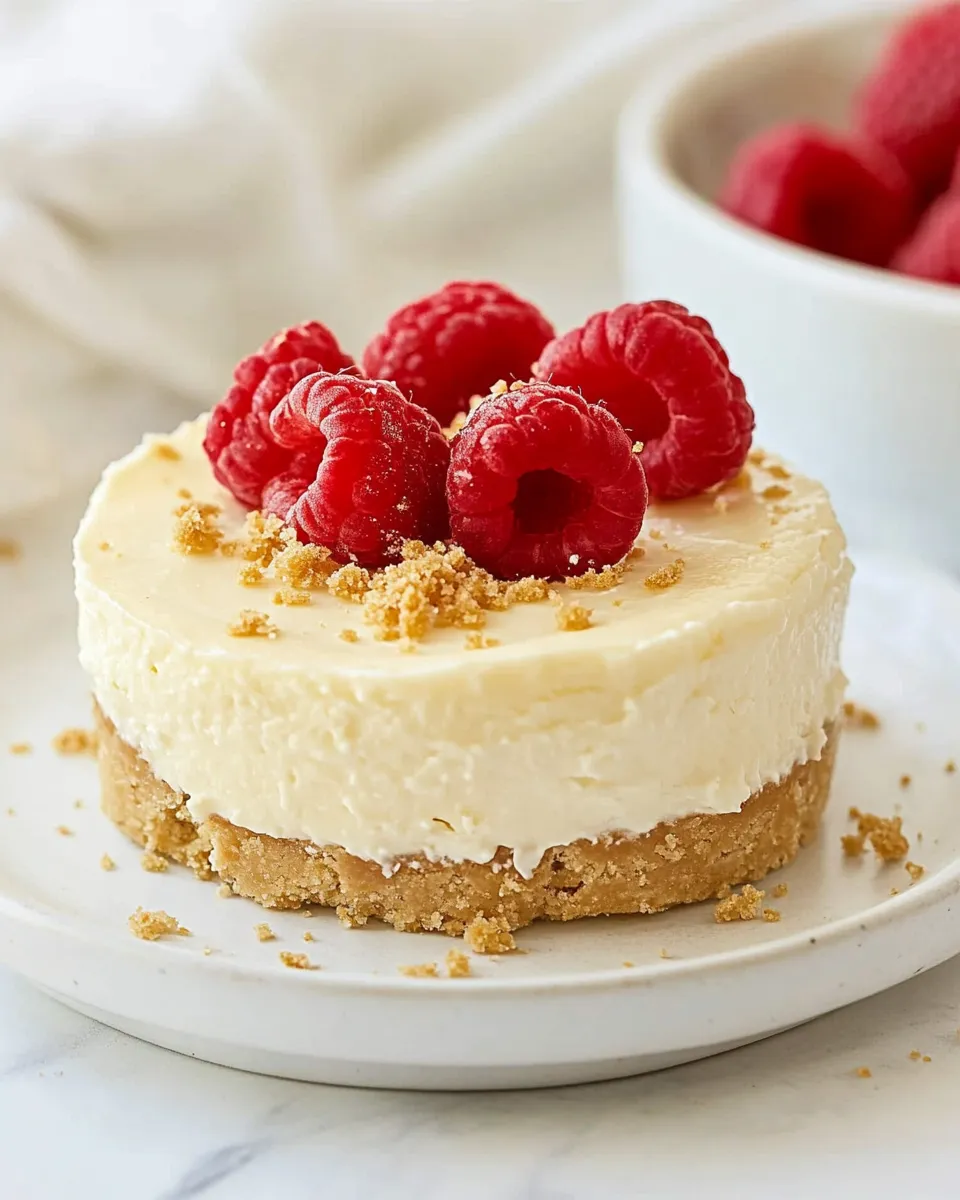
- Fresh fruit — for serving (optional); berries or sliced stone fruit brighten the dish.
Mini Cheesecake in Steps
- Preheat the oven to 350°F. Line a 12-cup muffin pan with cupcake liners.
- Make the crust: in a medium bowl combine 1 1/2 cups graham cracker crumbs, 5 tablespoons unsalted butter (melted), and 1 1/2 tablespoons granulated sugar.
- Divide the crumb mixture among the lined muffin cups and press about 1 1/2 tablespoons of the mixture firmly and evenly into the bottom of each liner to form the crust.
- Bake the crusts at 350°F for 5–7 minutes. Remove the pan from the oven and reduce the oven temperature to 325°F. Let the crusts cool slightly while you make the filling.
- Make the filling: in a large bowl, beat 16 ounces softened cream cheese until smooth and free of lumps, scraping down the sides of the bowl as needed.
- Add 3/4 cup granulated sugar to the cream cheese and beat until combined.
- Add 3 tablespoons sour cream (at room temperature) and 1 1/4 teaspoons vanilla extract and mix until the mixture is smooth.
- Add 2 large eggs (at room temperature) one at a time, mixing on low speed and stopping as soon as each egg is incorporated. Do not overmix.
- Fill each prepared crust about 3/4 full with the cheesecake batter.
- Bake at 325°F for 16–20 minutes, until the centers are mostly set but still have a slight jiggle.
- Remove the pan from the oven and let the mini cheesecakes cool at room temperature for 30 minutes.
- After cooling, transfer the pan to the refrigerator and chill the cheesecakes for at least 1 hour before serving.
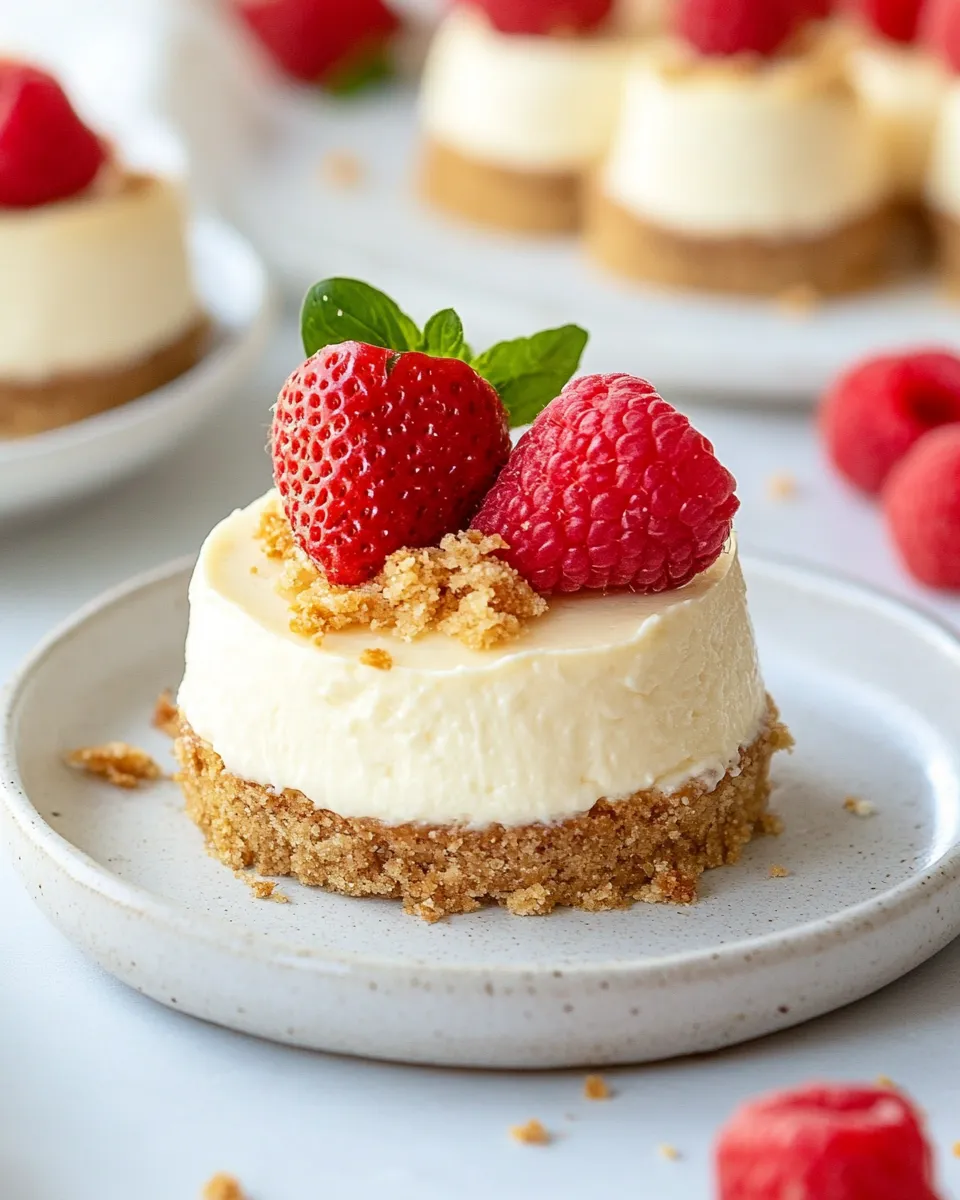
- Serve chilled, topped with whipped cream and/or fresh fruit if desired.
Why It Deserves a Spot
Mini cheesecakes are the perfect compromise between indulgence and simplicity. They taste like a celebratory dessert but don’t demand a full afternoon or specialized technique. The single-serving size keeps portions sensible and presentation effortless—each one is already plated when you remove the liners. They work for parties, a quiet dessert after dinner, or a make-ahead treat for busy weeks.
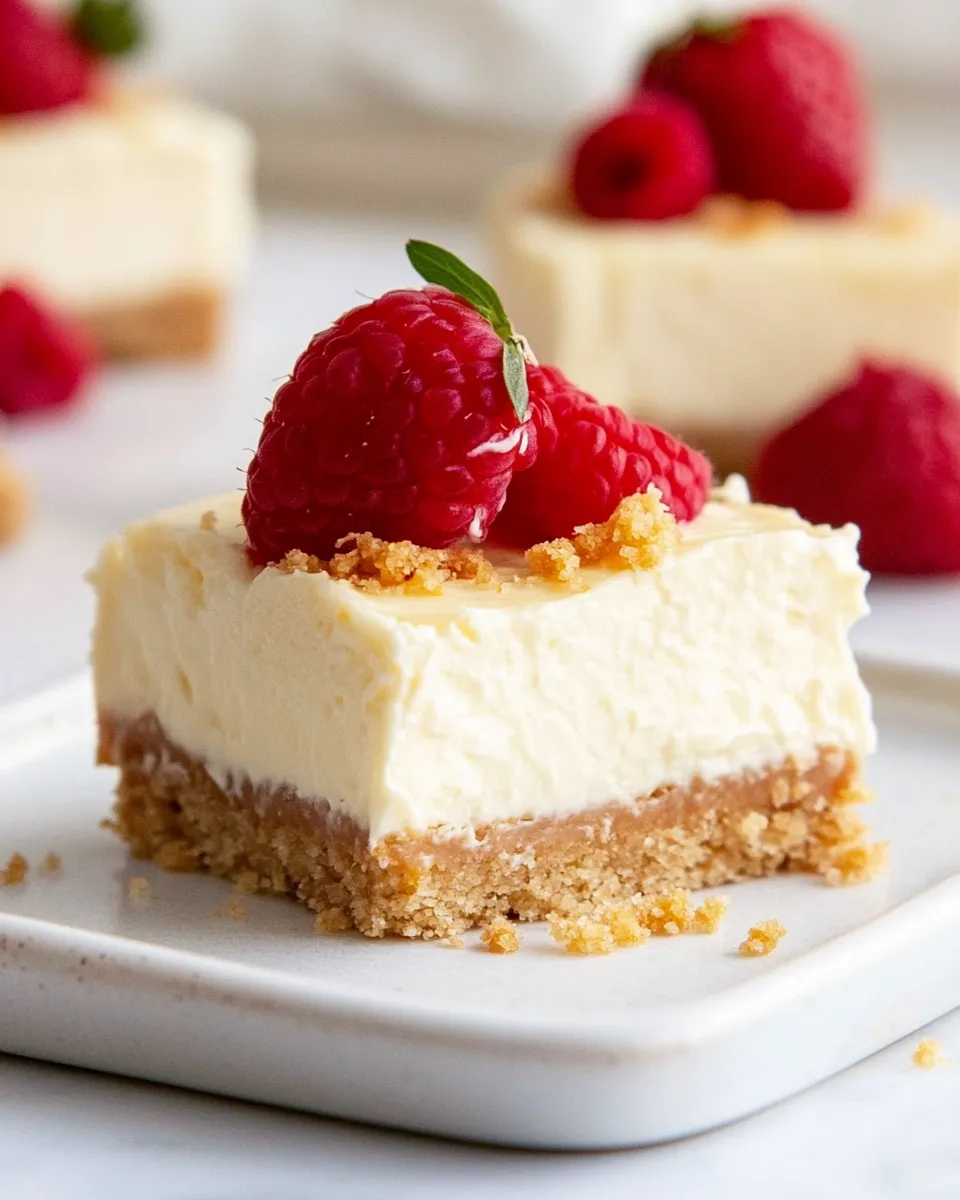
The texture is consistently impressive: a crisp base that contrasts the creamy filling. Because you bake them in a muffin tin, the heat distributes evenly and you avoid the cracking and long water bath rituals of traditional cheesecakes. That makes these approachable for a beginner, and a reliable quick option for someone who bakes regularly.
No-Store Runs Needed
This recipe purposely uses pantry-friendly ingredients. If you keep graham crackers or a jar of crumbs, butter, and cream cheese in your fridge, you’re almost set. The pantry staples—granulated sugar and vanilla—are frequently on hand. Sour cream and eggs are the only perishable items you’ll want to check, but most households have those as well.
If you’re out of graham crackers, you can often substitute a similar sweet biscuit, but that would be an improvisation outside the source ingredients; with what’s listed, you rarely need a store run. The optional toppings—whipped cream and fruit—are nice but not mandatory. The minis are delightful on their own.
Hardware & Gadgets
Nothing fancy required. Here’s what I use:
- Muffin pan (12-cup) — essential for shape and even baking.
- Cupcake liners — make removal and serving tidy.
- Hand mixer or stand mixer — for smooth cream cheese without lumps.
- Mixing bowls — medium for crust, large for filling.
- Spoon or small measuring cup — to portion about 1 1/2 tablespoons of crust into each cup.
- Spatula — for scraping the bowl clean; prevents lumps.
If you don’t have a mixer you can whisk by hand, but it takes more elbow grease to get the cream cheese perfectly smooth. A small food processor will also make quick work of graham crackers if you don’t have pre-crumbled crumbs.
Pitfalls & How to Prevent Them
Two common issues: lumps in the filling and overbaked dry centers. Both are avoidable.
- Lumpy filling: Use room-temperature cream cheese and scrape the bowl as you beat. If cream cheese is cold, it won’t whip smooth and will leave small pockets of curd. Softening to room temperature makes a silky batter.
- Overmixing after eggs: Add eggs one at a time on low speed and stop as soon as they’re incorporated. Overmixing adds air, which leads to cracks and a less creamy texture.
- Overbaking: Watch the timing. Bake until centers are mostly set with a slight jiggle. They will firm up as they cool. If you bake until fully firm, they’ll dry out.
- Flat crusts: Press the crust firmly and evenly—about 1 1/2 tablespoons per cup. Loose crusts crumble on serving.
Nutrition-Minded Tweaks
If you’re watching calories or fat, small adjustments can help without sacrificing the essential character of the cheesecake.
- Lower-fat cream cheese: You can use reduced-fat cream cheese, but expect a slight change in texture and tang. It may be less rich but still very pleasant.
- Butter alternatives: Swapping part of the butter for a neutral oil will change the mouthfeel of the crust. I don’t recommend replacing all the butter; it’s responsible for the crispness and flavor.
- Sugar swaps: Reducing the sugar by a tablespoon or two in the filling can make the tartness of cream cheese and sour cream more pronounced while lowering overall sugar. Keep the crust sugar minimal as written.
- Portion control: The mini size itself is a built-in moderation tool. Enjoy one or two rather than a whole slice-sized serving.
Little Things that Matter
Small details change the final result more than you might expect:
- Room-temperature dairy: Let cream cheese, sour cream, and eggs warm to room temperature. It’s the easiest way to avoid lumps and overworking the batter.
- Press the crust: Use the bottom of a small measuring cup to press crumbs evenly and compactly into each liner.
- Timing the chill: Chilling for at least an hour firms the filling and improves flavor. If you can chill longer—several hours or overnight—the texture becomes even better.
- Toppings last minute: Add whipped cream and fresh fruit just before serving so components stay bright and don’t weep into the filling.
Meal Prep & Storage Notes
These are surprisingly easy to make ahead. After baking and cooling, chill the cheesecakes in the pan for at least one hour, then you can store them covered in the refrigerator for up to 3–4 days. I remove them from the liners just before serving if I’m plating them; otherwise they keep fine in liners.
For longer storage, you can freeze them. Place the chilled cheesecakes on a tray to firm up in the freezer, then transfer to an airtight container or freeze bag for up to one month. Thaw in the refrigerator several hours or overnight before serving. Add whipped cream and fruit after thawing for the best texture.
Common Qs About Mini Cheesecake
Can I make them without cupcake liners?
Yes, but liners make removal far easier and protect the crust during serving. If you skip liners, grease the muffin cups well or use silicone molds, and let them cool fully before attempting to remove them.
Why did my filling crack?
Cracks happen when the filling is overbaked or overmixed. Follow the low-speed egg addition and pull the minis from the oven when centers just jiggle. Cooling gradually at room temperature for 30 minutes before refrigeration reduces thermal shock.
How can I add flavors (chocolate, lemon, etc.)?
You can stir in citrus zest, cocoa powder, or an extract, but keep additions light so you don’t alter texture. For lemon, a teaspoon of lemon zest brightens the filling. For chocolate, fold in 1–2 tablespoons unsweetened cocoa powder—expect a denser filling.
Can I double the recipe?
Yes. Use two muffin pans and bake in batches if your oven holds only one pan at a time. Keep baking times similar, and use the same cues (centers mostly set with a slight jiggle).
Hungry for More?
If you like the simplicity of these mini cheesecakes, try swapping the graham crust for crushed shortbread or oreo crumbs (if you have them). You can also make a lemon or raspberry ripple by swirling a small spoonful of jam over each filled cup before baking—though that’s a slight diversion from the base ingredients here.
Come back to this recipe whenever you want an easy, elegant dessert. It’s one of my favorites for last-minute gatherings and a reliable treat when I want something homemade that doesn’t take the whole day. Happy baking—let me know how you top yours!
Mini Cheesecake Recipe
Ingredients
Ingredients
- 1 1/2 cupsgraham cracker crumbsfor crust
- 5 tablespoonsunsalted buttermelted for crust
- 1 1/2 tablespoonsgranulated sugarfor crust
- 16 ouncescream cheesesoftened to room temperature
- 3/4 cupgranulated sugar
- 3 tablespoonssour creamat room temperature
- 1 1/4 teaspoonsvanilla extract
- 2 large eggsat room temperature
- Whipped creamfor serving optional
- Fresh fruitfor serving optional
Instructions
Instructions
- Preheat the oven to 350°F. Line a 12-cup muffin pan with cupcake liners.
- Make the crust: in a medium bowl combine 1 1/2 cups graham cracker crumbs, 5 tablespoons unsalted butter (melted), and 1 1/2 tablespoons granulated sugar.
- Divide the crumb mixture among the lined muffin cups and press about 1 1/2 tablespoons of the mixture firmly and evenly into the bottom of each liner to form the crust.
- Bake the crusts at 350°F for 5–7 minutes. Remove the pan from the oven and reduce the oven temperature to 325°F. Let the crusts cool slightly while you make the filling.
- Make the filling: in a large bowl, beat 16 ounces softened cream cheese until smooth and free of lumps, scraping down the sides of the bowl as needed.
- Add 3/4 cup granulated sugar to the cream cheese and beat until combined.
- Add 3 tablespoons sour cream (at room temperature) and 1 1/4 teaspoons vanilla extract and mix until the mixture is smooth.
- Add 2 large eggs (at room temperature) one at a time, mixing on low speed and stopping as soon as each egg is incorporated. Do not overmix.
- Fill each prepared crust about 3/4 full with the cheesecake batter.
- Bake at 325°F for 16–20 minutes, until the centers are mostly set but still have a slight jiggle.
- Remove the pan from the oven and let the mini cheesecakes cool at room temperature for 30 minutes.
- After cooling, transfer the pan to the refrigerator and chill the cheesecakes for at least 1 hour before serving.
- Serve chilled, topped with whipped cream and/or fresh fruit if desired.
Equipment
- 12-cup muffin pan
- Cupcake Liners
- Medium Bowl
- Large Bowl
- Oven
- Electric Mixer


