
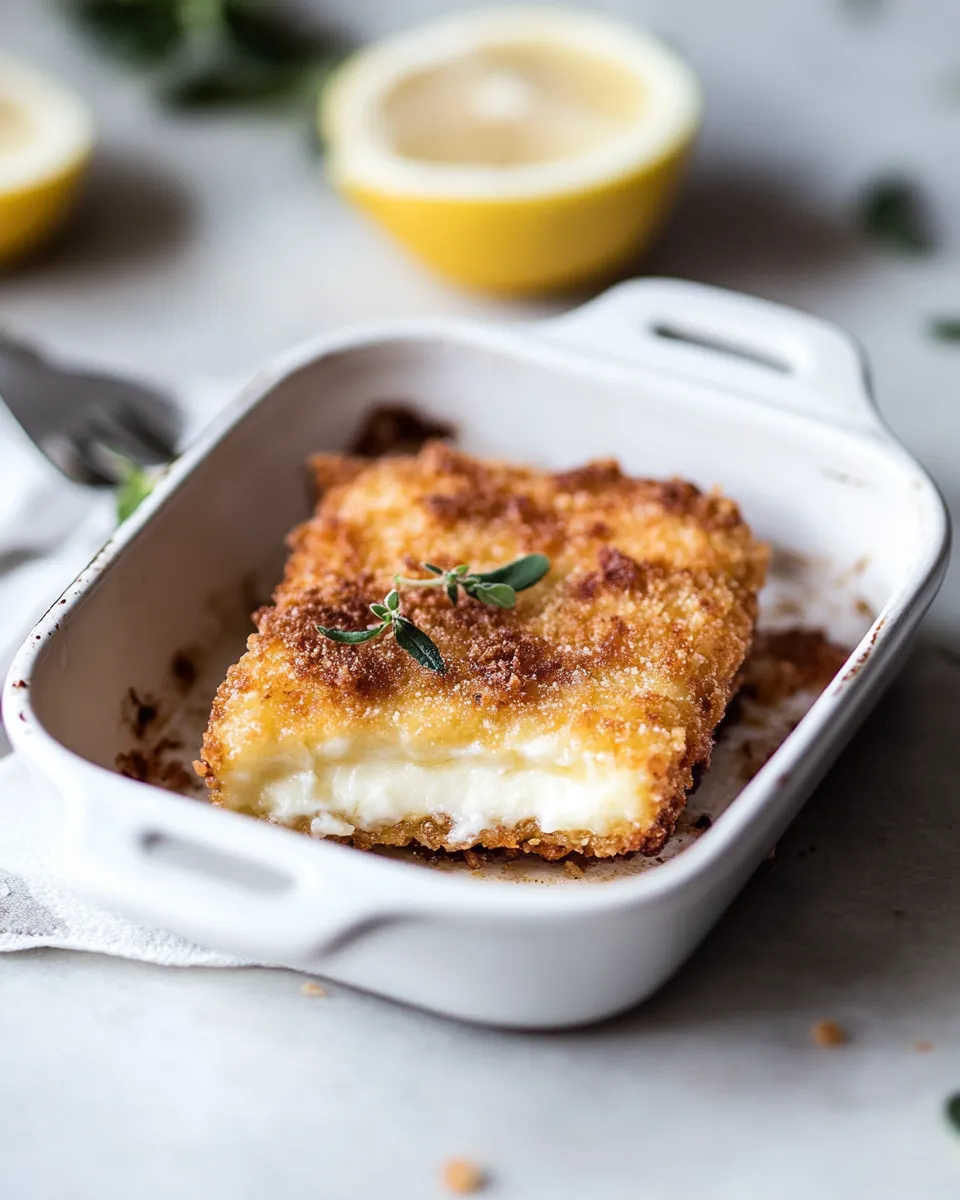
This is the saganaki I make when guests arrive and I want something quick, impressive, and unmistakably Greek. One piece of cheese, a dusting of flour, a slick of hot olive oil, and a squeeze of lemon—simple steps that yield a blistered, crunchy exterior and a molten, salty interior. It’s almost theatrical but requires little skill.
I started cooking saganaki because it’s fast and always a crowd-pleaser. The technique focuses on controlling heat and handling the cheese gently so it browns instead of leaking away. Little habits—preheating the oil, shaking off excess flour, a firm flip—make the difference between perfect and disappointed.
Below you’ll find a practical, tested approach: what to buy, exact step-by-step directions, troubleshooting, and ways to adapt the dish if you need to. No fluff—just the clear, usable advice I wish someone had given me the first time I tried frying cheese.
What to Buy
Focus on quality and simplicity. For saganaki the ingredient list is short, so each item matters. Buy a compact, sturdy piece of frying cheese labeled for grilling or frying when possible. Choose a neutral, good-quality olive oil; you won’t need much, but it should handle medium-high heat without smoking immediately. A lemon should be bright and juicy.
If you’re shopping for equipment at the same time, a small heavy skillet (cast iron or stainless) and a thin metal spatula will save you headaches. You don’t need specialty tools, but sturdy cookware and proper oil make the process predictable.
Ingredients
- 1 piece saganaki cheese — the star ingredient: a firm, salty frying cheese that holds its shape when heated.
- Flour — for dredging; creates a crisp barrier and helps form an even golden crust.
- Olive oil — for frying; enough to coat the skillet bottom so the cheese browns evenly and won’t stick.
- 1/2 lemon, cut into wedges — for finishing; acidity brightens the rich, melted cheese immediately before serving.
Saganaki (Greek Fried Cheese) in Steps
- Pour enough olive oil into a small skillet to coat the bottom and heat over medium-high until the oil is hot and shimmering.
- Dredge 1 piece saganaki cheese in flour, coating all sides and shaking off any excess flour.
- Carefully add the floured cheese to the hot oil.
- Fry until golden brown, about 2–4 minutes per side. If the cheese sticks, use a metal spatula to loosen it before flipping.
- Remove the cheese from the skillet and let excess oil drip back into the pan for a moment (or tilt the pan and spoon off some oil) if you wish to drain it.
- Squeeze the 1/2 lemon (cut into wedges) over the hot cheese and serve immediately.
Why It Works Every Time
There are three technical reasons saganaki reliably comes out well when you follow the steps above:
1) Surface starching. Dredging the cheese in flour creates a thin dry layer that browns and crisps quickly. That crust insulates the interior and reduces sticking to the pan.
2) Controlled heat transfer. A small pool of hot oil ensures even, direct contact and steady browning. Heat that’s too low makes the cheese limp and pale; too high and the crust burns before the inside softens.
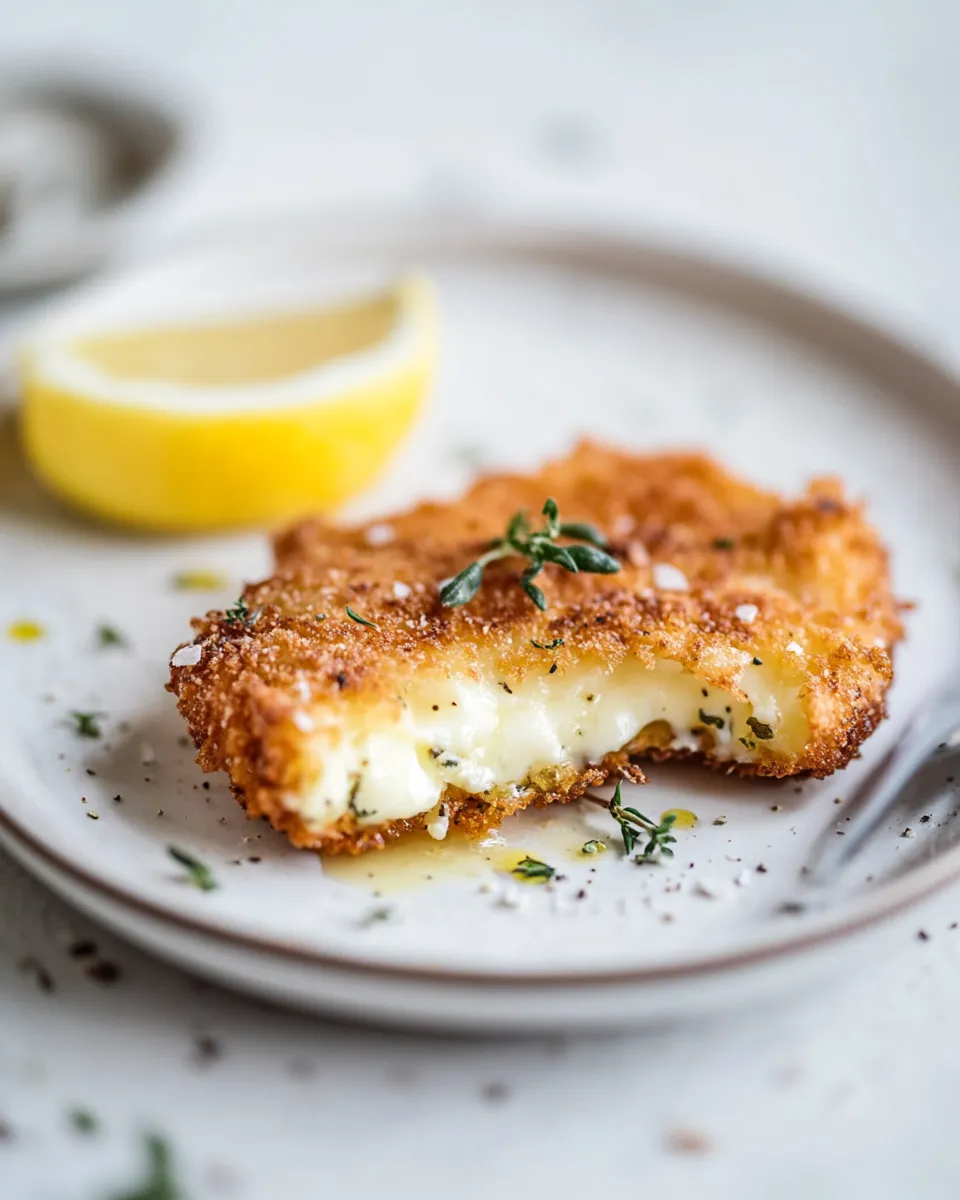
3) Immediate acid finish. Squeezing lemon over the hot fried cheese balances the richness and lifts flavors, preventing the dish from feeling one-note. The contrast between crunchy exterior, gooey interior, and bright citrus is what makes saganaki memorable.
Flavor-Forward Alternatives
Once you’ve nailed the basic technique, experiment with finishing touches and small additions to change the flavor profile without altering the core method:
– Finish with a quick sprinkle of dried oregano or cracked black pepper for an herby boost. These don’t change frying behavior but add aroma at the table.
– For a sweet-salty contrast, drizzle a little honey over the hot cheese right before serving; the combination of caramelized crust, salty cheese, and honey is unexpectedly addictive.
– If you want a smoky note, serve saganaki with a tiny spoonful of smoked paprika mixed into a squeeze of lemon; brush sparingly so you don’t mask the cheese.
Essential Tools for Success
Must-haves
- Small heavy skillet (cast iron or stainless) — holds heat steady and browns evenly.
- Thin metal spatula — for loosening and flipping without tearing the crust.
- Tongs or a slotted spatula — helpful for lifting and draining the fried cheese.
Nice-to-haves
- Paper towels or a wire rack — for draining excess oil briefly.
- Instant-read thermometer — useful if you’re monitoring oil temperature, though for this recipe visual cues (oil shimmering, golden crust) work fine.
Things That Go Wrong
Sticky mess: If the cheese sticks, it usually means the oil wasn’t hot enough or the flour layer was uneven. Solution: let the pan and oil heat a touch longer next time; shake off excess flour so you have a thin, even coating.
Cheese bursts or leaks: Overcrowding the pan or flipping too aggressively can tear the crust. Fry one piece at a time and use a gentle lift to flip.
Burned exterior, cold interior: That’s too high heat. Lower the heat to medium and allow the cheese more time in the pan—2–4 minutes per side is the window; adjust toward 4 minutes if your pan runs cool, toward 2 if it runs hot.
Greasy finish: Let the fried cheese drain briefly on a rack or tilt the pan and spoon off some oil. Serving immediately after a short drain keeps the crust crisp without excess oil pooling on the plate.
Adaptations for Special Diets
Vegetarian: Traditional saganaki is vegetarian (made from cheese and no meat). Check labels if you avoid animal rennet—look for cheeses marked vegetarian or made with microbial/vegetarian rennet.
Gluten-free: Substitute a gluten-free flour for dredging. The technique is the same: coat, shake off excess, and fry. Be mindful of cross-contamination if someone has celiac disease.
Lower oil approach: Use a well-seasoned cast-iron or high-quality nonstick skillet and shallow-fry with just enough oil to coat the bottom. The crust will still form; you’ll just need to pay closer attention to heat so it browns evenly.
Testing Timeline
Here’s a practical timeline to run through your first few tests and get consistent results:
– Preheat and oil the pan: 3–5 minutes on medium-high until the oil shimmers.
– Dredge and shake off excess flour: 30–60 seconds per piece.
– Frying: 2–4 minutes per side. Expect to try a couple of pieces to learn how your pan and stove behave—adjust within that window.
– Rest/drain: 10–20 seconds to let oil drip off into the pan or onto paper towel; do not let it sit long or the crust will steam and soften.
Plan for a total of 8–12 minutes from start of heating to serving for one piece; make multiple pieces sequentially rather than crowded—saganaki is best hot and fresh.
Freezer-Friendly Notes
Fried saganaki is best served immediately; once cooled and frozen, the texture changes and the crisp crust won’t recover well. If you need to store, briefly refrigerate and reheat gently in a skillet to refresh the crust, but expect some loss of crispiness.
If you purchase extra saganaki cheese, you can freeze the raw cheese unbattered for storage and thaw in the refrigerator before dredging and frying. Don’t freeze after battering or frying—ice crystal formation will damage the crust and interior.
Helpful Q&A
What cheeses can I use for saganaki?
Traditional saganaki uses a firm, salty cheese that holds its shape when heated. If your store labels cheese as suitable for frying or grilling, it will perform similarly. If you’re unsure, ask your cheesemonger for a frying cheese.
Can I bake saganaki instead of frying?
Baking won’t give the same crisp, browned crust you get from frying in oil because the direct contact and quick high-heat transfer of oil is what creates that caramelized exterior. You can broil briefly, but watch closely to avoid burning.
Can I make saganaki ahead of time?
Because the contrast between hot interior and crisp crust is the point, make it just before serving. If you must prepare in advance, refrigerate the raw, floured pieces and fry just before serving.
Bring It to the Table
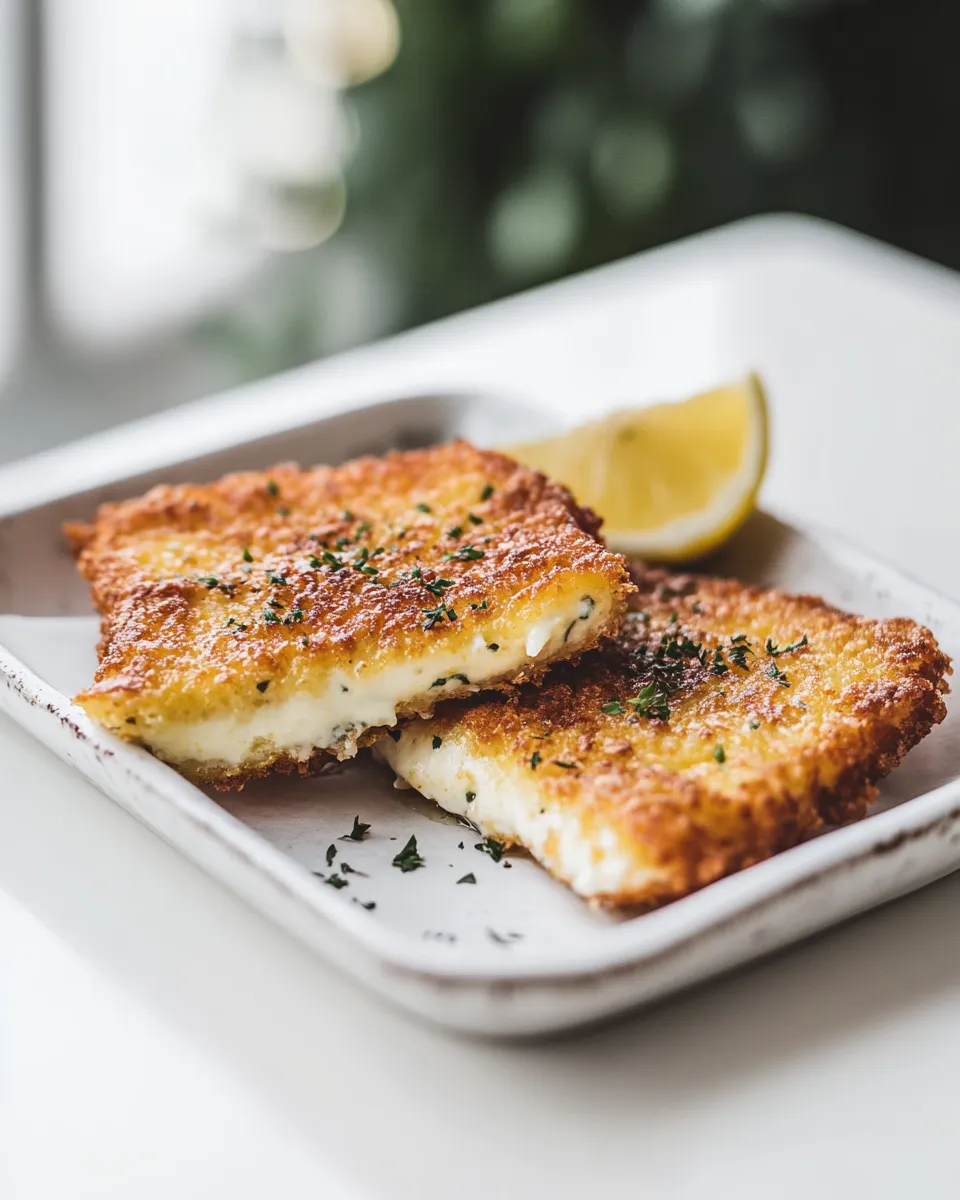
Saganaki is a small, bold course. Serve it right off the skillet with the lemon wedges on the side and a small plate for each guest. A squeeze of lemon is essential; the brightness cuts the richness and wakes the palate.
Pair it with crusty bread or warm pita for scooping, and a simple salad or olives to balance the richness. For drinks, something crisp and acidic—like a chilled white wine, a dry rosé, or a citrus-forward beer—works wonderfully. If you’re serving as an appetizer, keep portions small: one piece goes a long way.
Finally, don’t overthink it. The success of saganaki comes from respecting the process: hot pan, thin flour coating, steady heat, and a bright lemon finish. With that in mind, you’ll have a show-stopping plate in under ten minutes—every time.

Saganaki (Greek Fried Cheese)
Ingredients
Ingredients
- 1 piecesaganaki cheese
- Flourfor dredging
- Olive oilfor frying
- 1/2 lemoncut into wedges
Instructions
Instructions
- Pour enough olive oil into a small skillet to coat the bottom and heat over medium-high until the oil is hot and shimmering.
- Dredge 1 piece saganaki cheese in flour, coating all sides and shaking off any excess flour.
- Carefully add the floured cheese to the hot oil.
- Fry until golden brown, about 2–4 minutes per side. If the cheese sticks, use a metal spatula to loosen it before flipping.
- Remove the cheese from the skillet and let excess oil drip back into the pan for a moment (or tilt the pan and spoon off some oil) if you wish to drain it.
- Squeeze the 1/2 lemon (cut into wedges) over the hot cheese and serve immediately.
Equipment
- Small Skillet
- Spatula
Notes
The skillet pictured is a5" Lodge cast iron skillet. It works for a small piece of cheese 🙂
If using a cast iron skillet, let it heat up, and cook the cheese onmediumheat since it retains heat so well.


