
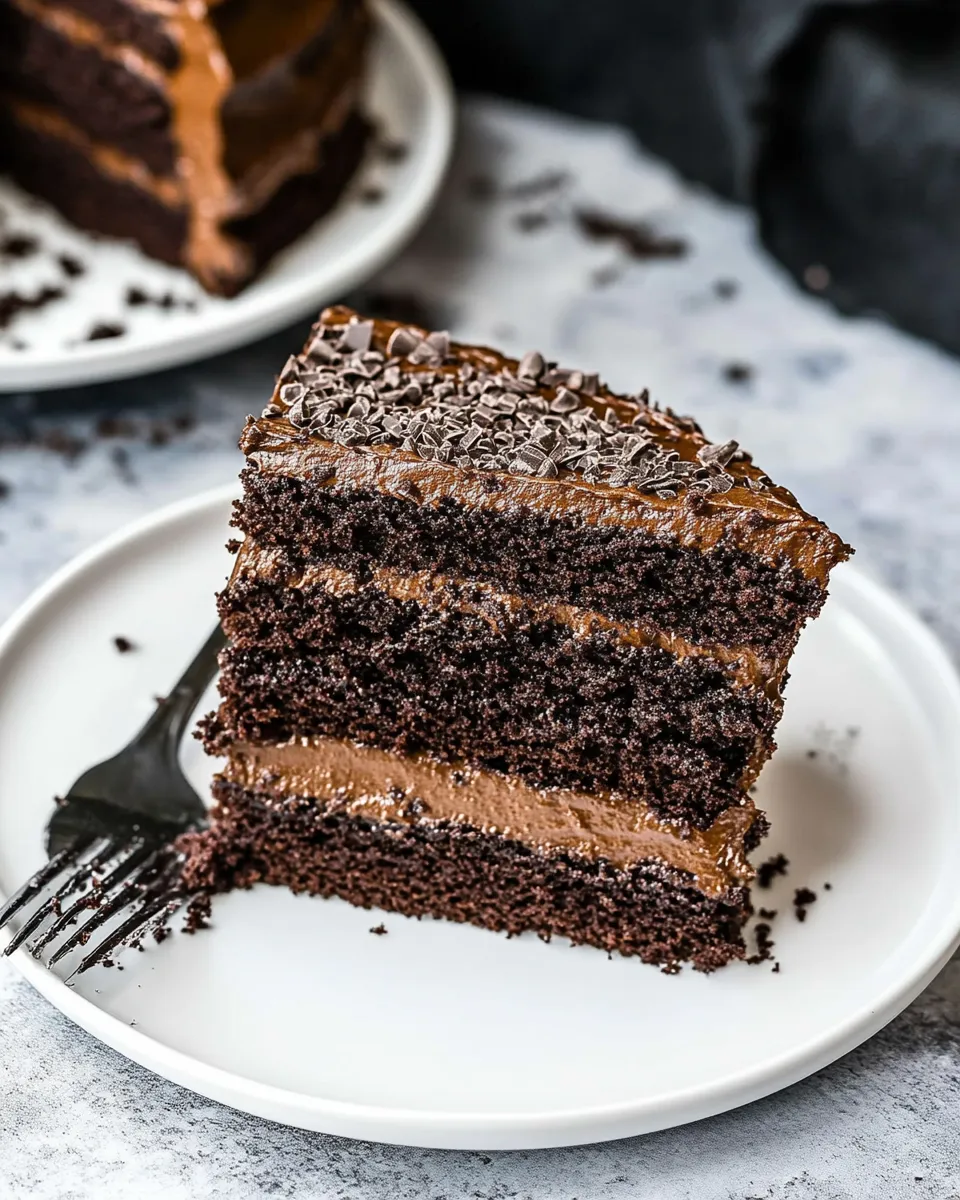
This is the chocolate cake recipe I reach for when I want something reliably impressive: deep chocolate flavor, tender crumb, and layers that stack without sliding. It’s straightforward, forgiving, and perfect for birthdays, weeknight baking, or when you need to show up with something that disappears fast. No gimmicks — just a batter that behaves and a frosting that finishes it beautifully.
I’ll walk you through everything from preheating the oven to the final frosting sweep. You’ll find exact steps to follow, practical tips to prevent common mistakes, and clear notes on ingredient roles. If you like a bright, honest approach to baking with a few chef tricks tucked in, this is the recipe for you.
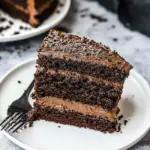
The directions call for a few pantry basics and a can-do attitude. Read through the instructions before you begin, measure carefully, and trust the process. The result is a three-layer Chocolate Cake that slices cleanly, tastes rich, and holds well for gifting or serving to guests.
Your Shopping Guide
Before you line up pans and preheat the oven, take five minutes to gather everything. This cake calls for familiar ingredients, but quality and freshness matter. Look for good unsweetened cocoa (not Dutch-processed unless you prefer it), and check the expiration on baking powder and baking soda — leavening loses strength over time.
Choose a neutral vegetable oil rather than olive or flavored oils; it keeps the crumb soft and the chocolate flavor forward. For the coffee: freshly brewed hot coffee adds depth, so plan a quick pot or use strong cold-brew warmed. If you plan to frost the cake the same day, make sure your frosting is ready or store-bought chocolate frosting is on hand — this recipe uses six cups of it.
Finally, buy three 8-inch round pans or make sure you can bake in batches. A small investing in parchment rounds and a good offset spatula will save time and frustration. Having a kitchen scale makes dividing batter easier and yields more even layers, but measuring cups will work too.
Chocolate Cake: From Prep to Plate
- Preheat the oven to 350°F. Prepare three 8-inch round cake pans: cut three parchment circles to fit the bottoms, lightly spray the bottoms of the pans so the parchment will stick, place the parchment circles in the pans, then lightly spray the parchment.
- In the bowl of a stand mixer fitted with the paddle attachment, add 3 cups all-purpose flour, 3 cups granulated sugar, 1 cup unsweetened cocoa powder, 2 teaspoons baking powder, 3 teaspoons baking soda, and 1½ teaspoons salt. Mix on low speed until the dry ingredients are evenly combined.
- In a medium bowl, whisk together 1½ cups buttermilk, ¾ cup vegetable oil, 3 large eggs (room temperature), and 2 teaspoons vanilla extract until smooth.
- With the mixer on low speed, add the wet ingredients to the dry ingredients and mix until just combined. Scrape the bottom and sides of the bowl with a spatula as needed.
- Keep the mixer on low and slowly pour in 1½ cups hot coffee in a steady stream. Continue mixing on low until the batter is smooth and uniform. Scrape the bowl again if needed.
- Divide the batter evenly among the three prepared pans (use a kitchen scale or measuring cups to help divide evenly). Smooth the tops with an offset spatula or the back of a spoon.
- Bake in the preheated oven for 35–40 minutes, or until a toothpick inserted into the center of each cake comes out clean. If your oven bakes unevenly, rotate the pans halfway through baking.
- Remove the pans from the oven and place them on a wire rack. Let the cakes cool in the pans for about 30 minutes.
- Run a knife around the edges, invert the cakes onto the rack or a cutting board, peel off the parchment, and allow the cakes to cool completely.
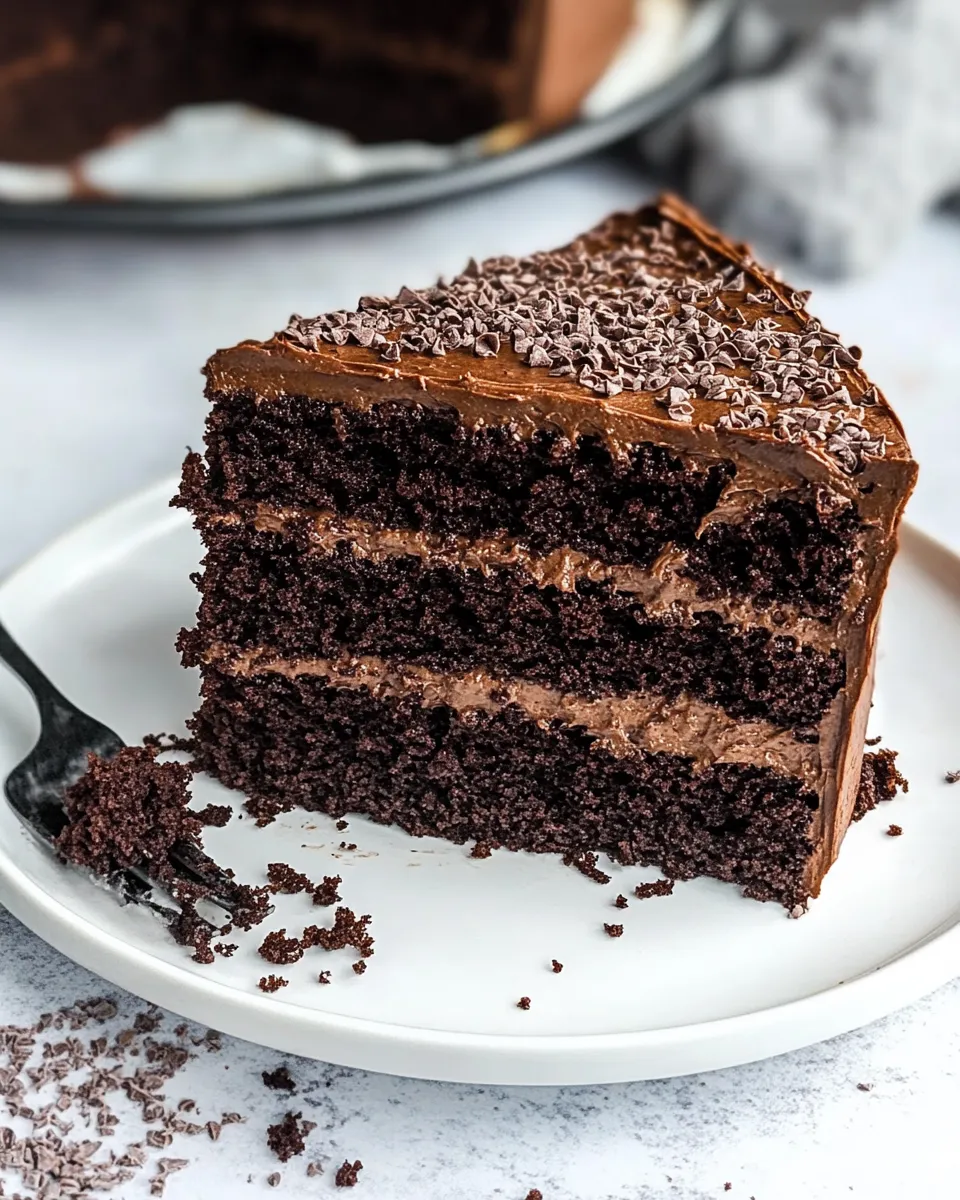
- If needed, level the tops by trimming any domes so each layer is flat. Place one cake layer on your serving plate, spread chocolate frosting between the layers and stack the next layer, and use the remaining frosting to frost the top and sides. (Use all 6 cups chocolate frosting to fill and frost the assembled cake.)
Why You’ll Love This Recipe
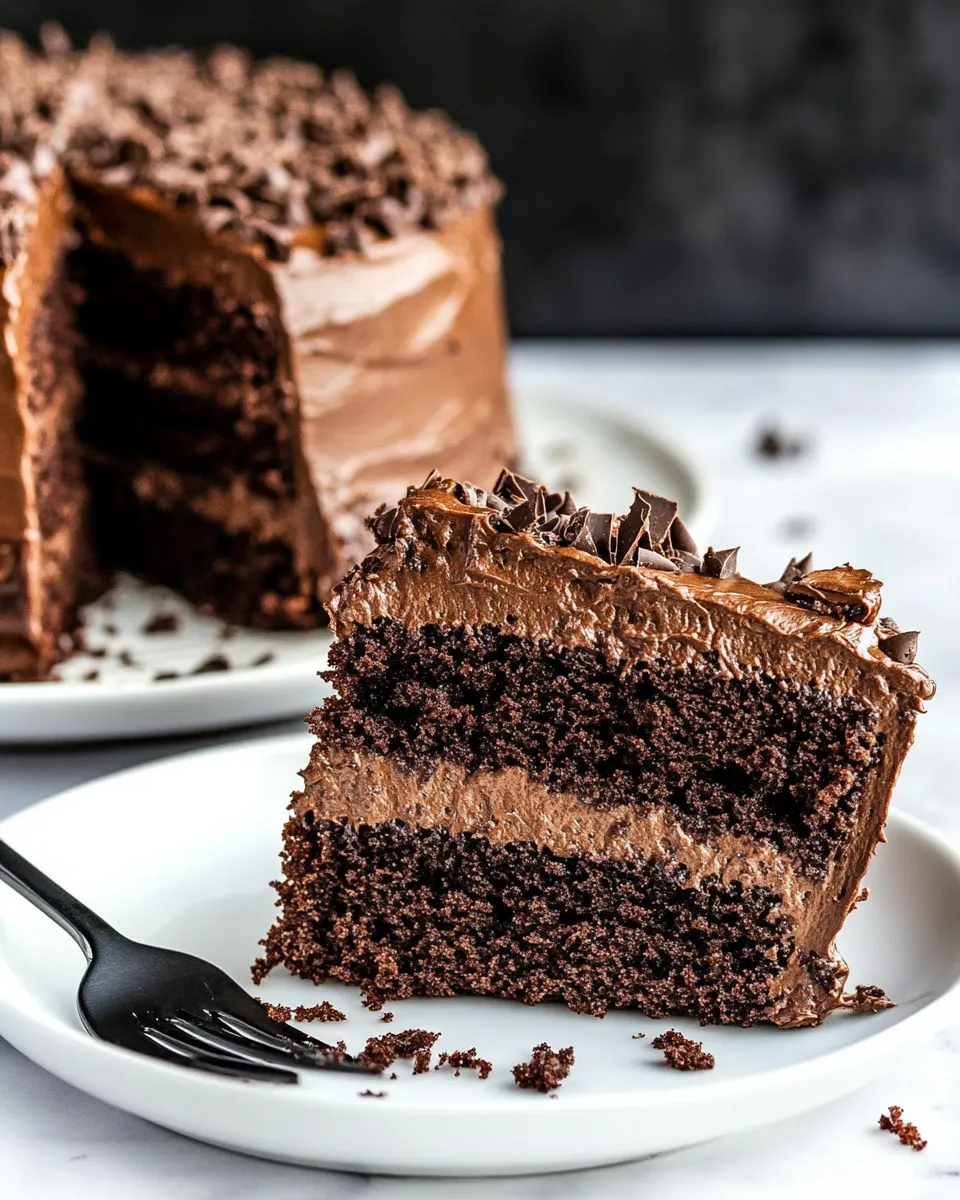
This Chocolate Cake is dependable. The combination of baking powder and extra baking soda ensures a generous rise and an airy crumb despite the dense appearance of the batter. Hot coffee acts as a flavor amplifier — it lifts the chocolate notes without tasting like coffee. The texture is tender from the oil, and the buttermilk adds a gentle tang that balances sweetness.
It’s also versatile. The layers are sturdy enough to transport, and the frosting stage is forgiving: if your layers aren’t perfectly flat, a little trimming and a modest crumb coat will get you a clean finish. If you need to bake ahead, the layers freeze well. And the flavor holds up over a couple of days, which makes it practical for gatherings.
Easy Ingredient Swaps
- All-purpose flour — Can be replaced with an equal amount of bleached all-purpose in a pinch; do not substitute whole wheat without expecting a denser crumb.
- Granulated sugar — Light brown sugar can add molasses notes, but expect a slightly moister texture.
- Unsweetened cocoa powder — Use natural or Dutch-processed cocoa, but be aware Dutch-processed is less acidic and may slightly affect rise; no quantity change required.
- Buttermilk — Make a quick substitute by adding 1½ tablespoons vinegar or lemon juice to 1½ cups milk and letting it sit 5–10 minutes.
- Vegetable oil — Neutral oils like canola or sunflower work the same. Avoid coconut oil unless you want a hint of coconut flavor.
- Hot coffee — Strong brewed tea or hot water can be used if you need to avoid caffeine; coffee gives the deepest chocolate lift.
- Chocolate frosting — Six cups is called for; you may use store-bought or homemade. For a lighter finish, use a less sweet whipped frosting but beware of thinner consistencies.
Recommended Tools
- Three 8-inch round cake pans — matched sizes give even layers.
- Parchment paper — for clean release and effortless flipping.
- Stand mixer with paddle attachment — speeds the process but a hand mixer works.
- Offset spatula — for smoothing batter and frosting.
- Kitchen scale — helpful to divide batter evenly; use measuring cups if you don’t have one.
- Cooling rack — necessary for even cooling and to avoid soggy bottoms.
- Toothpick or cake tester — to check doneness.
Pitfalls & How to Prevent Them
Overmixing after you add the wet ingredients can develop gluten and lead to a tough cake. Mix until just combined, and scrape the bowl instead of beating for a long time. Adding the hot coffee slowly is a step you can’t skip — it helps incorporate the liquid without splashing and keeps the batter texture smooth.
Underbaking is a common issue with three-layer cakes because the more batter you bake at once, the longer it might take for the center to set. Rely on the toothpick test and the 35–40 minute window; allow the full time if your oven runs cool. If you see uneven browning or uneven rise, rotating the pans halfway through baking evens things out.
When inverting the pans, don’t rush. Let the cakes cool for the recommended 30 minutes in the pans so they firm up slightly. If you try to remove them when they’re too warm, they’ll tear. Chill the layers briefly if you need perfectly clean trims.
How to Make It Lighter
If you want a lighter bite without losing chocolate intensity, try a few adjustments: use low-fat buttermilk instead of whole buttermilk and consider replacing a portion of the oil with unsweetened applesauce (start with replacing ¼ cup of the ¾ cup oil). That will reduce fat and calorie density, but expect a slightly different crumb and possibly a bit more tenderness.
Another trick is to reduce the frosting per layer — the recipe calls for six cups to fill and frost the assembled cake; using less frosting between layers or a thinner crumb coat will cut the overall sweetness and heaviness without changing the cake itself.
Flavor Logic
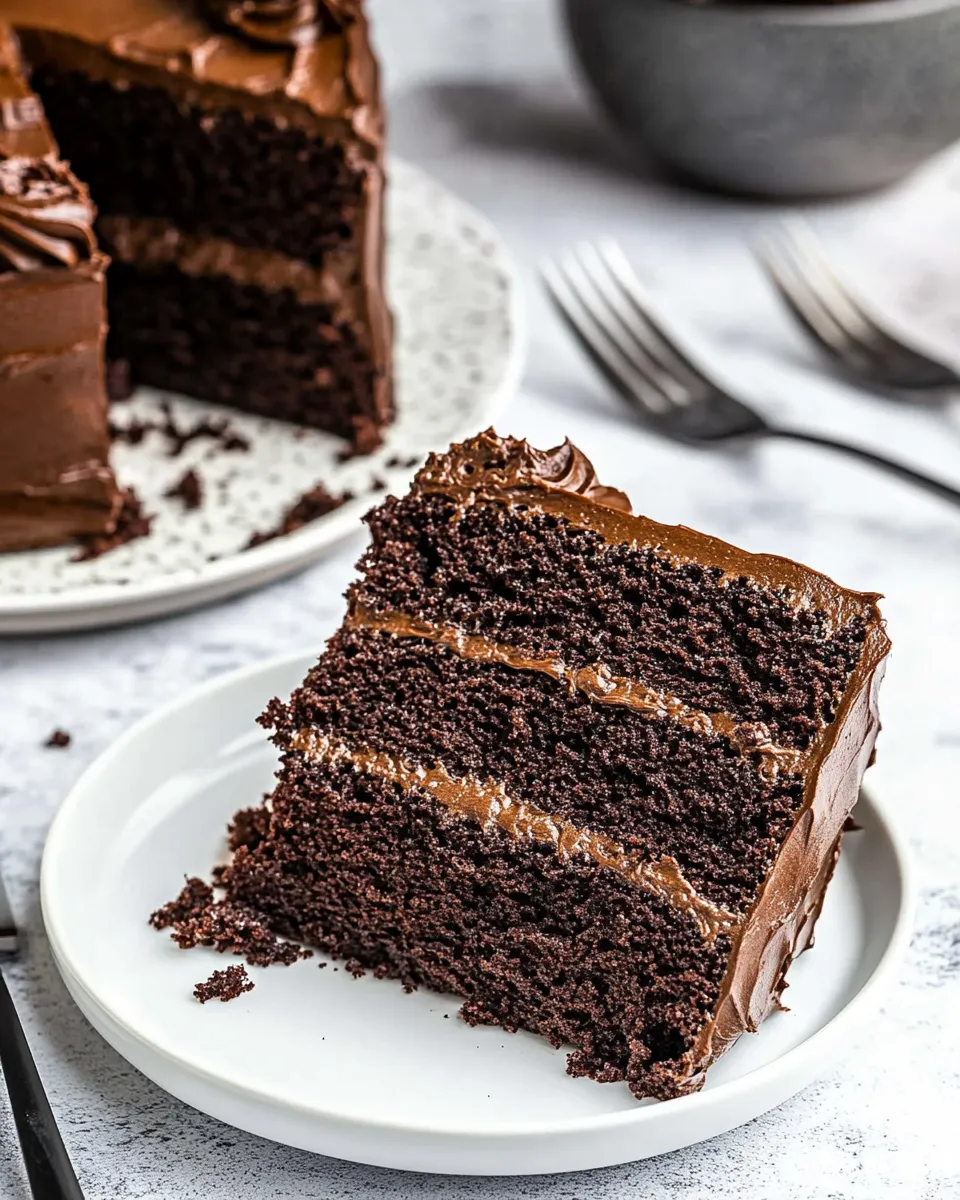
Why these ingredients work together: the all-purpose flour provides structure; sugar tenderizes and sweetens; cocoa brings chocolate substance and is enhanced by hot coffee, which activates cocoa’s flavor compounds. Buttermilk adds acidity that helps baking soda work and gives a subtle tang that balances the sugar. Vegetable oil keeps the crumb moist and shelf-stable better than butter does, which is why this cake slices so cleanly even a day later.
The balance of baking powder and the larger amount of baking soda gives an initial lift and continued rise as the batter reacts with the acidic buttermilk and vanilla. The combined chemistry is what gets you three even layers that don’t feel dense.
Store, Freeze & Reheat
For short-term storage, keep the frosted cake covered at room temperature for up to 2 days, especially if your kitchen is cool. Refrigerate if your room temperature is warm or if you used a perishable filling; bring slices to room temperature before serving to restore tenderness.
To freeze: wrap each cooled, unfrosted layer tightly in plastic wrap and then in foil. Freeze up to 2 months. Thaw in the refrigerator overnight and bring to room temperature before frosting. If you’ve already frosted the cake, a well-wrapped whole cake can be frozen for a couple of weeks; do not refreeze once thawed.
Reheating individual slices is not necessary, but if you prefer warm cake, microwave a slice for 10–15 seconds on a plate; check and add short bursts until warm. Avoid overheating or the frosting will melt.
Ask & Learn
Common questions I hear: Can I halve the recipe? Yes, but keep an eye on pan size and bake time changes. Can I swap eggs? Adding a commercial egg replacer will change structure; I suggest testing once before serving to guests. What if I want a single 9-inch two-layer cake instead of three 8-inch layers? That will work — expect longer baking time and a slightly different texture.
If you’re unsure about your oven’s temperature, use an inexpensive oven thermometer. Many problems trace back to inaccurate oven temps rather than the recipe. And if cakes stick, check your parchment technique: spray the pan first so the parchment adheres and stays put when you pour batter in.
The Takeaway
This Chocolate Cake is straightforward, flexible, and reliably delicious. Follow the measured steps, take a moment to prep pans and tools, and don’t rush the cooling. The hot coffee and buttermilk do much of the flavor work, and the frosting is the finishing touch.
Make it once as written. Once you’re comfortable with the flow, tweak swaps and frosting amounts to suit your taste. It’s a dependable template for many celebrations — and it will likely become one of the recipes you use when you want a rich, confident chocolate cake that people ask for again.
Ingredients
- 3 cups all-purpose flour — the structure of the cake; measure by spooning into cup then leveling.
- 3 cups granulated sugar — sweetens and tenderizes the crumb.
- 1 cup cocoa powder (unsweetened) — provides the chocolate flavor backbone; sift if lumpy.
- 1½ teaspoons salt — balances sweetness and enhances flavor.
- 2 teaspoons baking powder — gives initial rise and lightness.
- 3 teaspoons baking soda — works with buttermilk for lift and browning.
- 1½ cups buttermilk — acidity for tender crumb and to activate leaveners.
- ¾ cup vegetable oil — keeps the cake moist and slices cleanly.
- 3 large eggs (at room temperature) — structure and richness; room temperature mixes more evenly.
- 2 teaspoons vanilla extract — rounds and complements the chocolate notes.
- 1½ cups hot coffee — intensifies chocolate flavor without adding coffee taste.
- 6 cups chocolate frosting — enough to fill between layers and frost the top and sides; use all for best result.
The Best Chocolate Cake
Ingredients
Ingredients
- 3 cupsall-purpose flour
- 3 cupssugar granulated
- 1 cupcocoa powder unsweetened
- 1 1/2 teaspoonsalt
- 2 teaspoonsbaking powder
- 3 teaspoonsbaking soda
- 1 1/2 cupsbuttermilk
- 3/4 cupvegetable oil
- 3 largeeggs at room temperature
- 2 teaspoonsvanilla extract
- 1 1/2 cupshot coffee
- 6 cupschocolate frosting
Instructions
Instructions
- Preheat the oven to 350°F. Prepare three 8-inch round cake pans: cut three parchment circles to fit the bottoms, lightly spray the bottoms of the pans so the parchment will stick, place the parchment circles in the pans, then lightly spray the parchment.
- In the bowl of a stand mixer fitted with the paddle attachment, add 3 cups all-purpose flour, 3 cups granulated sugar, 1 cup unsweetened cocoa powder, 2 teaspoons baking powder, 3 teaspoons baking soda, and 1½ teaspoons salt. Mix on low speed until the dry ingredients are evenly combined.
- In a medium bowl, whisk together 1½ cups buttermilk, ¾ cup vegetable oil, 3 large eggs (room temperature), and 2 teaspoons vanilla extract until smooth.
- With the mixer on low speed, add the wet ingredients to the dry ingredients and mix until just combined. Scrape the bottom and sides of the bowl with a spatula as needed.
- Keep the mixer on low and slowly pour in 1½ cups hot coffee in a steady stream. Continue mixing on low until the batter is smooth and uniform. Scrape the bowl again if needed.
- Divide the batter evenly among the three prepared pans (use a kitchen scale or measuring cups to help divide evenly). Smooth the tops with an offset spatula or the back of a spoon.
- Bake in the preheated oven for 35–40 minutes, or until a toothpick inserted into the center of each cake comes out clean. If your oven bakes unevenly, rotate the pans halfway through baking.
- Remove the pans from the oven and place them on a wire rack. Let the cakes cool in the pans for about 30 minutes.
- Run a knife around the edges, invert the cakes onto the rack or a cutting board, peel off the parchment, and allow the cakes to cool completely.
- If needed, level the tops by trimming any domes so each layer is flat. Place one cake layer on your serving plate, spread chocolate frosting between the layers and stack the next layer, and use the remaining frosting to frost the top and sides. (Use all 6 cups chocolate frosting to fill and frost the assembled cake.)
Equipment
- KitchenAid Artisan 5 Quart Stand Mixer
- 8-inch Round Cake Pans (Set of 3)
Notes
Make sure your measurements are accurate. This will help you reach the ideal cake batter, especially when it comes to sugar and flour. These two are the mischiefs if not used correctly and can make or break your end result.
If you are looking to get those nice flat layers, you can gently cut the domes off with a sharp knife. This will help form the perfectly even layer that you’re looking for.
When storing leftover cake, store it under a cake cover, wrap or foil and keep it on the counter for up to2 days. Additionally, store it in an airtight container and keep it in the fridge for up to1 week.
Ideally your cake can be stored in the freezer before adding the frosting. But, if you do wish to freeze it after fully prepping it, make sure you wrap it neatly and store it in an airtight container before freezing for3 to 4 months.


