
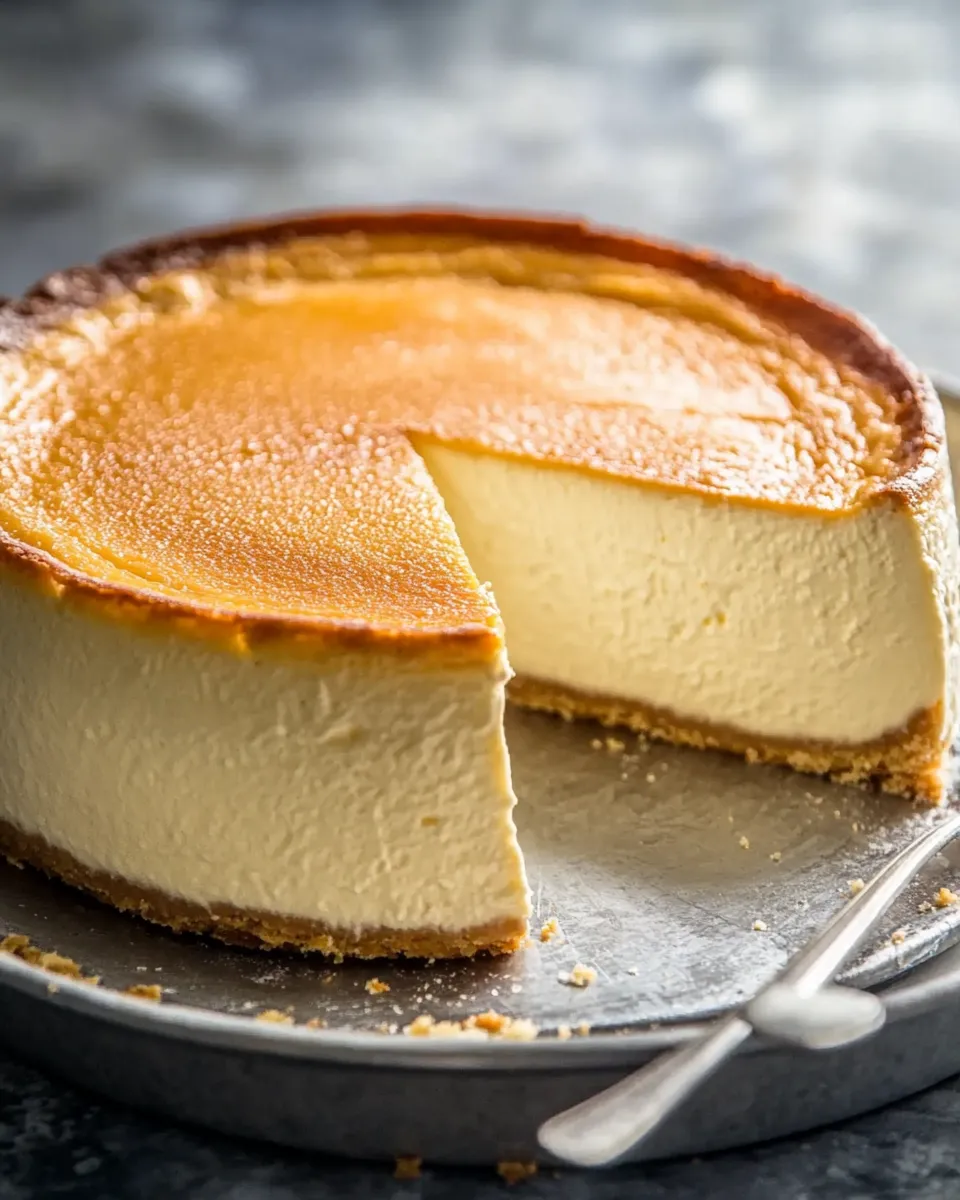
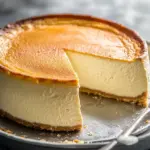
I make a lot of cheesecakes at home, and this version has become the one I turn to when I want a reliably silky, rich result. It’s straightforward, forgiving, and set up to produce that picture-perfect slice with a smooth top and a tender, creamy interior.
There’s a technique behind the texture—room-temperature ingredients, a gentle mixing rhythm, and a water bath to keep the bake even. I’ll walk you through each stage, point out the common mistakes to avoid, and give you practical swaps and storage tips so you can make this on a weeknight or for guests.
No fuss, no mystery. Read through the shopping list and tools, follow the steps in order, chill it well, and you’ll have a creamy cheesecake that holds together and tastes like a slice of celebration.
Shopping List
Before you start, gather everything shown in the Ingredients section. Buy full-fat items where specified—this recipe depends on fat for creaminess. Pick up a sturdy 9″ springform pan and heavy-duty foil if you don’t already own them; they make the water-bath step much more reliable.
Ingredients
- 2cups(198 grams) graham cracker crumbs — base for the crust; choose finely crushed crumbs for an even press.
- 1/3cup(67 grams) sugar — sweetens and helps the crust bind with the butter.
- 7tablespoons(99 grams) butter, melted — binds and browns the crust; use unsalted or adjust accordingly.
- 5blocksfull-fat cream cheese (40 ounces total)room temperature — the primary structure and flavor; full-fat yields the best texture.
- 1 and 1/2cups (300g)granulated sugar — sweetens the filling while helping it set silky rather than grainy.
- 1Tablespoonpure vanilla extract — flavor anchor; use pure vanilla for the cleanest taste.
- 5largeeggsroom temperature — provide structure and a tender crumb; add one at a time for even incorporation.
- 3largeegg yolksroom temperature — add silkiness and richness beyond whole eggs.
- 1/2cup (113ml)heavy creamroom temperature (Use an extra 1/4 cup for even creamier cheesecake) — loosens the batter and gives a lush mouthfeel; extra cream makes it even silkier.
Creamy Cheesecake in Steps
- Preheat oven to 350°F. Lightly spray a 9″ springform pan with non-stick spray.
- Wrap the bottom and sides of the pan with several layers of heavy-duty foil to prevent water from seeping in. Set the wrapped pan aside.
- In a medium bowl, combine 2 cups (198 g) graham cracker crumbs, 1/3 cup (67 g) sugar, and 7 tablespoons (99 g) melted butter. Stir until evenly combined.
- Press the crumb mixture firmly and evenly into the bottom (and slightly up the sides, if desired) of the prepared springform pan. Use the bottom of a measuring cup or a flat object to compact the crust.
- Bake the crust in the preheated oven for 8 minutes. Remove the crust and place it on a cooling rack while you prepare the filling.
- Make sure the cream cheese, eggs, yolks, and heavy cream are at room temperature. In a large bowl or the bowl of a mixer (or in a high-power blender/food processor), beat the 5 blocks (40 ounces total) softened cream cheese until completely smooth, scraping the bowl as needed.
- Add 1 and 1/2 cups (300 g) granulated sugar and 1 tablespoon pure vanilla extract. Beat until smooth and fully incorporated, scraping the sides and bottom of the bowl as needed.
- Add the 5 large eggs one at a time, beating briefly and scraping the bowl after each egg so each is incorporated before adding the next.
- Add the 3 large egg yolks one at a time, beating briefly and scraping the bowl after each yolk.
- Add 1/2 cup (113 ml) heavy cream (room temperature). If you prefer an even creamier cheesecake, add the extra 1/4 cup heavy cream now. Beat just until the cream is incorporated and the batter is smooth—do not overmix.
- Pour the filling into the prepared crust and use a silicone spatula to smooth the top.
- Place the foil-wrapped springform pan into a large, deep roasting pan. Carefully pour about 2 inches of hot (not boiling) water into the roasting pan around the springform to create a water bath.
- Carefully transfer the roasting pan with the water bath and cheesecake into the preheated oven. Bake for 1 hour and 10 minutes.
- After baking time, turn the oven off and leave the cheesecake undisturbed inside the oven, with the door shut, for 45 minutes. The center should still be slightly wiggly when you remove it.
- Remove the roasting pan from the oven and lift the springform pan out of the water bath. Run a thin knife gently around the inside edge of the cheesecake to loosen it from the pan.
- Place the cheesecake (still in the springform pan, without the foil) on a cooling rack and let it cool completely at room temperature.
- Once cooled, loosely cover the pan with plastic wrap and chill in the refrigerator for at least 8 hours (overnight is best) before removing the springform and slicing.
- Store covered in the refrigerator for up to 5 days, or freeze for up to 2 months; thaw overnight in the refrigerator before slicing.
What You’ll Love About This Recipe
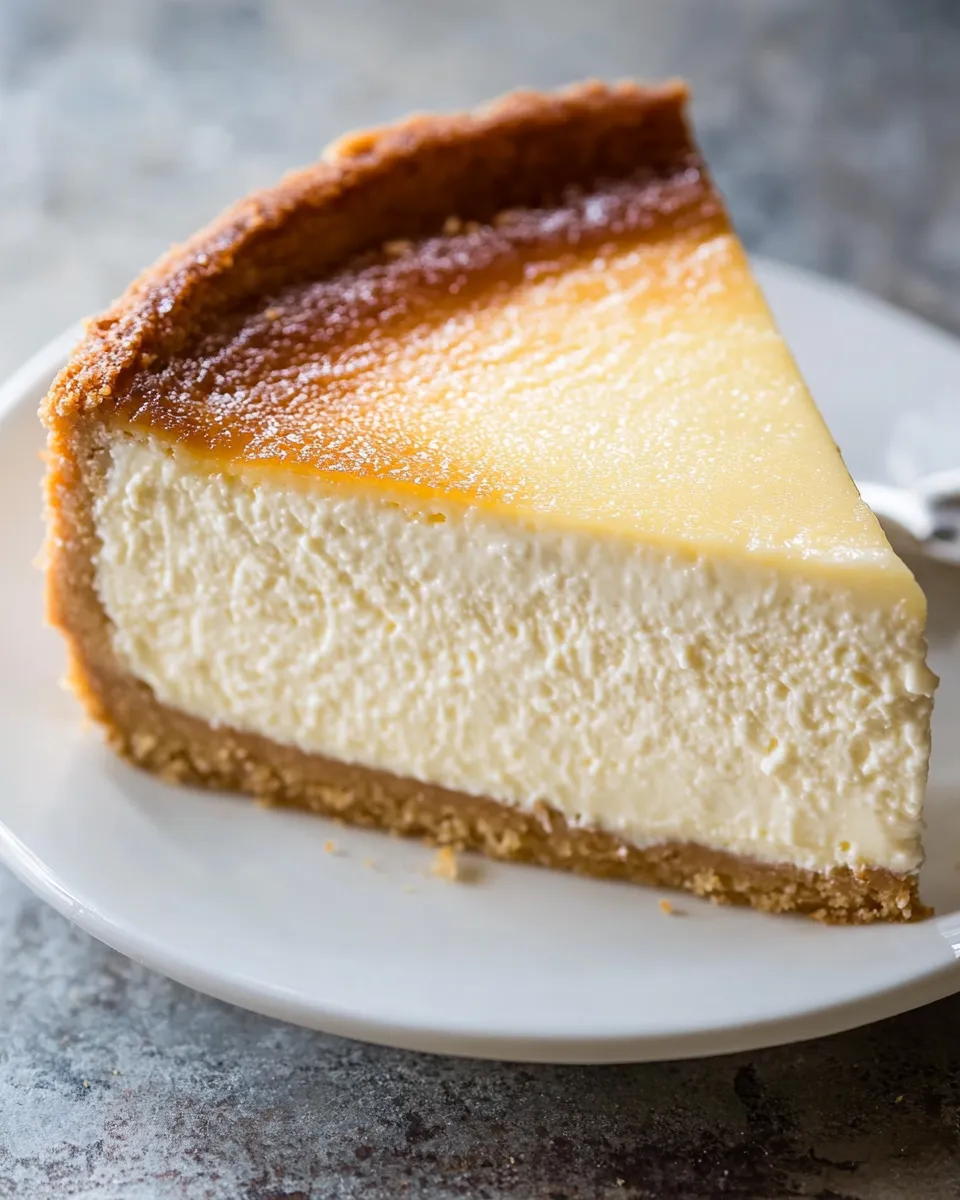
It’s the texture first: dense without being heavy, and velvety rather than rubbery. That balance comes from the combination of whole eggs and extra yolks, plus the measured heavy cream.
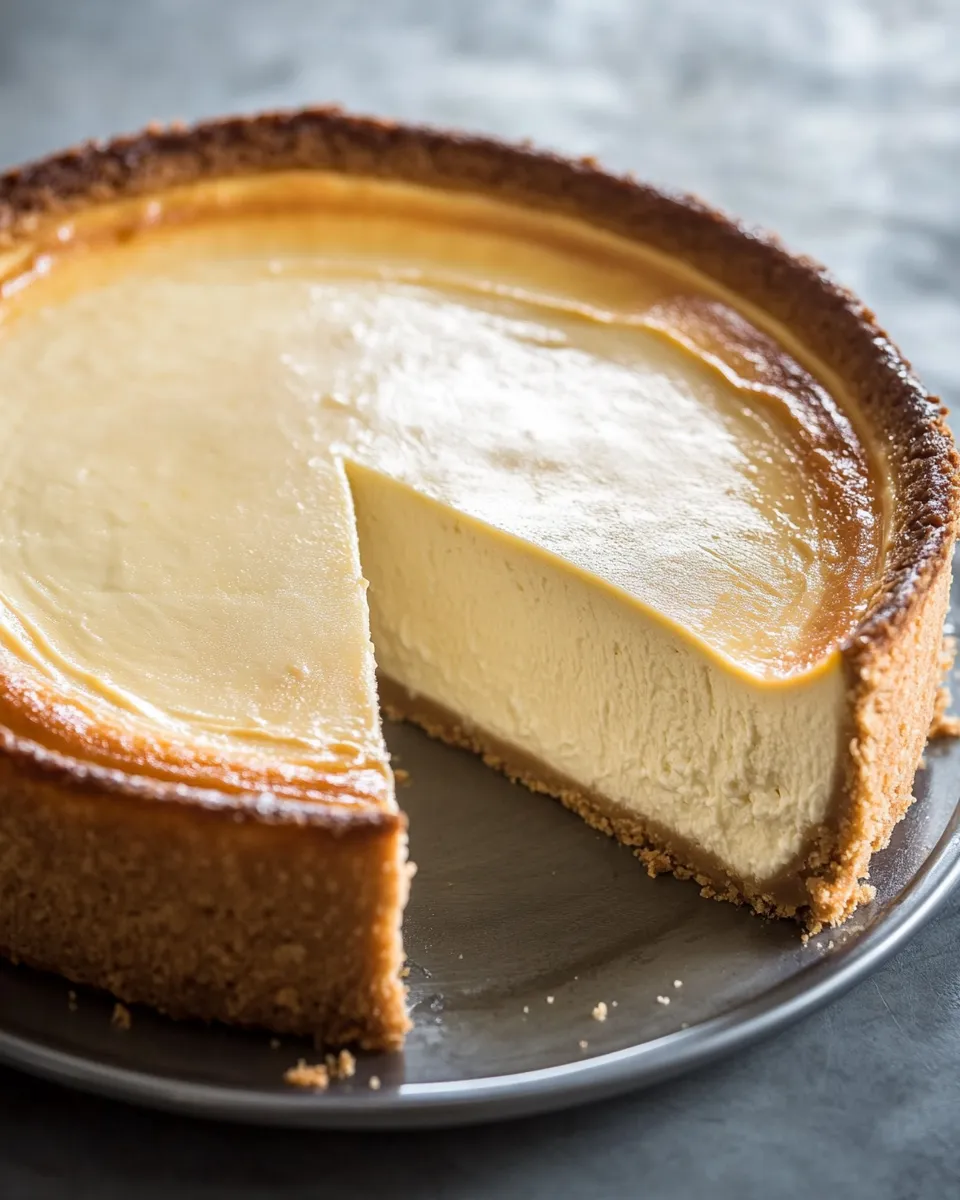
The crust bakes briefly to set and gives a slightly toasted note. Pressing it firmly yields a satisfying base that won’t crumble when you slice the cake.
Finally, the timing is forgiving. The oven-off hold helps the cheesecake finish without cracking, and the overnight chill turns it into slice-ready perfection.
Vegan & Vegetarian Swaps
Vegetarian: This recipe is already suitable for vegetarians who eat dairy and eggs. Use full-fat dairy products as noted for best results.
Vegan: Converting to a vegan cheesecake changes the structure and mouthfeel significantly. Typical vegan swaps include plant-based cream cheese and full-fat coconut cream instead of heavy cream, plus a flax or chia egg blend for some binding. Expect a different but still tasty result. If you try vegan substitutes, make a test cake first and adjust chilling time and bake time to compensate for different moisture levels.
Tools & Equipment Needed
- 9″ springform pan — essential for unmolding without damage.
- Heavy-duty foil — for wrapping the pan and protecting it from the water bath.
- Large, deep roasting pan — to hold the water bath around the springform.
- Electric mixer or food processor — for a smooth, lump-free batter.
- Measuring cups and spoons — accuracy matters.
- Silicone spatula and bench scraper or knife — for smoothing and loosening the cake.
- Cooling rack — lets the cake cool evenly after baking.
What Not to Do
Do not overmix the batter. Once the cream and egg additions are incorporated, stop. Overmixing incorporates too much air and can cause cracks or a soufflé-like rise that collapses.
Do not skip the room-temperature step. Cold cream cheese leads to lumps, which means extra mixing and potential overworking of the batter.
Do not let the water bath boil. Use hot, not boiling, water to maintain gentle, even heat around the pan.
Do not rush the chill. Refrigerating for at least 8 hours is crucial to firm up the interior for clean slices.
Allergy-Friendly Swaps
Gluten-free: Use gluten-free graham crackers or an equivalent gluten-free cookie crumb for the crust. Press and bake as directed.
Dairy-free: Use a full-fat dairy-free cream cheese alternative and dairy-free heavy cream (such as canned coconut cream), but expect textural changes. Adjust sugar and chilling time if needed.
Egg-free: Eggs are central to the structure here. Egg replacers can be used, but they will alter texture and may require testing to get right. If eggs are a strict allergy, consider a distinctly different no-bake vegan cheesecake recipe instead of trying a direct swap.
Flavor Logic
Why so many eggs? Whole eggs provide structure, while the extra yolks add fat and silkiness. Together they yield a set that’s firm enough to slice yet tender on the palate.
Full-fat cream cheese and heavy cream contribute richness and a smooth mouthfeel. Reducing fat here will make the cake less creamy and more prone to cracking or a curdled texture.
The brief bake of the crust sets it and removes excess moisture from the crumbs, so the crust stays crisp against the creamy filling. The sugar in the crust both sweetens and helps with binding when combined with melted butter.
Keep It Fresh: Storage Guide
Store covered in the refrigerator for up to 5 days, or freeze for up to 2 months; thaw overnight in the refrigerator before slicing. For best texture, slice only after it’s completely chilled—warm cheesecake will be too soft and messy.
To freeze: wrap the fully chilled, uncut cheesecake tightly in plastic wrap, then in foil, and place in a rigid container if possible. Thaw the entire cake overnight in the fridge to avoid condensation on the cut slices.
Handy Q&A
- Why did my cheesecake crack? Cracks usually come from overmixing, too-high heat, or cooling too quickly. Follow the gentle mixing, use a water bath, and leave the cake in the oven with the heat off for 45 minutes to reduce thermal shock.
- Can I make this ahead? Yes. It actually benefits from chilling. Make it the day before you need it so the flavors settle and the texture firms up.
- Can I double the recipe? You can scale up, but bake in multiple pans rather than a single much larger one. Monitor bake times closely.
- Why does the center jiggle? A slight jiggle is correct. The residual heat during the oven-off period finishes the set without overbaking.
Let’s Eat
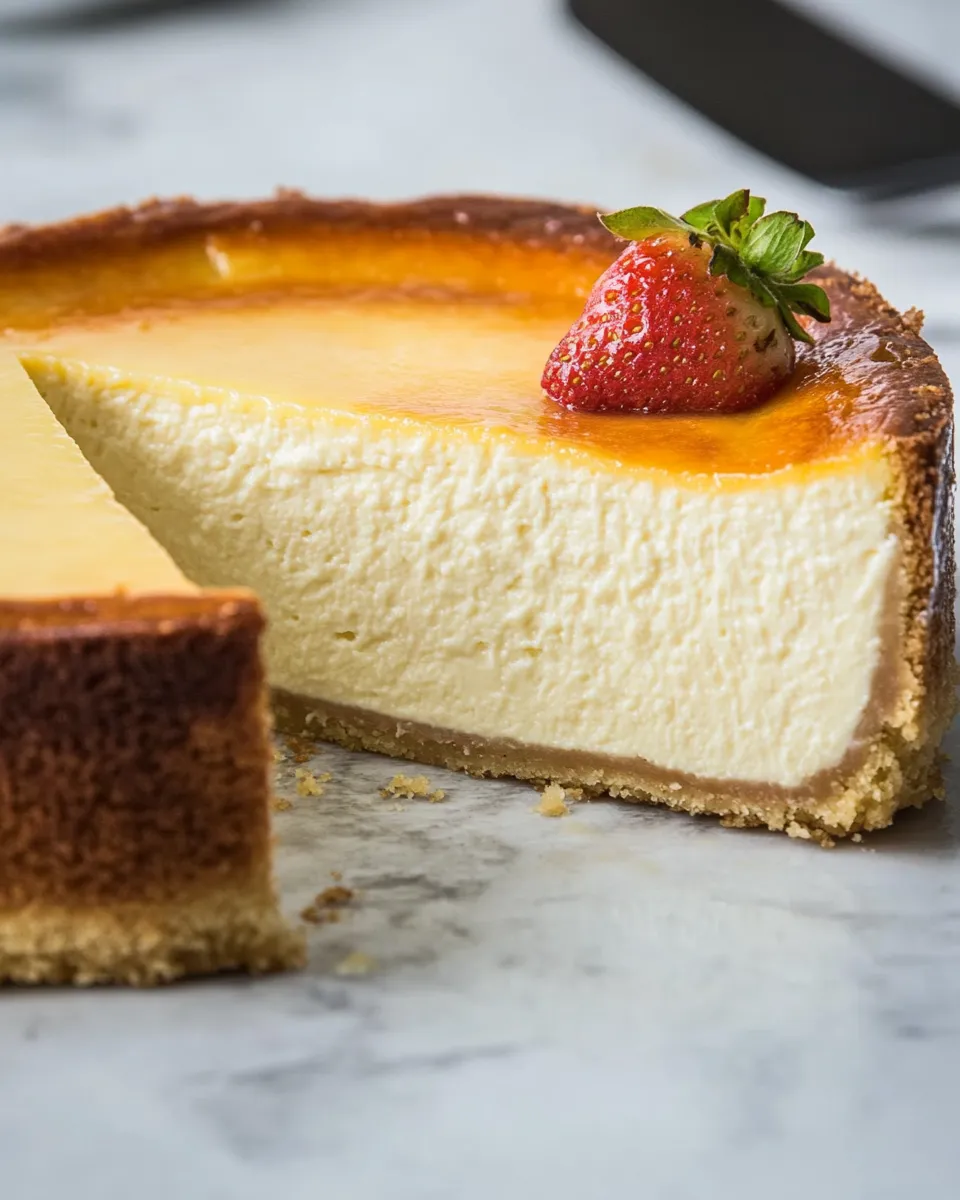
Remove the springform ring carefully, slice with a hot, dry knife (wipe between cuts), and serve plain or topped with a simple fruit compote. A light berry sauce or a scattering of fresh berries keeps the dessert balanced because the cake itself is rich.
This cheesecake keeps beautifully and slices well for gatherings. If you follow the sequence—room temperature ingredients, modest mixing, water bath, oven-off rest, and long chill—you’ll get consistent, restaurant-quality slices every time.
Happy baking. Remember: patience at the end (the chill) is what turns the work you did in the kitchen into the reward on the table.
The Best Creamy Cheesecake Recipe
Ingredients
Ingredients
- 2 cups 198 grams graham cracker crumbs
- 1/3 cup 67 grams sugar
- 7 tablespoons 99 grams butter, melted
- 5 blocksfull-fat cream cheese 40 ounces totalroom temperature
- 1 and 1/2 cups 300 ggranulated sugar
- 1 Tablespoonpure vanilla extract
- 5 largeeggsroom temperature
- 3 largeegg yolksroom temperature
- 1/2 cup 113 mlheavy creamroom temperature (Use an extra 1/4 cup for even creamier cheesecake)
Instructions
Instructions
- Preheat oven to 350°F. Lightly spray a 9" springform pan with non-stick spray.
- Wrap the bottom and sides of the pan with several layers of heavy-duty foil to prevent water from seeping in. Set the wrapped pan aside.
- In a medium bowl, combine 2 cups (198 g) graham cracker crumbs, 1/3 cup (67 g) sugar, and 7 tablespoons (99 g) melted butter. Stir until evenly combined.
- Press the crumb mixture firmly and evenly into the bottom (and slightly up the sides, if desired) of the prepared springform pan. Use the bottom of a measuring cup or a flat object to compact the crust.
- Bake the crust in the preheated oven for 8 minutes. Remove the crust and place it on a cooling rack while you prepare the filling.
- Make sure the cream cheese, eggs, yolks, and heavy cream are at room temperature. In a large bowl or the bowl of a mixer (or in a high-power blender/food processor), beat the 5 blocks (40 ounces total) softened cream cheese until completely smooth, scraping the bowl as needed.
- Add 1 and 1/2 cups (300 g) granulated sugar and 1 tablespoon pure vanilla extract. Beat until smooth and fully incorporated, scraping the sides and bottom of the bowl as needed.
- Add the 5 large eggs one at a time, beating briefly and scraping the bowl after each egg so each is incorporated before adding the next.
- Add the 3 large egg yolks one at a time, beating briefly and scraping the bowl after each yolk.
- Add 1/2 cup (113 ml) heavy cream (room temperature). If you prefer an even creamier cheesecake, add the extra 1/4 cup heavy cream now. Beat just until the cream is incorporated and the batter is smooth—do not overmix.
- Pour the filling into the prepared crust and use a silicone spatula to smooth the top.
- Place the foil-wrapped springform pan into a large, deep roasting pan. Carefully pour about 2 inches of hot (not boiling) water into the roasting pan around the springform to create a water bath.
- Carefully transfer the roasting pan with the water bath and cheesecake into the preheated oven. Bake for 1 hour and 10 minutes.
- After baking time, turn the oven off and leave the cheesecake undisturbed inside the oven, with the door shut, for 45 minutes. The center should still be slightly wiggly when you remove it.
- Remove the roasting pan from the oven and lift the springform pan out of the water bath. Run a thin knife gently around the inside edge of the cheesecake to loosen it from the pan.
- Place the cheesecake (still in the springform pan, without the foil) on a cooling rack and let it cool completely at room temperature.
- Once cooled, loosely cover the pan with plastic wrap and chill in the refrigerator for at least 8 hours (overnight is best) before removing the springform and slicing.
- Store covered in the refrigerator for up to 5 days, or freeze for up to 2 months; thaw overnight in the refrigerator before slicing.
Equipment
- 9-inch springform pan
- non-stick spray
- Heavy-Duty Foil
- Medium Bowl
- Measuring Cup
- Mixing Bowl
- mixer or high-power blender/food processor
- Silicone spatula
- large deep roasting pan
- Cooling rack
- Knife
- Plastic Wrap


