

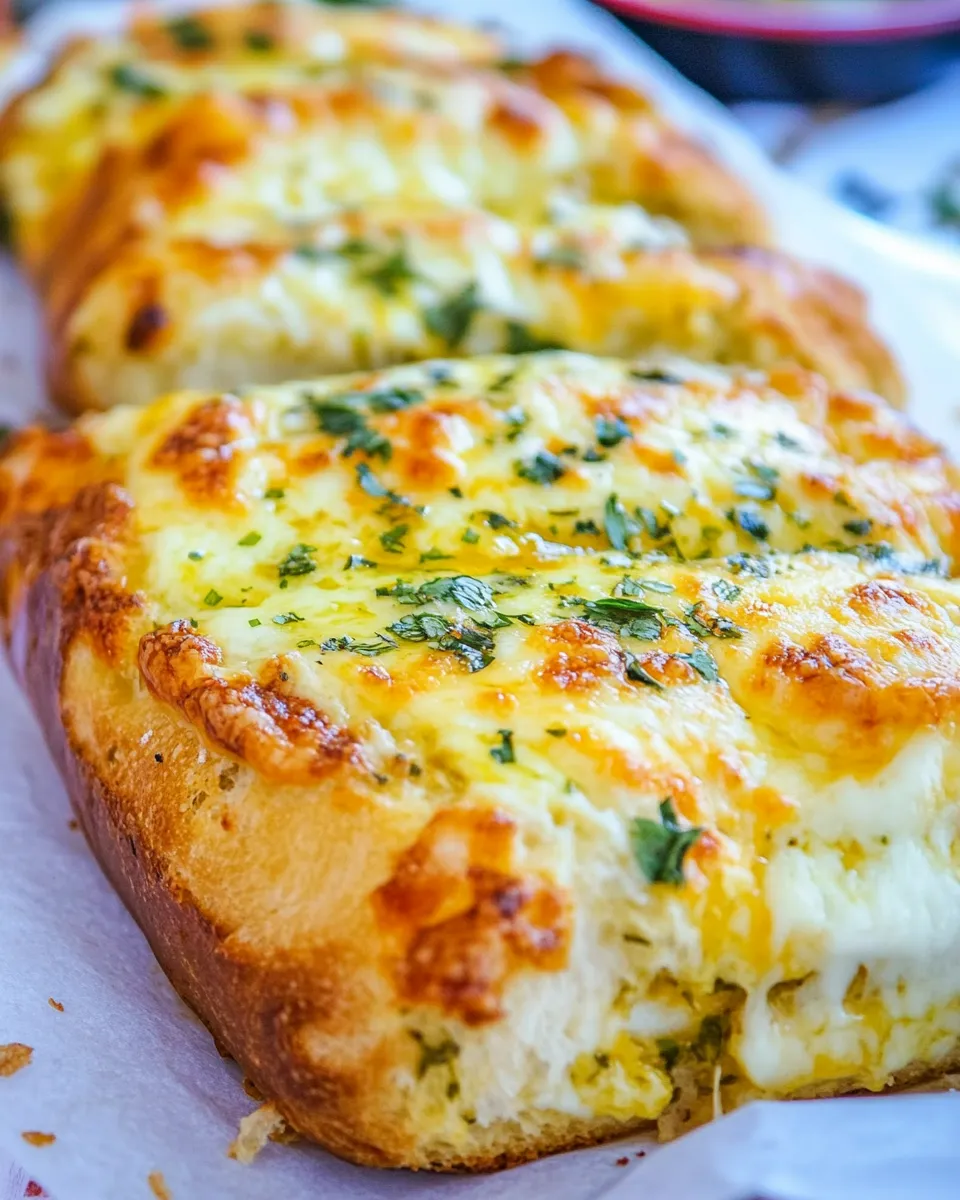
I love recipes that feel like a small kitchen victory—fast, reliable, and wildly satisfying. This cheesy garlic bread checks every box: just a handful of pantry basics, a few minutes of assembly, and a golden, bubbling result that disappears faster than you can set the table. It’s the kind of side dish I reach for when dinner needs rescuing or guests arrive early and hungry.
There’s no fuss here. You’ll slice, mix a simple butter-garlic spread, pile on cheese, and bake. The technique is forgiving, which means you can make it exactly as written or nudge it toward your tastes without breaking anything. Kids love it. Adults love it. It pairs with soup, salad, pasta, or a movie night spread.
Below I’ll walk you through the exact ingredients, the step-by-step method, and the practical why and how behind each choice so you can repeat this with confidence. Keep your oven preheating—this comes together remarkably quickly.
What Goes In
Ingredients
- 2 teaspoons finely chopped garlic — The primary aromatic; finely chopping releases bright, immediate garlic flavor.
- 1 large, 8-12 oz loaf french bread — A sturdy, airy loaf that crisps at the edges while staying soft inside.
- 1/2 cup shredded mozzarella, or Italian cheese blend — Melts into a stretchy, mild layer that invites browning.
- 1/2 cup shredded Monterey Jack, Colby, Cheddar or Mexican blend Cheese — Adds flavor depth and a slightly sharper bite; combined with mozzarella this makes a balanced 1 cup of cheese.
- 4 tablespoons unsalted butter — Provides richness and helps the garlic and herbs cling to the bread; unsalted lets you control seasoning.
- 2 tablespoons extra-virgin olive oil — Keeps the butter mix soft and adds a subtle fruity note while helping edges crisp.
- 2 tablespoons chopped fresh parsley, or dry Italian seasoning — Fresh parsley brightens; dried Italian seasoning is a convenient, pantry-ready alternative.
Step-by-Step: Cheesy Garlic Bread
Follow these exact directions for predictable results. I leave them concise so you can move through the steps without stalling.
- Preheat oven to 400°F (200°C).
- Slice the loaf lengthwise down the middle to make two long halves. Place the halves cut side up on a piece of foil or on a baking sheet/pan.
- In a small bowl, combine 4 tablespoons unsalted butter (softened), 2 tablespoons extra-virgin olive oil, 2 teaspoons finely chopped garlic, and 2 tablespoons chopped fresh parsley (or 2 tablespoons dry Italian seasoning). Stir until evenly mixed.
- Spread the butter-garlic mixture evenly over the cut surfaces of both bread halves.
- Evenly top the bread with 1/2 cup shredded mozzarella (or Italian cheese blend) and 1/2 cup shredded Monterey Jack/Colby/Cheddar (or Mexican blend) — a total of 1 cup shredded cheese.
- Place the prepared bread in the preheated oven and bake 5–8 minutes, until the cheese is fully melted and the edges of the bread are lightly golden.
- Remove from oven, let sit 1–2 minutes, then cut into strips and serve warm with your favorite dipping sauce.
Why This Recipe Belongs in Your Rotation
Because it’s fast, forgiving, and crowd-pleasing. The work is front-loaded to a single, easy step—mixing the butter and garlic—then the oven does the rest. You get crunchy edges, soft interior, and bubbly cheese in under 10 minutes of baking time. That combination makes it a reliable partner for everything from weeknight pasta to casual appetizer spreads.
It’s also flexible: swap cheeses, change herbs, or double it for a crowd without changing your technique. The ingredients are everyday items, so there’s rarely a shopping emergency. Finally, the flavor payoff is high compared with the effort. Small input, big reward—that’s my favorite category of recipes.
International Equivalents
Garlic bread appears around the world in slightly different forms. In Italy, a similar concept appears as garlic-rubbed bread (often without the thick layer of cheese), while in Brazil you’ll find pão de alho skewers that get brushed with a garlicky butter and grilled. In the U.S. variations tended to grow cheesier, which is exactly the direction this recipe takes.
The method here translates well: apply a flavored fat, add cheese if desired, and heat until melty or crisp. Swap local breads—ciabatta, baguette, or a crusty country loaf—for texture variations that still honor the main idea.
Toolbox for This Recipe
Simple tools make this a no-drama recipe. You don’t need fancy equipment—just the basics many cooks already own.
- Baking sheet or pan — Holds the halves flat; foil can make cleanup quicker.
- Small mixing bowl — For the butter-garlic-olive oil mix.
- Spreading knife or offset spatula — To spread the buttery mixture evenly across the cut bread.
- Sharp serrated knife — For cleanly slicing the loaf lengthwise and later into strips.
- Oven mitts or heatproof gloves — For safe handling when removing the hot pan.
Troubleshooting Tips
Cheese not melting evenly
If the cheese isn’t uniformly melted, make sure your oven reached 400°F before the bread went in. Also spread the cheese in an even layer so thinner spots don’t overbrown while thicker spots remain unmelted. Rotate the pan once if your oven has hot spots.
Bread soggy instead of crisp
Too much butter spread too thickly or placing the pan too low in the oven can cause a soggy bottom. Use a moderate layer of butter mixture and bake on the middle rack. A short final blast under the broiler (watch closely) will crisp the top and edges without drying the interior.
Burned garlic
Large raw garlic chunks can brown quickly and turn bitter. Finely chopping the garlic keeps it distributed and reduces the risk of burning. If you prefer a milder, sweeter garlic note, briefly warm the butter with the garlic on low before mixing (don’t brown it).
Nutrition-Minded Tweaks
Got dietary goals? Here are simple, ingredient-focused swaps that keep this recipe’s spirit intact without precise measurement changes.
- Lower fat — Use a reduced amount of butter and increase olive oil slightly, or brush only the edges to reduce total fat while keeping flavor on the crusts.
- Dairy-free — Replace butter with a plant-based spread and choose a dairy-free shredded cheese alternative. The technique and bake time remain the same.
- Smaller portions — Cut the loaf into smaller servings before topping to help manage portions and reduce per-person calories.
- Whole-grain option — Use a whole-grain or multigrain loaf if you want more fiber; texture will differ but the bake is the same.
Flavor Logic
This recipe balances three elements: fat, aromatics, and melting cheese. Fat from butter and olive oil carries flavors and crisps up the edges. Garlic supplies the aromatic backbone. The cheese brings both texture and savory depth. Parsley (or Italian seasoning) adds a fresh counterpoint that prevents the overall flavor from feeling one-note.
Keeping butter softened rather than melted keeps it spreadable and helps it cling to the bread surface, ensuring flavor and moisture where you want them rather than pooling. Using two complementary cheeses—a stretchier, mild cheese plus a slightly sharper one—creates both that pleasing pull and a savory finish.
Save for Later: Storage Tips
Leftovers reheat well. Store cooled bread wrapped tightly in foil or in an airtight container in the refrigerator; it will keep for 2–3 days. Reheat in a 350°F oven for 8–10 minutes, still wrapped loosely in foil to warm through without burning the crust. For a crisper finish, open the foil for the last 2 minutes.
If you freeze, wrap tightly and freeze up to 1 month. Thaw in the fridge overnight, then reheat in a preheated 350°F oven until warm and the cheese is soft again. Avoid microwaving for reheating unless you prefer a softer, less-crispy result.
Your Questions, Answered
Q: Can I use pre-minced garlic from a jar?
A: Yes. Jarred minced garlic works in a pinch. Taste before using—jarred garlic can be more pungent or slightly acidic. Use it in the same volume as fresh if needed, but finely chopped fresh gives the best texture.
Q: Can I cut the loaf into individual slices before baking?
A: You can, but slices may lose some of the interior softness that comes from baking the full half. If you do pre-slice, place the slices close together on the baking sheet so the edges stay moist and the cheese can bridge across slices.
Q: Can I broil to brown faster?
A: Yes. If the cheese melts but you want a faster or deeper browning, move the pan to the top rack and broil for 30–60 seconds. Watch carefully—cheese can go from golden to burnt very quickly.
Hungry for More?
If you liked this, try pairing it with a simple tomato soup, a fresh Caesar salad, or a quick pasta tossed with olive oil, garlic, and chili flakes. This cheesy garlic bread also makes a great base for loaded variations—top with sliced olives, roasted peppers, or a sprinkle of parmesan after baking for extra flair.
Keep this one bookmarked. It’s a fast, dependable recipe you’ll reach for again and again whenever you need a delicious, hands-off side that makes everything feel a little more special.

The Easiest Cheesy Garlic Bread
Ingredients
Ingredients
- 2 teaspoonsfinely chopped garlic
- 1 large 8-12 oz loaf french bread
- 1/2 cupshredded mozzarella or Italian cheese blend
- 1/2 cupshredded monterey jack colby, Cheddar or Mexican blend Cheese
- 4 tablespoonsunsalted butter
- 2 tablespoonsextra-virgin olive oil
- 2 tablespoonschopped fresh parsley or dry Italian seasoning
Instructions
Instructions
- Preheat oven to 400°F (200°C).
- Slice the loaf lengthwise down the middle to make two long halves. Place the halves cut side up on a piece of foil or on a baking sheet/pan.
- In a small bowl, combine 4 tablespoons unsalted butter (softened), 2 tablespoons extra-virgin olive oil, 2 teaspoons finely chopped garlic, and 2 tablespoons chopped fresh parsley (or 2 tablespoons dry Italian seasoning). Stir until evenly mixed.
- Spread the butter-garlic mixture evenly over the cut surfaces of both bread halves.
- Evenly top the bread with 1/2 cup shredded mozzarella (or Italian cheese blend) and 1/2 cup shredded Monterey Jack/Colby/Cheddar (or Mexican blend) — a total of 1 cup shredded cheese.
- Place the prepared bread in the preheated oven and bake 5–8 minutes, until the cheese is fully melted and the edges of the bread are lightly golden.
- Remove from oven, let sit 1–2 minutes, then cut into strips and serve warm with your favorite dipping sauce.
Equipment
- Oven
- Baking sheet or pan
- Foil
- Small Bowl
- Knife


