
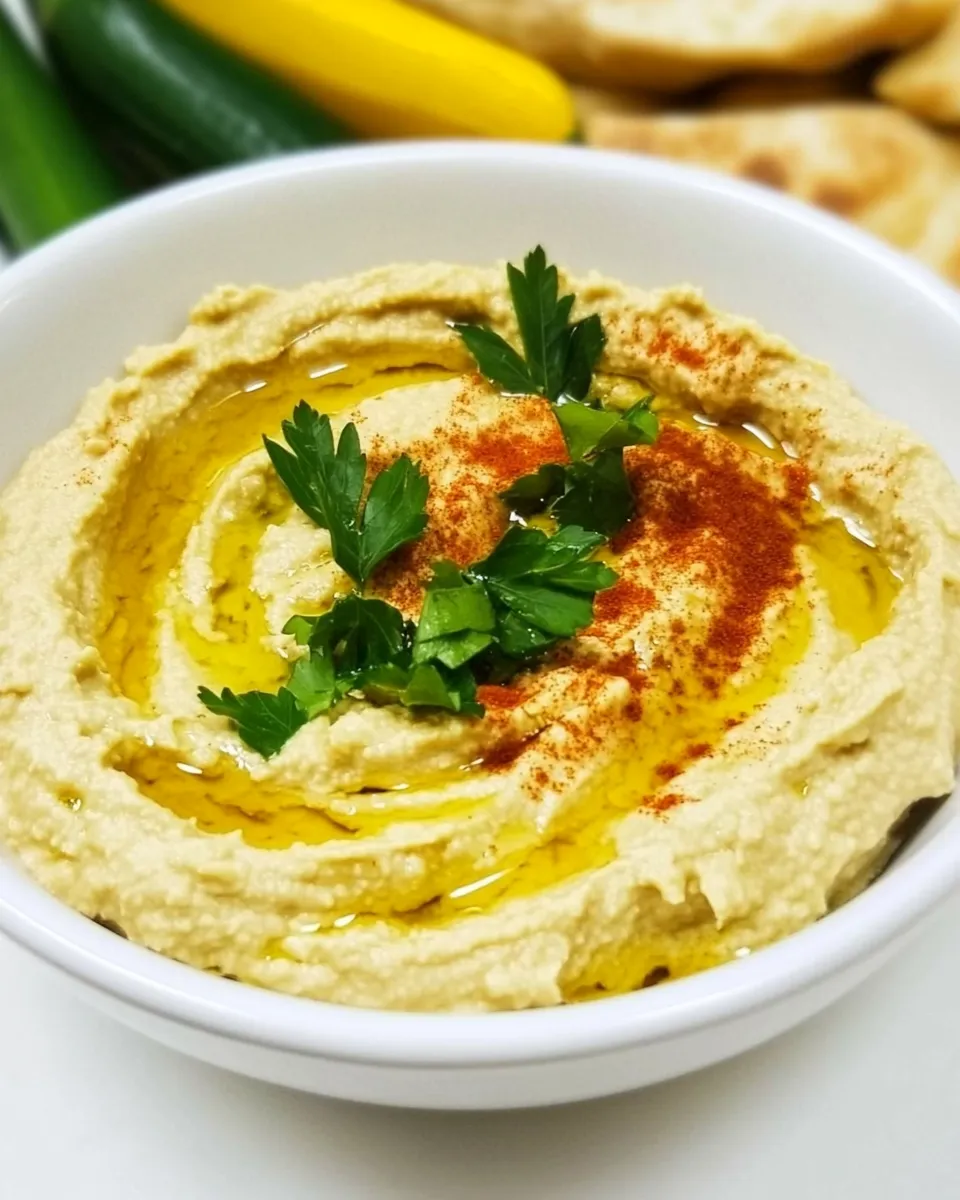
This White Bean Hummus is one of those pantry-to-plate recipes that feels deliberate and effortless at the same time. It takes ingredients you likely already have on hand and turns them into a bright, silky spread with basil doing the heavy lifting for freshness. Julia Child’s version trims the usual hummus routine down to essentials and trusts simple technique to deliver a clean, herb-forward result.
I like it because it’s forgiving. The method is straightforward: rinse, pulse, blend, and adjust. Small adjustments—more lemon, a touch more garlic, a slow stream of olive oil—control texture and lift flavor. That control makes the recipe easy to adapt on the fly, whether I’m prepping for a weekday snack or an impromptu dinner with friends.
Below you’ll find a clear breakdown of the ingredients, the exact step-by-step instructions, equipment notes, troubleshooting tips, and sensible swaps that keep the dish reliable. Read the short prep steps first, then dig into the notes. You’ll be scooping this with pita or crisp vegetables in under 15 minutes.
Ingredient Breakdown

Understanding what each ingredient does helps you tweak the hummus deliberately instead of guessing. This section is practical: what to expect from each element and how it affects texture, flavor, and balance.
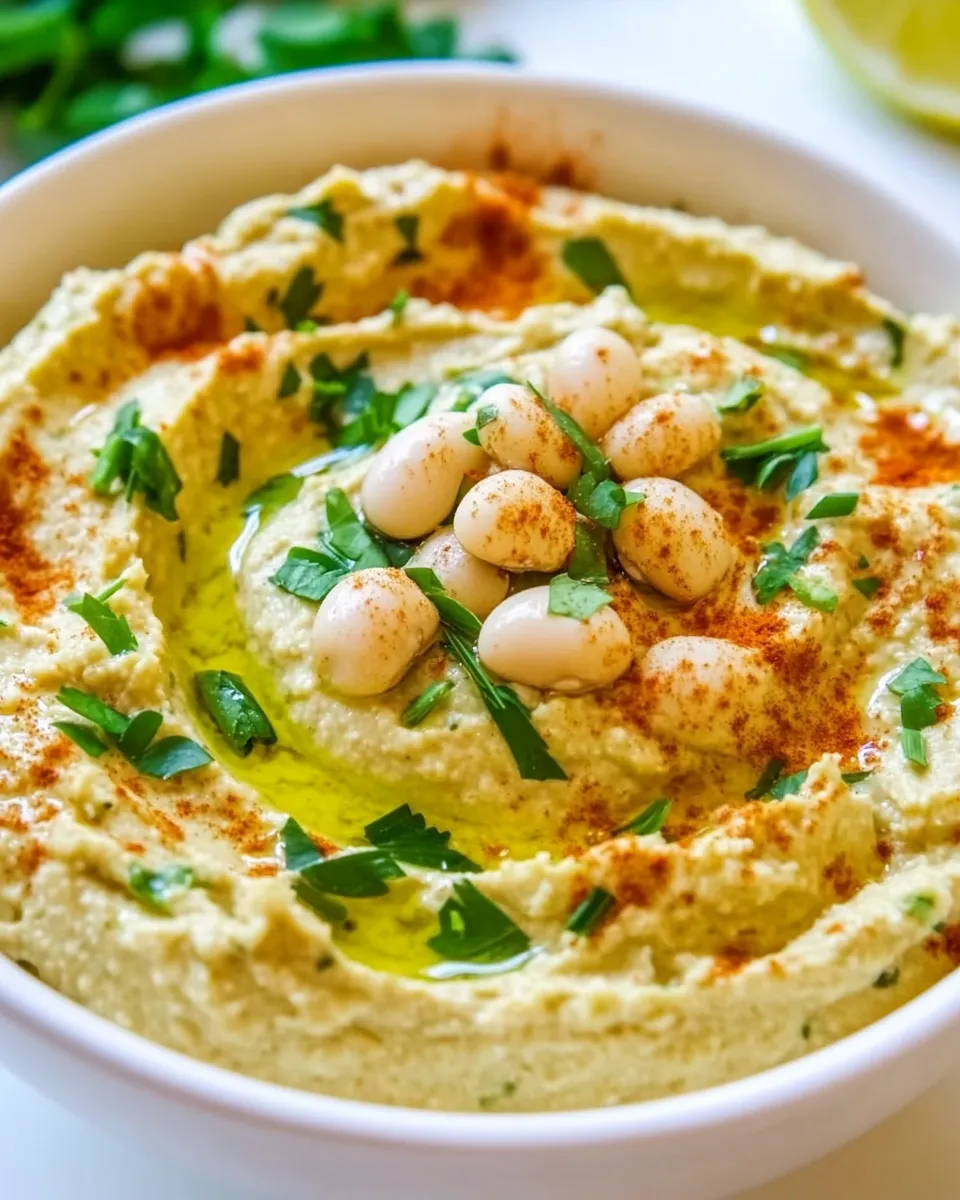
The white beans are the structure. They give the hummus body and creaminess without the stronger, nuttier taste of chickpeas. Tahini adds richness and a subtle sesame tone that rounds the acidity of the lemon. Basil brightens the whole spread and makes this hummus feel distinctly fresh—think of it as an herbal lift rather than an afterthought. Garlic brings bite; lemon brings brightness; olive oil smooths the mouthfeel and adds gloss. Salt and black pepper are the finish line: they let the other flavors sing.
Small technique points matter: drain the beans well to avoid a watery dip, pulse the basil first so it becomes evenly dispersed, and add oil slowly so the emulsion forms and the texture becomes luxuriously smooth. Taste as you go. That’s where this recipe earns its keep.
Ingredients
- one 15 oz. can white beans (see notes) — provides the creamy base and bulk; drain well to avoid thinning the dip.
- 20 leaves fresh basil — gives bright, herbal flavor; rinse and dry to prevent extra moisture.
- 1 1/2 T fresh lemon juice (or more) — adds acidity and lift; add more to taste for brightness.
- 1/4 cup Tahini sauce — brings richness and sesame depth; it smooths and balances acidity.
- 2 tsp. minced garlic (or more) — adds savory bite; adjust up or down depending on how garlicky you like it.
- salt and fresh ground black pepper to taste — essential seasoning; add gradually and taste.
- 2 T olive oil (plus more for drizzling on top if desired) — used to emulsify and add silkiness; drizzle extra for presentation.
White Bean Hummus — Do This Next
- Empty the 15 oz. can of white beans into a colander, rinse well with cold water, and let drain at least 5 minutes; shake the colander to remove excess water and/or pat beans lightly if needed.
- Wash the 20 basil leaves and dry them (salad spinner or paper towels). Add the basil to the food processor and pulse until roughly chopped.
- Add the drained white beans, 1 1/2 T fresh lemon juice (or more to taste), 1/4 cup Tahini sauce, and 2 tsp. minced garlic (or more to taste) to the food processor. Process until the mixture is smooth and well pureed, about 1 minute.
- With the processor running, add the 2 T olive oil through the feed tube in a slow stream (about 1 T at a time) until fully incorporated.
- Taste and adjust: add additional lemon juice if desired, then season with salt and fresh ground black pepper to taste. Pulse a few times to blend the seasoning.
- Transfer the hummus to a serving bowl. Drizzle additional olive oil on top if desired and garnish with additional basil leaves if you like.
- Serve with pita, vegetables, or crackers.
Why I Love This Recipe
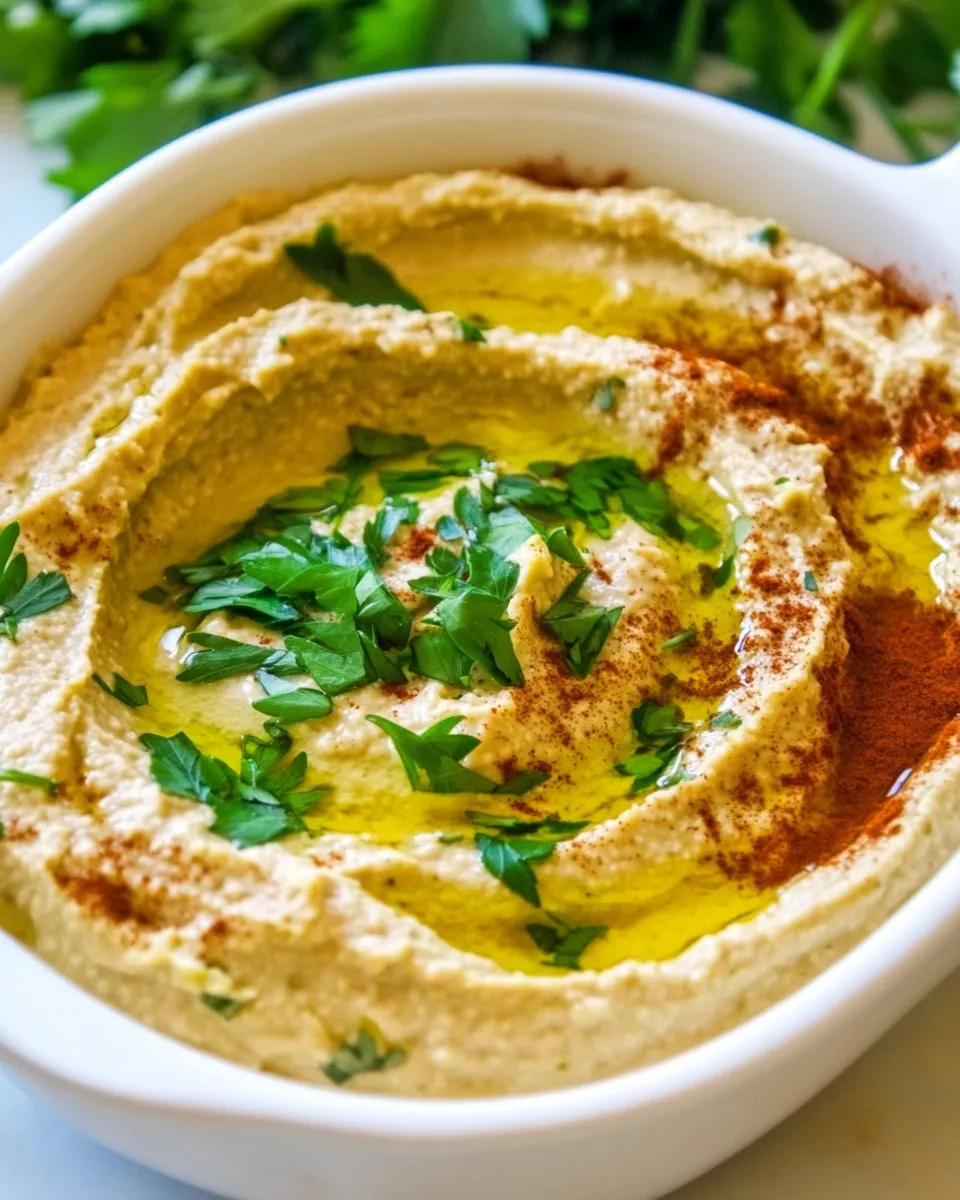
It’s deceptively simple and reliably delicious. The riff on classic hummus—using white beans instead of chickpeas—yields a milder, creamier canvas that lets basil and lemon shine. The result is bright, not heavy; it’s the kind of dip people go back to the bowl for without apologizing.
The technique rewards attention to small details. Rinsing the beans and drying the basil produce a cleaner texture. Adding olive oil slowly creates a smooth emulsion. Those modest steps transform ordinary canned beans into something you would happily serve to guests.
Finally, it’s adaptable. The formula is straightforward enough to suit different meals: smear it on a sandwich, use it as a sauce for roasted vegetables, or build a mezze plate. It plays nice with simple sides and shows up well at both casual and slightly elevated gatherings.
Swap Guide
Keep swaps conservative so you don’t lose the balance Julia Child intended. Here are practical, safe changes that won’t break the recipe.
- White beans — If your can is labeled with a specific variety (cannellini, great northern), use that. The recipe works with any canned white bean labeled “white beans.”
- Basil — If you want a lighter herb note, use fewer leaves. The recipe calls for 20; try 12–15 if you prefer a subtler basil presence.
- Tahini — To avoid changing flavors, reduce tahini slightly and balance with an extra teaspoon of olive oil and a touch more lemon rather than introducing a new paste.
- Garlic — Use less if you’re serving children or sensitive guests; use more if you want a punchier spread. Roasted garlic is a gentler alternative if you prefer a milder, sweeter garlic flavor (note: this is a technique change, not a new ingredient).
- Olive oil — The method of adding it slowly is more important than the brand. Higher-quality olive oil gives a nicer finish, but any mild-tasting olive oil will do.
Setup & Equipment
Organize your workspace before you start. You don’t need fancy tools, but the right equipment speeds things and avoids hiccups.
- Food processor — Required for the texture Julia’s method achieves; it purees the beans smoothly and emulsifies the oil.
- Colander — For rinsing and draining the canned beans thoroughly.
- Measuring spoons and a 1/4-cup measure — For accurate lemon, tahini, garlic, and oil quantities.
- Salad spinner or clean towels — To dry basil leaves so you don’t add excess water.
- Serving bowl and spoon — For transferring and finishing with a drizzle of oil and basil garnish.
Avoid These Mistakes
These missteps are easy to make but equally easy to fix if you know what to watch for.
- Not draining the beans well enough — Extra water dilutes flavor and thins texture. Let them sit in the colander and shake off excess, or pat lightly.
- Adding oil too quickly — If you pour the olive oil all at once, the emulsion can fail and the hummus may have an uneven texture. Add it in a slow stream with the processor running.
- Underseasoning — Canned beans need salt and acid to come alive. Taste and adjust salt, pepper, and lemon at the end.
- Overprocessing warm ingredients — If the food processor warms the mixture too much, it can become slightly grainy. Pause and scrape down the sides periodically.
- Skipping the basil pulse step — Chopping the basil first ensures it’s evenly distributed; tossing whole leaves in at the start can leave large herb bits or under-blended pockets.
Substitutions by Diet
This recipe is already plant-based and naturally vegetarian. Here are small, ingredient-conserving adjustments for common dietary needs.
- Low-sodium — Rinse the beans extra well and omit added salt at first. Season lightly at the end after tasting.
- Tahini-free — If you need to avoid tahini, keep the beans, lemon, garlic, and olive oil. Increase the olive oil by a tablespoon and add a bit more lemon to maintain balance; pulse longer to coax creaminess from the beans.
- Garlic-sensitive — Reduce the garlic to 1 tsp. minced, or omit and finish with a scant grind of black pepper and a bright lemon boost.
- Allergy-conscious — The recipe contains sesame in the tahini. If avoiding sesame entirely, use the tahini-free approach above rather than swapping in a different seeded butter.
Cook’s Notes
Small timing and technique notes that matter when you’re in the kitchen.
- Drying basil — Wet basil introduces water and can make the hummus runnier. Use a spinner or blot with paper towels.
- Texture control — If the hummus is too thick, add a teaspoon of cold water or a few drops of lemon juice and pulse until you reach the desired consistency.
- Taste as you go — Lemon and salt are where you can tailor the recipe to your preference. Add acid in small increments; it lifts the whole bowl quickly.
- Make-ahead — It holds up well in the fridge, and flavors meld over a few hours. Wait to garnish with basil until serving to keep the herb bright.
Shelf Life & Storage
Store in an airtight container in the refrigerator. Properly chilled, the hummus will keep 4–5 days. If you want to stretch that window, transfer to a clean container and press a piece of plastic wrap directly onto the surface before sealing—this reduces surface oxidation.
Freezing is possible but not ideal: the texture may change slightly after thawing. If you freeze, use within 2 months and thaw overnight in the refrigerator. Stir well before serving and refresh with a little lemon or olive oil if the texture seems separated.
Quick Questions
- Can I use dried beans? — Yes, if they’re cooked and well-drained. Use roughly the equivalent volume to one 15 oz. can.
- Can I make this without a food processor? — A high-speed blender will work; you may need to add a small amount of liquid to help it blend smoothly.
- How do I make it smoother? — Process longer, add liquid a teaspoon at a time (olive oil, lemon juice, or reserved bean liquid), and scrape the bowl down between pulses.
- Is the tahini necessary? — It adds important richness, but the recipe still works without it. Compensate with extra oil and lemon to maintain balance.
- Can I double the recipe? — Yes. Work in batches if your processor is small to ensure even processing.
Before You Go
Julia Child’s White Bean Hummus is a reminder that small, thoughtful steps make a big difference. Rinse the beans, dry the basil, add oil slowly, and taste frequently. Those four habits turn canned beans into a hummus you’ll want to serve again and again.
If you try it, leave a quick note on how you seasoned it and what you served it with. I read every comment and love hearing the practical tweaks readers make. Happy blending—and enjoy the extras you’ll find yourself spooning onto toast, sandwiches, and plates this week.

White Bean Hummus (from Julia Child)
Ingredients
Ingredients
- one 15 oz. can white beans see notes
- 20 leaves fresh basil
- 1 1/2 T fresh lemon juice or more
- 1/4 cup Tahini sauce
- 2 tsp. minced garlic or more
- salt and fresh ground black pepper to taste
- 2 T olive oil plus more for drizzling on top if desired
Instructions
Instructions
- Empty the 15 oz. can of white beans into a colander, rinse well with cold water, and let drain at least 5 minutes; shake the colander to remove excess water and/or pat beans lightly if needed.
- Wash the 20 basil leaves and dry them (salad spinner or paper towels). Add the basil to the food processor and pulse until roughly chopped.
- Add the drained white beans, 1 1/2 T fresh lemon juice (or more to taste), 1/4 cup Tahini sauce, and 2 tsp. minced garlic (or more to taste) to the food processor. Process until the mixture is smooth and well pureed, about 1 minute.
- With the processor running, add the 2 T olive oil through the feed tube in a slow stream (about 1 T at a time) until fully incorporated.
- Taste and adjust: add additional lemon juice if desired, then season with salt and fresh ground black pepper to taste. Pulse a few times to blend the seasoning.
- Transfer the hummus to a serving bowl. Drizzle additional olive oil on top if desired and garnish with additional basil leaves if you like.
- Serve with pita, vegetables, or crackers.
Equipment
- Colander
- Food Processor
- salad spinner or paper towels
- Serving Bowl


