
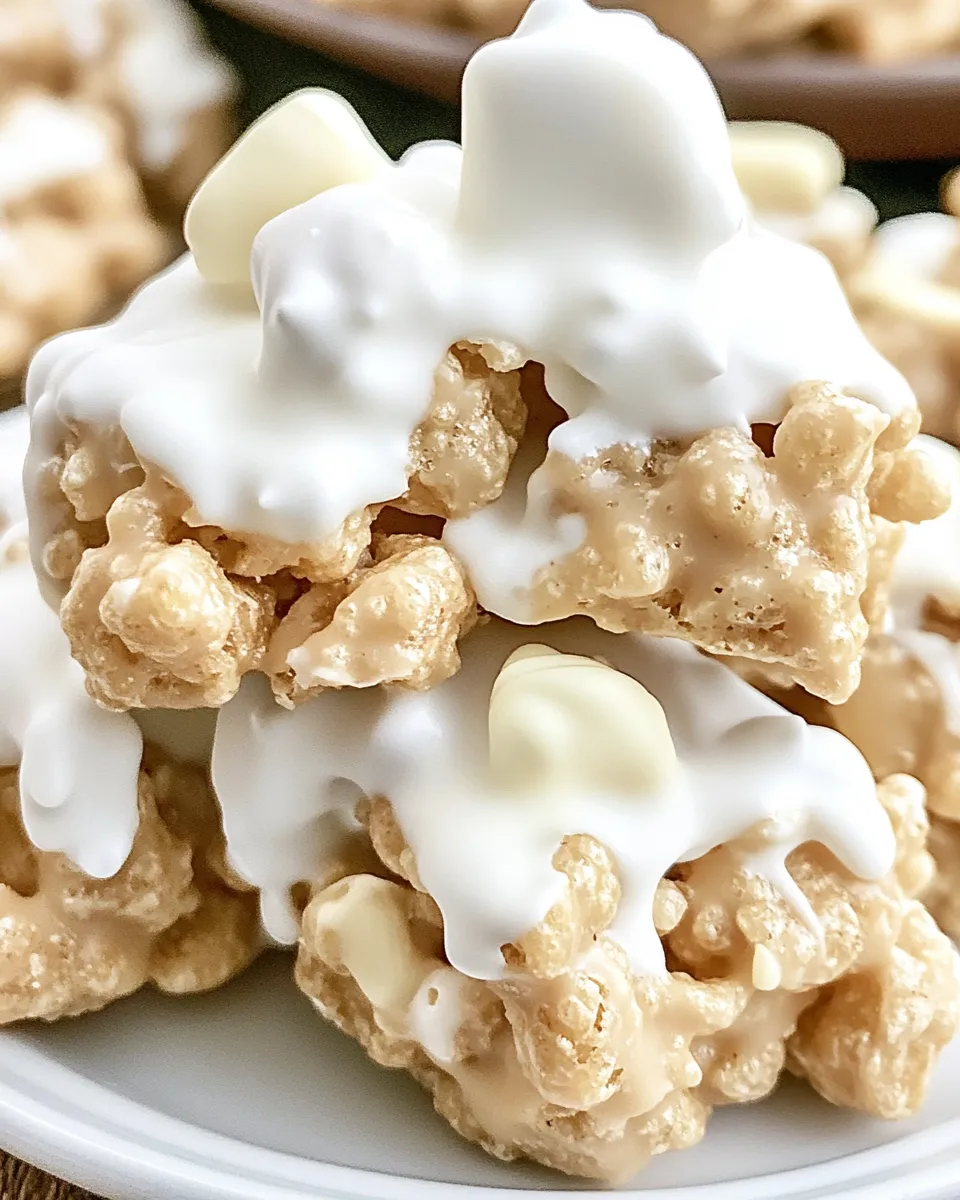
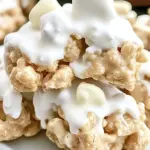
These crispery clusters are one of those desserts that come together faster than you can decide who gets the first bite. They’re sticky, sweet, and have that melt-in-your-mouth quality from white chocolate, balanced with a nutty roundness from peanut butter. No baking, no thermometer — just gentle melting and a quick assembly.
I like making a big batch because they store well and show up at every kind of gathering. Kids adore them; adults appreciate the texture and the way the white chocolate softens around the peanuts. They’re forgiving, which makes them perfect for a busy afternoon when you want something homemade without a lot of fuss.
Below I’ll walk through everything: the exact ingredients you need, the step-by-step method (unchanged from the tested version), sensible swaps, equipment you’ll actually use, and quick fixes if something goes off track. Let’s get to it.
The Essentials
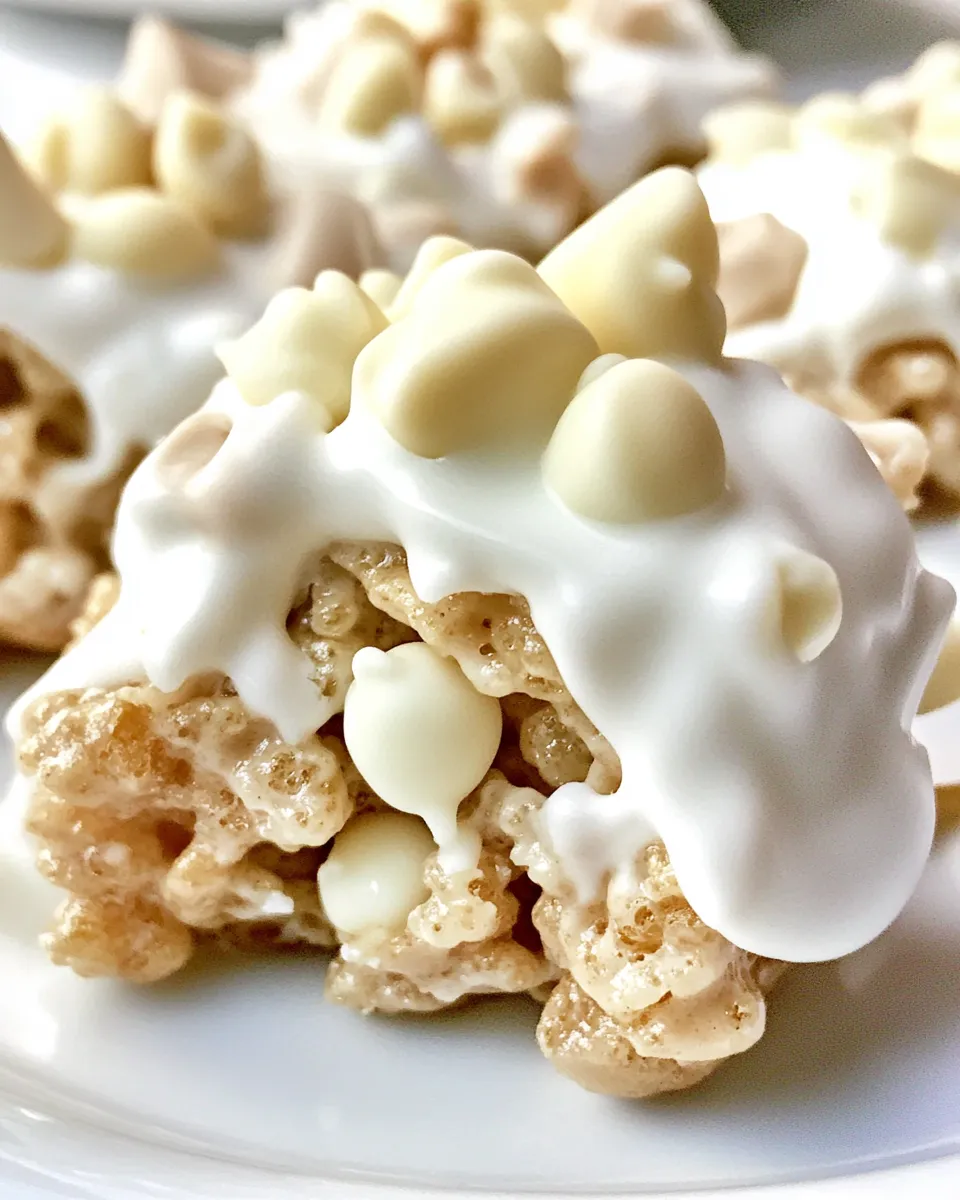
Keep this recipe simple: cereal for crunch, marshmallows for chew, peanuts for bite, peanut butter for depth, and plenty of white chocolate to bind it together. The texture is key — you want clusters that hold their shape but still give a gentle chew.
Plan about 2 hours of set time at room temperature. Hands-on time is under 20 minutes. You can make these ahead: they keep well and travel even better.
Ingredients
- 2 cups Rice Krispies cereal — the crisp base; don’t over-mix or they’ll crush.
- 2 cups dry roasted peanuts — add crunch and savory contrast; salted or unsalted both work.
- 2 cups miniature marshmallows — a little chew and sweetness that helps bind the cereal and peanuts.
- 1 cup peanut butter — contributes flavor and helps the chocolate coat evenly; use creamy for smoother clusters.
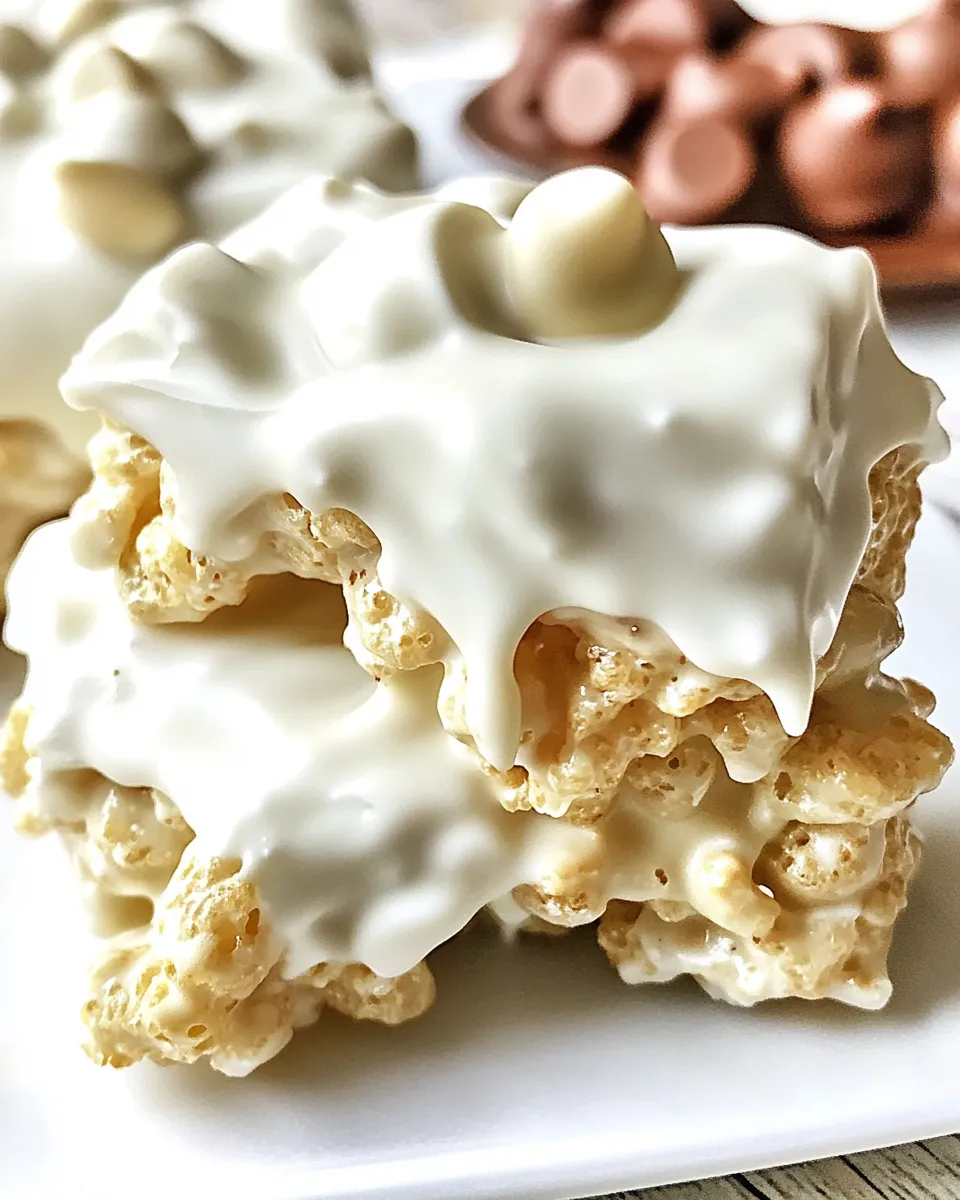
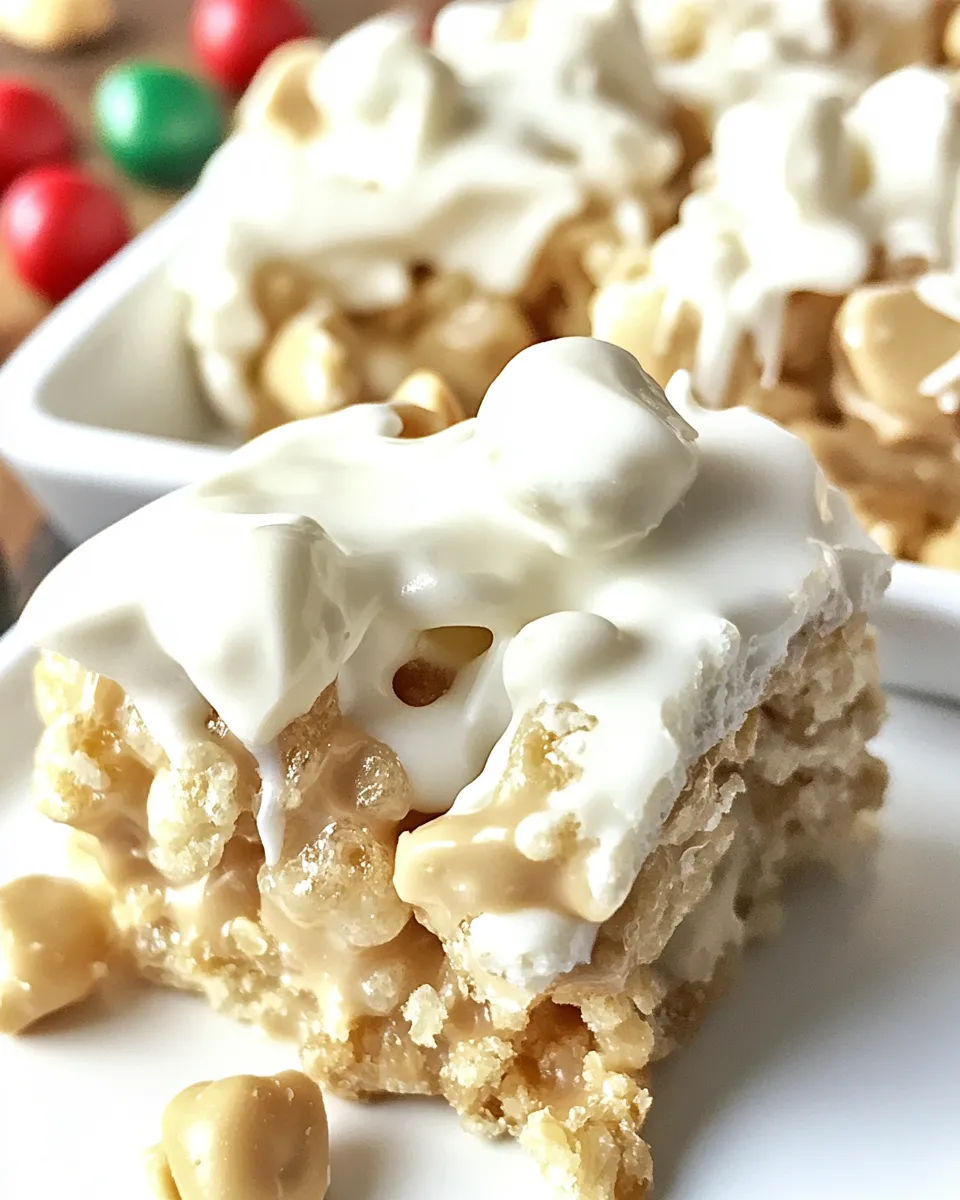
- 2 pounds white chocolate chips — the primary binder and flavor; melts into a glossy coating.
Cook White Chocolate Peanut Butter Krispies Like This
- In a large bowl, combine the 2 cups Rice Krispies, 2 cups dry roasted peanuts, and 2 cups miniature marshmallows; stir to mix evenly.
- Place the 2 pounds white chocolate chips and 1 cup peanut butter in a microwave-safe bowl. Microwave on High for 1 minute, stir, then continue microwaving in 30-second intervals, stirring after each, until the mixture is completely melted and smooth. (If your bowl is too small, melt the chips in batches and combine.)
- Pour the melted white chocolate–peanut butter mixture over the cereal mixture. Use a spatula to gently fold until all pieces are evenly coated; the mixture will be slightly runny.
- Line a baking sheet with waxed paper. Using a tablespoon, drop rounded tablespoonfuls of the mixture onto the waxed paper, spacing them apart.
- Let the drops set at room temperature until firm, about 2 hours.
- Store the finished krispie clusters in an airtight container.
Why It’s My Go-To
This recipe hits a few boxes that make it a repeat favorite. It’s fast. It doesn’t require precise temperatures or expensive equipment. The flavor profile is broad: sweet from the white chocolate, nutty from the peanuts and peanut butter, and textural from the Rice Krispies and marshmallows.
I also love how portable these are. Make them for school parties, potlucks, or to keep on hand for a quick treat. They hold up well at room temperature and travel without falling apart.
Swap Guide
Need to substitute an ingredient? Here are practical swaps that keep the integrity of the clusters.
- White chocolate chips — You can use white chocolate bars chopped into chunks if you prefer; measure by weight to match 2 pounds of chips. Dark or milk chocolate will change the flavor but will still work.
- Peanut butter — If someone has a peanut allergy, use almond butter or sunflower seed butter. Expect a slightly different texture and flavor. Use the same 1 cup volume.
- Dry roasted peanuts — Swap for chopped roasted almonds or cashews for a different crunch. Keep quantity the same: 2 cups.
- Rice Krispies — Any plain puffed rice cereal will work. If you use a sweeter or flavored cereal, reduce added sweet elements elsewhere.
- Miniature marshmallows — If you’re out, cut regular marshmallows into small pieces; measure 2 cups after cutting.
Equipment Breakdown
You don’t need a lot. Gather these basics to make the process smooth:
- Large mixing bowl — big enough to toss the cereal and peanuts without spilling.
- Microwave-safe bowl — for melting the chocolate and peanut butter. If you prefer stovetop, use a heatproof bowl over simmering water (double boiler).
- Spatula — flexible for folding the melted chocolate through the dry mix.
- Baking sheet and waxed paper — for shaping and setting clusters.
- Tablespoon or small scoop — for portioning even clusters.
Watch Outs & How to Fix
If the white chocolate seizes
White chocolate can seize if overheated or if water gets in. If it becomes grainy, add a small teaspoon of neutral oil or a dollop of extra peanut butter and stir vigorously to smooth it out. Warm gently—do not microwave at full power for long.
If clusters are too loose or crumbly
That usually means there isn’t enough binder. Melt an extra 2–4 ounces of white chocolate with a teaspoon of peanut butter, fold it in, and press the clusters a bit more firmly. Chill briefly if needed to help set.
If clusters spread and flatten
Dropping the mixture warmer than room temperature can cause spreading. Let the melted mixture cool for a minute so it’s thicker before spooning. If they’re already flat, chill the baking sheet briefly to accelerate setting and reduce spreading.
If marshmallows melt or lose shape
Marshmallows are delicate. Stir gently when folding in the melted mixture. Over-stirring while the coating is still very hot will cause them to melt and change texture.
Holiday-Friendly Variations
These clusters are a blank canvas for seasonal tweaks. A few targeted additions can transform them for holidays:
- For Christmas: Fold in 1/2 cup dried cranberries and top each cluster with a sprinkle of crushed peppermint once set.
- For Halloween: Use orange-colored sanding sugar or a few drops of orange food coloring in the melted white chocolate before dropping clusters.
- For Valentine’s Day: Press a few pink or red sprinkles on top while the clusters are still tacky.
- For Fourth of July: Mix in a few blue and red candy bits or use star-shaped sprinkles on top.
Recipe Notes & Chef’s Commentary
Here are straightforward notes from repeated batches I’ve made:
- White chocolate type matters. Higher-quality white chocolate tends to melt smoother and taste less waxy. If using supermarket chips, taste a piece first so you know what to expect.
- Measure by volume here for convenience, but for the white chocolate two pounds is a lot — that’s roughly 32 ounces. If you prefer slightly less coating, you can reduce by 4–6 ounces, but the clusters will be less glossy and more cereal-forward.
- Work on a clean, dry surface. Any moisture near the chocolate or marshmallows causes trouble.
- Use a tablespoon scoop for uniform sizes; they set more evenly and look tidy for gifting.
Cooling, Storing & Rewarming
Let clusters set at room temperature for about 2 hours, as the recipe indicates. Don’t rush them into the fridge; sudden temperature change can cause condensation, which may make them sticky.
Store finished krispie clusters in an airtight container at room temperature. They’ll keep well for up to a week. If your kitchen is warm, store them in a cool pantry or the refrigerator; just note the texture will firm up in the fridge and soften slightly once returned to room temp.
Rewarming isn’t necessary, but if you want the white chocolate glossy again, place the clusters in a warm (not hot) oven for 1–2 minutes, or microwave a single serving for 5–7 seconds. Watch closely to avoid melting.
Common Questions
Q: Can I make these gluten-free? A: Yes, if you choose a gluten-free puffed rice cereal and confirm your ingredients are certified gluten-free.
Q: Can I freeze the clusters? A: Yes. Flash-freeze them on the baking sheet until solid, then transfer to a sealed freezer bag. They’ll keep for 1–2 months. Thaw at room temperature before serving.
Q: The white chocolate looks dull after setting. Is it ruined? A: Not necessarily. Dullness can mean the chocolate bloomed slightly (fat or sugar separation). They’ll still taste fine. To prevent bloom, melt gently and don’t expose the clusters to temperature swings.
Q: Can I reduce the sugar? A: White chocolate is the main source of sweetness here. You can reduce chips by 4–6 ounces, but expect a looser texture and less sheen. Consider using a slightly less sweet white chocolate if available.
The Last Word
These White Chocolate Peanut Butter Krispies are a reliable, crowd-pleasing treat you can make on a weekday evening or when you need a simple dessert to share. They’re forgiving, easy to scale, and perfect for customizing with seasonal touches. Keep your tools minimal, follow the few simple watchouts above, and you’ll have glossy, nutty clusters ready to hand out or tuck into a cookie tin.
Make a batch, label a container, and bring them to your next gathering. They disappear fast — and for good reason.
White Chocolate Peanut Butter Krispies
Ingredients
Ingredients
- 2 cupsRice Krispies cereal
- 2 cupsdry roasted peanuts
- 2 cupsminiature marshmallows
- 1 cuppeanut butter
- 2 poundswhite chocolate chips
Instructions
Instructions
- In a large bowl, combine the 2 cups Rice Krispies, 2 cups dry roasted peanuts, and 2 cups miniature marshmallows; stir to mix evenly.
- Place the 2 pounds white chocolate chips and 1 cup peanut butter in a microwave-safe bowl. Microwave on High for 1 minute, stir, then continue microwaving in 30-second intervals, stirring after each, until the mixture is completely melted and smooth. (If your bowl is too small, melt the chips in batches and combine.)
- Pour the melted white chocolate–peanut butter mixture over the cereal mixture. Use a spatula to gently fold until all pieces are evenly coated; the mixture will be slightly runny.
- Line a baking sheet with waxed paper. Using a tablespoon, drop rounded tablespoonfuls of the mixture onto the waxed paper, spacing them apart.
- Let the drops set at room temperature until firm, about 2 hours.
- Store the finished krispie clusters in an airtight container.
Equipment
- 8-qt Mixing Bowl
- Medium cookie scoop
Notes
The candy will last 1 to 2 weeks.
Can use white chocolate chips or white chocolate bars.2 pounds of white chocolate chips is equal to two 12-oz packages plus 1 1/3 cup of chips.
2 pounds of white chocolate chips is equal to two 12-oz packages plus 1 1/3 cup of chips.
I use smooth peanut butter, but crunchy peanut butter will work fine.
I use Planter’s dry roasted peanuts. Feel free to substitute cocktail peanuts.
You can make the candy drops as large or as small as you wish.
For a gluten-free dessert, make sure to use a gluten-free brand of rice krispies.


